Monthly Archives: September 2015

Smoked Meatloaf

Standard
Smoked Meatloaf

  
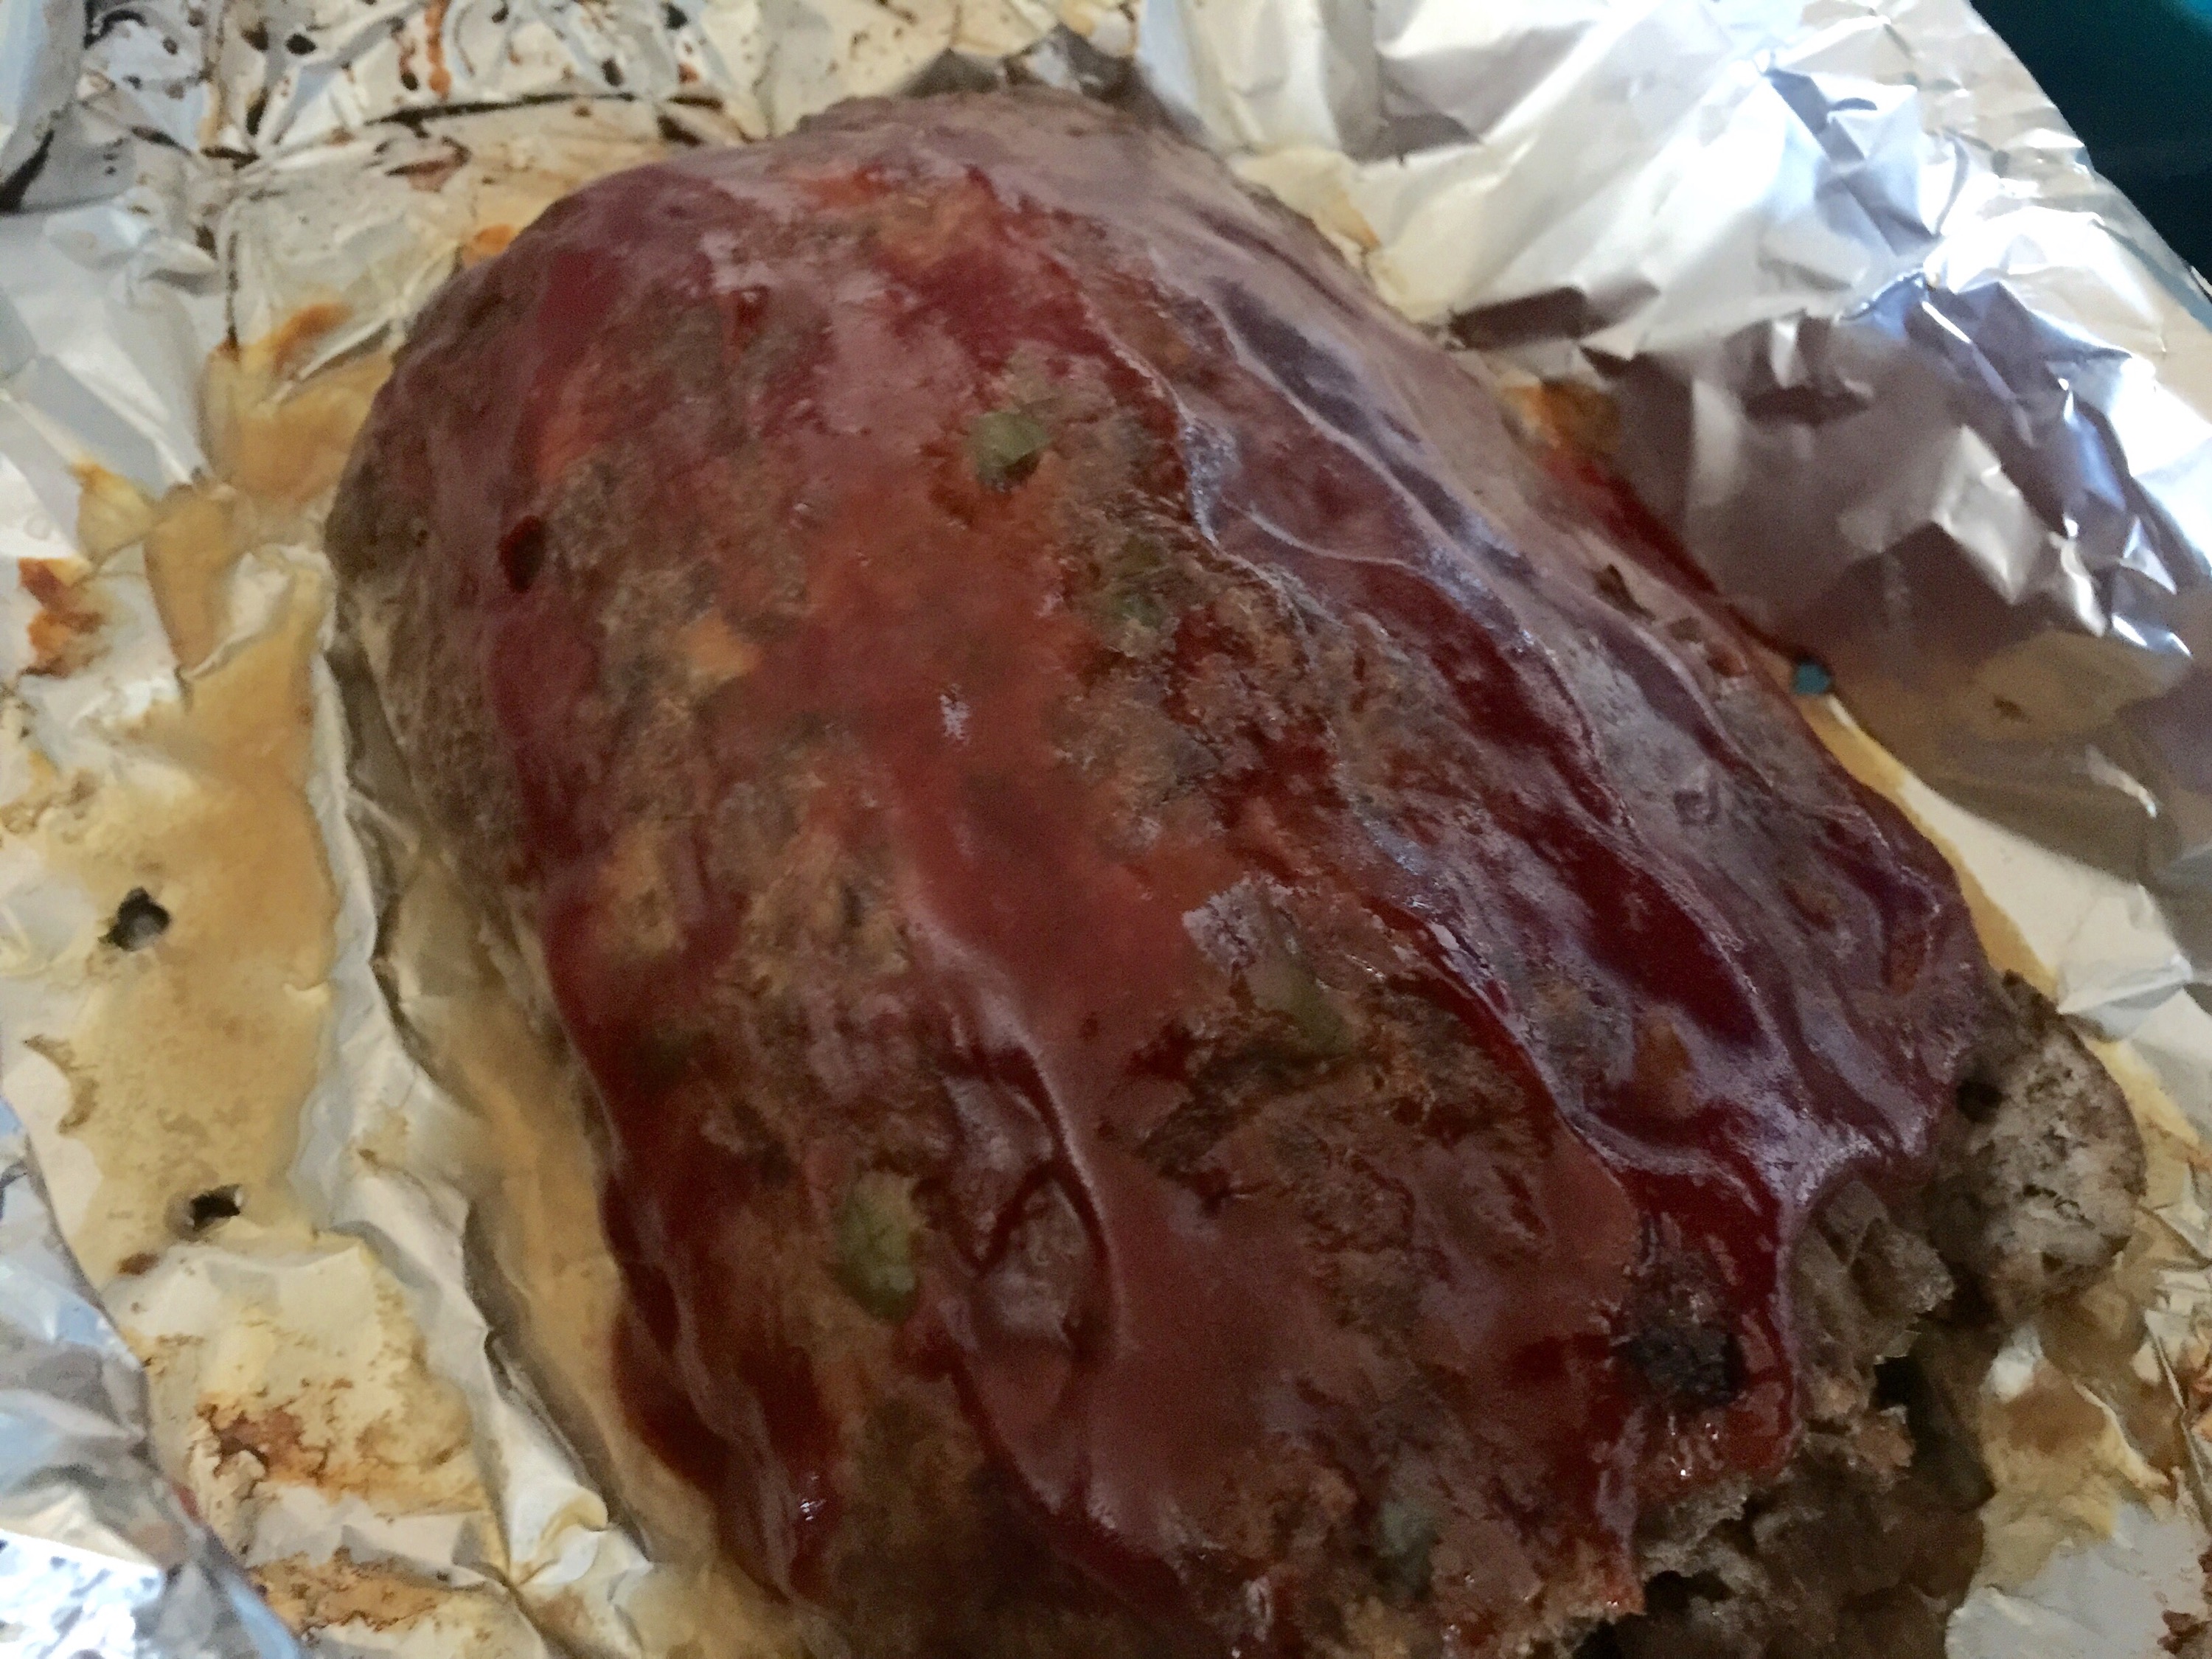
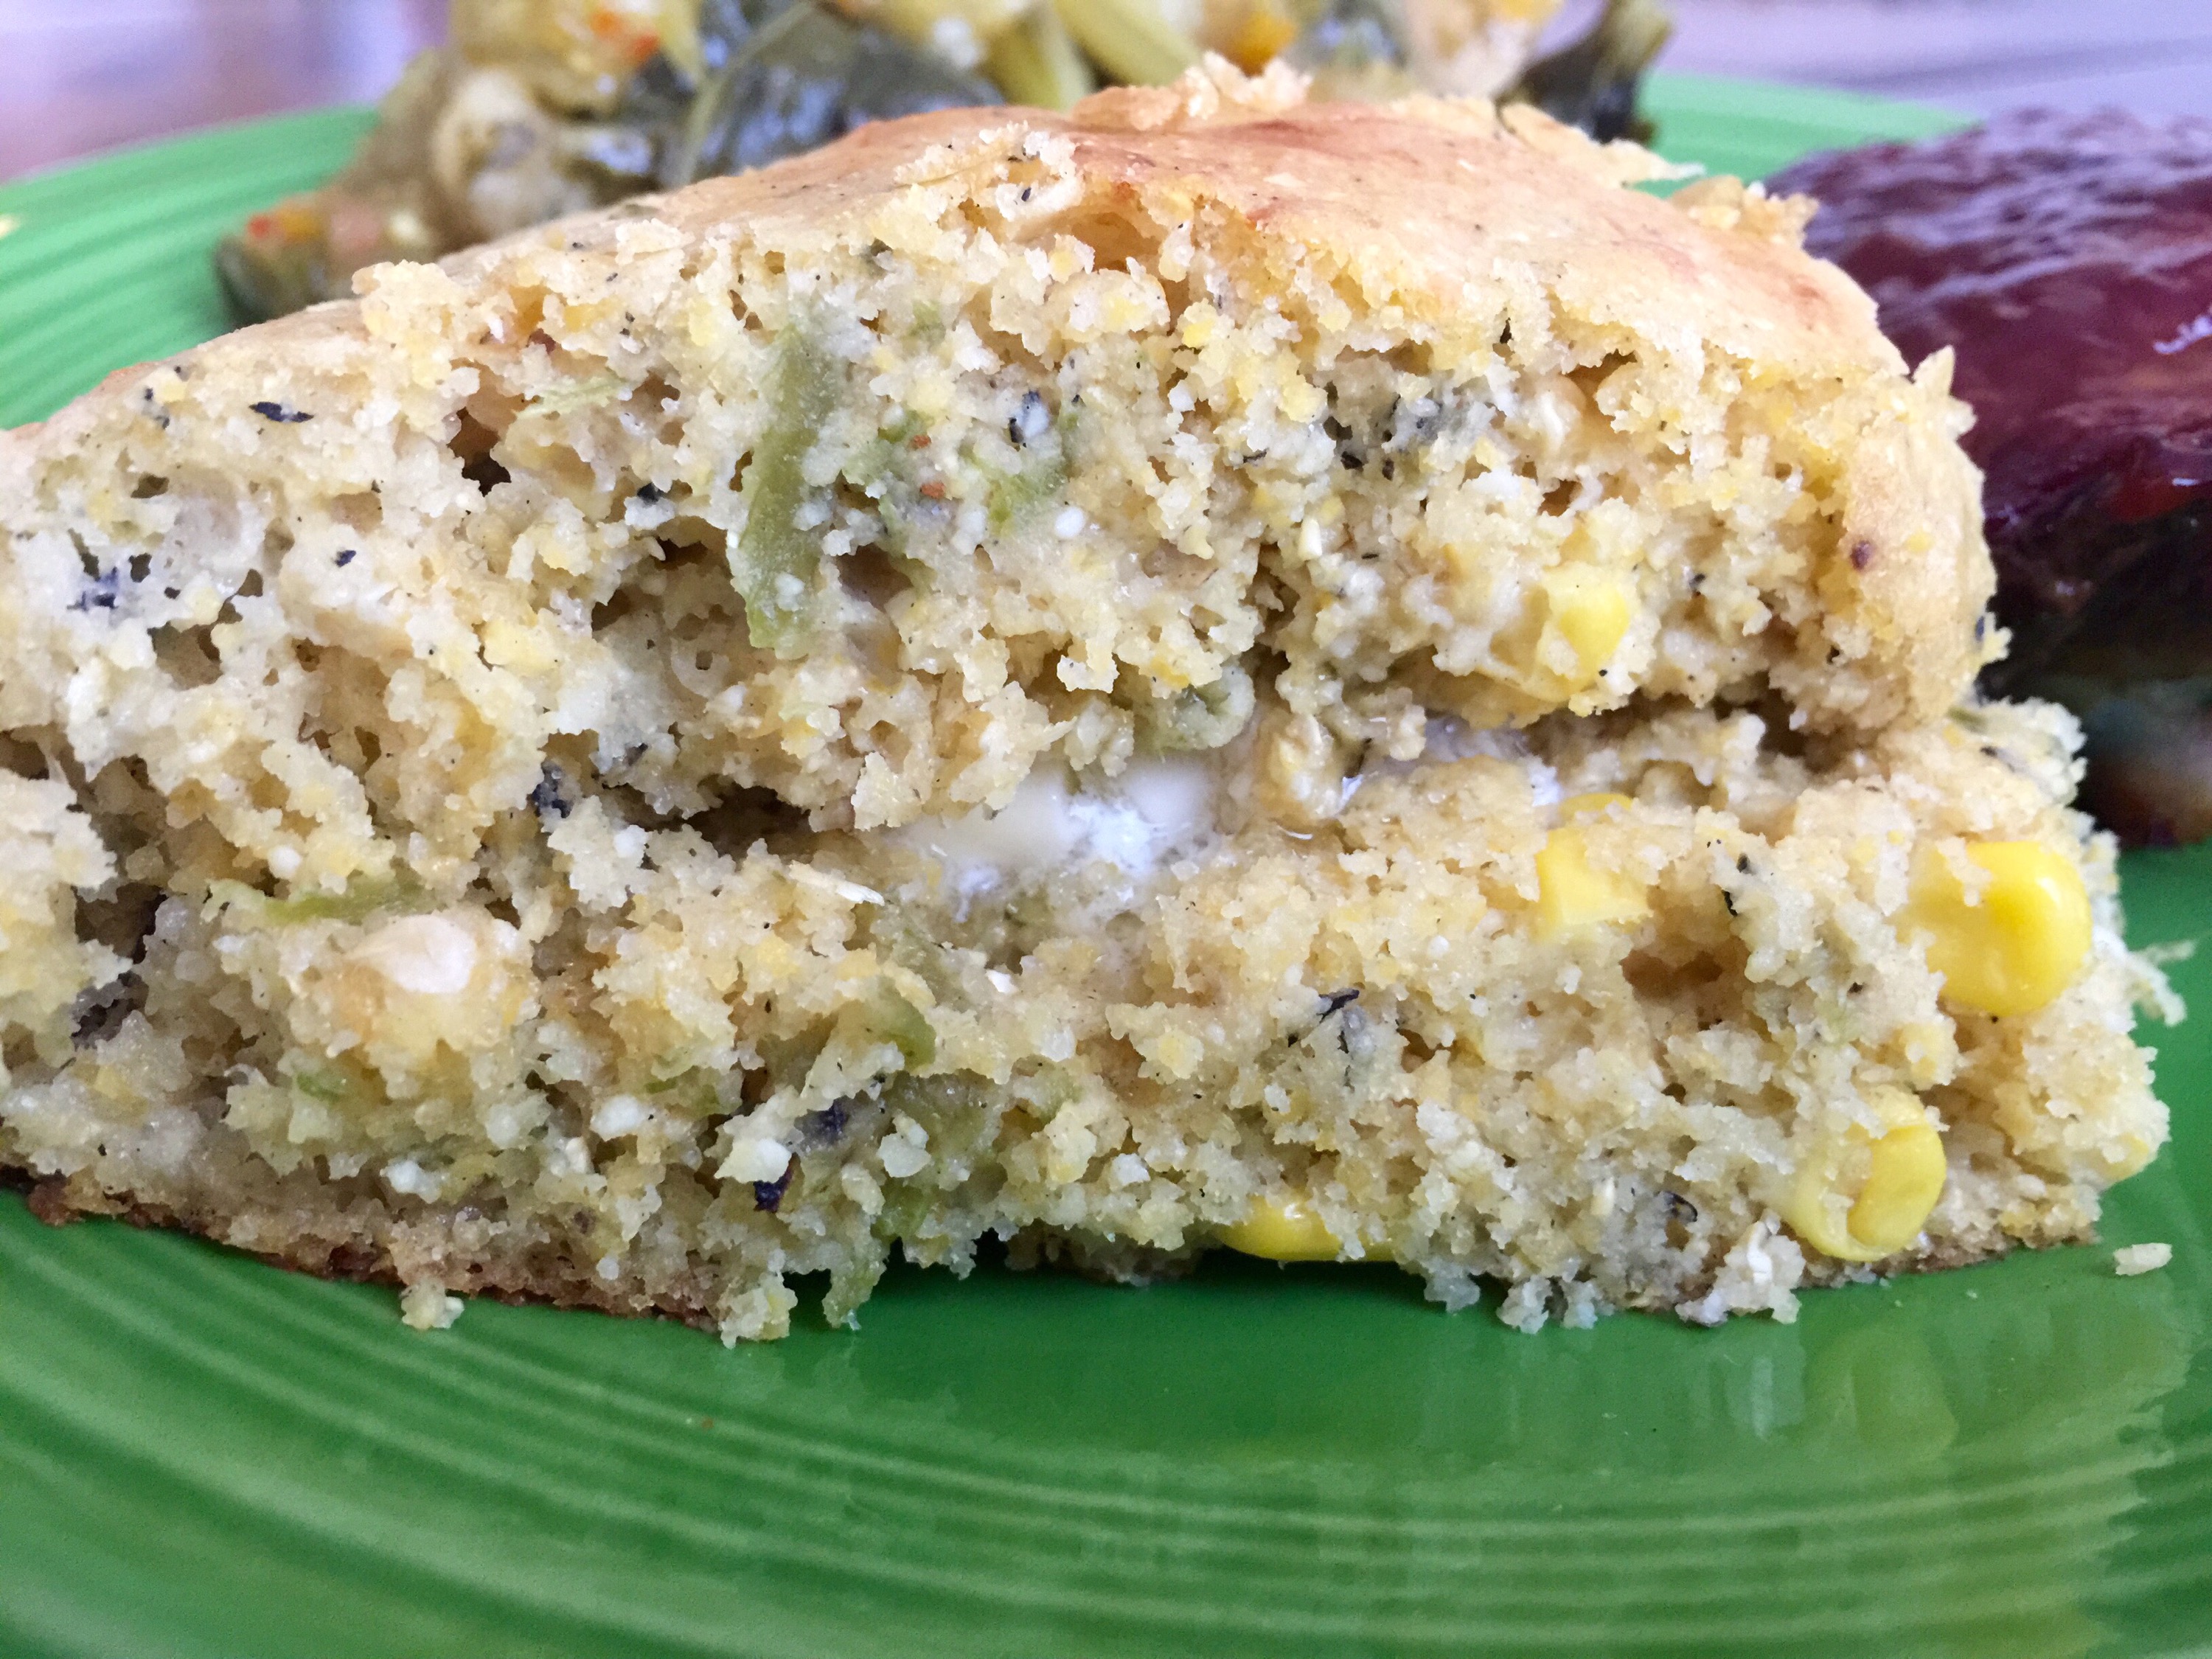
Yes, you heard me correctly… Smoked meatloaf is where it’s at my friends! I will never again make meatloaf in the oven after eating this! Wow! It was juicy and delicious with the most awesome smoke flavor. Seriously yall, you’ve got to try this!

It’s my husband’s birthday this week and I know he’s always wanted a smoker. So I got him one and of course we couldn’t wait to try it out. Aside from the obvious things people smoke, I wanted to try a slightly adjusted meatloaf version of my regular meatloaf recipe. I had heard about a restaurant that serves it as well as traditional smoked BBQ, and I’m so glad it worked out for us too!

The key is to cook your meat at about 225 degrees (low and slow). I had originally thought it would take about 4 hours to cook my two pound meatloaf, but it ended up being done right at 2 1/2 hours. My original plan was to glaze it halfway through, but when my husband went to glaze it, the internal temperature was at 165, so it was time to come off. I ended up glazing it and running it under the broiler for a few minutes in my oven, which worked out just fine. Either way you want to glaze this will work.

Ingredients:

  • 2 pounds ground meat
  • 1 sweet onion chopped
  • 1 large bell pepper chopped
  • 1 garlic clove chopped
  • 1 beaten egg
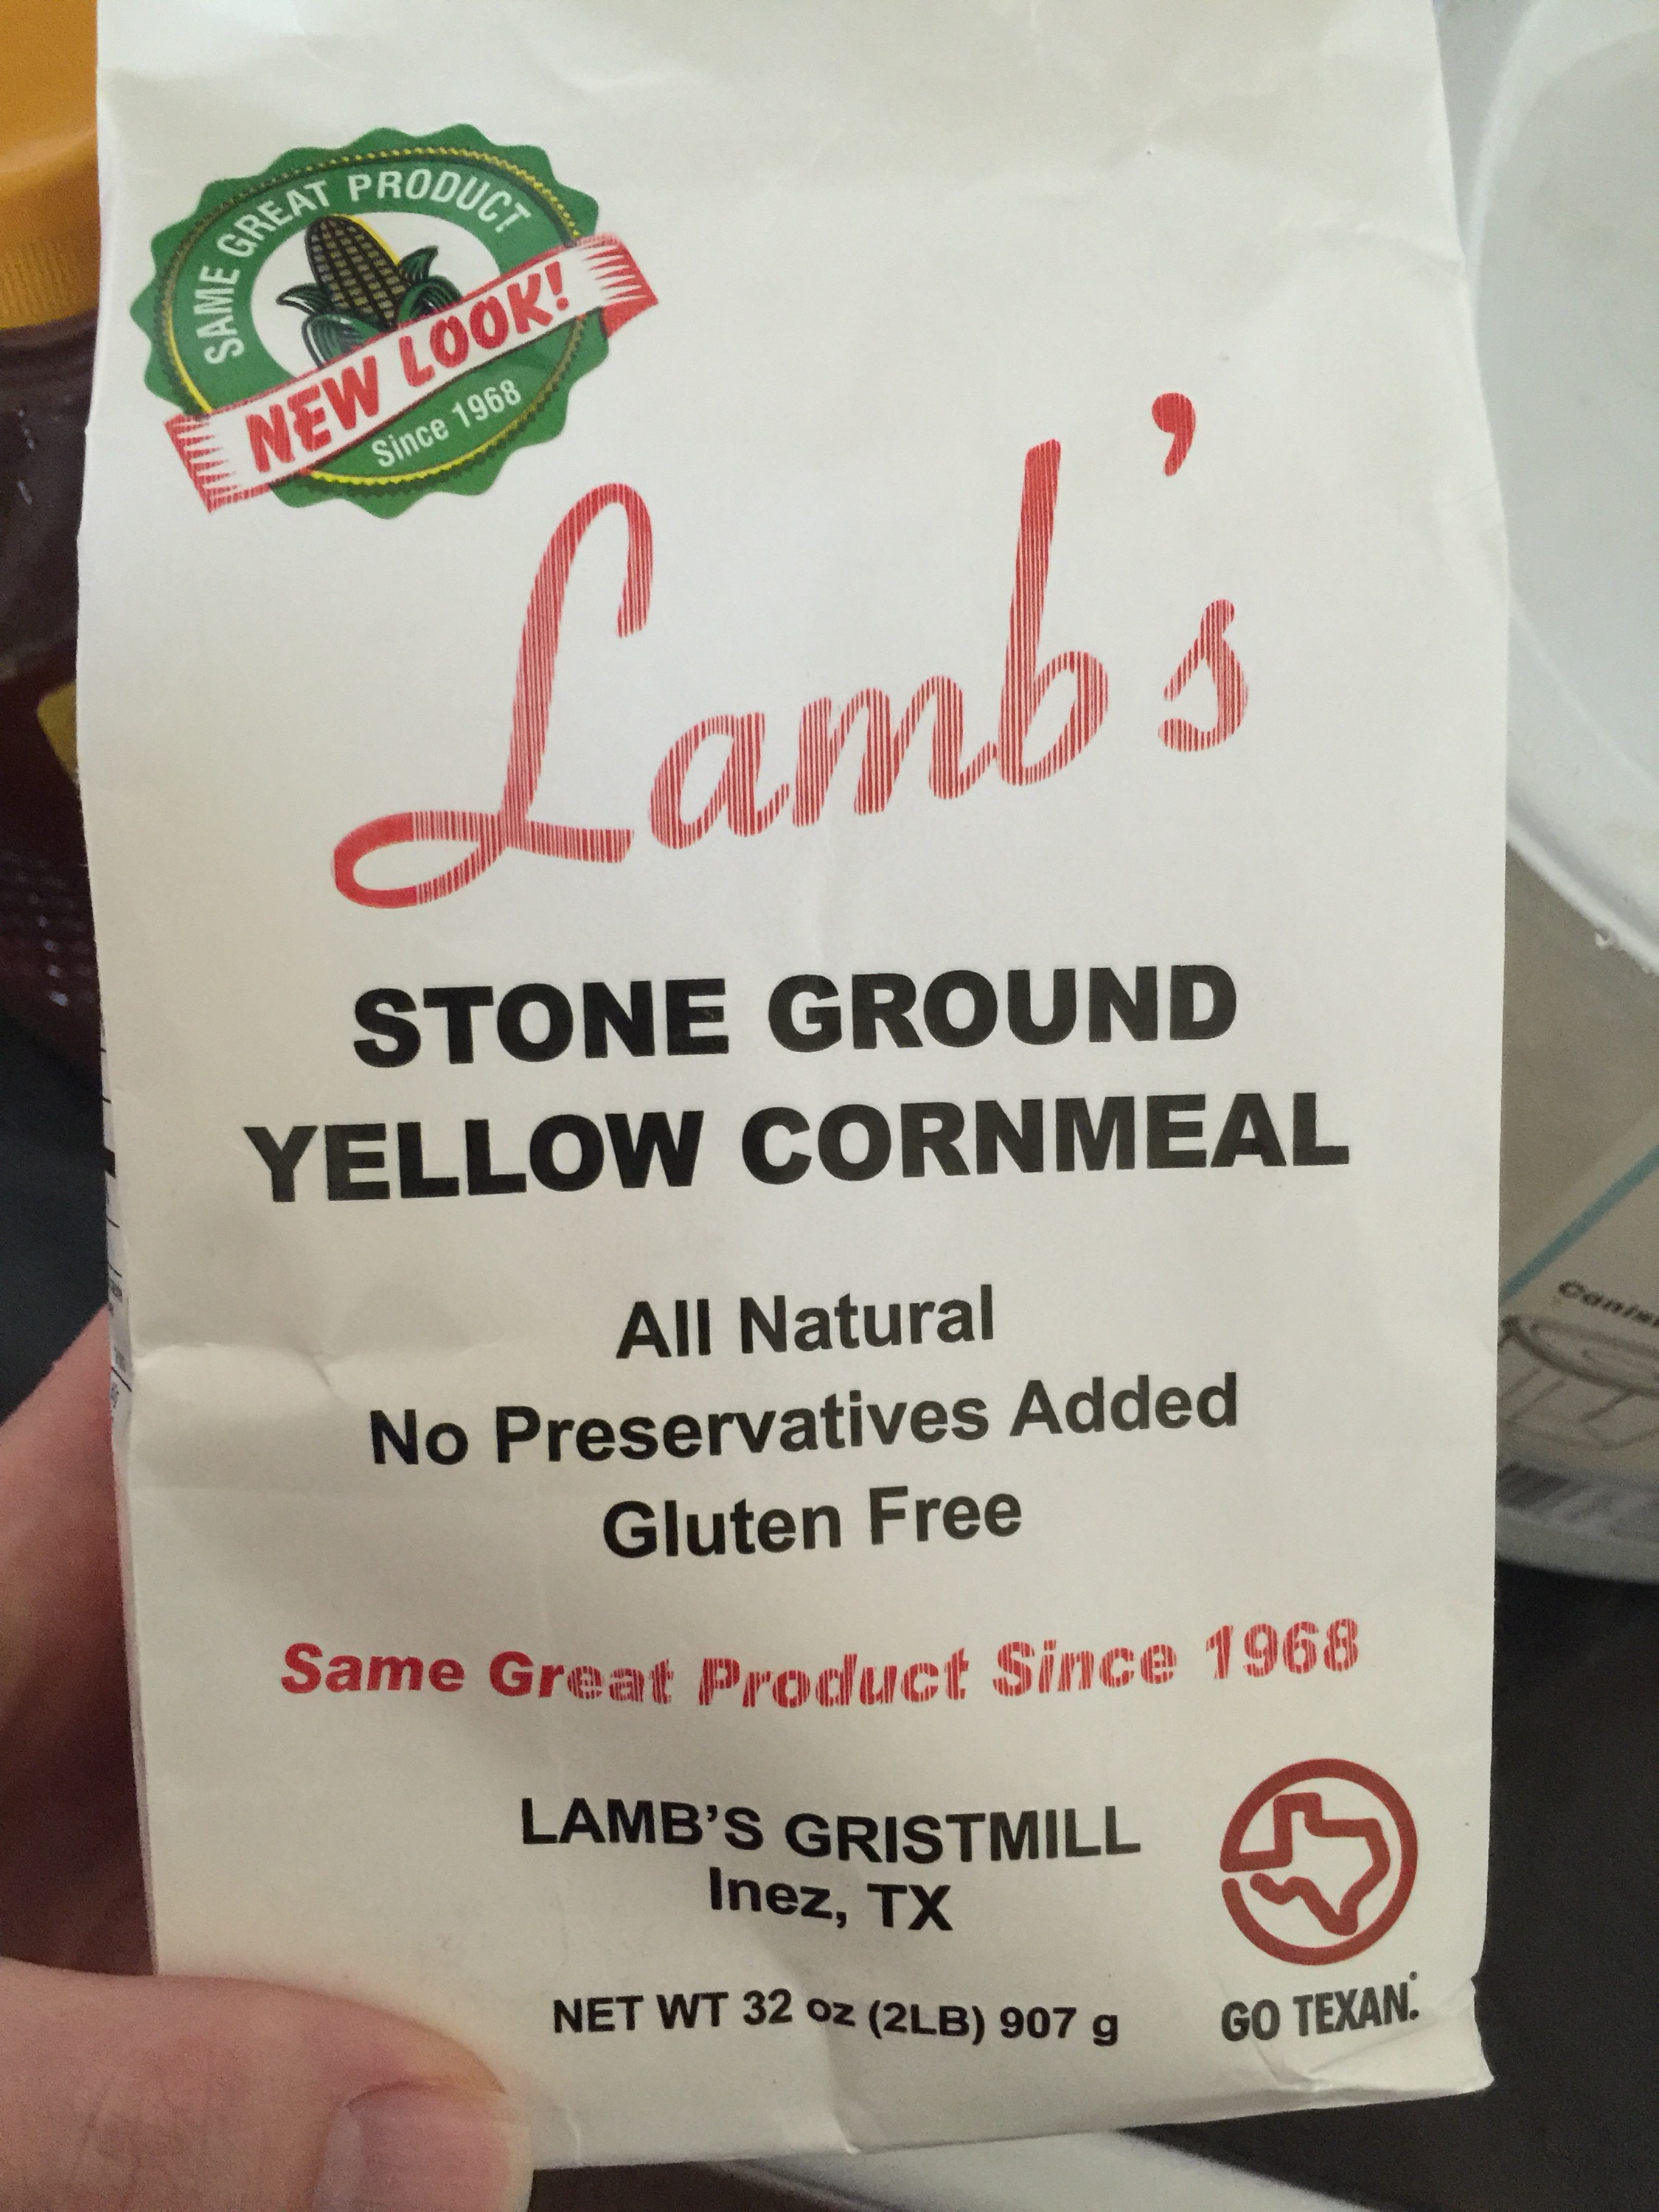
  • 1 c Italian breadcrumbs
  • 1 T butter
  • Olive oil
  • Salt and pepper
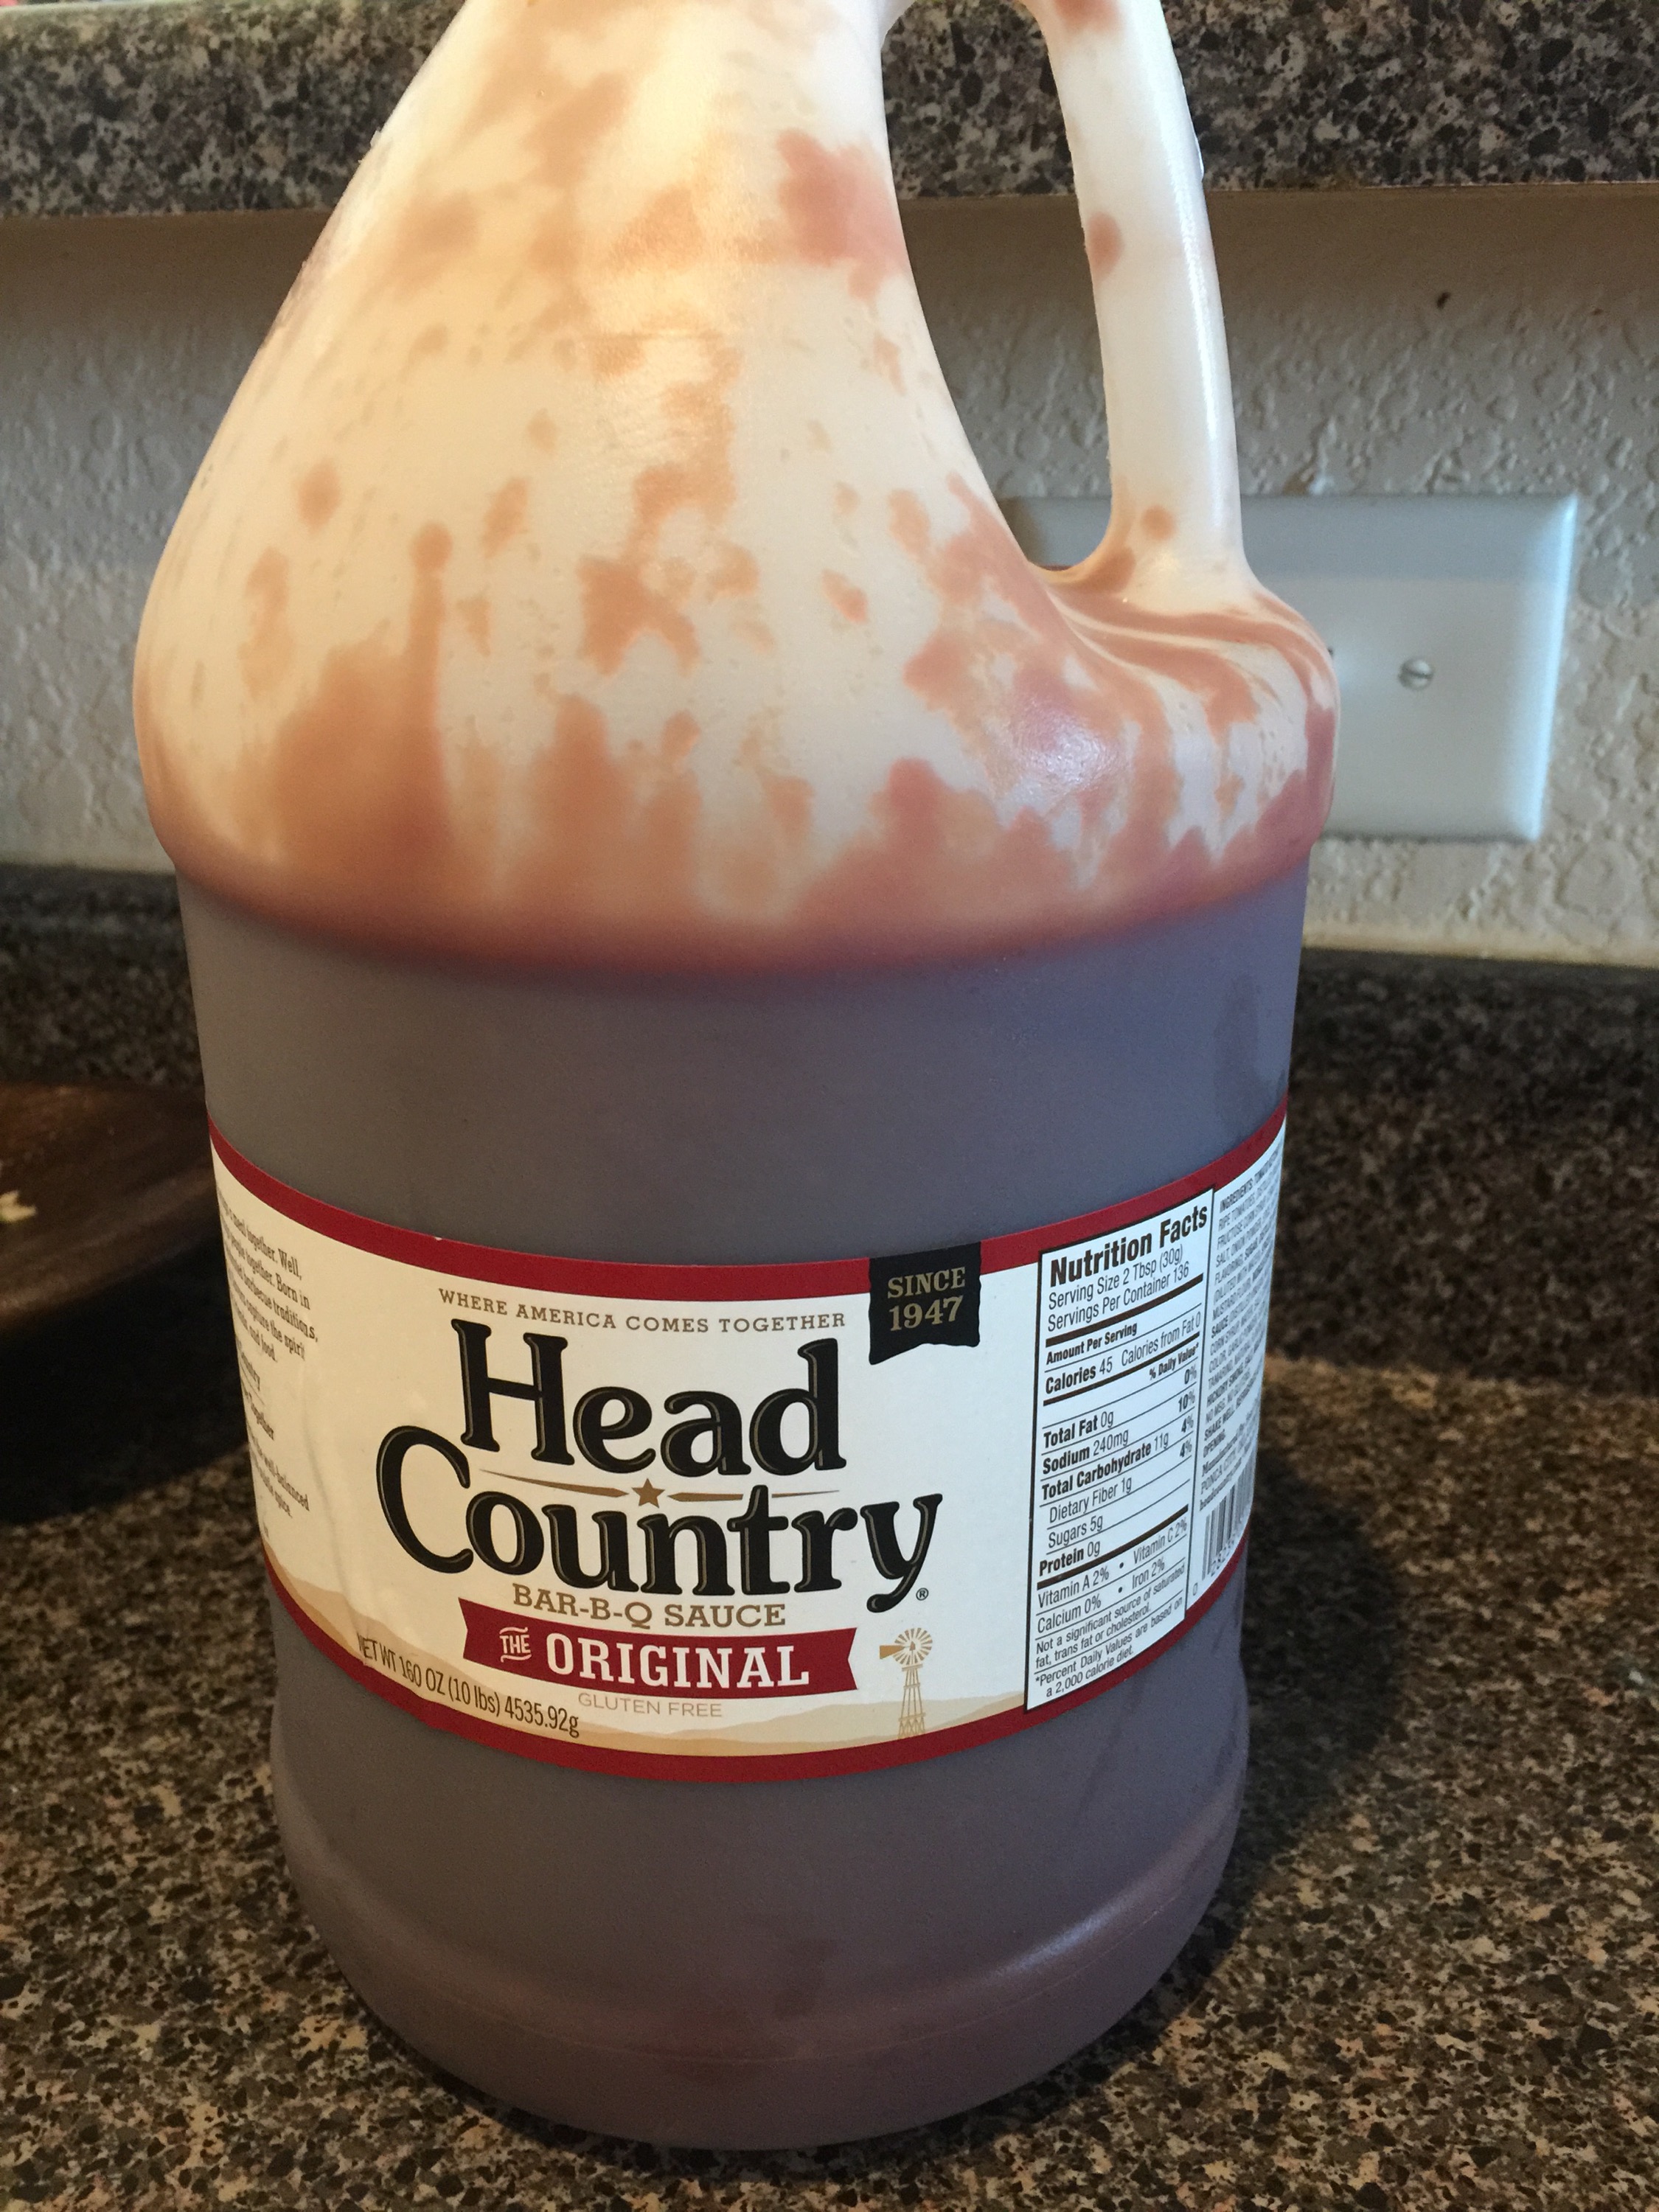
  • Ketchup, mayo, and BBQ sauce
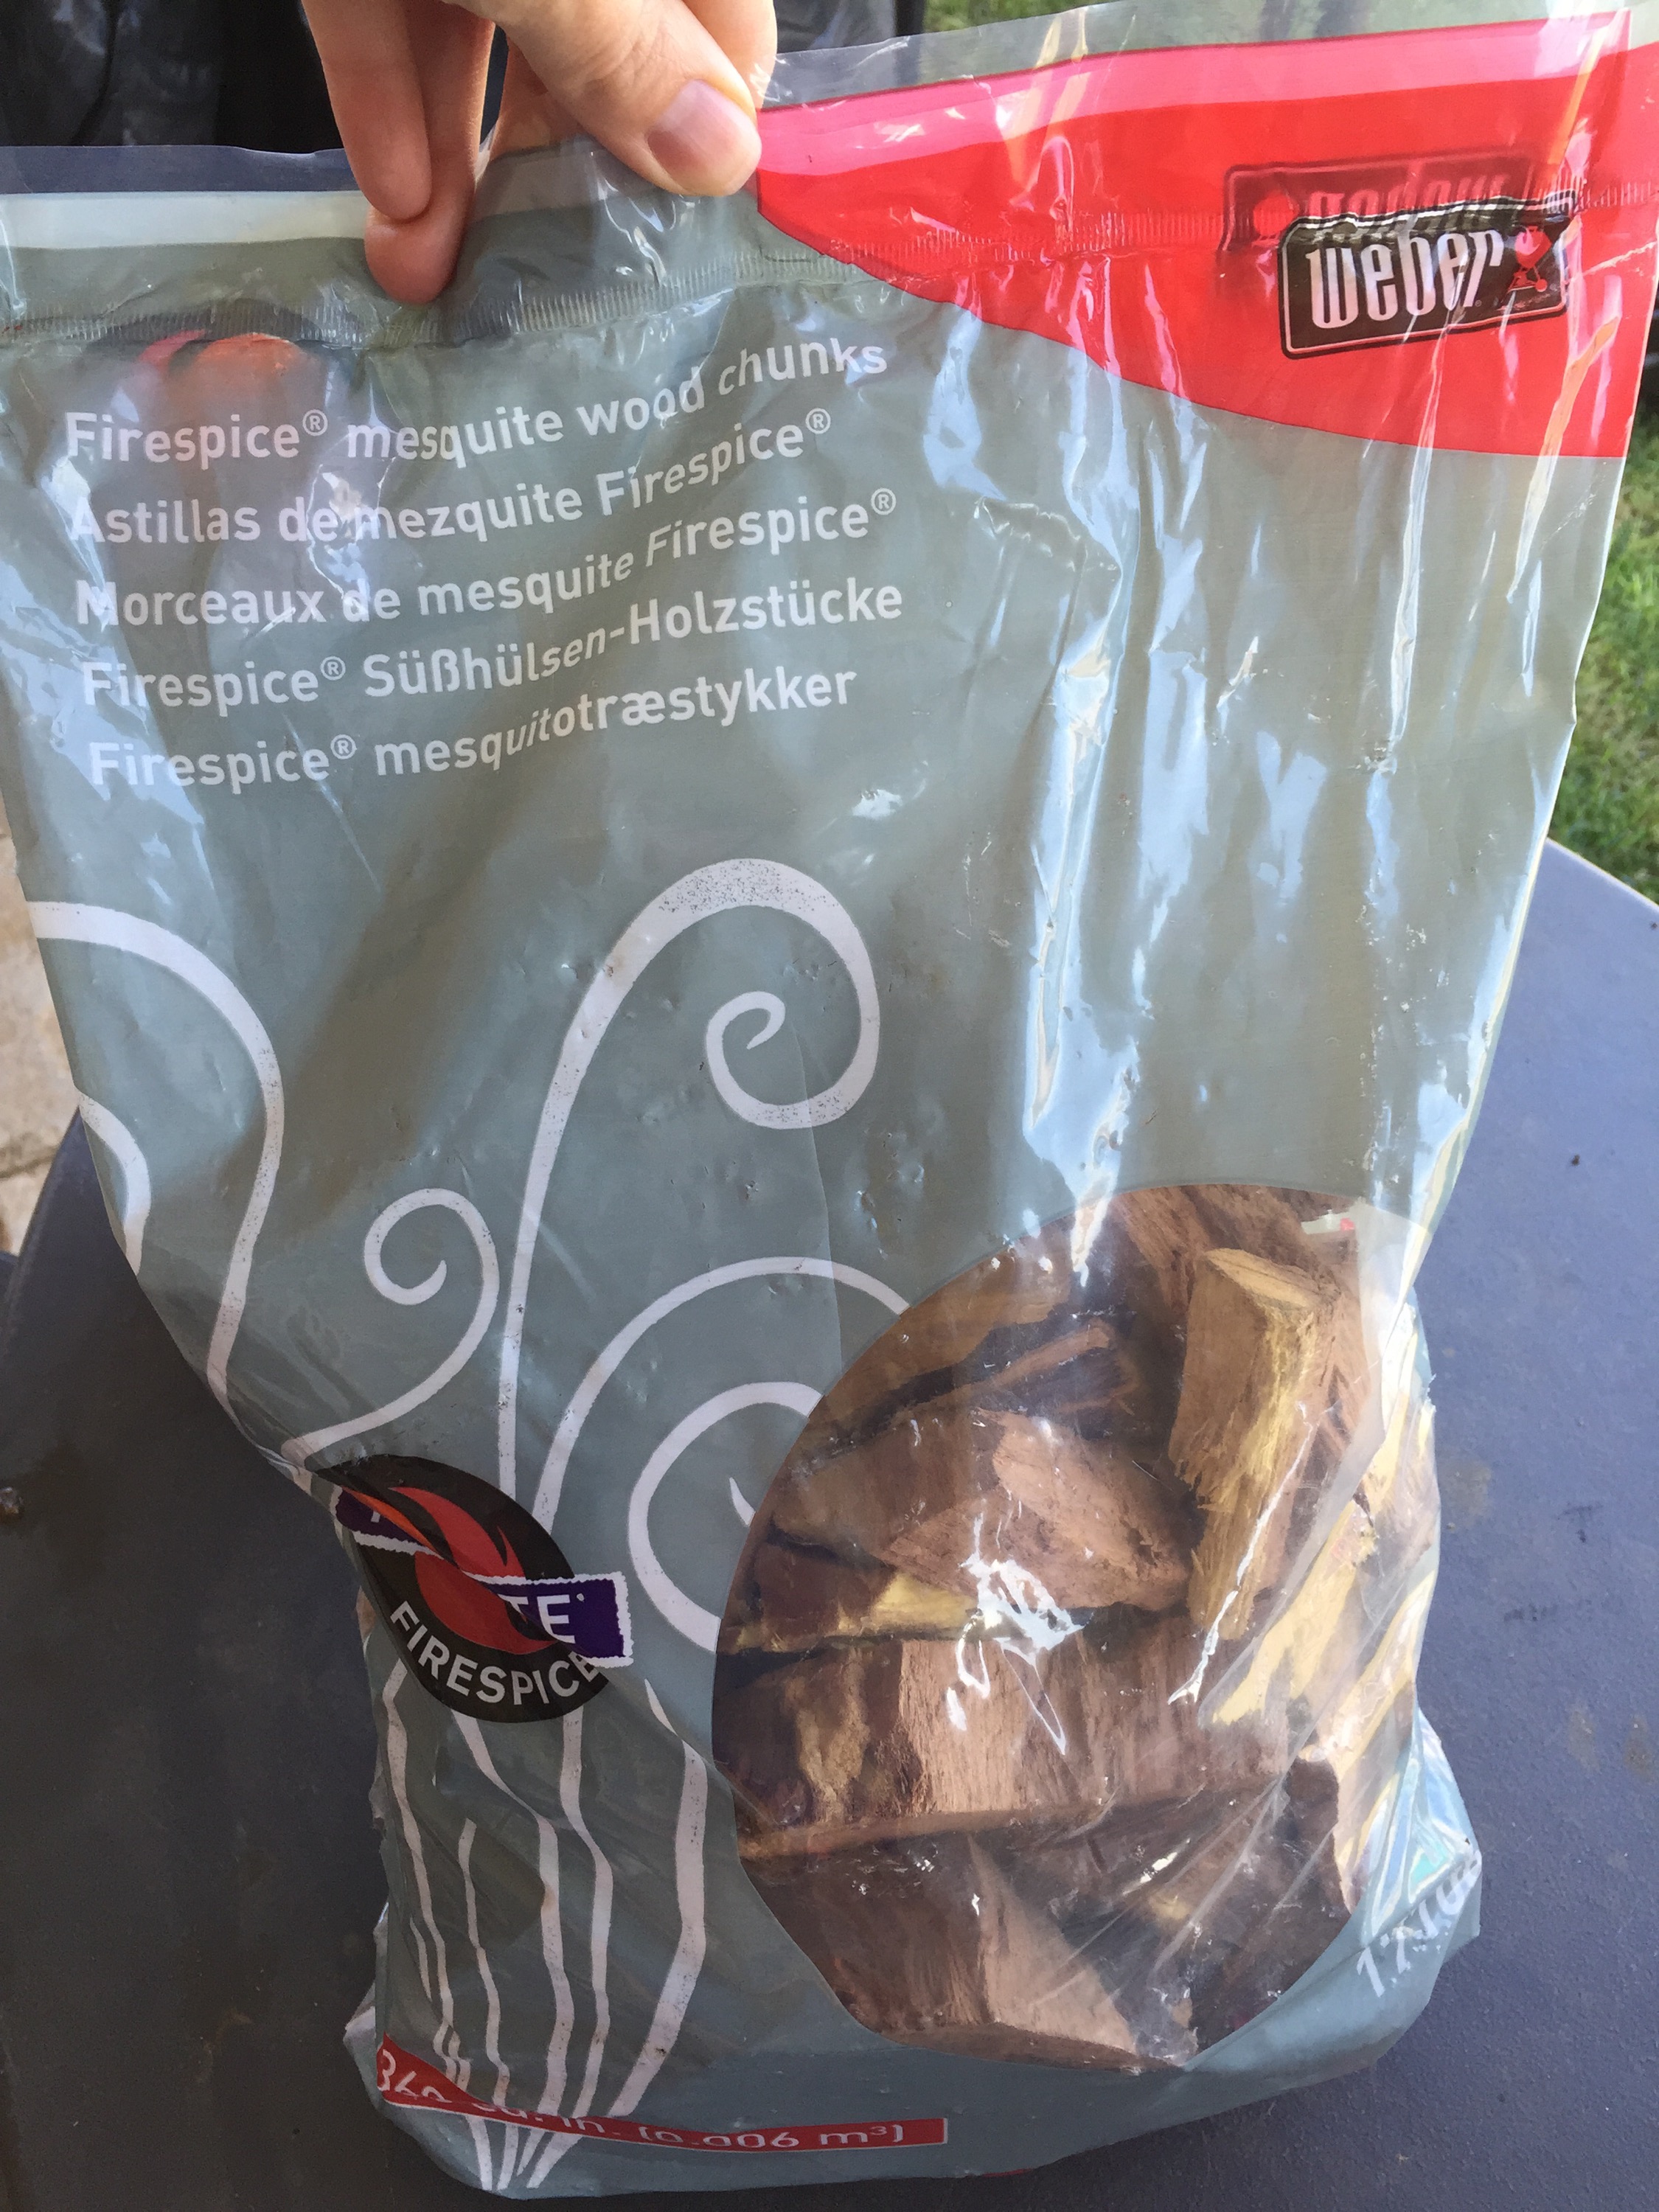
  • Optional but highly recommend  Weber 17103 Mesquite Wood Chips, 3-Pound

1. First get your firewood going in your smoker with your favorite wood. My dad loves to use Post Oak to smoke all his stuff with, but we don’t have any of that in Amarillo. I buy the cheapest firewood possible and flavor it with a few of those mesquite wood chips I was telling you about.


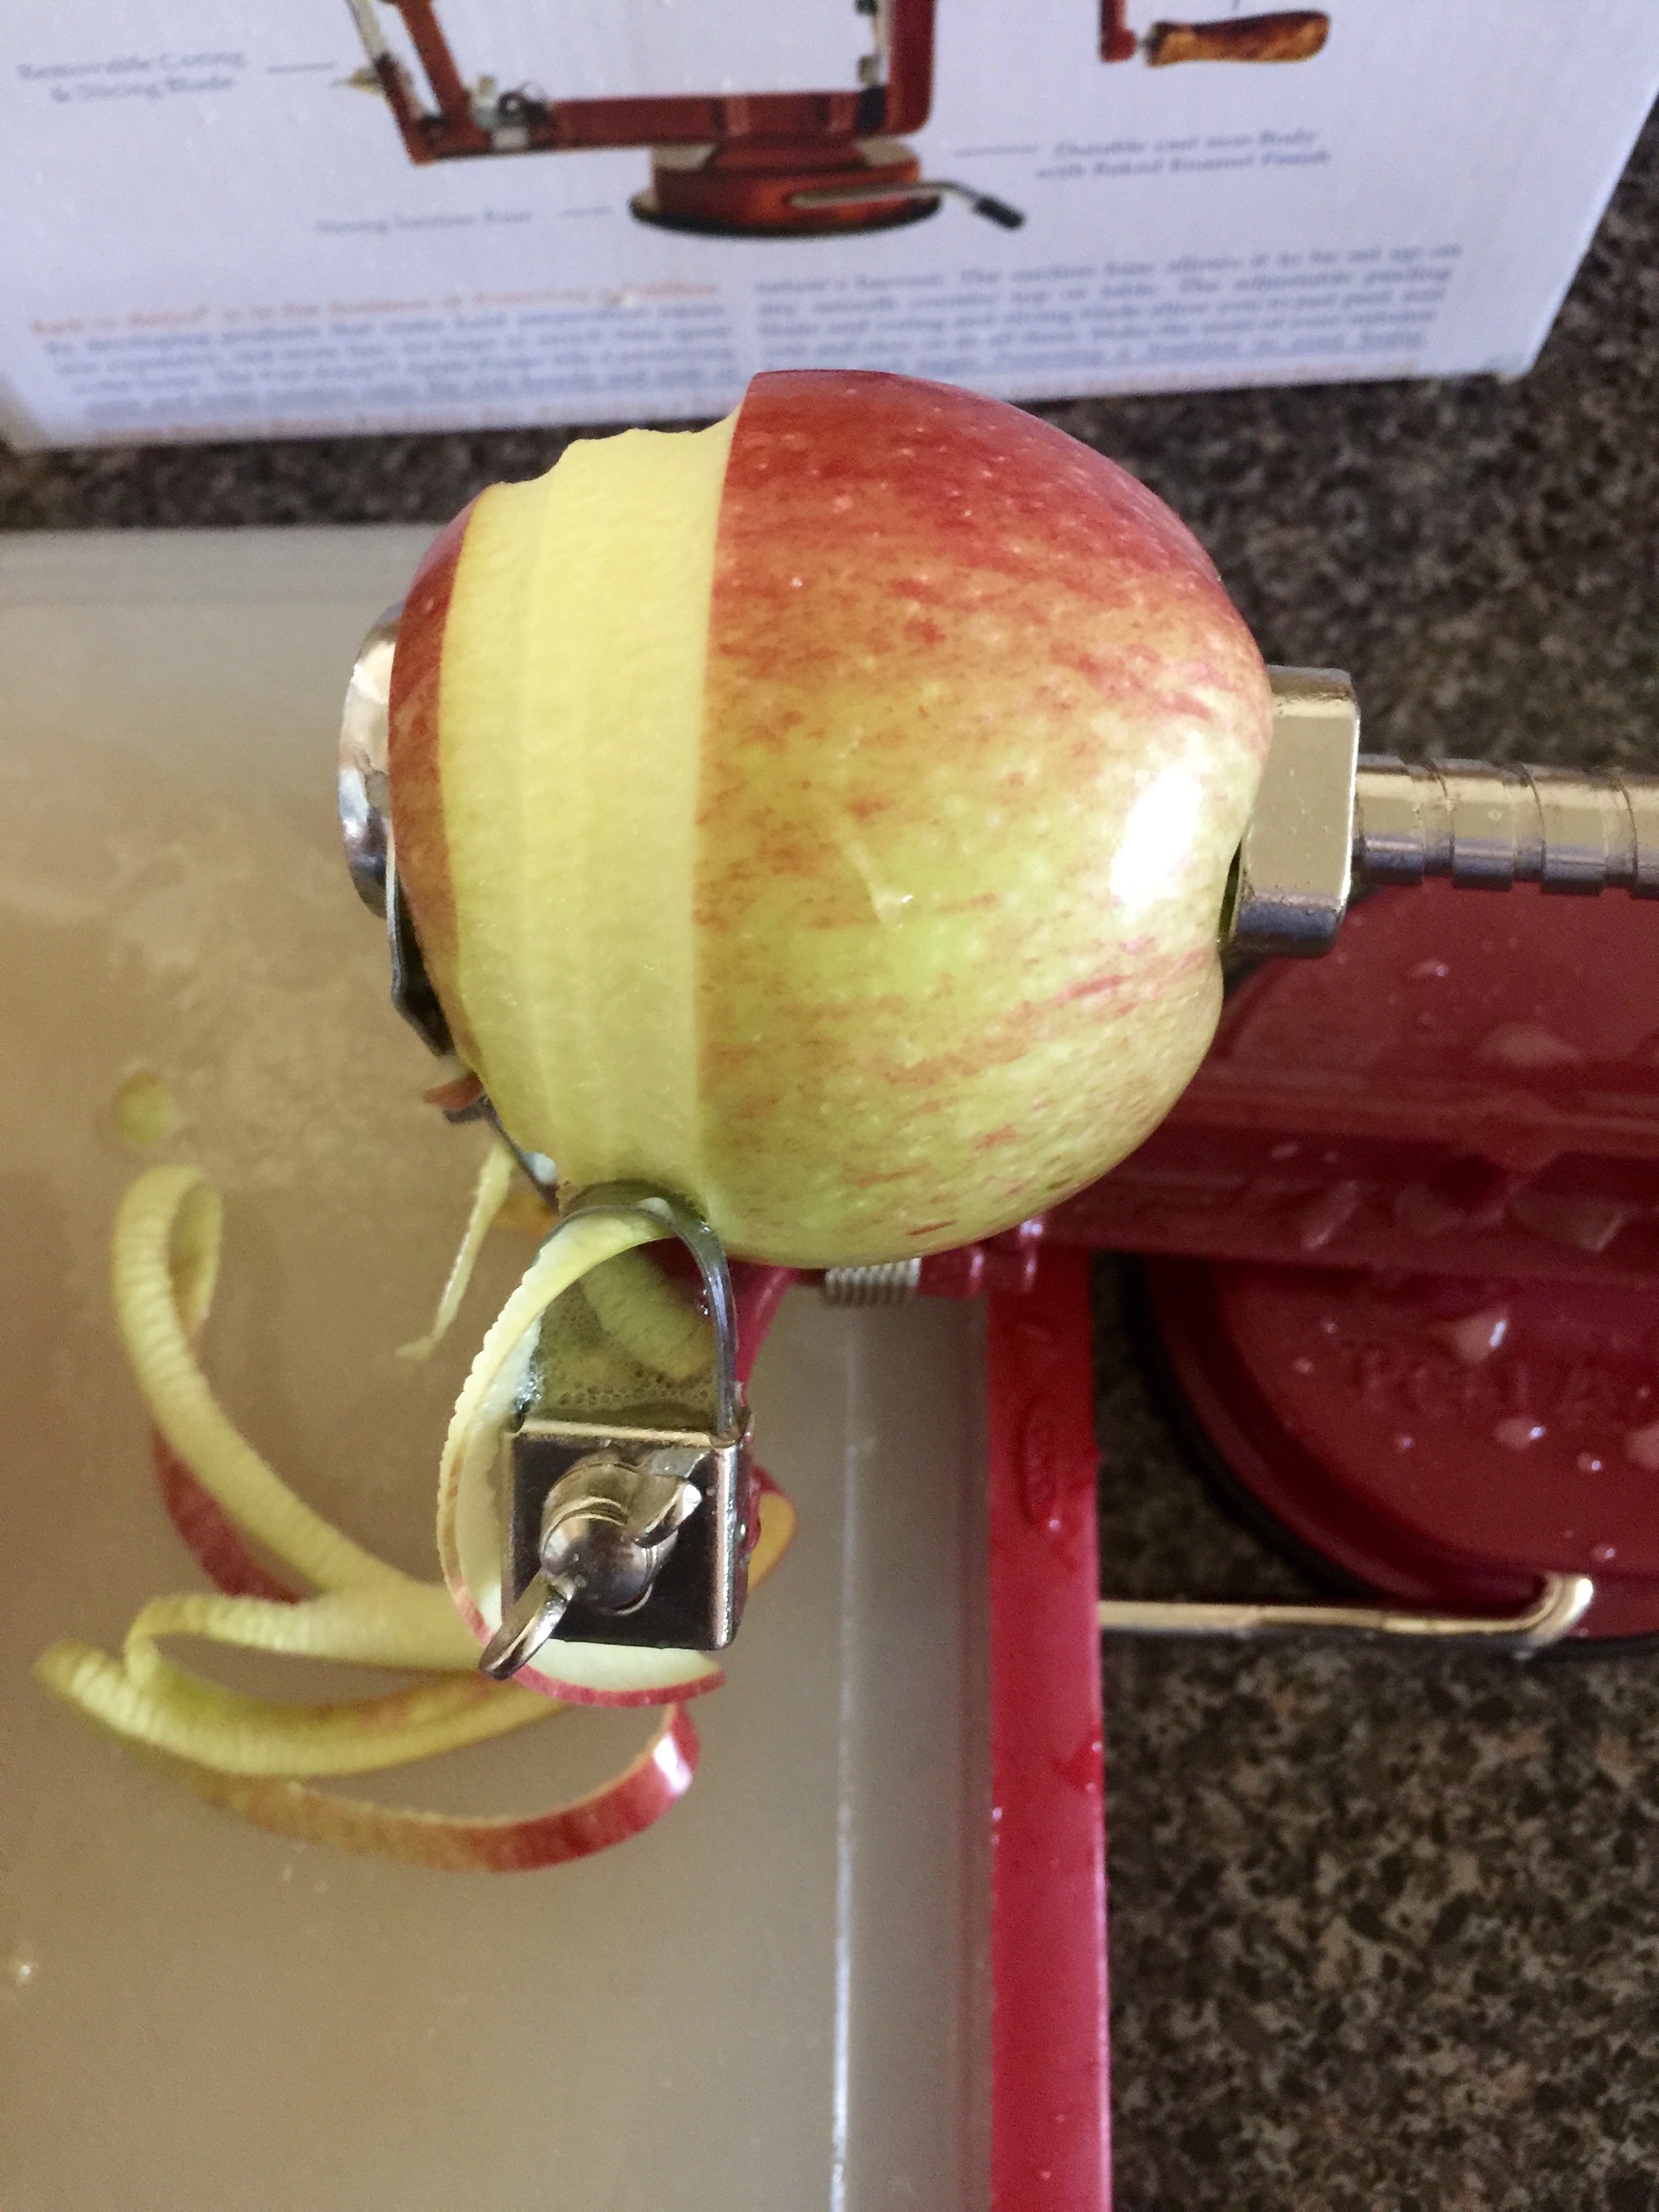
2. Let’s get your veggies going for the meatloaf mix. I know I said 1 large bell pepper earlier, but I have baby bell peppers growing in my garden so I grabbed enough that I thought would equal one large one.


3. Season veggies liberally with salt and pepper and drizzle with olive oil. After about 15 minutes of cooking them over medium heat, toss in your chopped garlic and cook another five minutes or so. Also, it was at this stage my veggies were crying out for butter, so I happily obliged and added about a tablespoon or so. Because, why not?


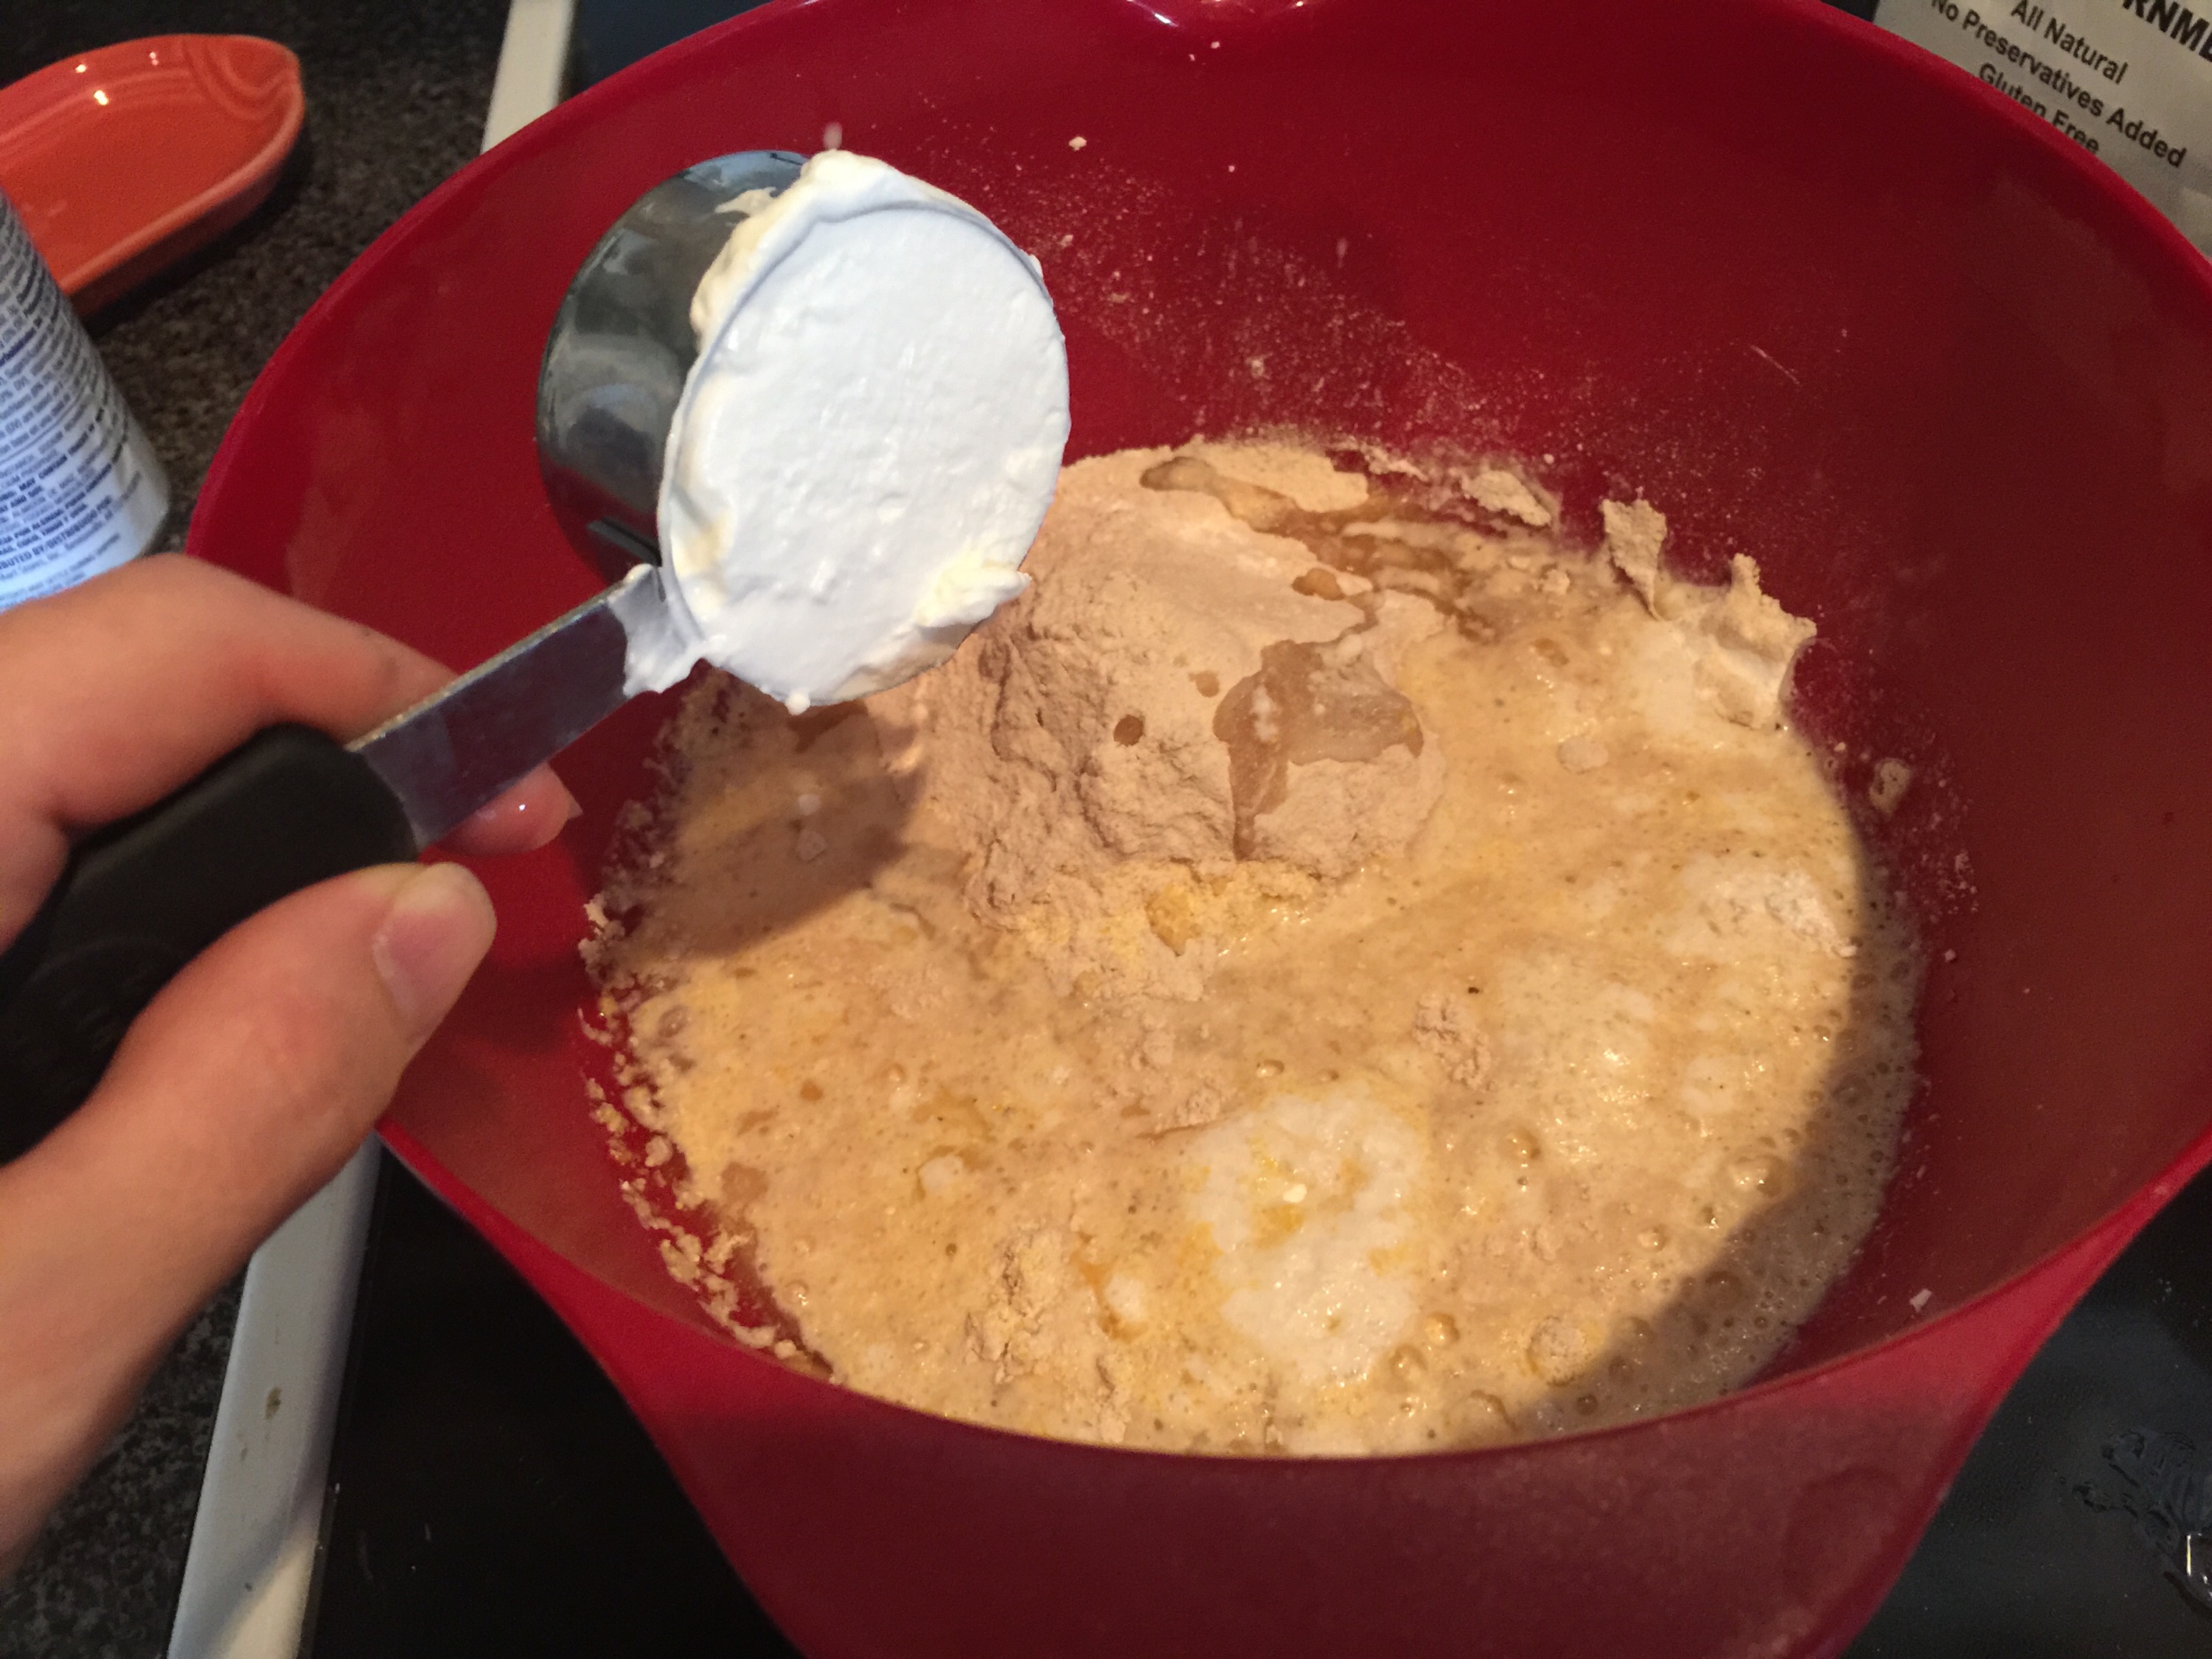
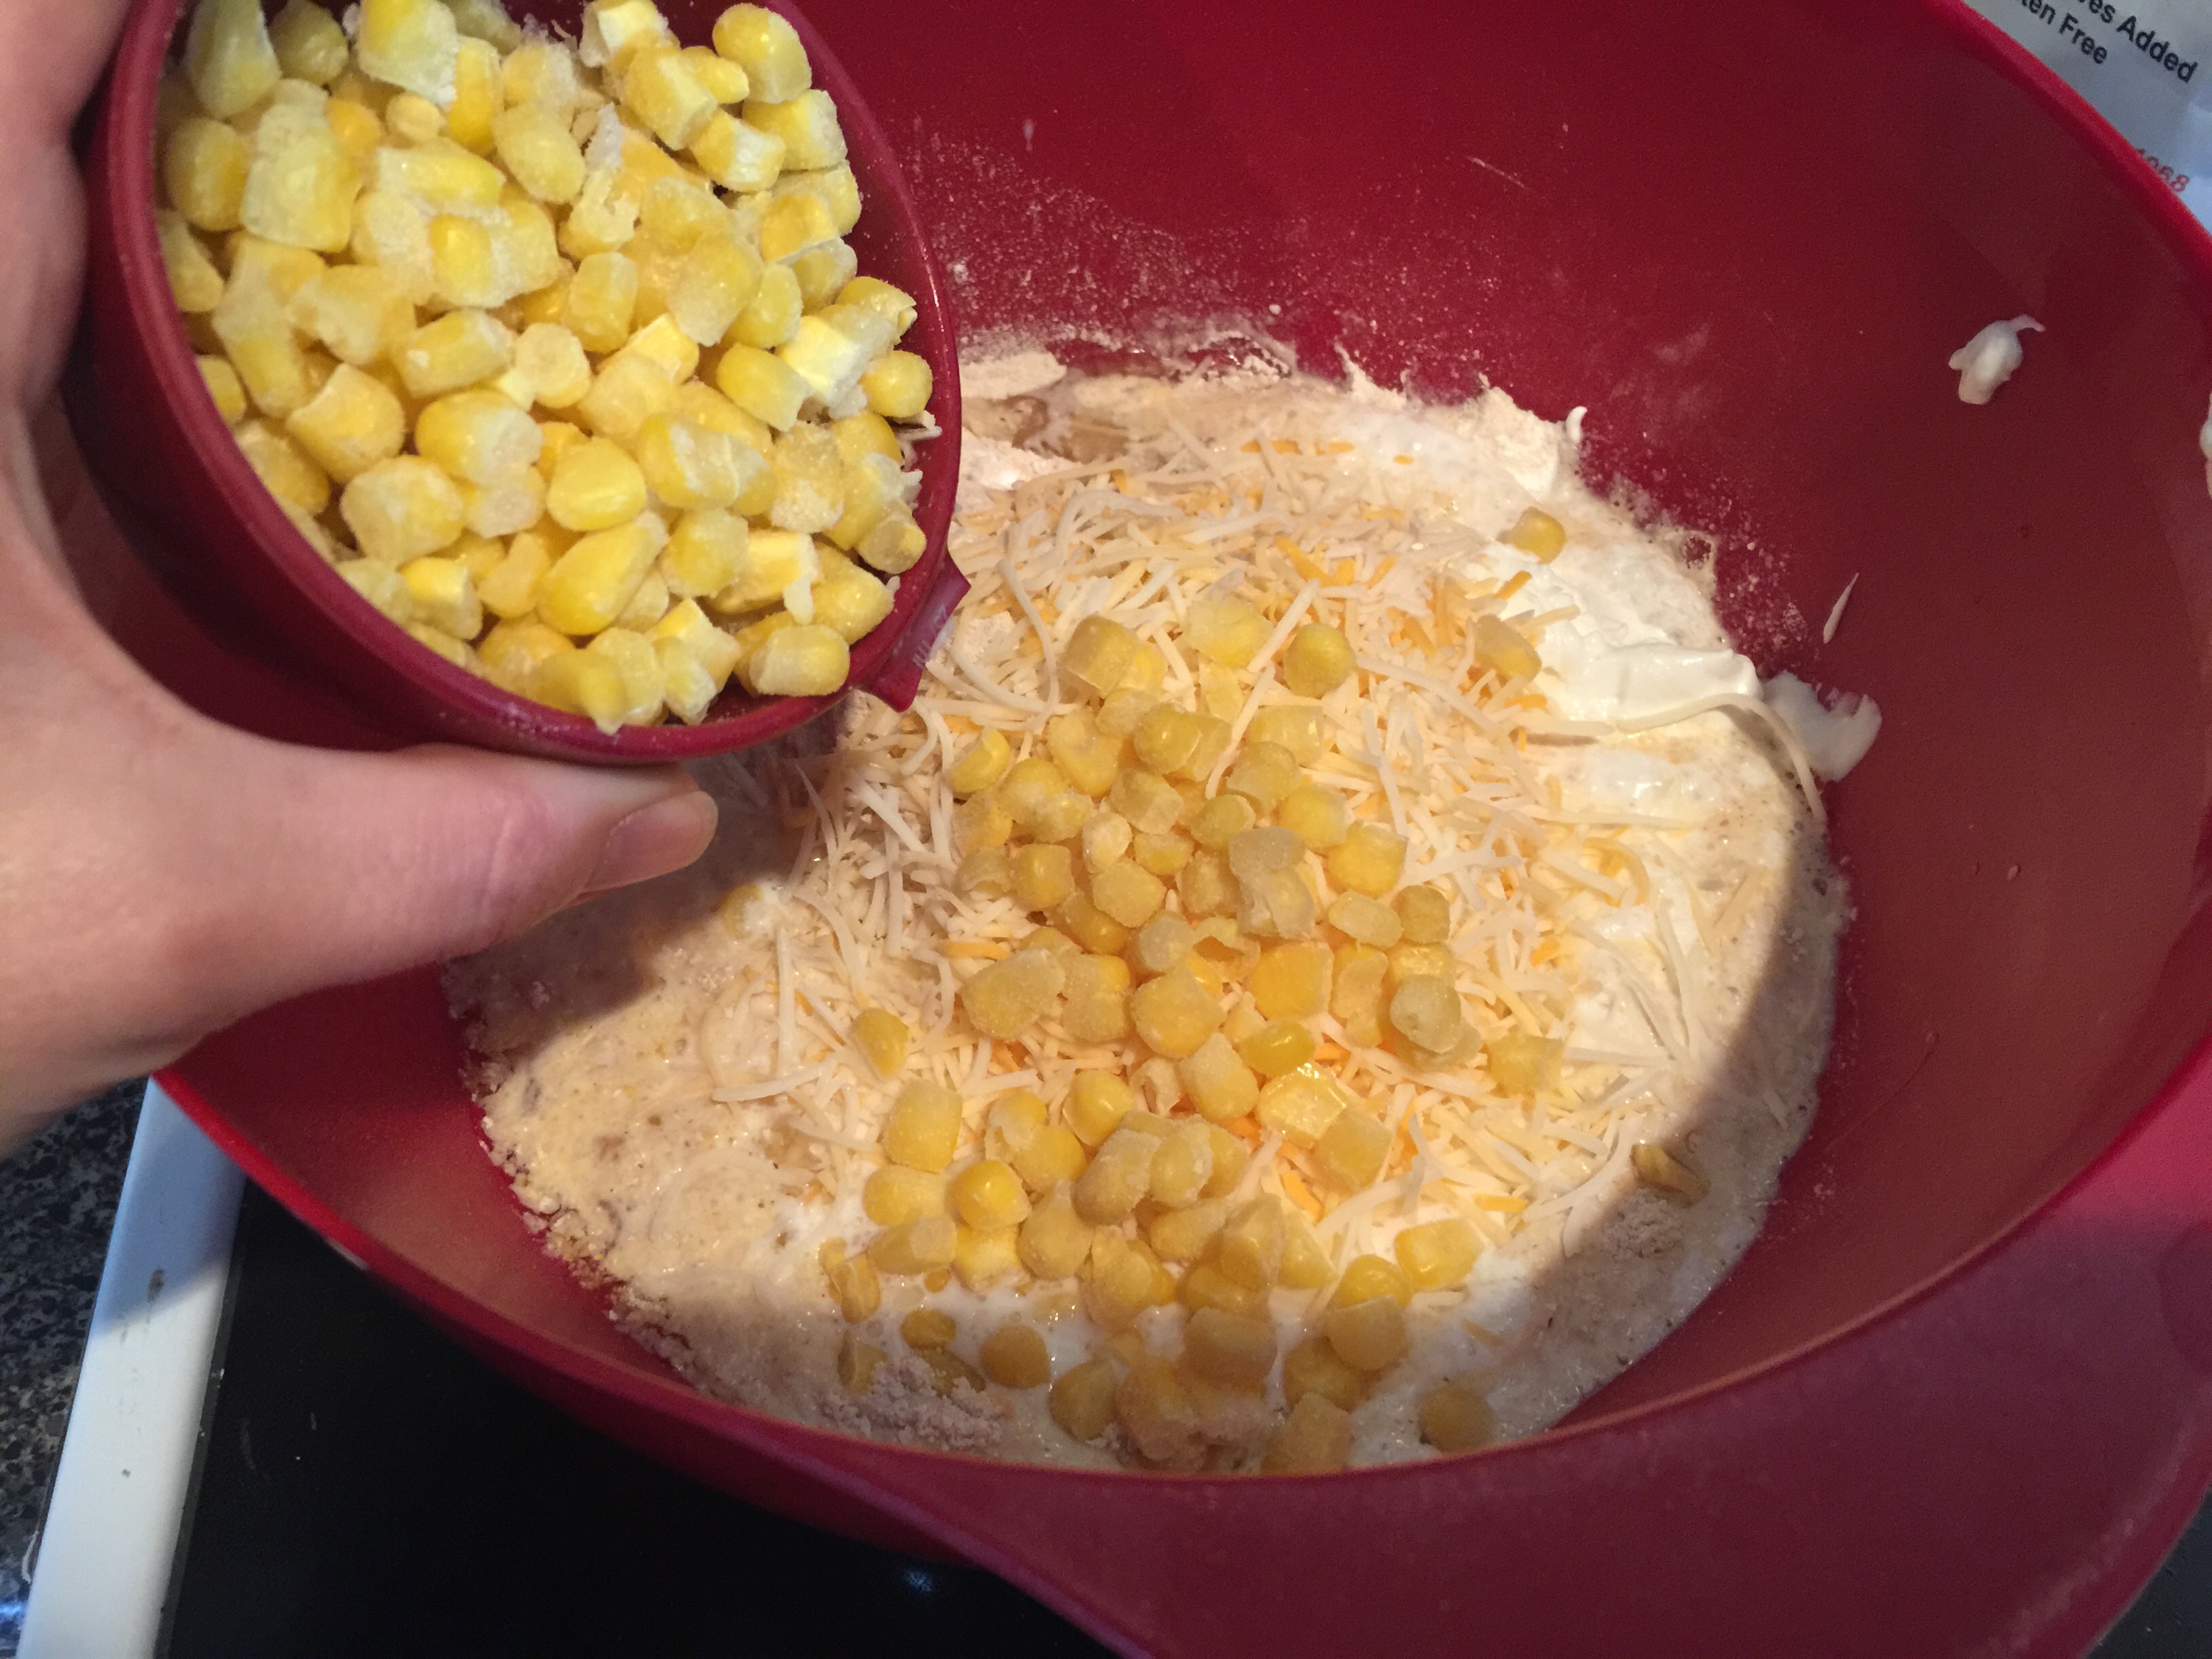
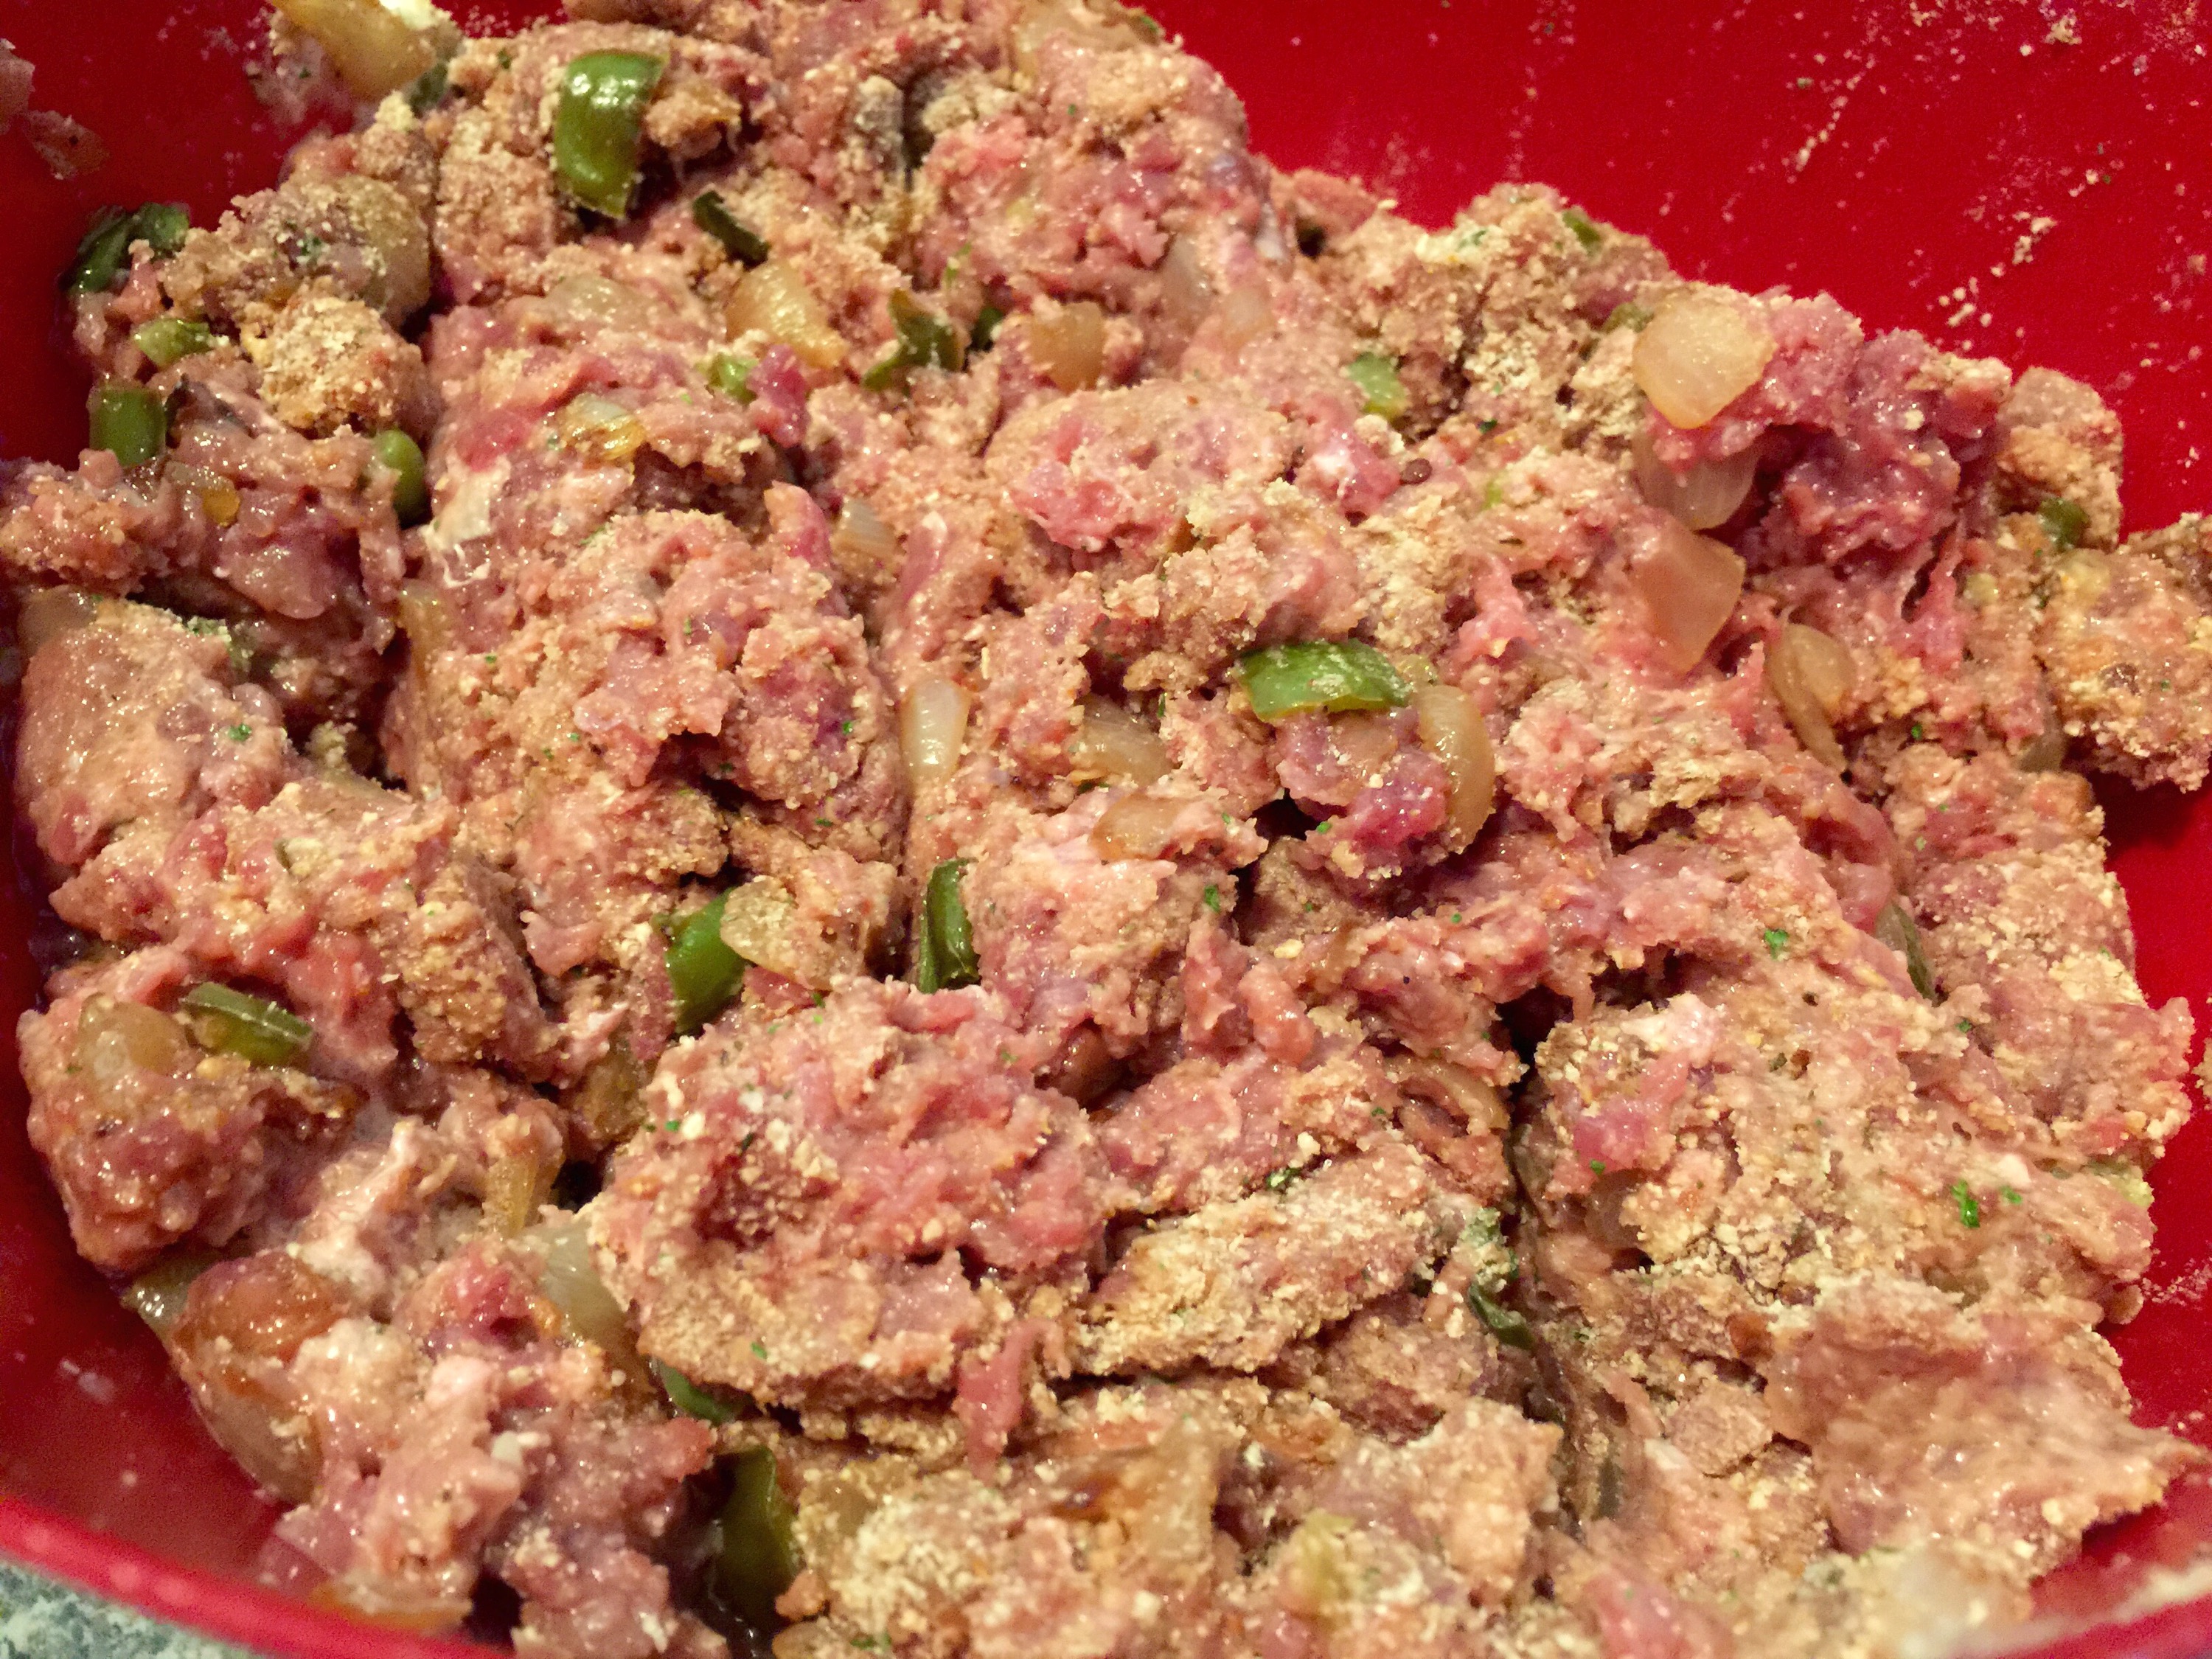
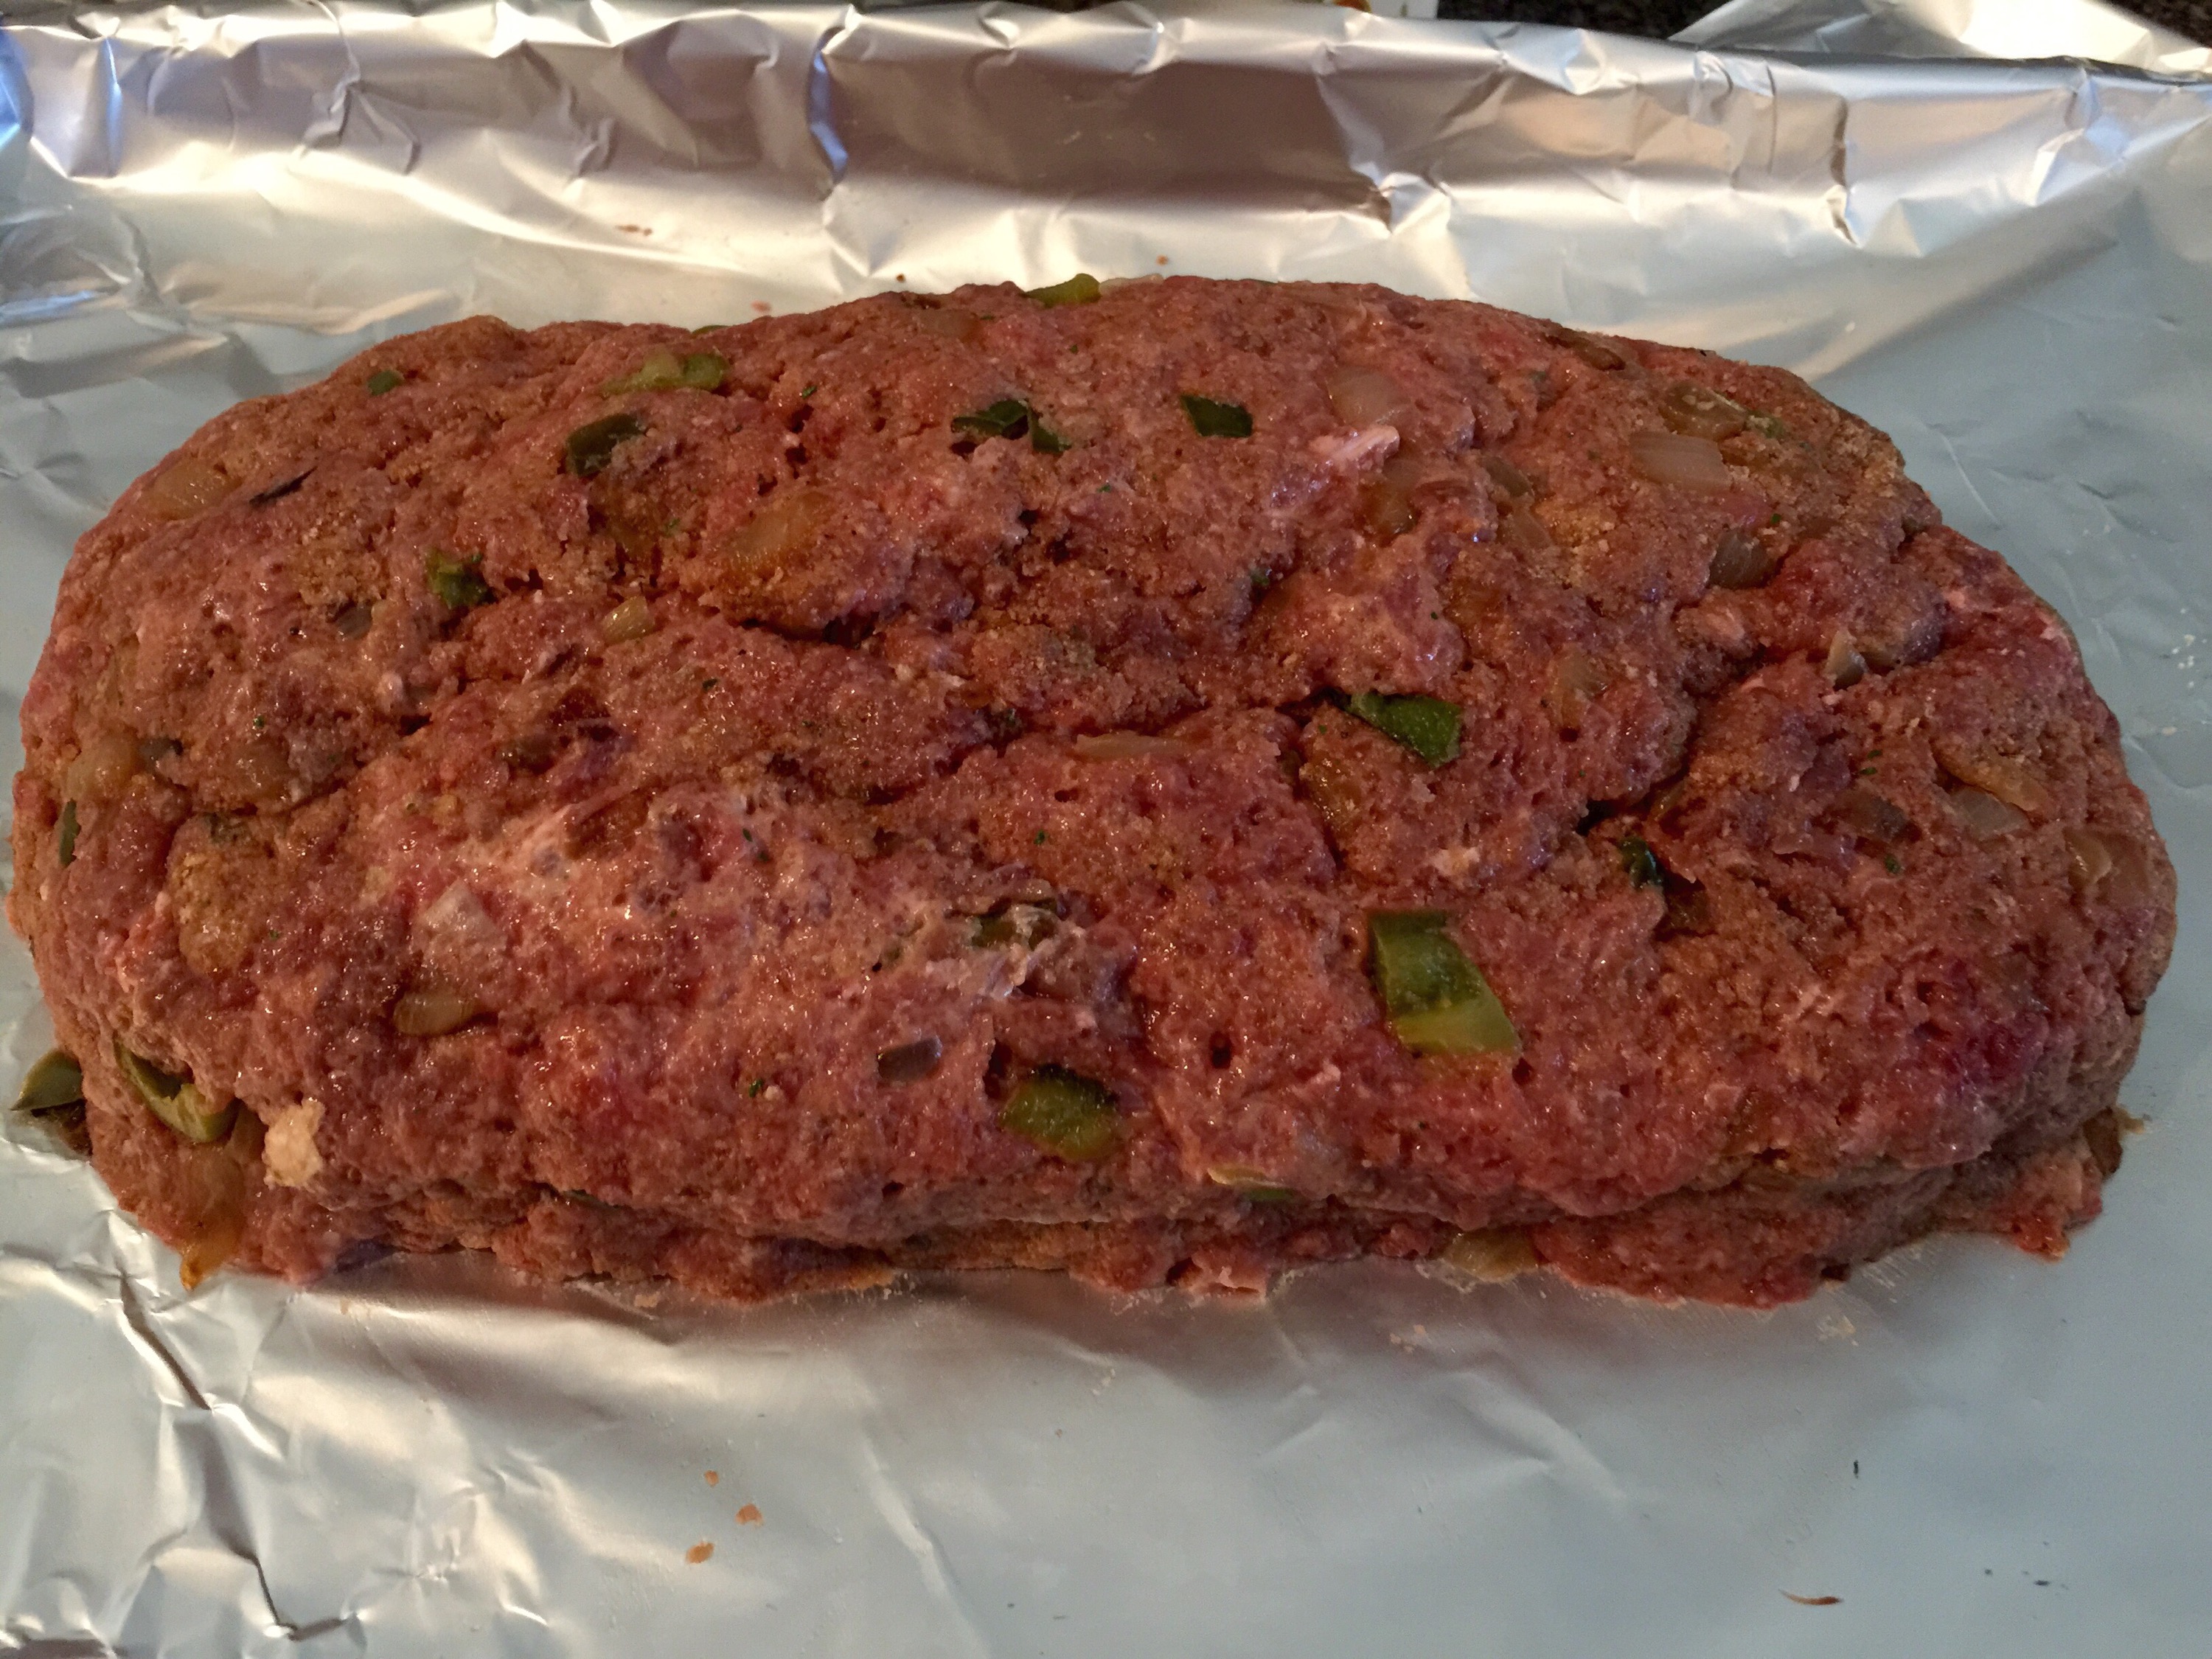
4. In a large mixing bowl have your ground meat ready to go seasoned liberally with salt and pepper.Then add your cooked veggies.

  
5. Now add a healthy squirt of ketchup and BBQ sauce, and a heaping spoonful of mayo. We are serious about BBQ sauce in our house. Also, if you live in the South you probably already know about Duke’s mayo. But if you don’t, I highly suggest you acquaint yourself. Yum!


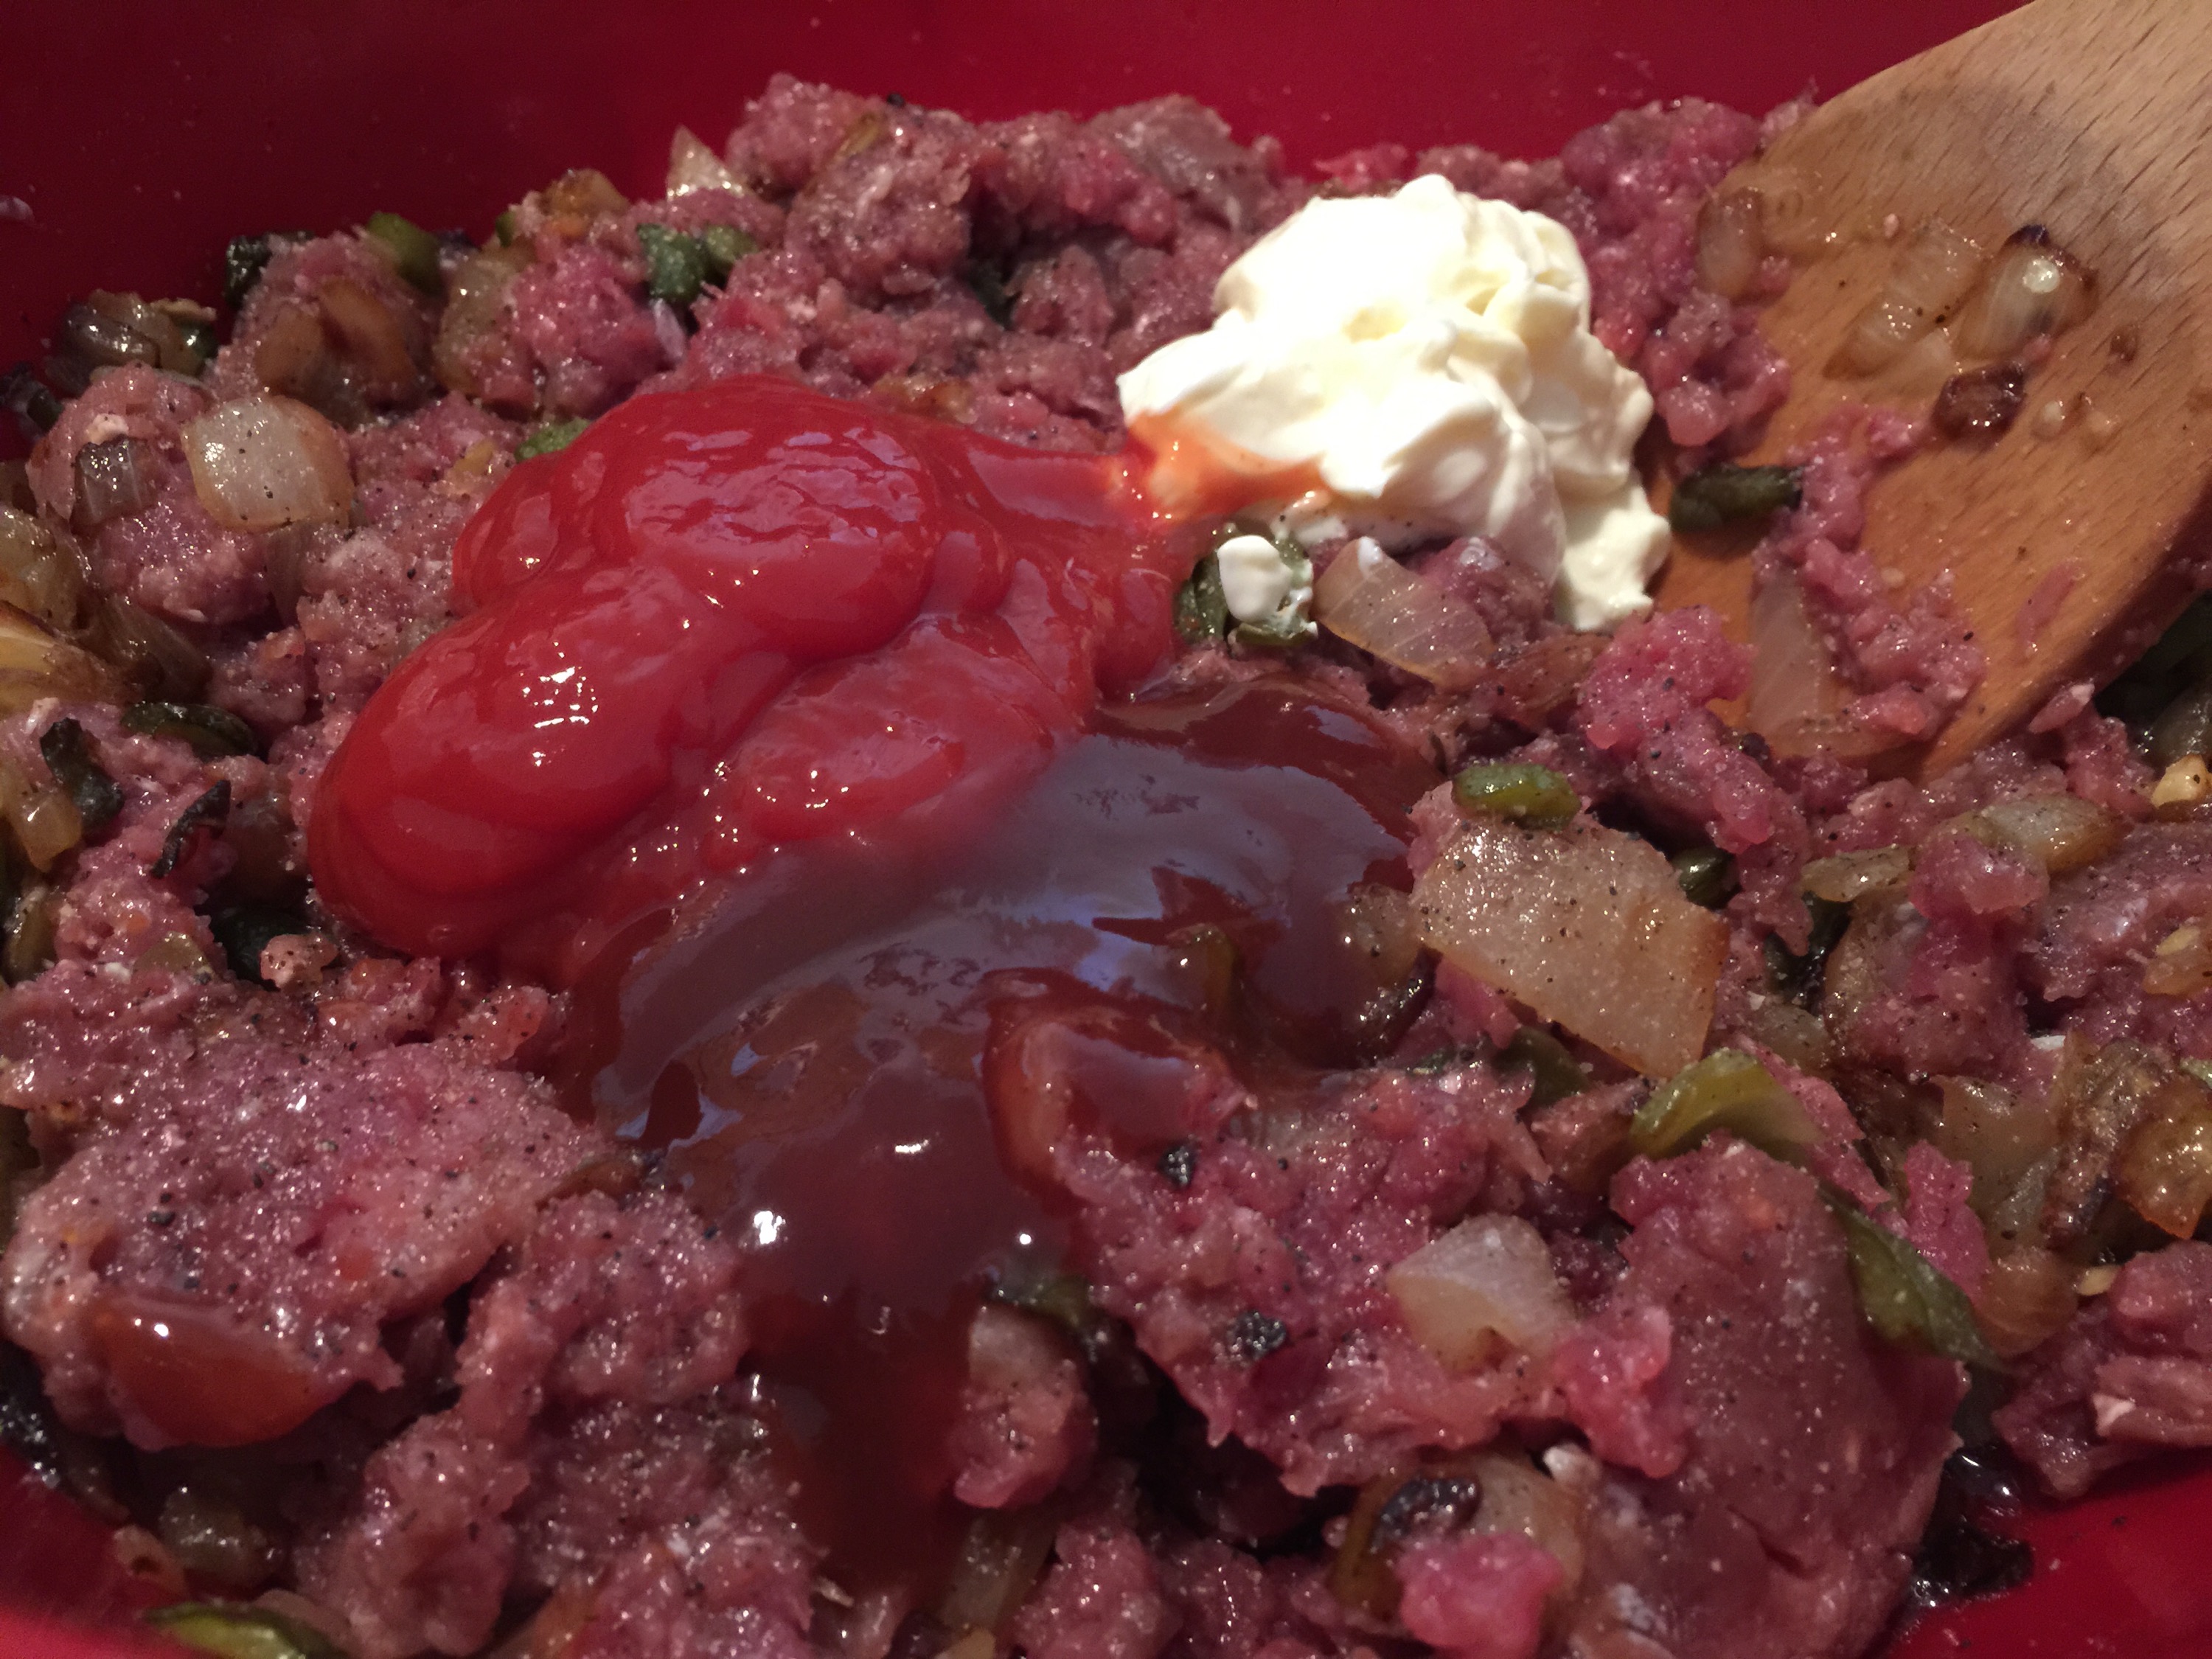
6. Now add your beaten egg and breadcrumbs to the bowl and mix it up with your hands so they’re all one big happy family!


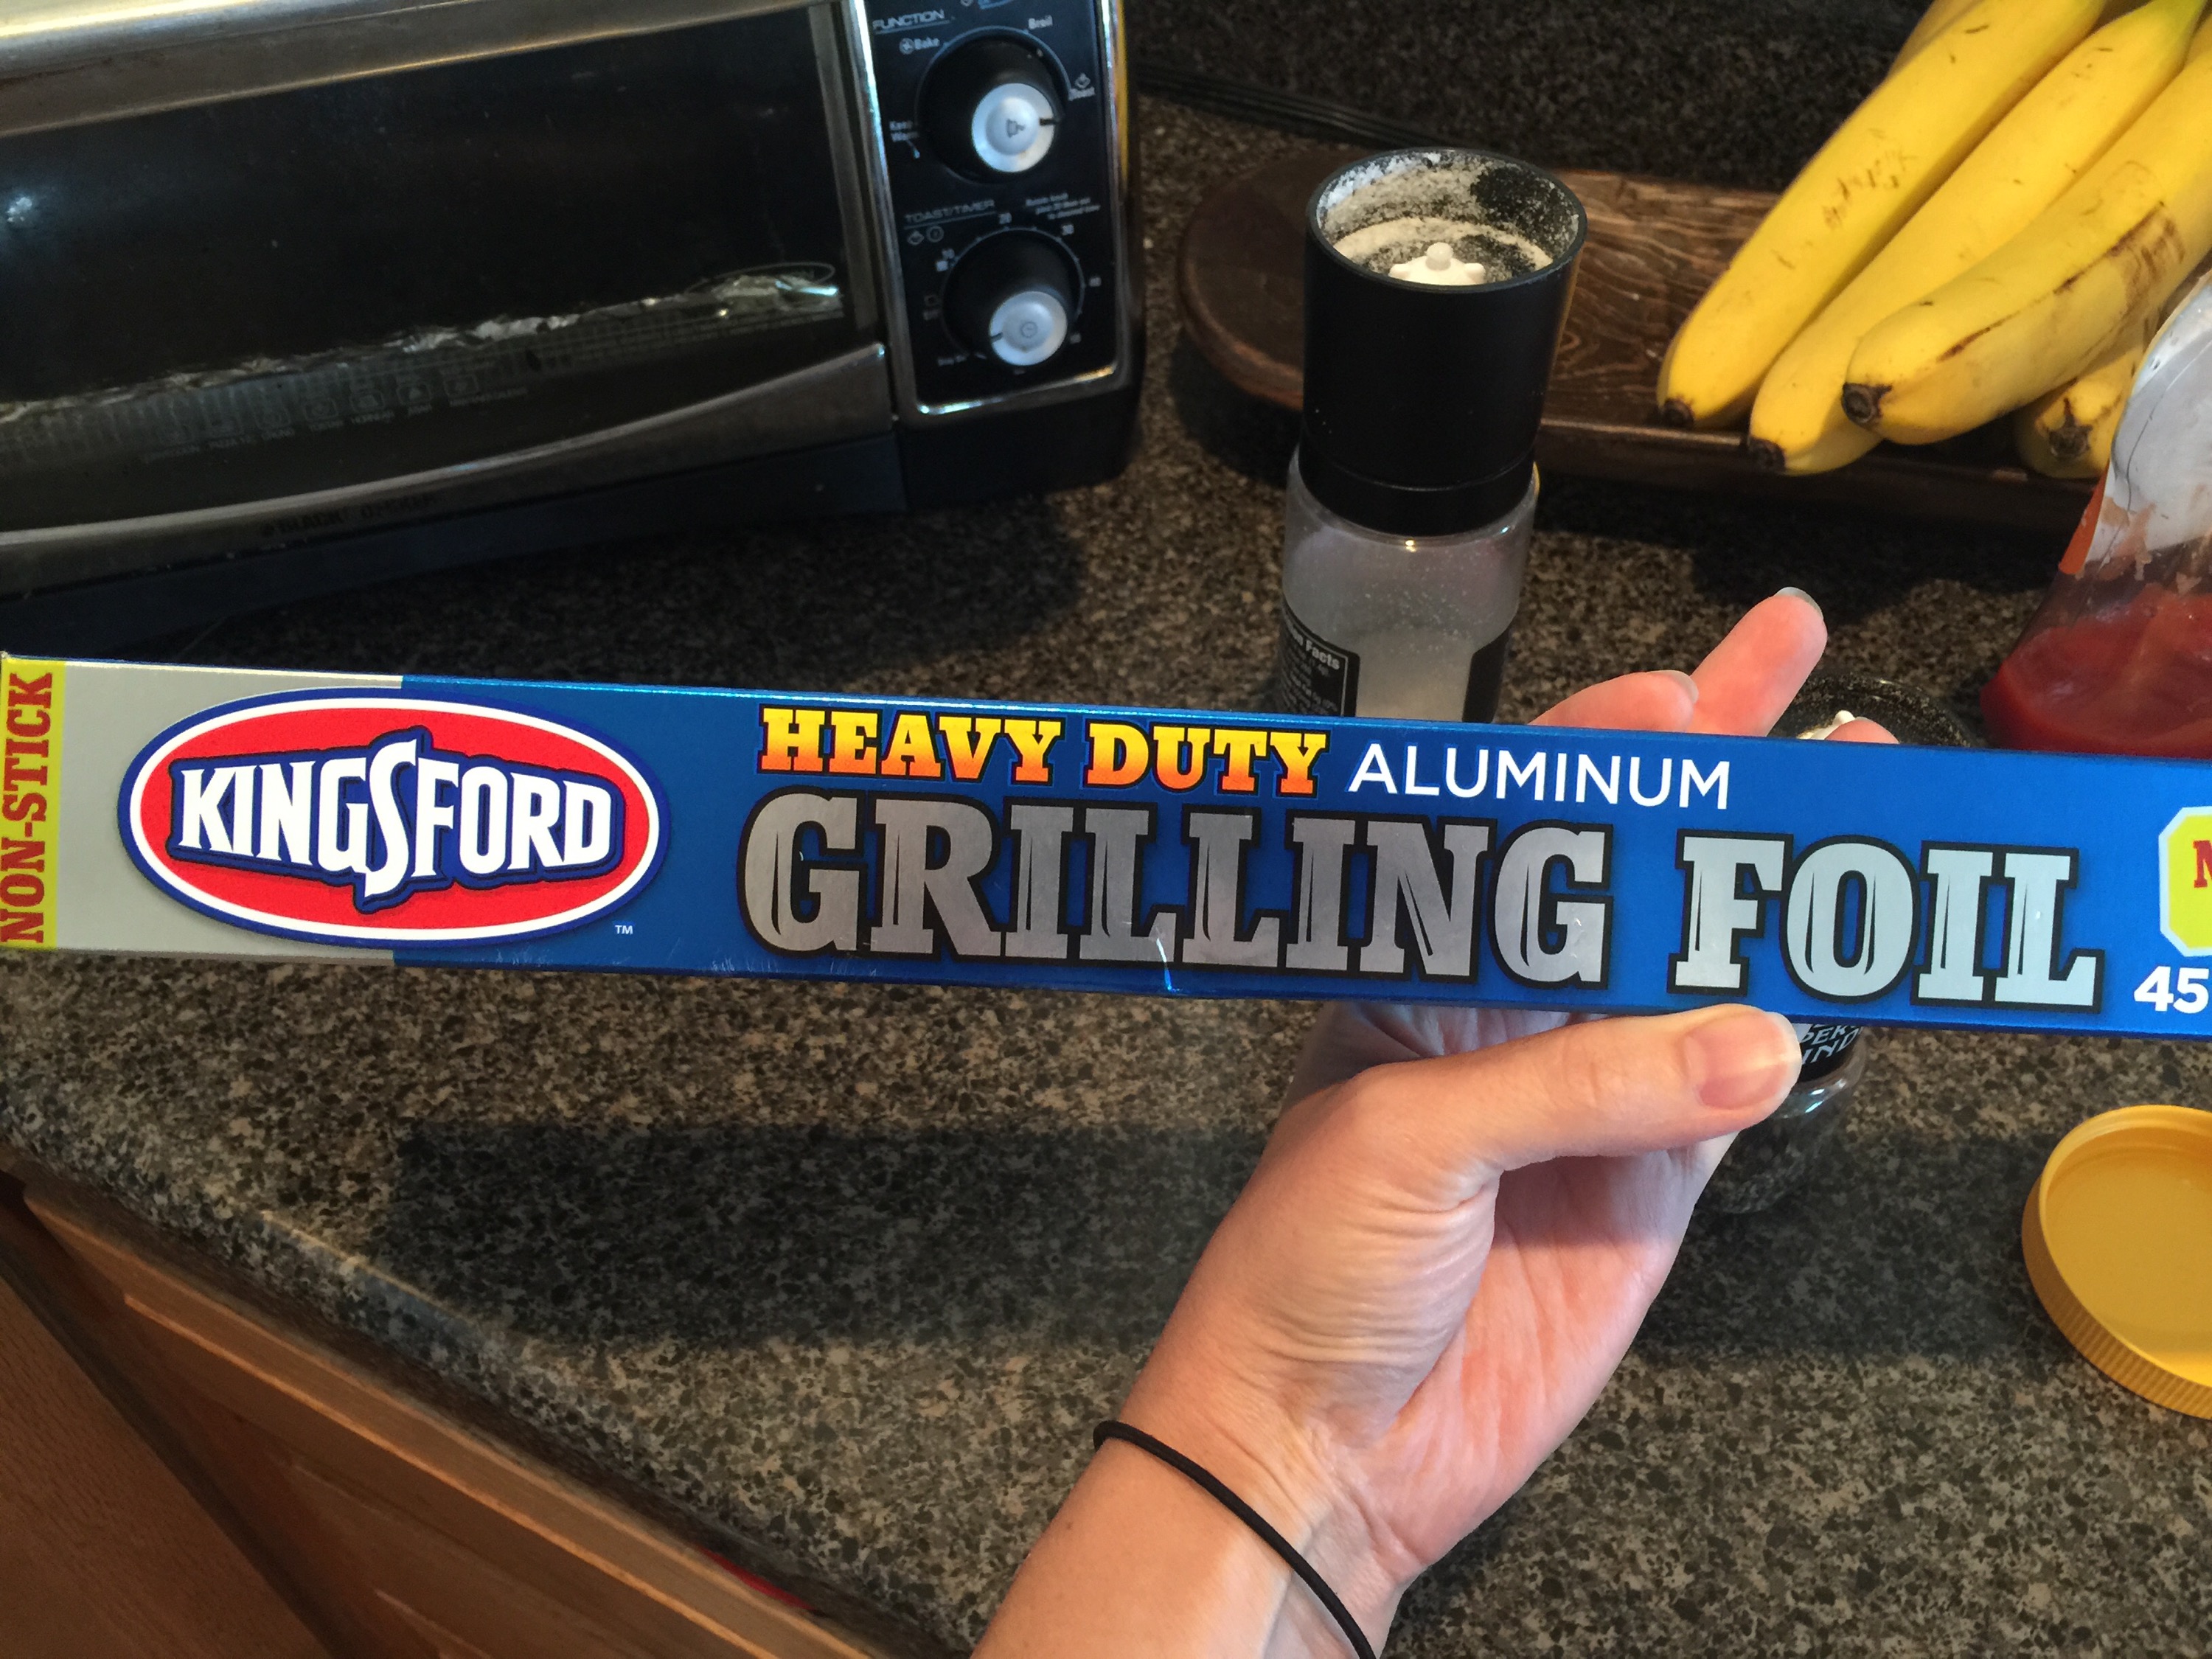
7. Now get out your foil and place the meatloaf on the dull side to prevent sticking. This was my first time using Kingsford Hd Non-Stick Foil, 45 sq. ft. and I loved it! Absolutely no sticking whatsoever! 


8. If your smoker temp is around 220, wrap your meatloaf up and get to smokin’! Also, crack open a beverage because it’s beer thirty!


9. Like I said earlier, my meatloaf was done at 2 1/2 hours, so I didn’t glaze it here. Be sure you have an instant read thermometer so you can get the temperature right on the meatloaf. The USDA recommends a temp of 160, but also keep in mind it will continue to cook once you pull it off, so you don’t want to let it go much higher than that. Weber 6492 Original Instant-Read Thermometer <— Click here if you don’t have one and need one.


See how the temperature keeps rising even after its off the heat?

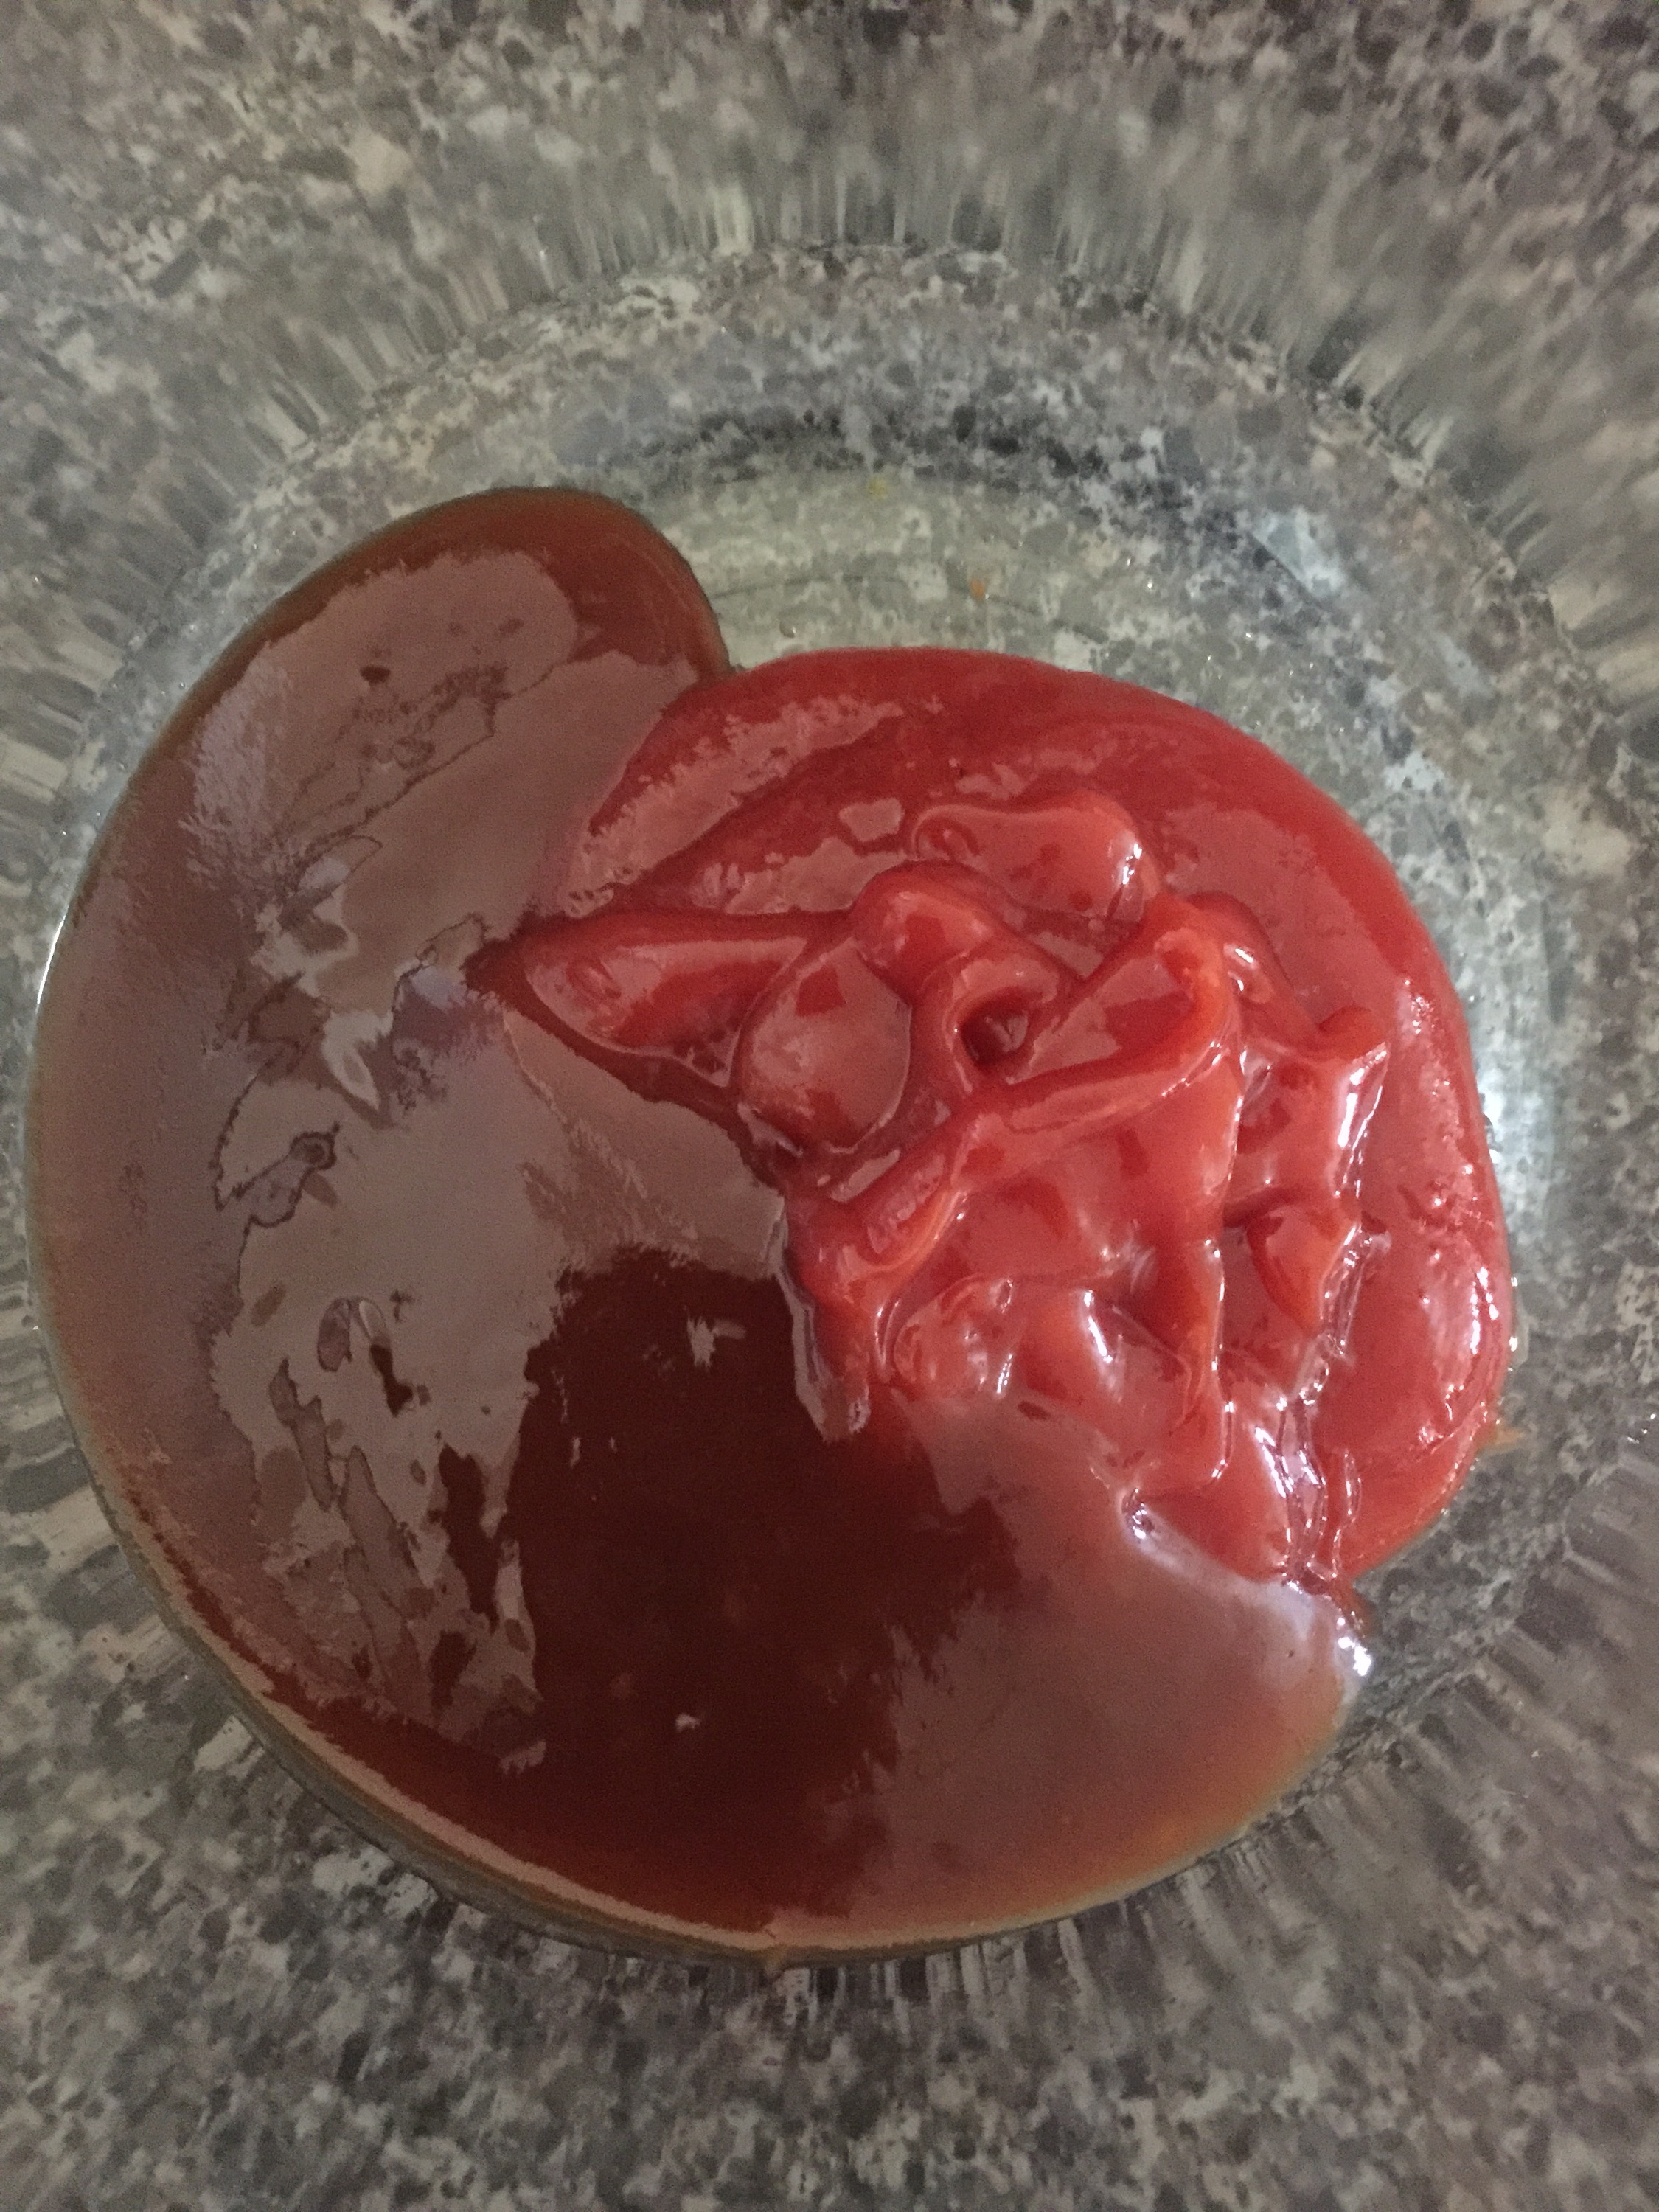
10. For the glaze, I do 60% ketchup and 40% BBQ sauce. Don’t get out your measuring cups, just eyeball it and adjust it to how you like it. You can change it up by adding worchestishire or brown sugar or anything else you like. But I’m just a simple gal that loves a simple glaze. 😜 

  
 11. Dump and smear it all over your meatloaf and then place it under your broiler for a few minutes.

  
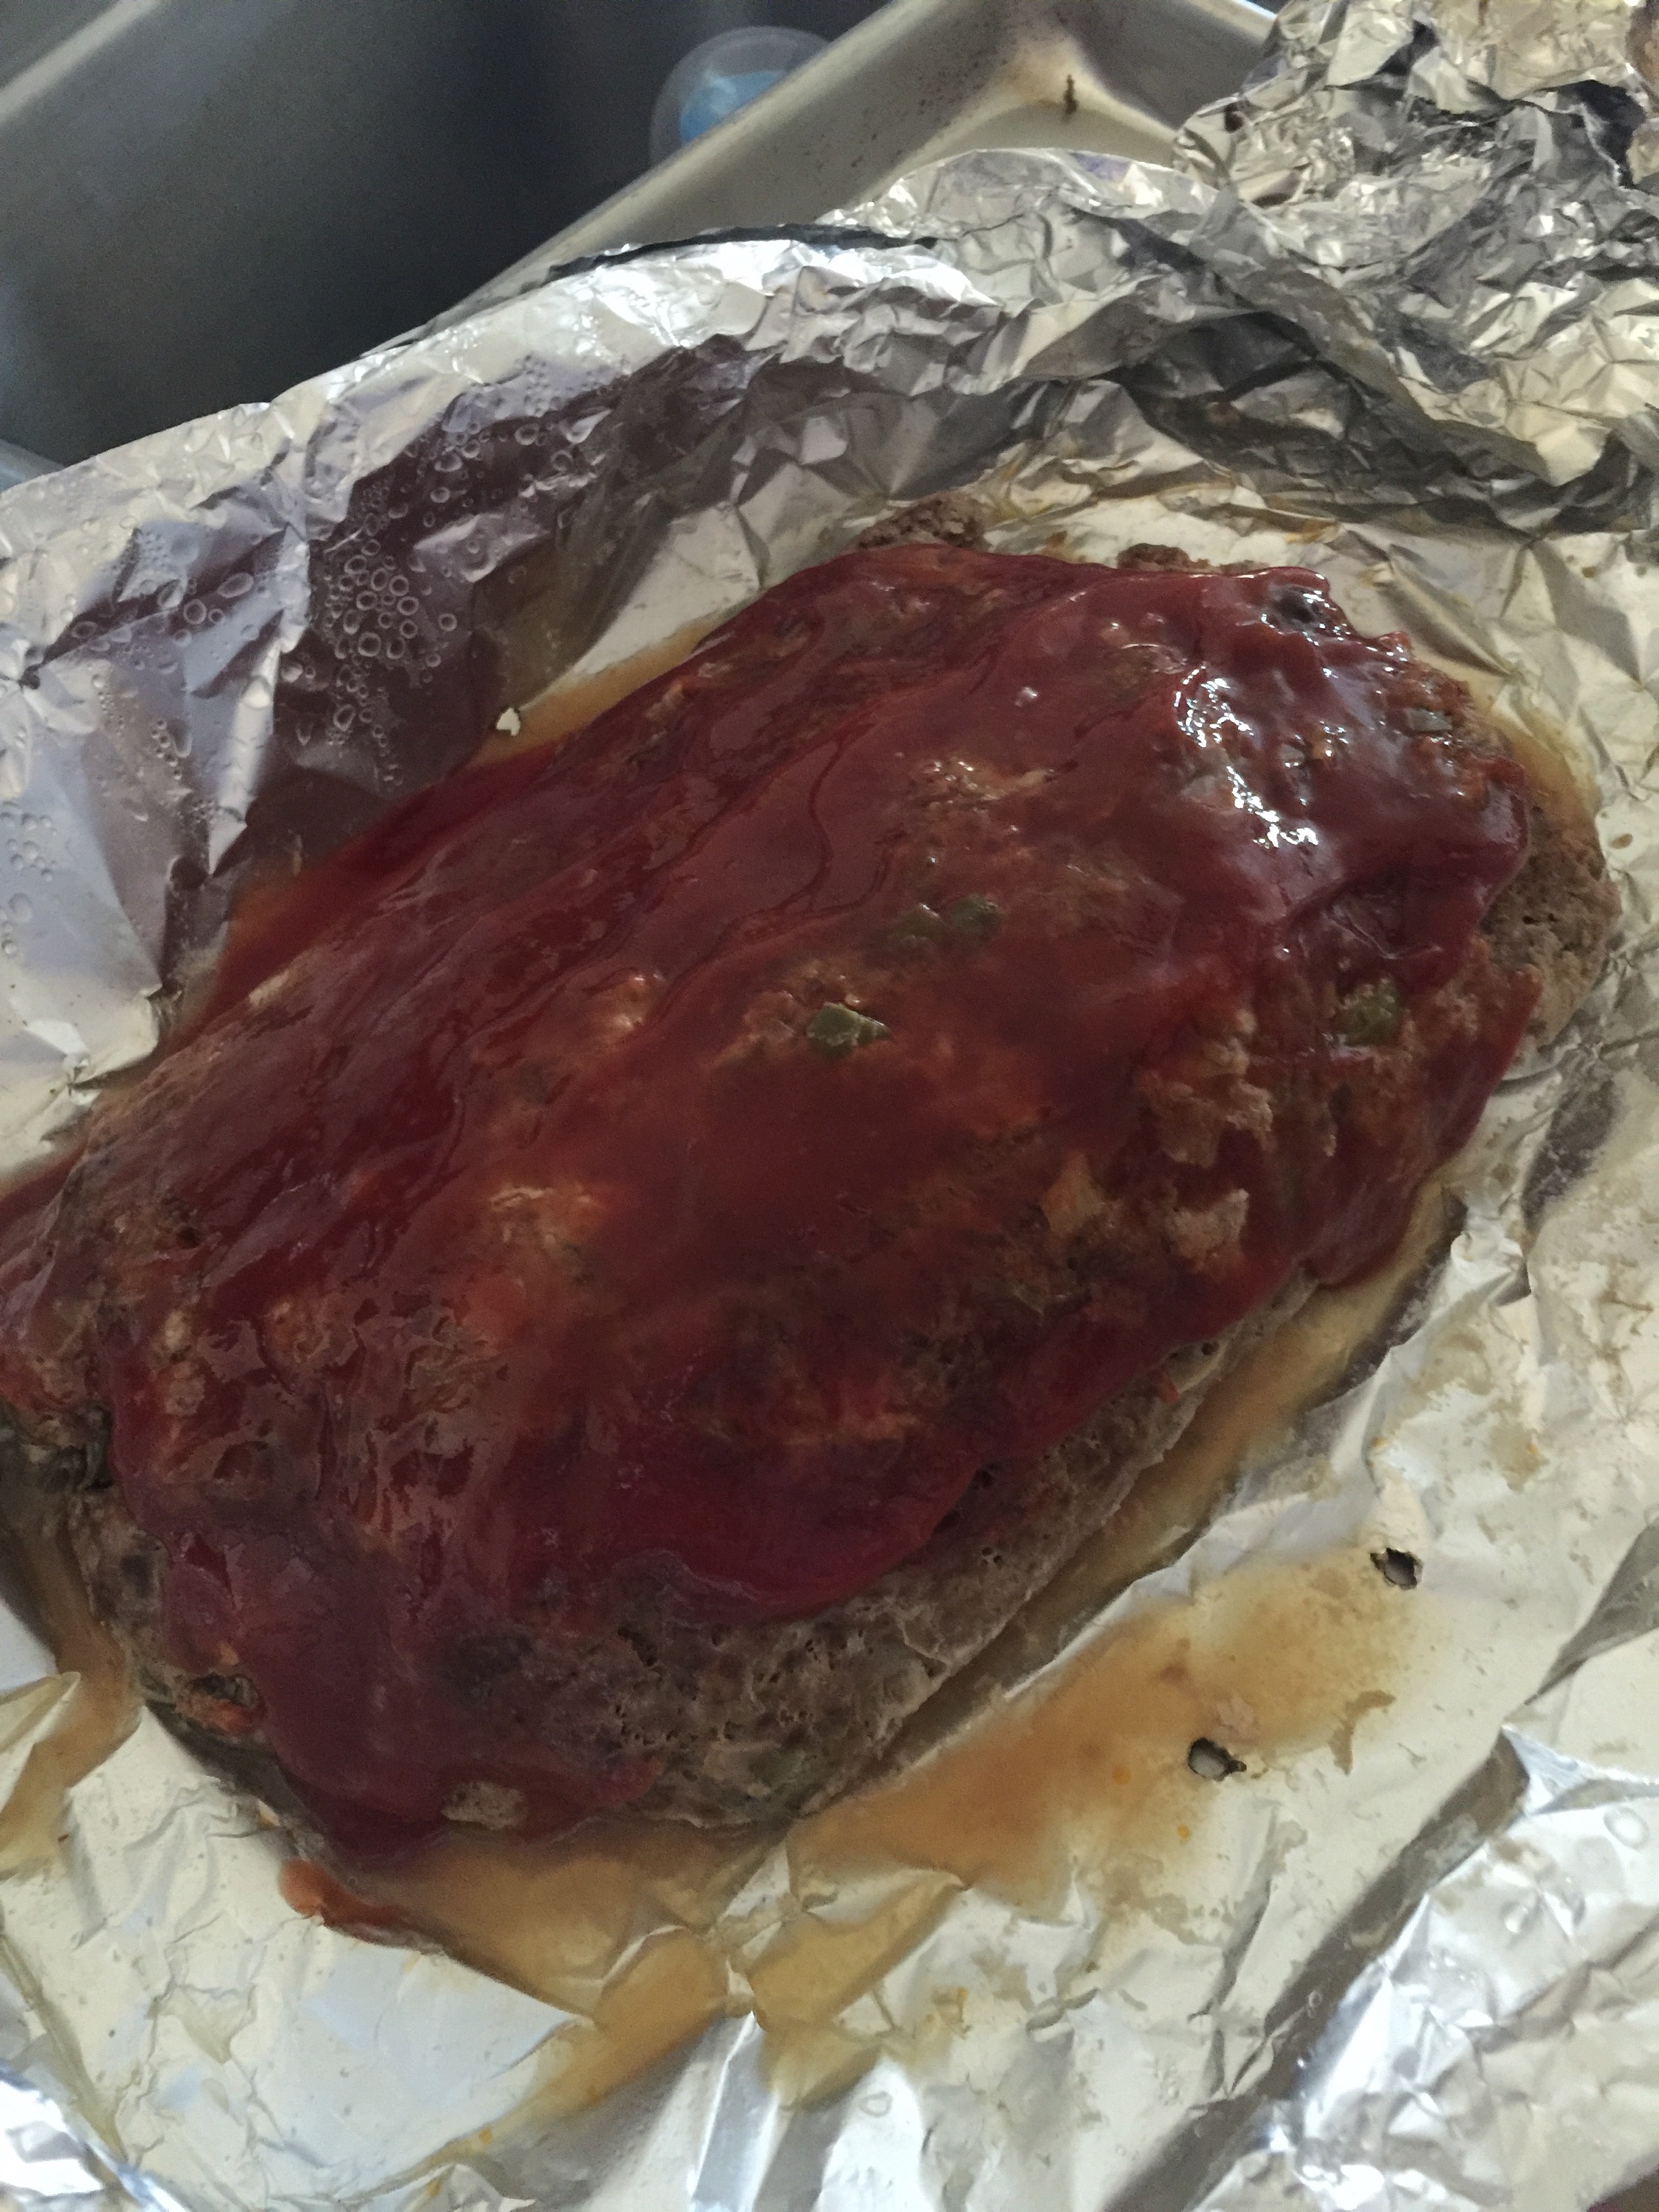
12. Now it’s done! Wow! Have you ever smelled anything so delicious? It’s like someone sprinkled crack on mom’s meatloaf. So good 😀


Advertisement

Apple Butter

Standard

  
One of my favorite things in life is apple butter on top of a buttery piece of toast in the morning. Yum!!! I also love the excitement of when the grocery store here gets their big shipment of apples in, and I always get a bunch of my favorite Honey Crisp apples. Those, as well as a few other kinds make up this recipe of apple butter, but feel free to stick with just your favorite or go all out like I did.*

The rich gold color comes from the length of time you let this slow cook. I did mine for 8 hours, but I easily could’ve let this go all night in a crock pot if I had one big enough. 

You can either make this recipe and freeze it or can it. I canned mine and I’m not going to get too descriptive in the canning instructions because I’m going to assume you know what you’re doing. If not, see my Strawberry Apricot Jam recipe for further detail or of course just ask me in the comment section.

*I used a mix of mostly Honey Crisp, Golden Delicious, Sweet & Crunchy, and a girl in my MOPS group gave me some from her tree at home that looked like McIntosh to me, but she wasn’t sure what kind they are. 

Ingredients: 

1. First lets prep those apples! But first, let’s spike some cider to get us in the mood 😉 Ok, now then…


2. Toss all your apples into your giant pot.

  
3. Now dump in your spices, sugar, and cider and bring to a boil. *If you’re doing this in a crock pot you can just turn on low and come stir it in a few hours. Let it boil for a minute or so, then turn down to a simmer. Cover mostly with a lid but allow a small space to remain to let some of the steam out.


4. Now you’re going to let this slow cook for a minimum of six hours (I did mine eight but could’ve gone longer like I said before) but keep coming back to give it a stir every now and then.


5. Once it’s the color you want, get out your hand blender and go to town on these puppies!


6. Now you can either divide this out and freeze it, or can it like I did with a ten minute water bath. Again, check my recipe above for water bath times where you are if you aren’t sure. This made 14 1/2 pint jars. 

  
7. Now go get a big honkin’ slab of butter and put it on some bread, toast it up, and then lather it up with some golden apple butter. Delicious!


Perfect Mexican Cornbread

Standard
Perfect Mexican Cornbread

  
Fall is just around the corner and that means the county fair is on its way for this part of Texas. So I’ve been working all summer on trying to achieve the perfect cornbread recipe to enter into the cornbread contest. I’ve finally got it! My husband even said “This is the best cornbread I’ve ever had in my life!” 😍 I’ll keep yall posted if I win, but even if I don’t, this cornbread is still delicious!

*Update* My cornbread won third place yall in the Tri-State Fair! It was entered into the cornbread contest and 1st and 2nd prize went to plain cornbread, but they said they loved my Mexican cornbread! Hopefully next year they’ll separate the categories into a plain cornbread and Mexican cornbread, but I’ll take it for this year! 😊

Ingredients:

  • 1 1/2 c cornmeal 
  • 1/2 c all purpose flour (you can also use whole wheat flour or corn flour)
  • 4 tsp baking powder
  • 1/2 tsp salt 
  • 1 T honey
  • 1 c milk
  • 2 eggs
  • 1/4 c oil 
  • 1/4 c sour cream
  • 1/4 – 1/2 c chopped green chiles (I used Hatch fire roasted chiles and you can adjust the heat by either using 1/4 c or 1/2 c) *if you don’t have these fresh they come canned nearly everywhere
  • 1 c frozen corn kernels 
  • 1 c shredded Mexican cheese (you can just use cheddar if that’s all you’ve got on hand) 

1. Get all your ingredients into a large mixing bowl.

  
You can use your favorite cornmeal mix. I love this one and plus, it’s from Texas 😀🌵💪🏻


2. After you’ve mixed everything together really well you’re going to pour it into your greased 10 inch cast iron skillet, or as I like to call her “Ole’ Faithful”.

  
3. Now put into a 400 degree oven for 20-25 minutes or until the top starts to turn golden. 

  
4. Serve with a giant pat of butter and top with chow chow or eat plain. And don’t forget the wine! Wine, butter, and carbs = perfection.