Monthly Archives: April 2015

Quick And Easy Taco Salad

Standard
Quick And Easy Taco Salad


I love an easy and delicious weeknight meal, especially when it’s something healthy and satisfying. This is a quick and easy taco salad that uses one of those .49 cent taco seasoning packets from the seasoning isle. Yes, I could’ve gone with a homemade taco seasoning, but really I just didn’t feel like it today😄

Ingredients for taco meat part:

  • 1 lb ground meat (beef, turkey, venison, even chicken would work)
  • 1 packet taco seasoning
  • 1 small sweet onion chopped
  • 1 chopped bell pepper or 3 chopped sweet mini bell peppers (as pictured)
  • 1 garlic clove chopped
  • 1 jalapeño pepper chopped (seeded and deveined)
  • 1 can drained black beans

Ingredients for salad and optional toppings:

  • Chopped romaine lettuce
  • Tomatoes
  • Lime
  • Sour cream
  • Avocado
  • Grated cheese
  • Crushed tortilla chips

1. In a large skillet over medium high heat drizzle a little olive oil over your onion, peppers, and garlic. Sauté for 5-7 minutes.


2. Now that it got a bit of a head start cooking, add your ground meat to the skillet.

 
3. Stir occasionally until browned and cooked completely, then drain off any excess fat if necessary.


4. Add your packet of taco seasoning and 2/3 c water. Turn the heat down to simmer and allow to cook for about five minutes or until some of the liquid has cooked off.


5. Now add your can of drained black beans and allow it to heat up a minute before turning the heat off and serving over your salad.

 
I love fresh avocado, a scoop of sour cream, and fresh lime juice squeezed on mine for the dressing. If you like something sweeter try it with Catalina dressing. Both ways are delicious! 

Spicy Chicken Pasta

Standard
Spicy Chicken Pasta


Y’all remember just last week I posted about my new Veggetti Spiral Vegetable Slicer, Makes Veggie Pasta and how much I loved it. Well I made another dish with it very similar to the Seafood Arrabbiata, except this is a quick and easy weeknight meal I made with leftover grilled chicken. If you don’t have any leftover chicken on hand, 1/2 of one of those rotisserie chickens from the grocery store would be perfect! 

Ingredients:

  • 1 sweet onion chopped
  • 1 28 oz can whole peeled tomatoes 
  • 1 15 oz can tomato sauce
  • 1 lb diced chicken
  • 1/4 – 1/2 tsp red pepper flakes (depending on how hot you like it)
  • 2-3 cloves chopped garlic
  • 4 zucchini or squash for Vegetti noodles
  • Olive oil
  • Salt and pepper
  • Dried parsley flakes

1. Add onion and a drizzle of olive oil to your skillet and season with salt and pepper. Sauté 3-4 minutes on medium high heat. 


2. Now add your chopped garlic and red pepper flakes and sauté another minute.


3. As I explained in my Seafood Arrabbiata post, whole peeled tomatoes are the highest quality canned tomato, so I prefer to use them over diced tomatoes. Drain and chop them up and add them to your skillet with tomato sauce as well as your parsley flakes and bring to a boil. 


4. Now add your squash and zucchini noodles to your skillet and throw in your diced chicken as well. Turn the heat down to a simmer and allow noodles to soften up a bit in the sauce. Taste to see if you want to add any salt and pepper or any additional heat with more red pepper flakes. 


Enjoy your quick and easy meal!

Coconut Oil

Standard
Coconut Oil

Coconuts

Ok y’all, this is probably the only “lifestyle” post you will ever see on my blog, because outside of cooking, I’m pretty much as lost as the rest of you when it comes to doing makeup, weight control, choosing what to wear for the day, finding matching socks, and generally making any decisions. But I have been so impressed with this recent change I’ve made in my hair, skin, and nails habits that I had to share it with everyone!

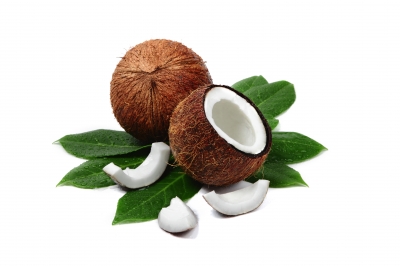
Unless you’ve been living under a rock, I’m sure you’ve read somewhere that coconut oil has many different benefits for anyone and everyone. Well, after reading what felt like the millionth article on the subject, I decided to give coconut oil a try. First, I started out doing weekly hair masks with it, and WOW! First of all, I had just had my second child and was going through the dreaded hair falling out stage when he hit about 4 months old. Ahhh!!! Also, my once lovely hair was dry as a bone even though I hadn’t colored it or anything. I tried several over the counter hair masks and even broke out my blender and did a homemade hair mask with eggs, olive oil, mayo, and avocado. Not only did my hair smell like a necromancer blended up the body of a rotting carcass and put it in my hair, but it really didn’t make that big of a difference for me! But back to the coconut oil…. I started doing masks once a week and leaving it on my hair anywhere from 20 minutes to an hour before taking a shower and it made a MAJOR difference in my hair! Also, it smelled delicious and sort of like Caramel deLite Girl Scout cookies too, which was a major improvement from the dead body stench I had been sporting before.

All you need to do is get some coconut oil. I use  Nature’s Way Extra Virgin Organic Coconut Oil, 16 oz. but if you spend about $3 more you’ll get double  Nature’s Way Extra Virgin Organic Coconut Oil, 32-Ounce

Coconut oil is solid until it hits about 76 degrees, so depending on where you live and what season you’re in the oil may be very easy to remove with your hands from the jar or you might need to get a spoon to scoop it out. Get a small handful and rub your hands together and it will turn into a liquid.

IMG_4225 IMG_4226

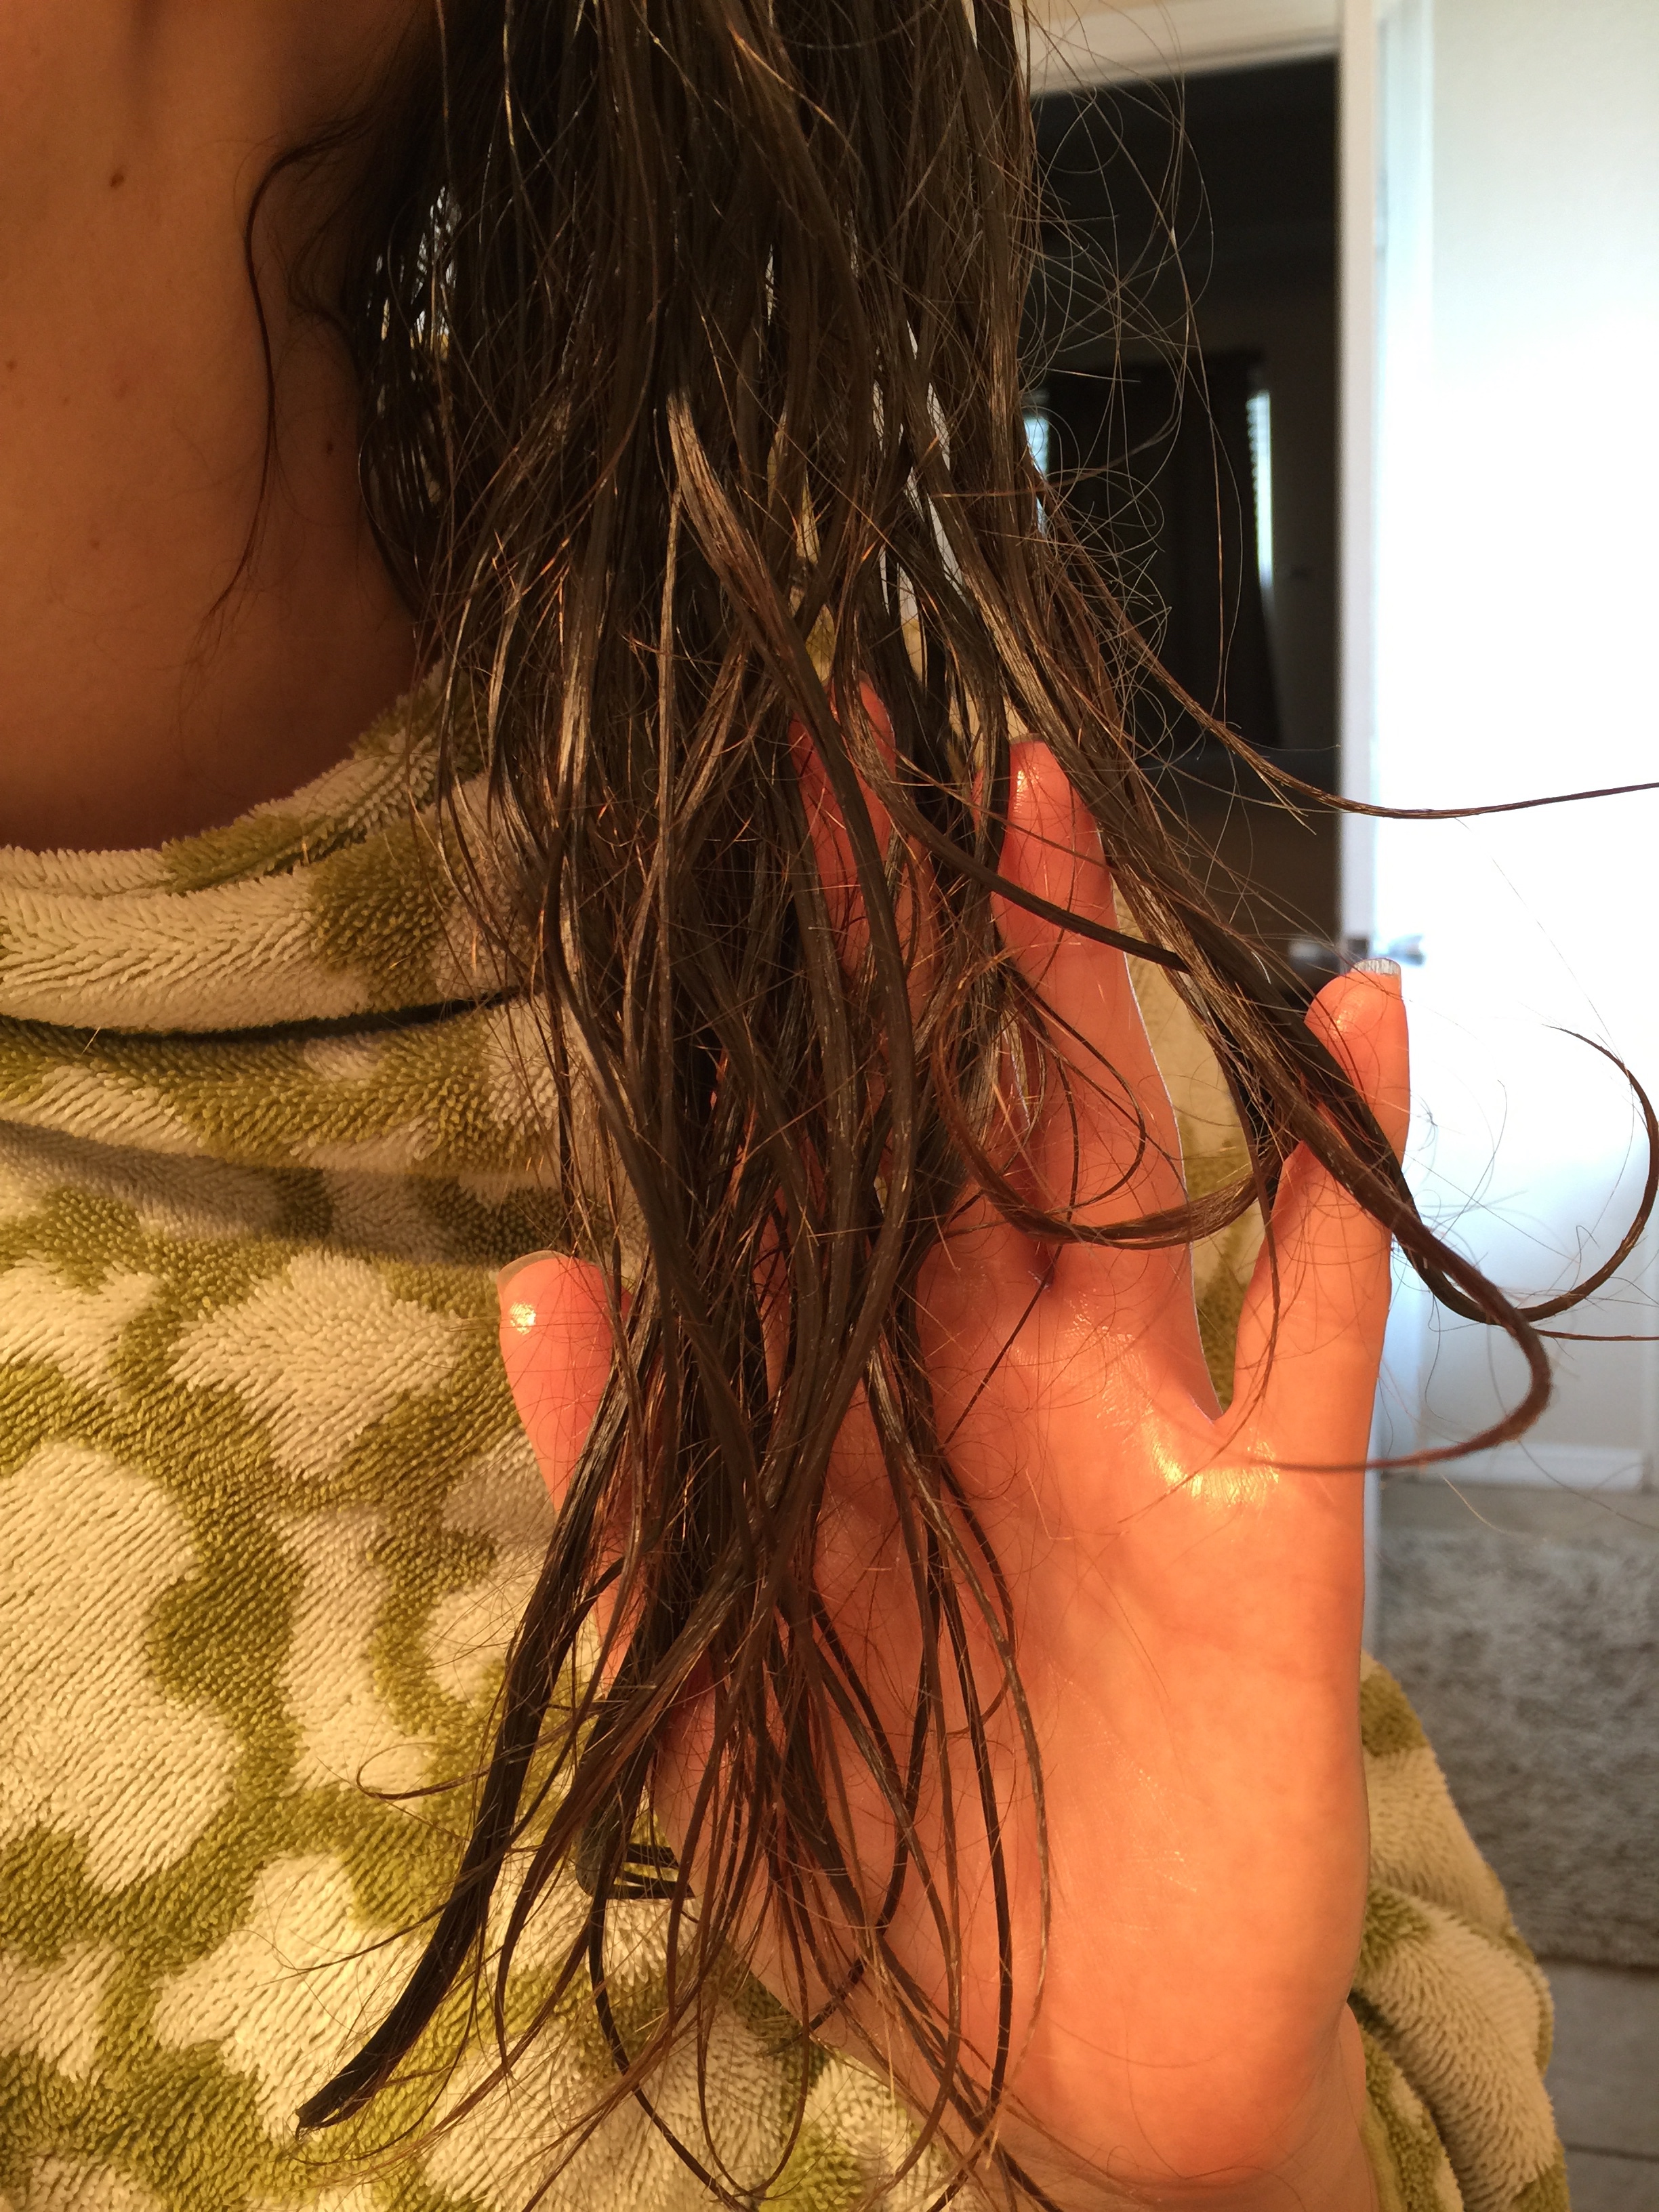
Next, start at your scalp and start massaging the oil into your scalp and work your way down to the bottom strands of your hair. Continue repeating this step until all of your hair has been covered with the oil.

IMG_4224

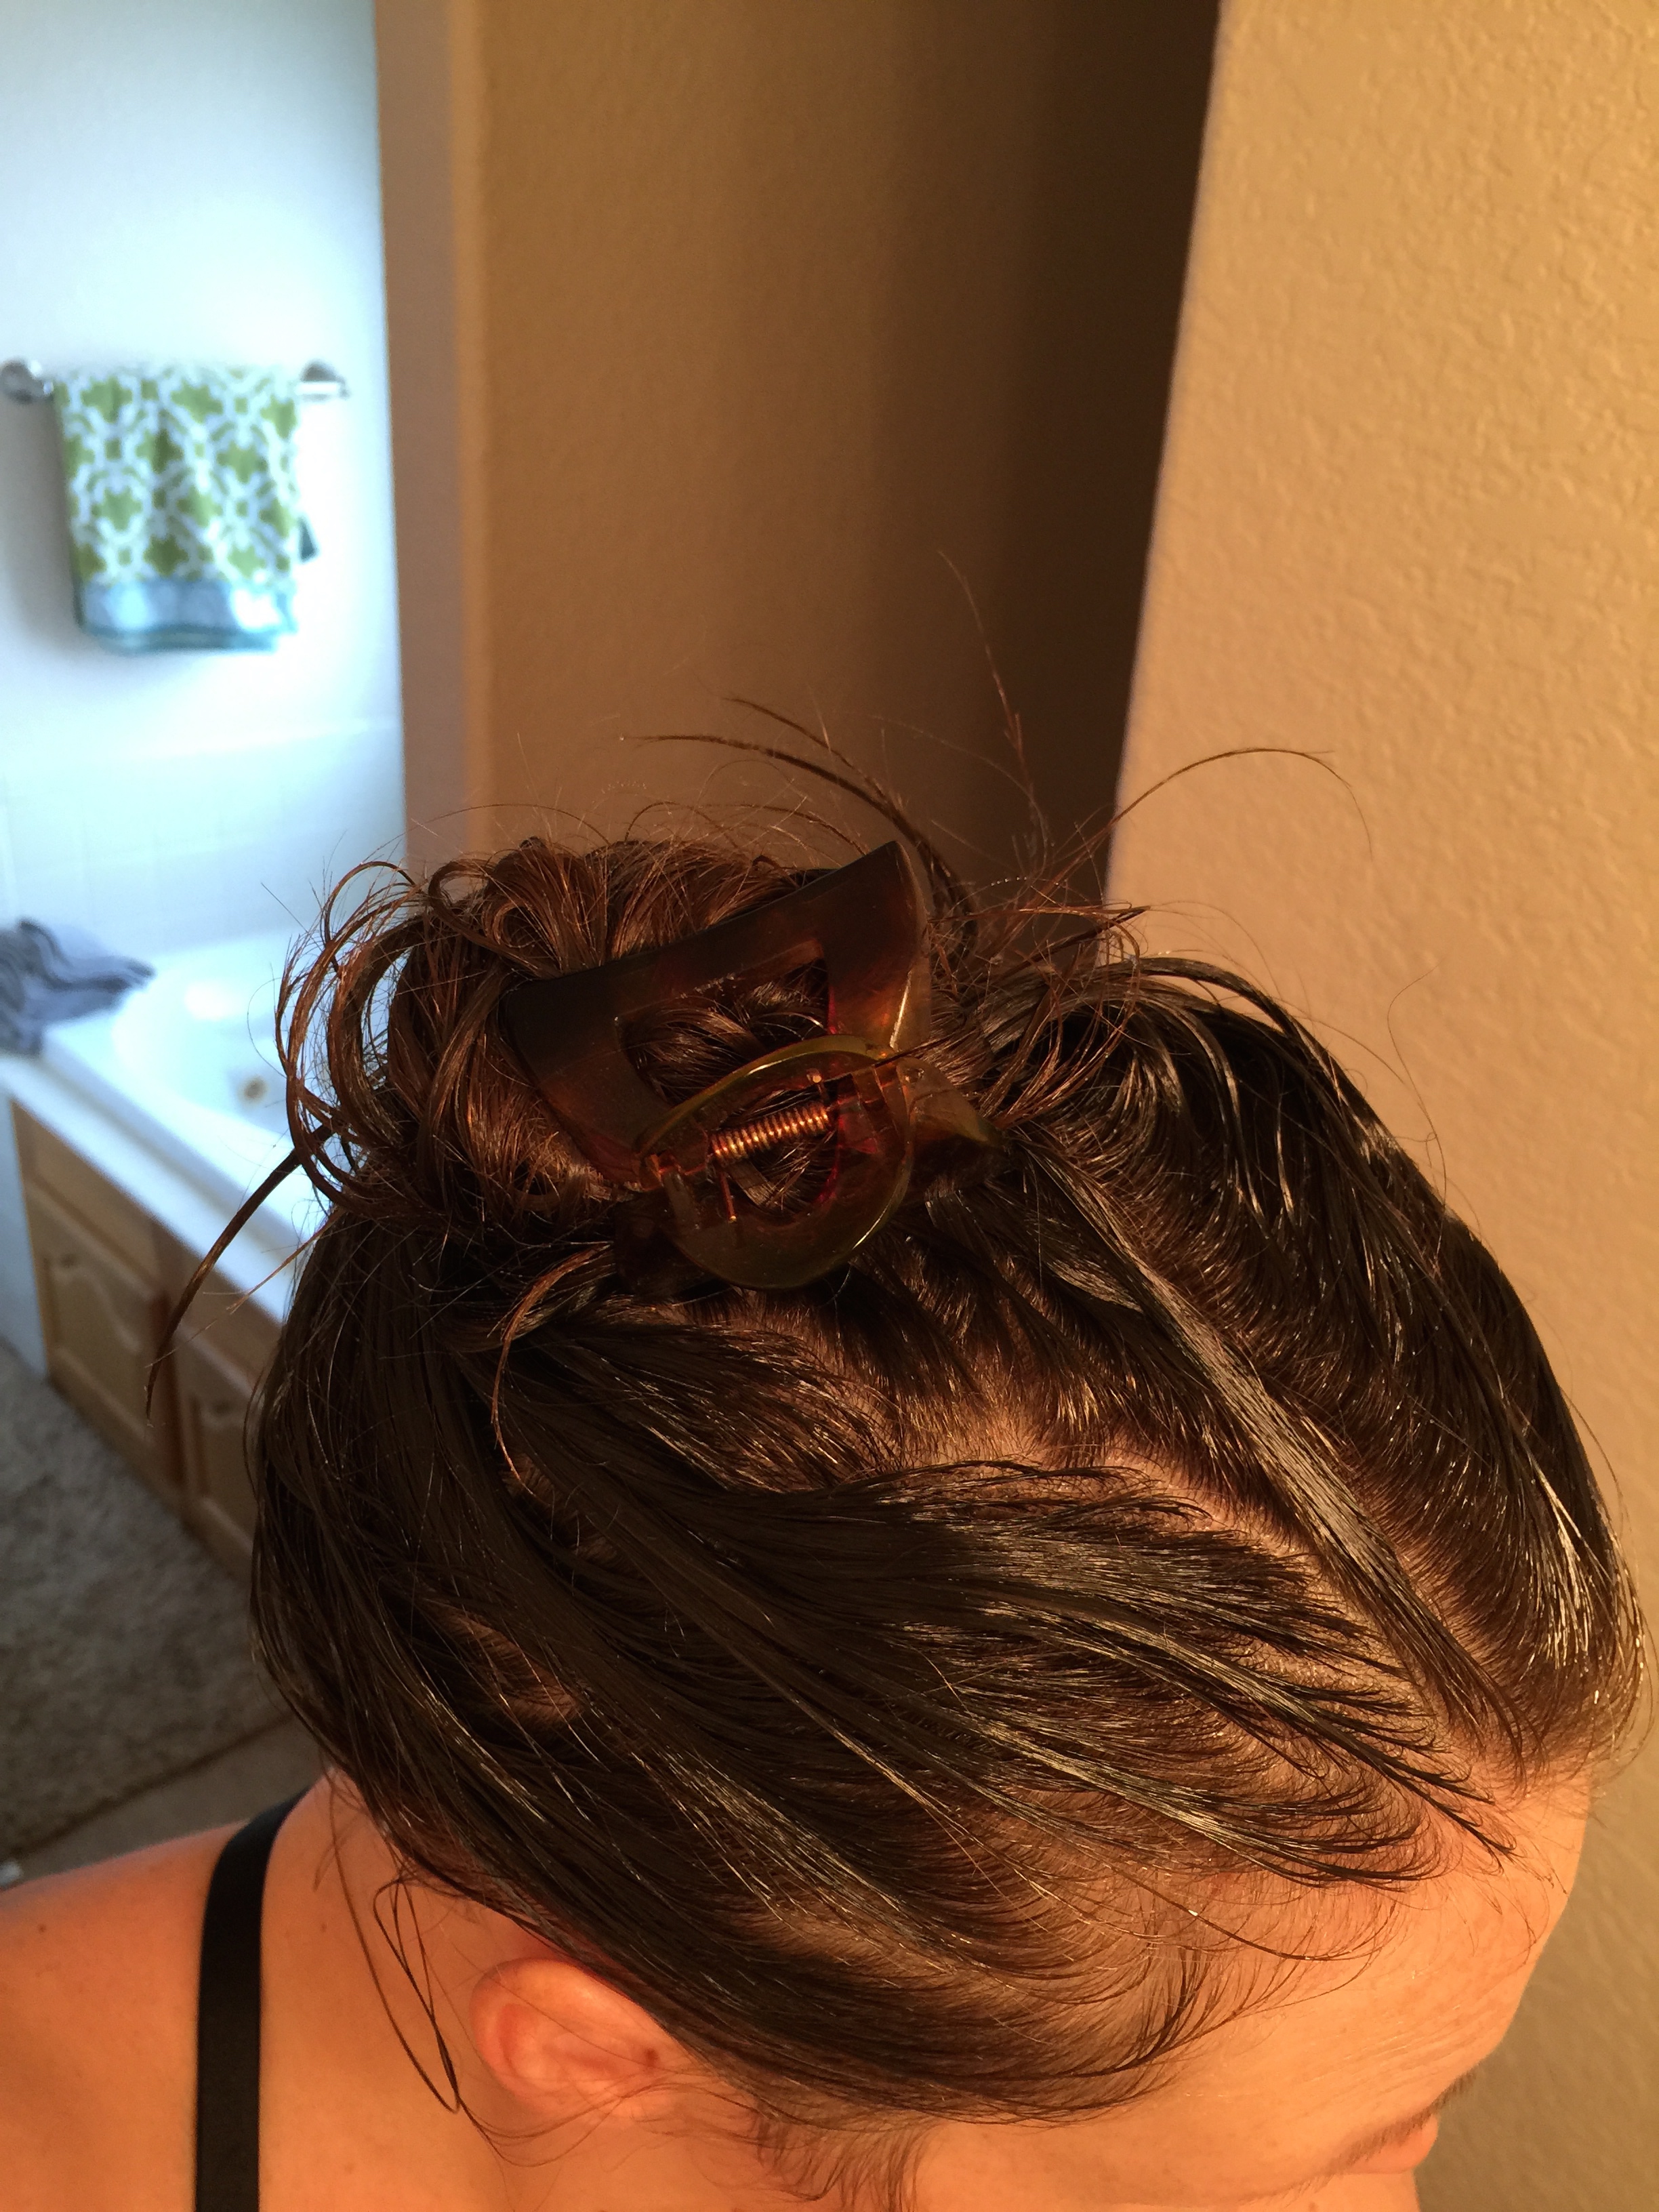
Then wrap your hair all up together if you don’t want your hair to drip all over you or wrap a towel around your head and let it sit for 20-60 minutes, or even overnight.

IMG_4227

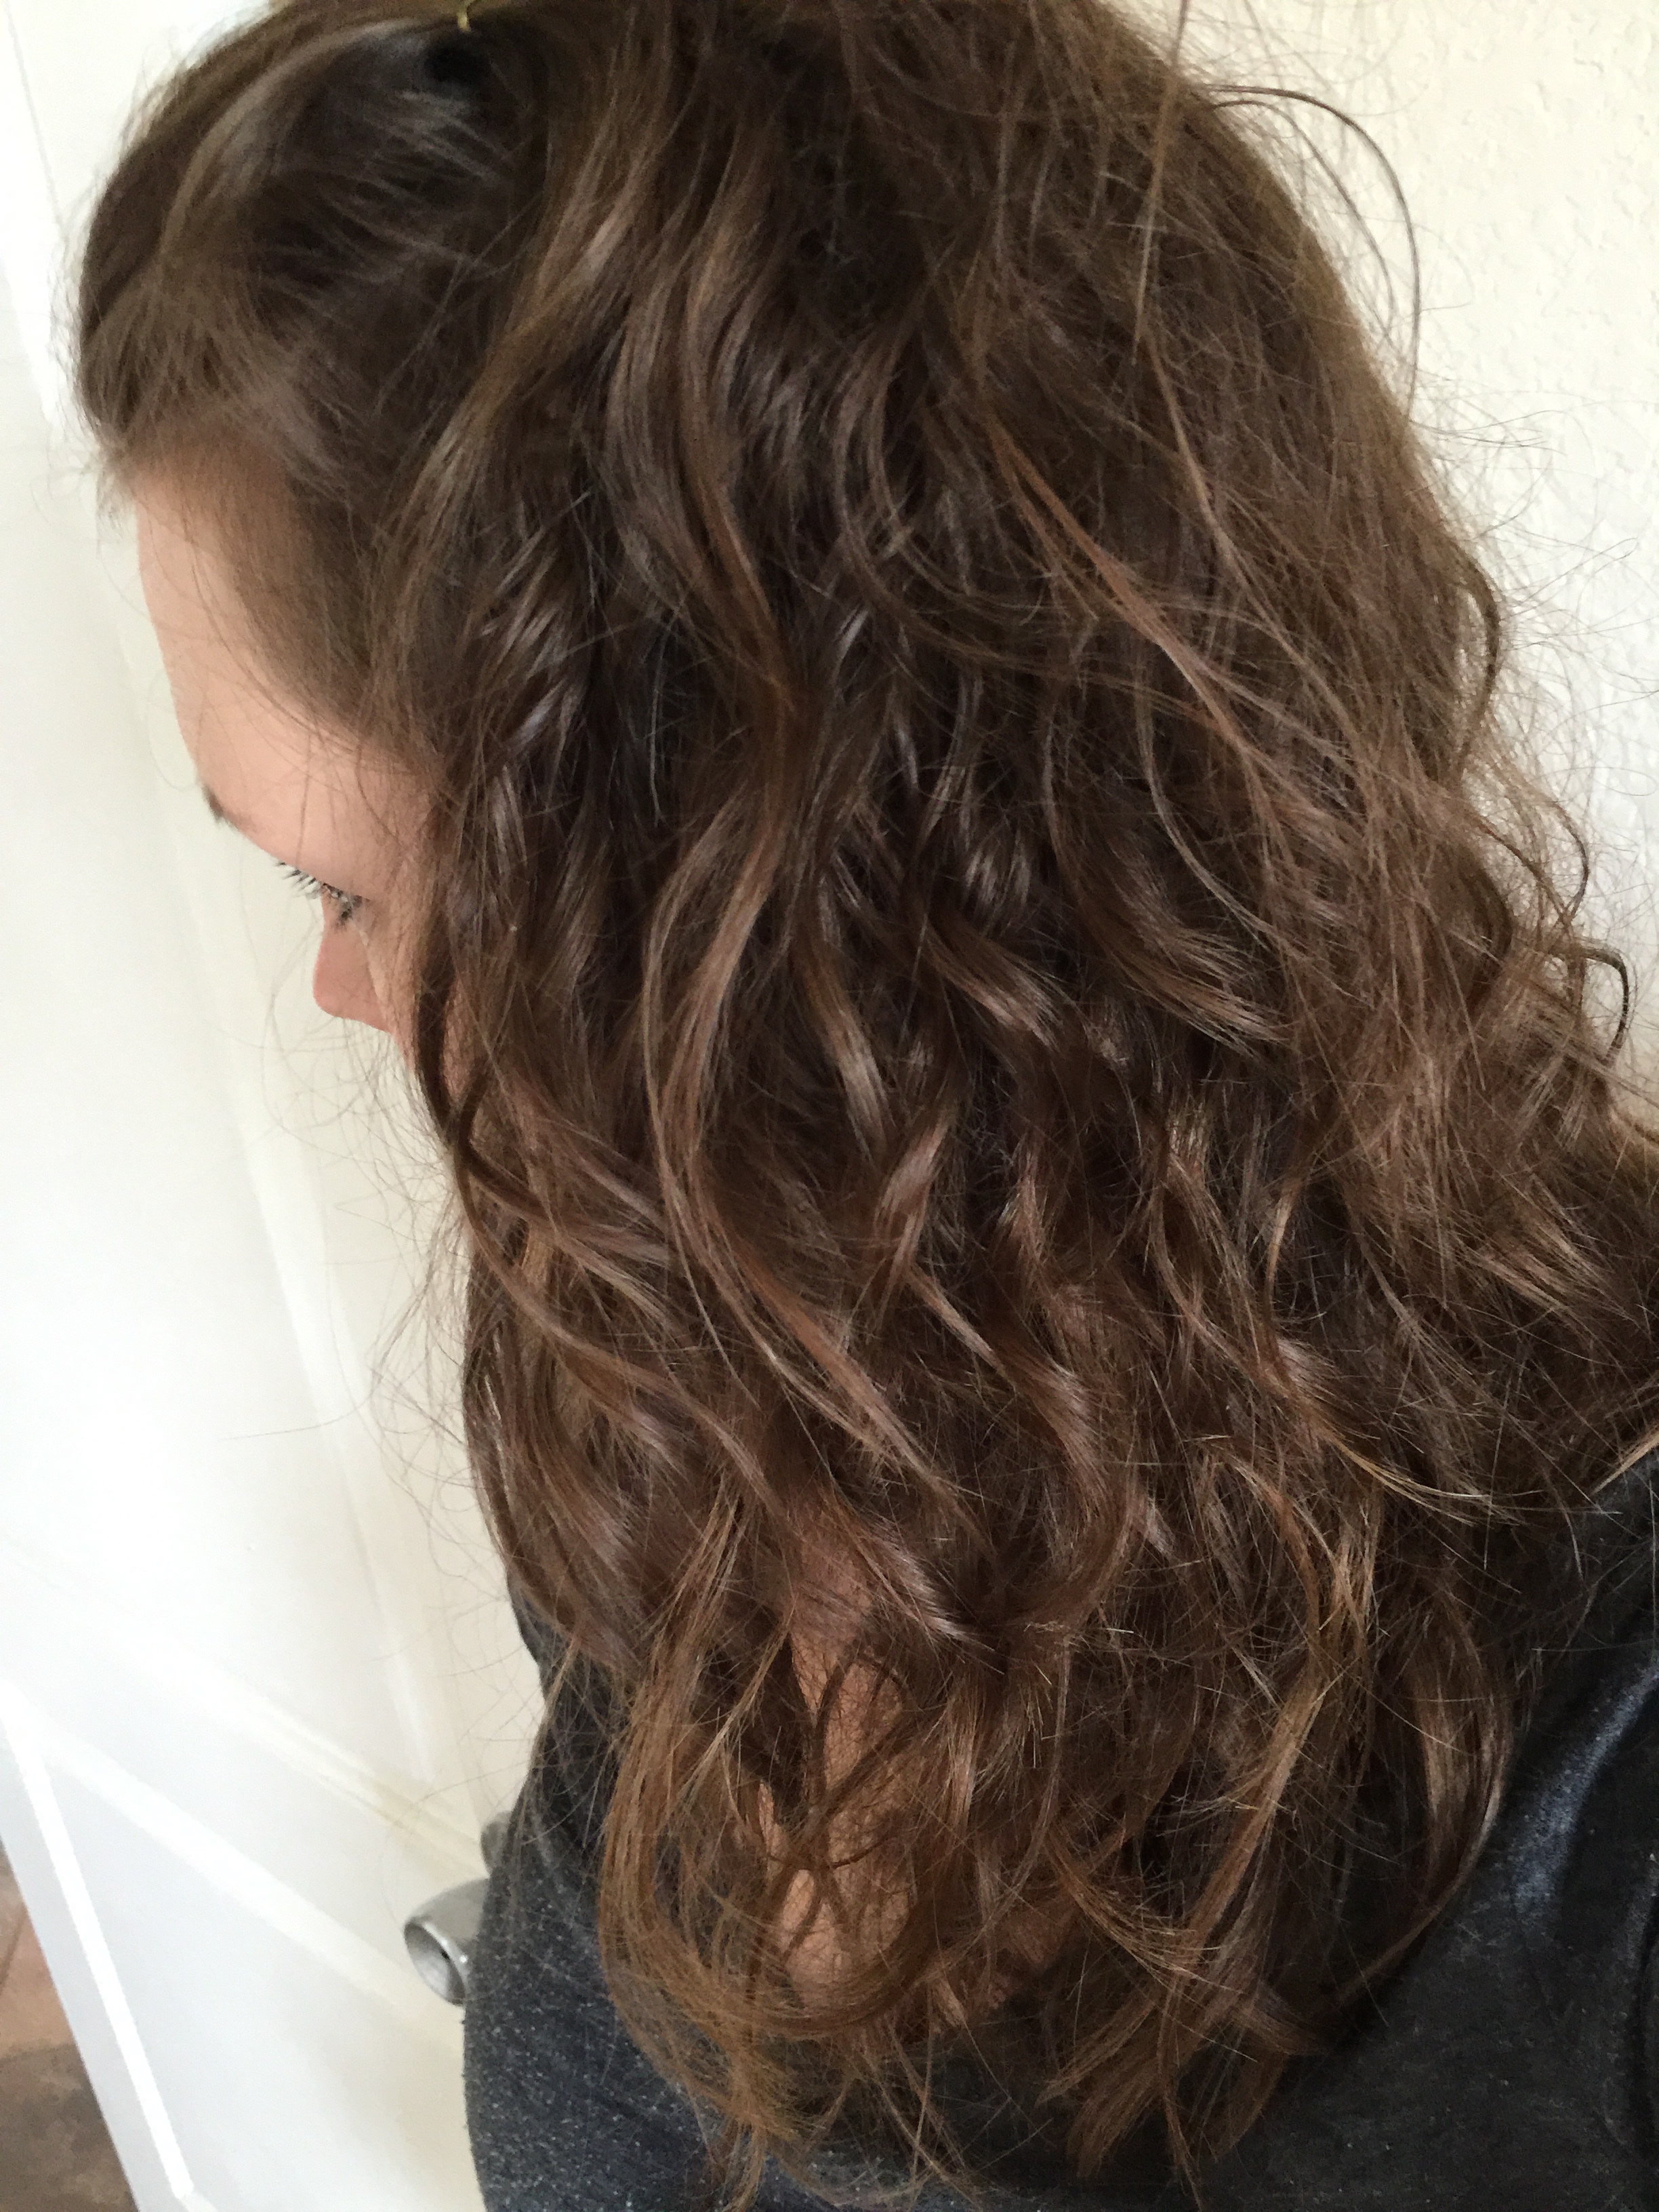
Lastly, wash it out with shampoo and condition as normal. After your hair dries you will be amazed at how silky and soft it is, not to mention if you suffer from frizz you will see a big improvement in that area too!

IMG_4253

After I would put the coconut oil on my hair I noticed my fingernails were getting stronger and cuticles were making some improvements because of the brief amount of time I had my fingers working with the stuff. Now I try to remember to put a little bit on my fingers each night and I really like the results!

IMG_4229

Lastly, and I know you’re going to think I’m crazy, but my husband and I have started washing our faces with coconut oil! What?! That’s crazy talk, I know! But seriously, it WORKS! My husband’s exact words when I asked him to try this with me were “Guess I will have to take a personal day off of work to stay at home with my pizza face after putting oil on it!” But it did NOT give him pizza face, haha! In fact, it has helped both of our faces with blemishes and dryness (my skin) and oil (my husband’s skin). I had read on a website somewhere that “like dissolves like” when it comes to washing your face with oil, so I decided to give it a try. Not only is this insanely cheaper than buying the three step face washing programs I’ve been led to believe are the only solutions for my skin, but it is 100% all natural and not only cleans your face, but moisturizes it and helps prevent fine lines and wrinkles. There’s no need to remove your makeup beforehand, even waterproof, because it dissolves that easily as it cleans out your pores.

All you do is get a small amount in your hands, rub together so it turns liquid, and rub into your skin for at least one minute. Then rub off with a wash cloth and warm water. That’s it!

I read that some people do not need face lotion after washing their face like this, but I always put on a sunscreen for the day BOOTS No7 Lift & Luminate Day Cream SPF15 and at night I just put a tiny amount of coconut oil on my fingers and rub it straight in to areas I’m feeling a bit dry.

Well, I hope you’ll give coconut oil a try. I’m very happy to say my one jar of coconut oil is still in use almost going on three months now, and the amount of money I’ve saved on skin products and hair masks is amazing!

Image of coconuts courtesy of Pixomar at FreeDigitalPhotos.net

Seafood Arrabbiata 

Standard
Seafood Arrabbiata 

Y’all, this is the most amaaaaazingly yummy dish! “Arrabbiata” is Italian for “angry”, and it comes from the red pepper flakes in the dish. I like my pasta’s anger somewhere between 1) they’re out of my mascara at the store and 2) on hold with American Airlines for an hour and they just hang up on you. Of course, you can add more or less to your liking 😄

You may have also noticed those aren’t regular pasta noodles in there. No, it’s not spaghetti squash either. It’s yellow summer squash and zucchini cut from my brand spankin new Veggetti! I’m so very happy with my “As Seen On TV” purchase! It cuts the squash into these deliciously long and incredibly pasta-like strands and you can choose thick cut like a linguini or thin cut more like spaghetti/angel hair. That being said, of course you could make this with traditional pasta, but I think you should give the veggie pasta a try!

First, here’s the Veggetti:

You can buy it here on Amazon cheaper than you can get it at Bed Bath & Beyond if you don’t already have one:
Veggetti Spiral Vegetable Slicer, Makes Veggie Pasta

I used yellow squash and zucchini for this pasta, but next time I will probably just use zucchini because it cut up in half the time as the squash and I really couldn’t taste a difference. I’m so excited to try this with my other favorite pasta dishes!

Ingredients:

  • 4 squash, zucchini, or combination of them
  • 1 chopped sweet onion
  • Olive oil
  • 3 chopped garlic cloves
  • 1 15 oz can tomato sauce
  • 1 28 oz can whole peeled tomatoes drained and chopped
  • 2 tsp dried parsley flakes
  • 1/2 lb shrimp (peeled and deveined)
  • 1/2 lb scallops
  • 1/2 lb mussels
  • Red pepper flakes
  • Salt and pepper

1. Get your “pasta” ready by putting your four squash/zucchini through the Veggetti.

2. Get your can of whole peeled tomatoes and drain the juice, then chop the tomatoes and set aside.

Why am I not using diced tomatoes? Because whole tomatoes are generally the highest quality canned tomato and use plum/Roma tomatoes that have been peeled. Diced tomatoes can be a mix of different kinds of tomatoes and not always peeled, so it’s worth the effort to dice these up.


3. In a large skillet over medium high heat, drizzle olive oil and add your shrimp and scallops, season with salt and pepper, and cook until they’re totally done. You might need to drain off a little liquid while its cooking if they give off too much water. Once they’re finished, drain and set aside.

4. In the same skillet, add another drizzle of olive oil and add your chopped onion and season with salt, pepper, and red pepper flakes. Start out with 1/4 tsp and you can always add more later if that’s not enough for you. Sauté for 3-4 minutes.

5. Add your chopped garlic and sauté another minute.

6. Add your chopped tomatoes, tomato sauce, dried parsley flakes, and bring to a boil. Then add your “pasta” noodles, stir, and let boil for one minute.

7. Turn your heat down and add your seafood back into the dish you cooked earlier, plus your mussels.  At my store, mussels are sold already cooked and only need to be heated through. But, if the mussels you purchase are not cooked, add them to the sauce while its boiling and put a lid on your skillet to allow them to steam for a few minutes. You’ll know they’re done once they open up. Any mussels that don’t open are no good and will need to be removed.

Voila! Your angry Italian dish is complete and ready for a glass of wine to go with it!