Glazed ham has got to be one of my favorite things to eat and cook. It’s so easy and that delicious ham can feed your family for a week!
I remember years ago when I first tried to bake a ham for my first Easter away from home. If you’ll google ham recipes, you’ll find lots with cloves that you stick into the ham, then later remove. It’s pretty tasty, but cloves are expensive, plus time consuming to put in and remove before eating. I’ve tried all these complicated and expensive (to me) recipes, but I’ve finally settled on my favorite glazed ham recipe and it only requires three ingredients! I even have a solution to cloves and it keeps your ham moist, plus it adds some awesome flavor to your juice that you save and make a pot of peas, green beans, or anything else with. I’ll give you a bonus recipe as well with what I did with this leftover ham 🙂
Ingredients:
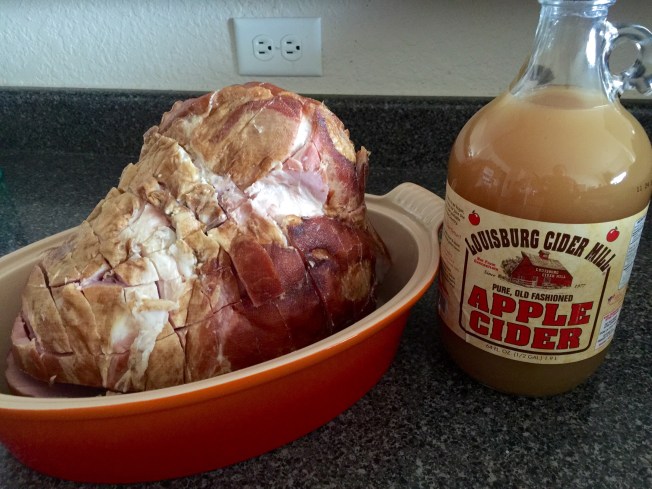
1 c apple cider
1/2 c brown sugar
1/4 c honey
Ham (I mean, obviously…)
Ok, first lets talk about the ham. Sure, everyone loves the spiral cut runway model of hams. But who has $50 to blow on a ham? Especially when you can spend $10-$15 on the same amount of meat and you just cut it yourself. Do yourself a favor if you’re penny pinching like me and buy the cheapest ham at your grocery store, which will most likely be the shank end of a ham. Remember you’re glazing it yourself, so no need for any extras like pre-packaged full of preservatives and other stuff glaze. Just a cheap ham shank. Also, this glaze is going to work for any ham up to about 12 pounds, so if your ham is bigger, just make a little more glaze.
1. Take a paring knife and cut all around your ham in one direction about 1/4 inch into the ham, then around it again in the opposite direction making little diamonds all over your ham. Now it sorta resembles a checkerboard. This will let the skin crisp up and allow the glaze to flavor the inside of the ham once we get there. Place your ham in a large roasting pan. Do not underestimate the amount of juice your ham will make and put it into a roasting dish that’s too small. You’ll end up cleaning up your oven forever! Ask me how I know this 😳
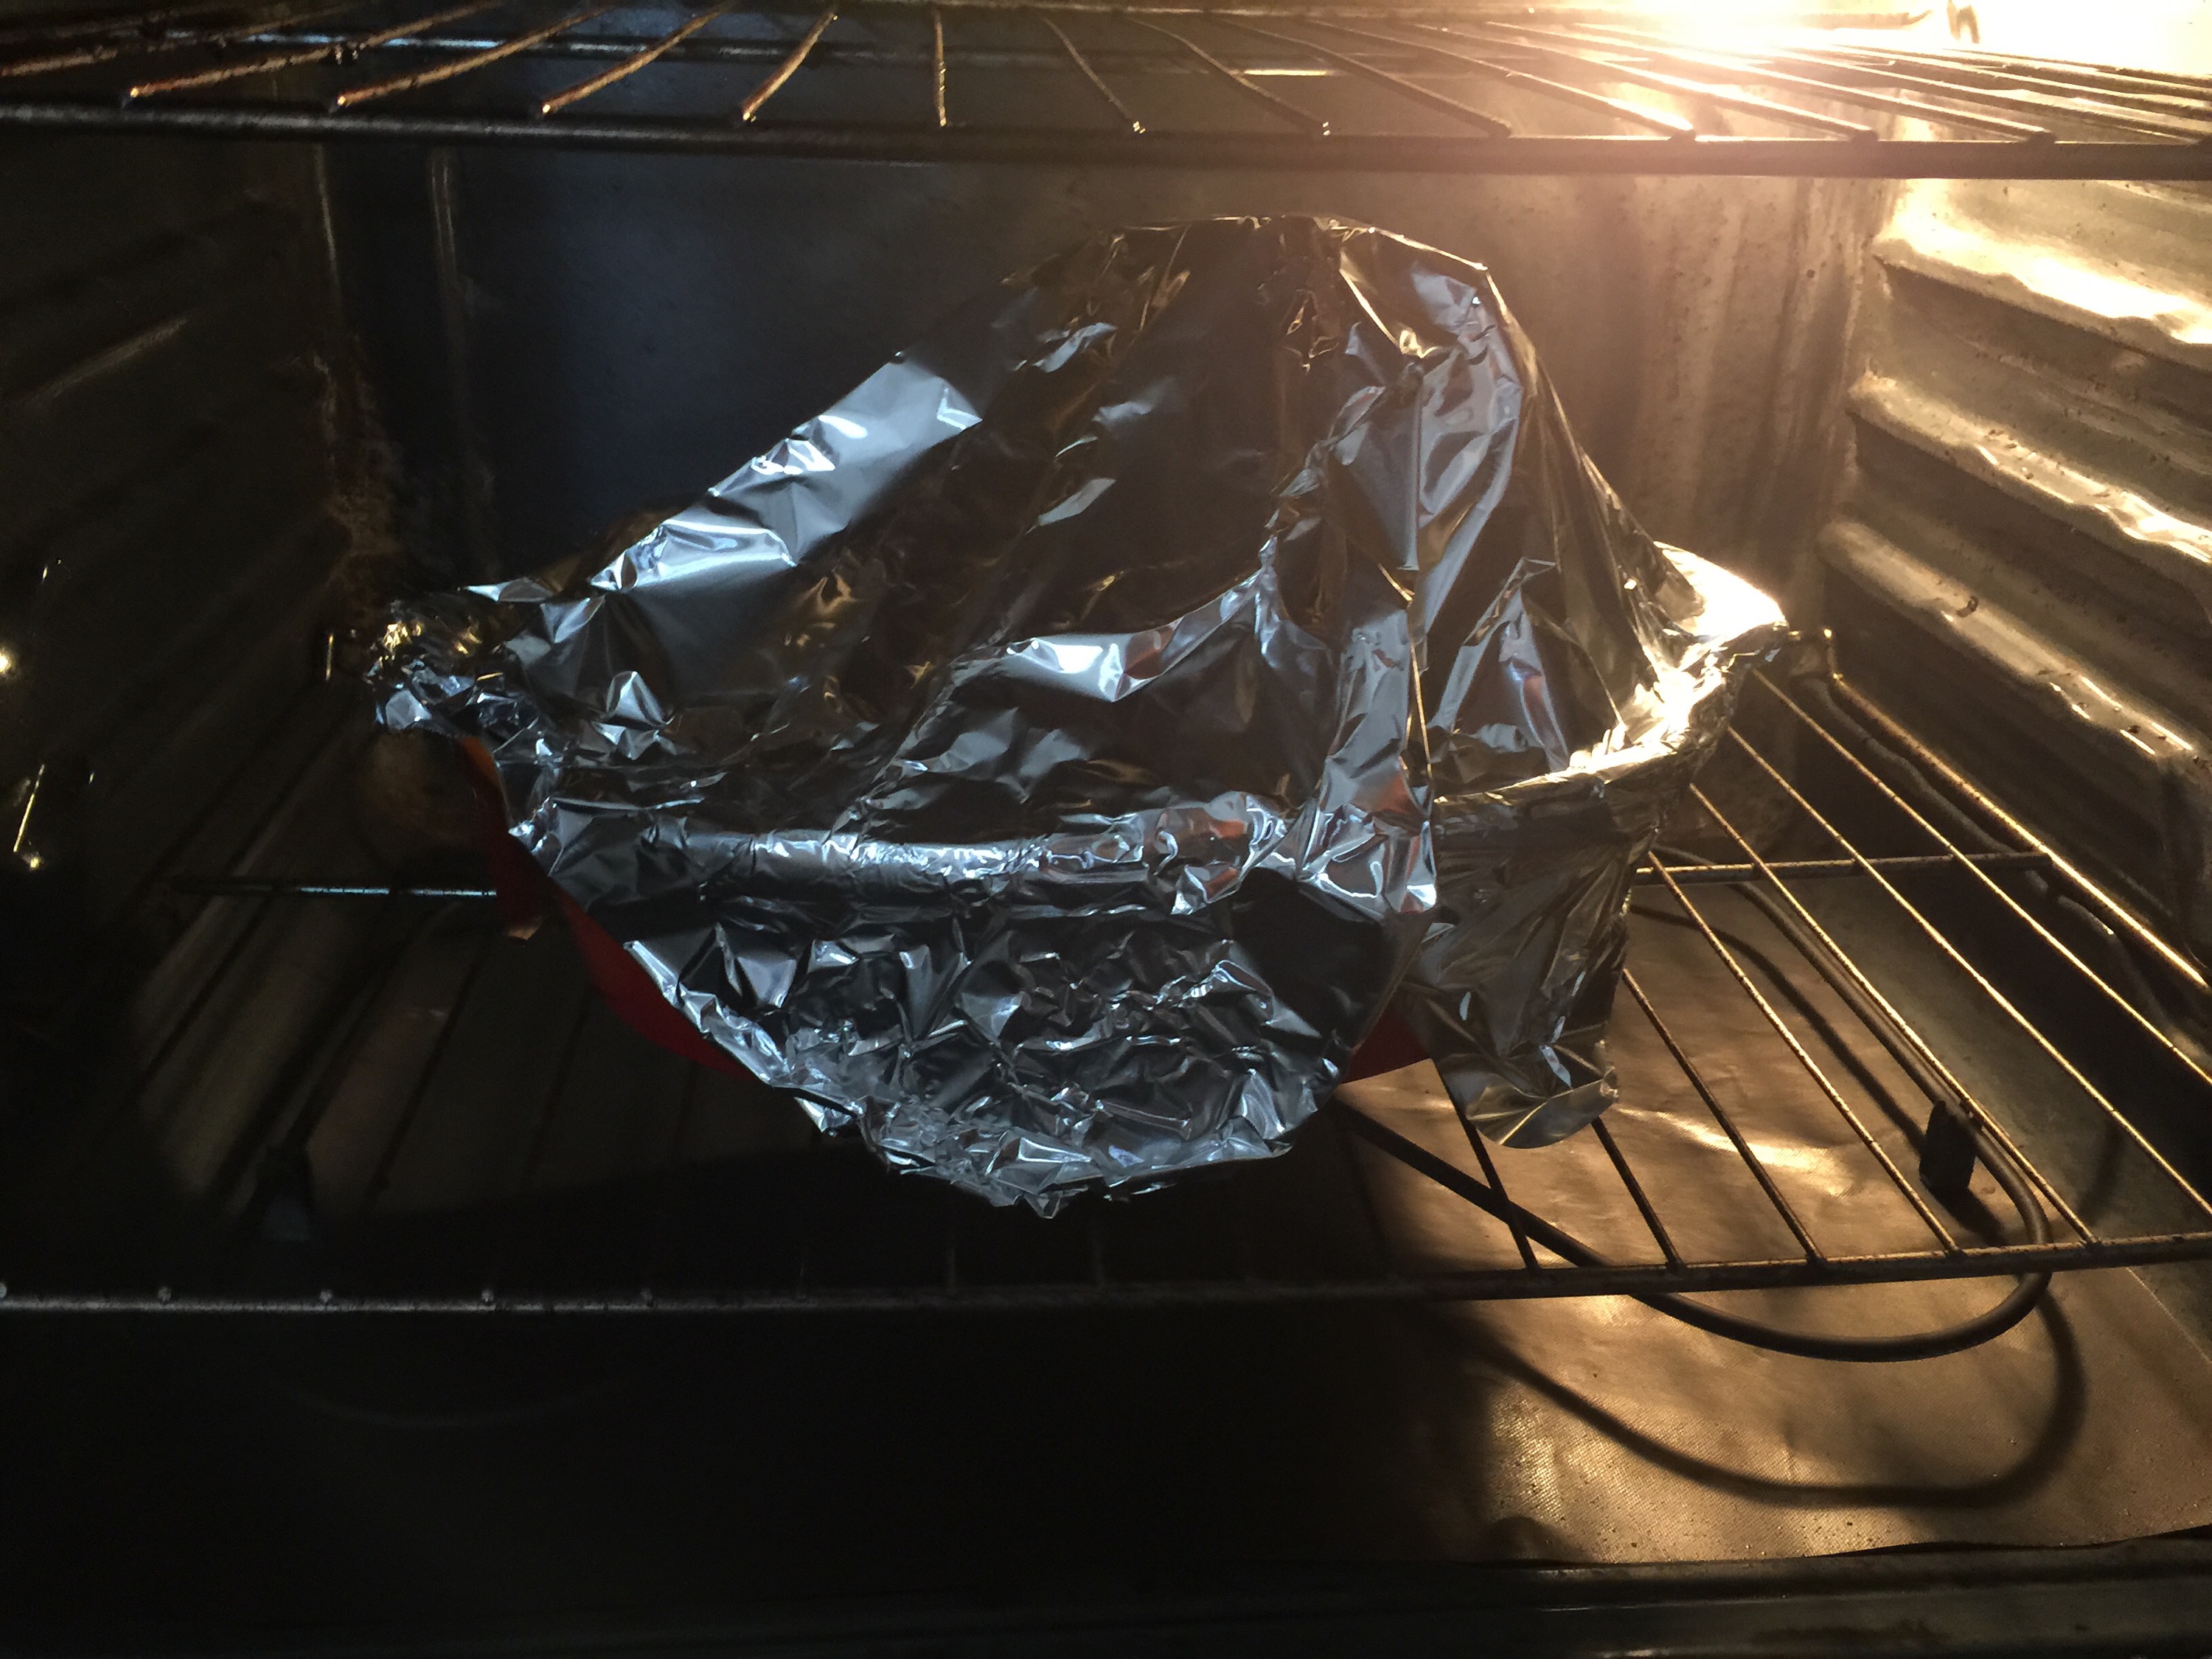
2. Pour one cup of apple cider in with your ham. Any apple cider will do. They’re spiced and seasoned with yummy flavors like clove, cinnamon, and who knows what else. I just know it’s delicious and really gives the ham a yummy flavor, plus it keeps it moist. Then cover in foil and place in your oven 15-20 minutes PER POUND at 325. So, if your ham is 10 pounds, that’s 150-200 minutes baking time. The last 30 minutes of your baking time we will glaze the ham, so set a timer for yourself. Also, you pick the cooking time based on how your tastes are, so my suggestion is set a timer for the shorter time, look at it, and if you want to cook it longer (like I did), then cook it longer.

3. The last 30 minutes of your baking time remove the foil from your ham and pour the glaze all over it. To make the glaze, just put your brown sugar and honey in a microwave safe bowl and nuke it about 1 minute, stirring halfway through. If you don’t have a microwave, you can do it on your stovetop. After you’ve poured the glaze on, put back in your oven for another 30 minutes.
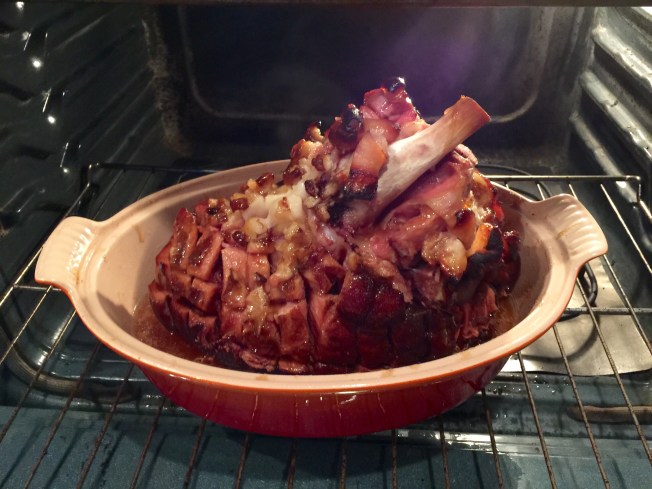
4. After 30 minutes your ham is done! Take it out and let it rest about 10-15 minutes before slicing into it.

Things to do with leftover ham:
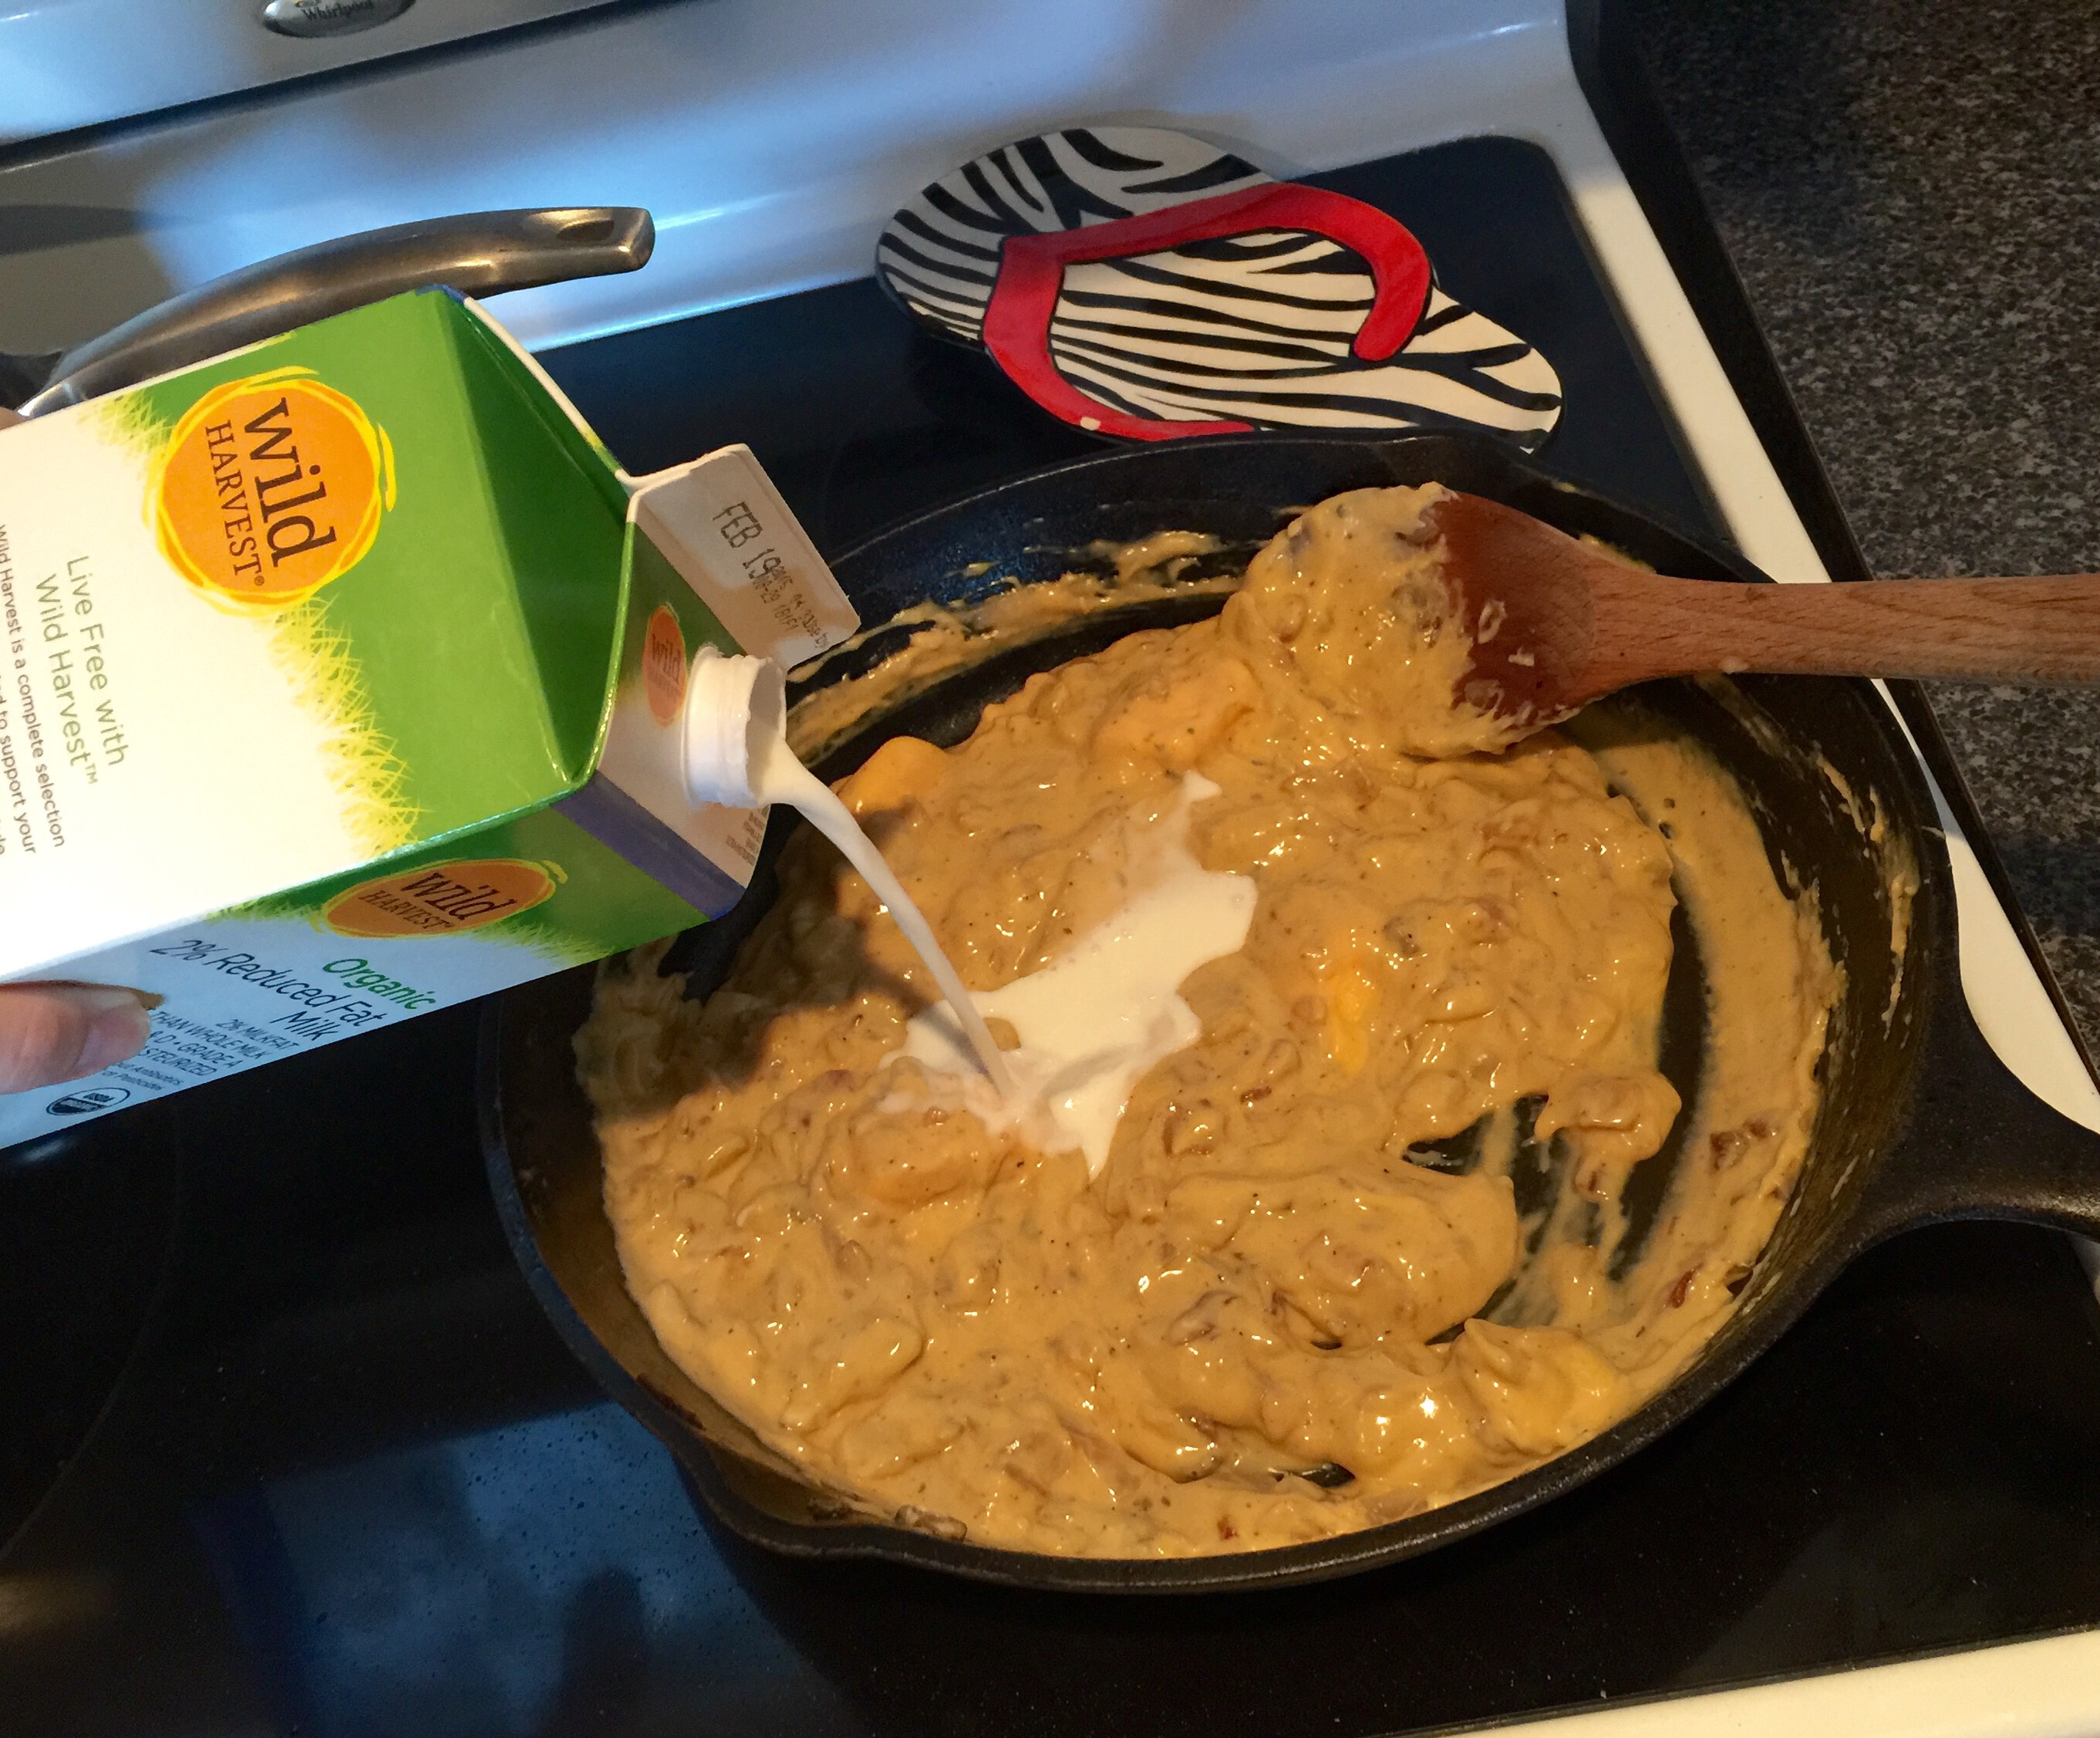
1. Similar to the Hawaiian Sweet Roll ham sandwich recipe I’m sure you’ve all tasted at parties, here is my spin on that: Using 24 dinner rolls from your store’s bakery, cut in half and place on a sheet pan. Cover bottom roll with 50/50 miracle whip/mayo and top with leftover ham and Swiss cheese. Place top back on rolls. In a microwave safe dish, mix 1 cup baked ham juice from roasting pan and 1 stick melted butter. Pour over the rolls and allow to sit anywhere from 10 minutes to overnight in the fridge wrapped in foil. Place covered in foil in a 350 degree oven for 15 minutes, then serve the most delicious little ham sandwich straight from heaven.
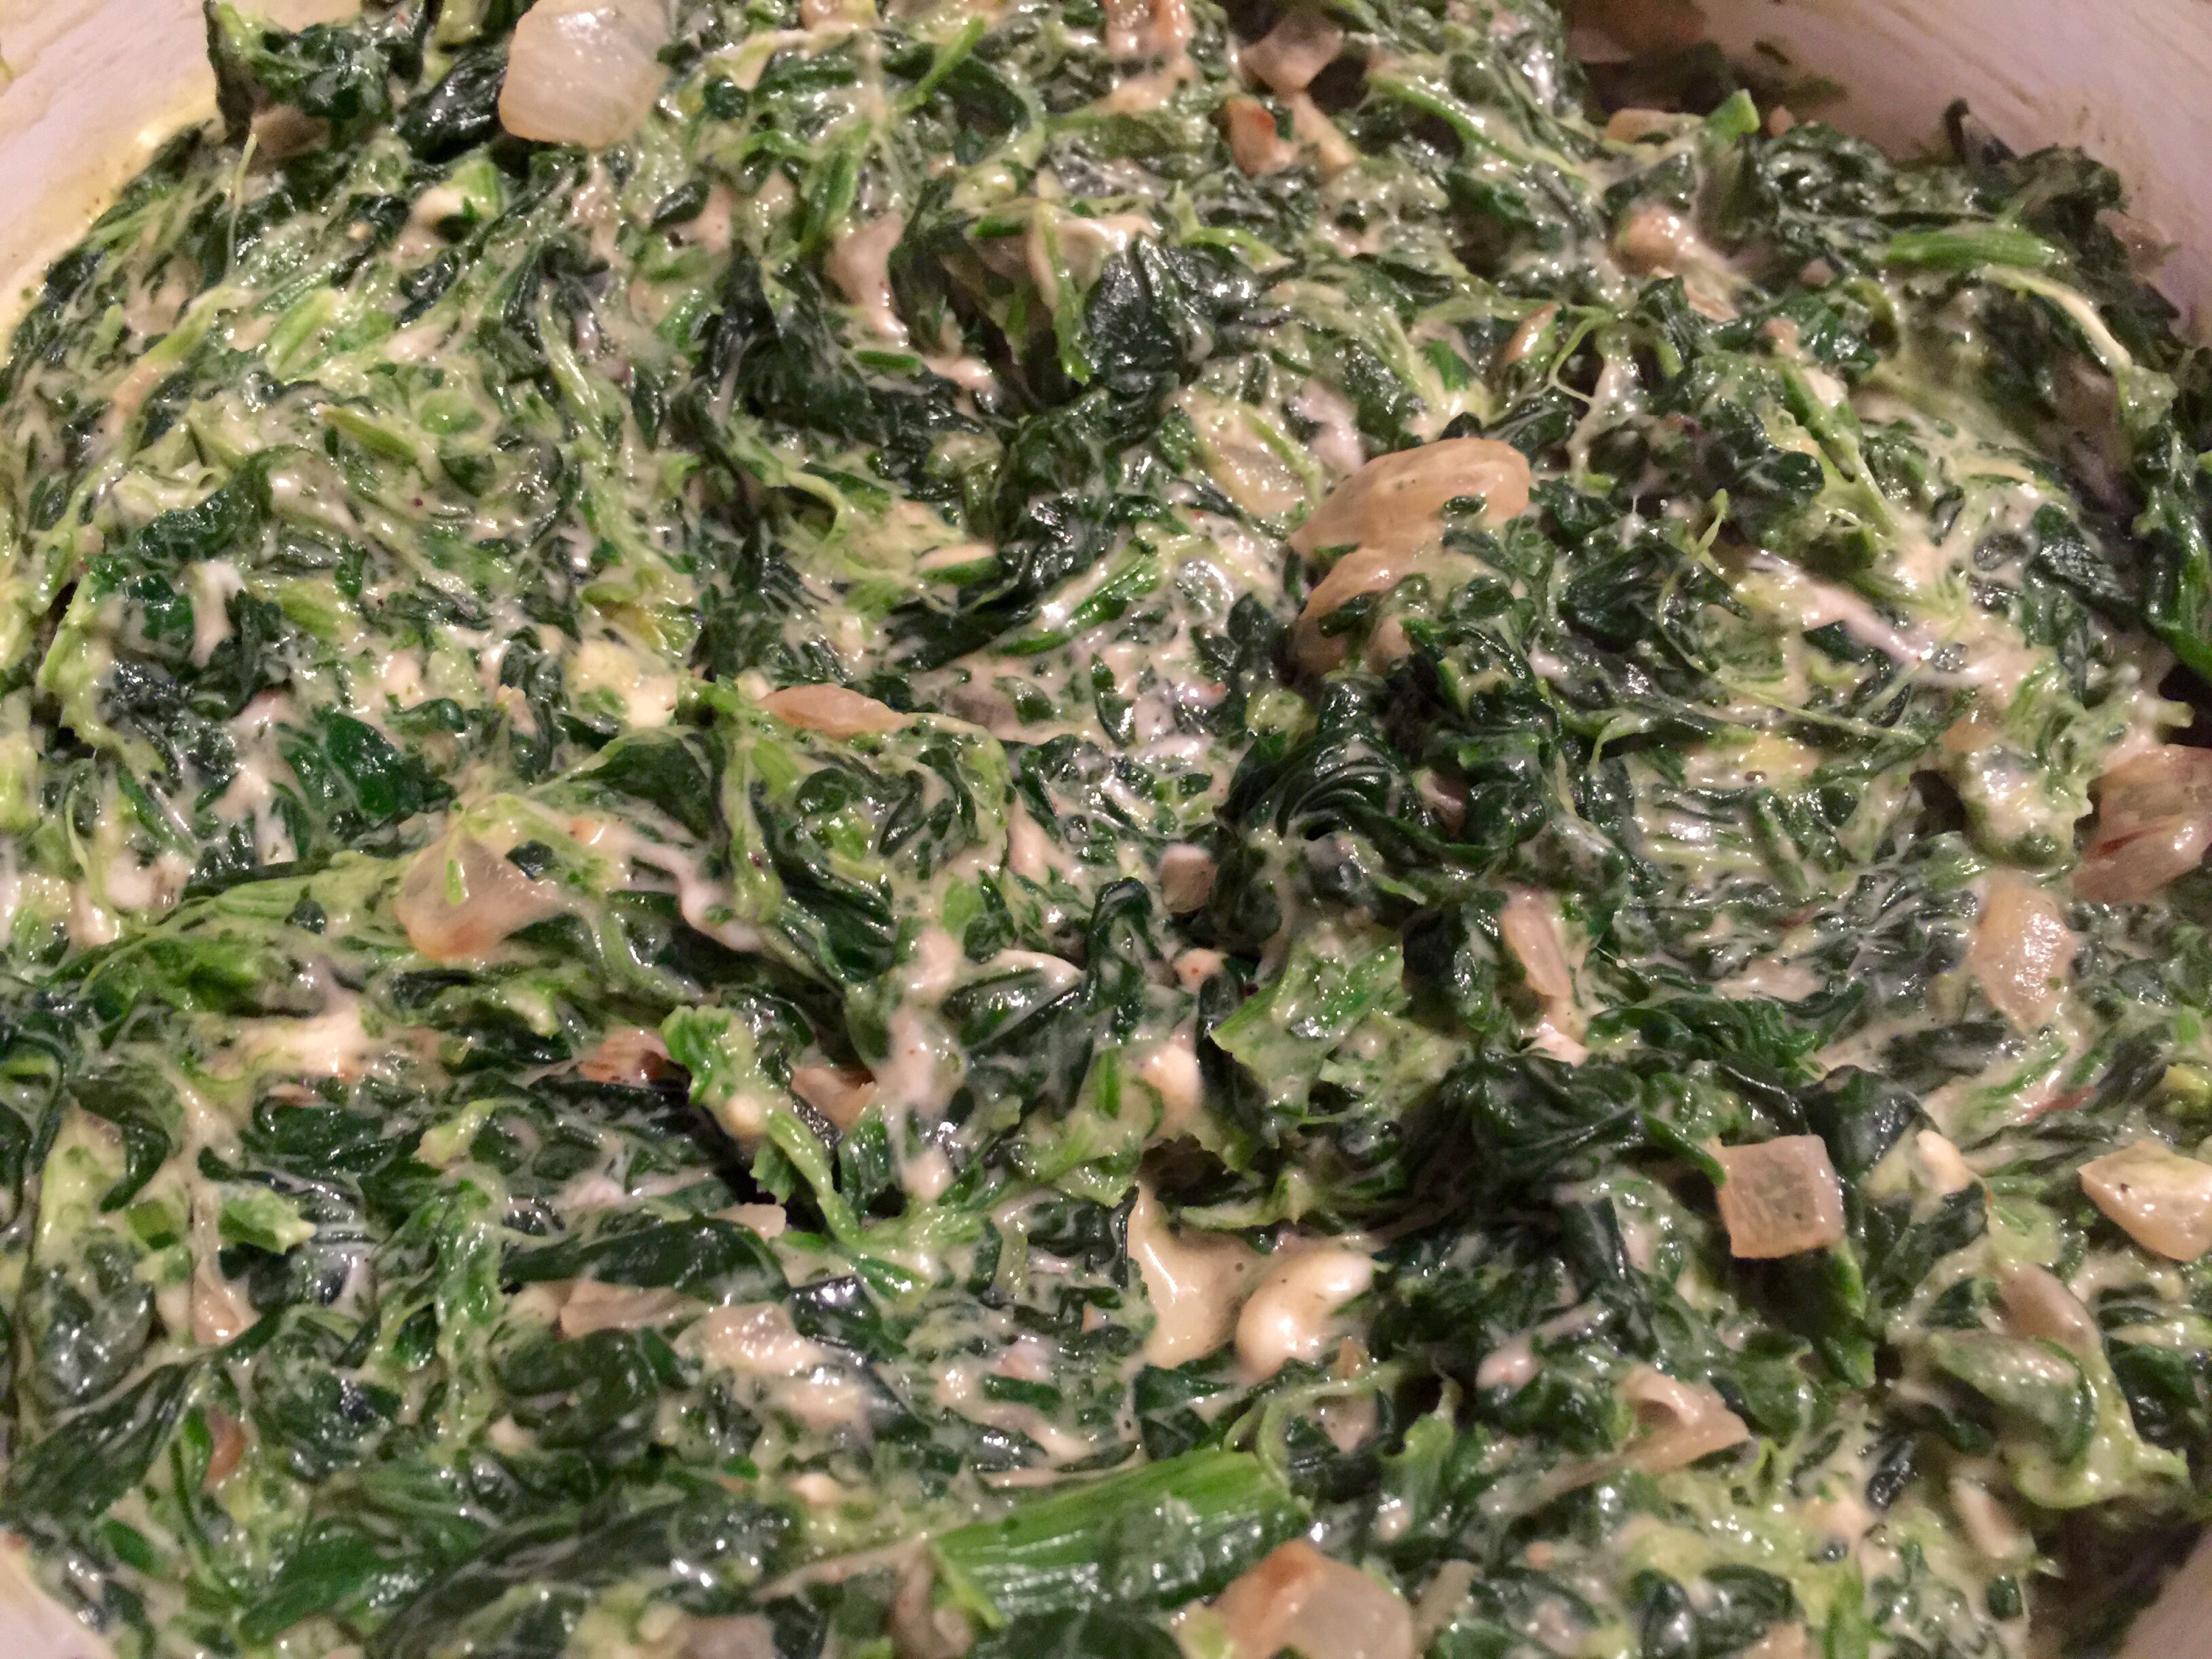
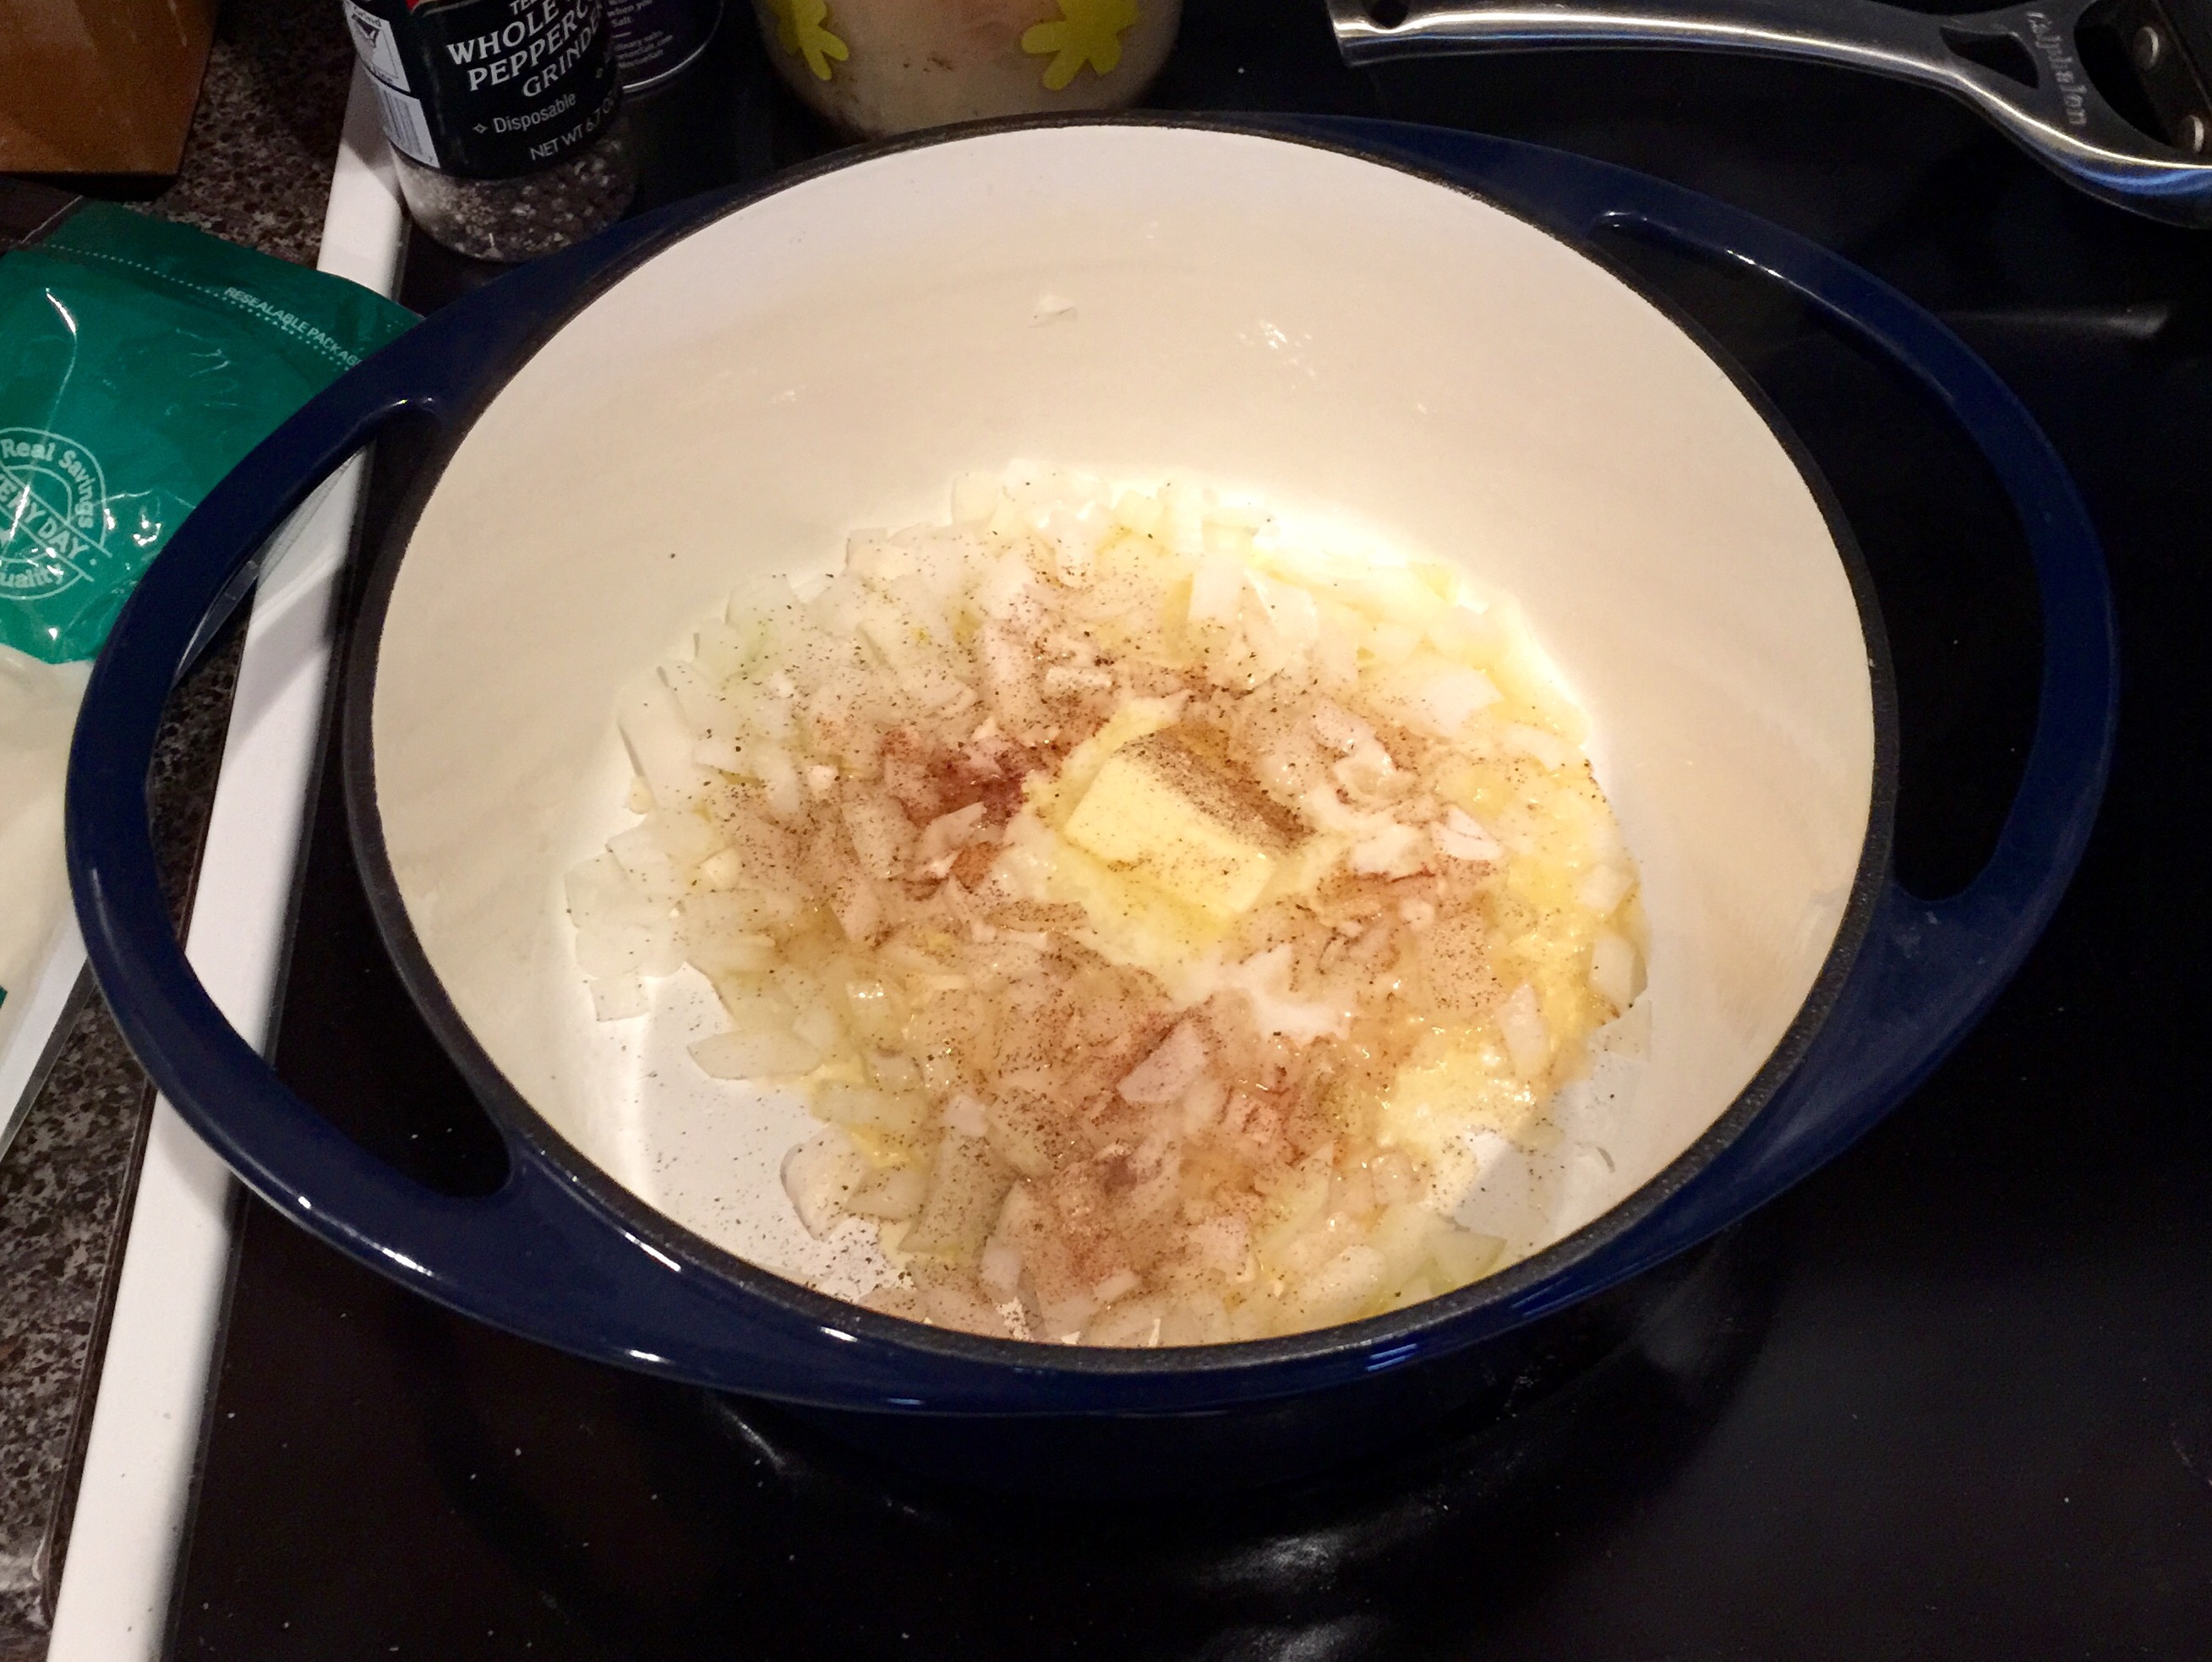
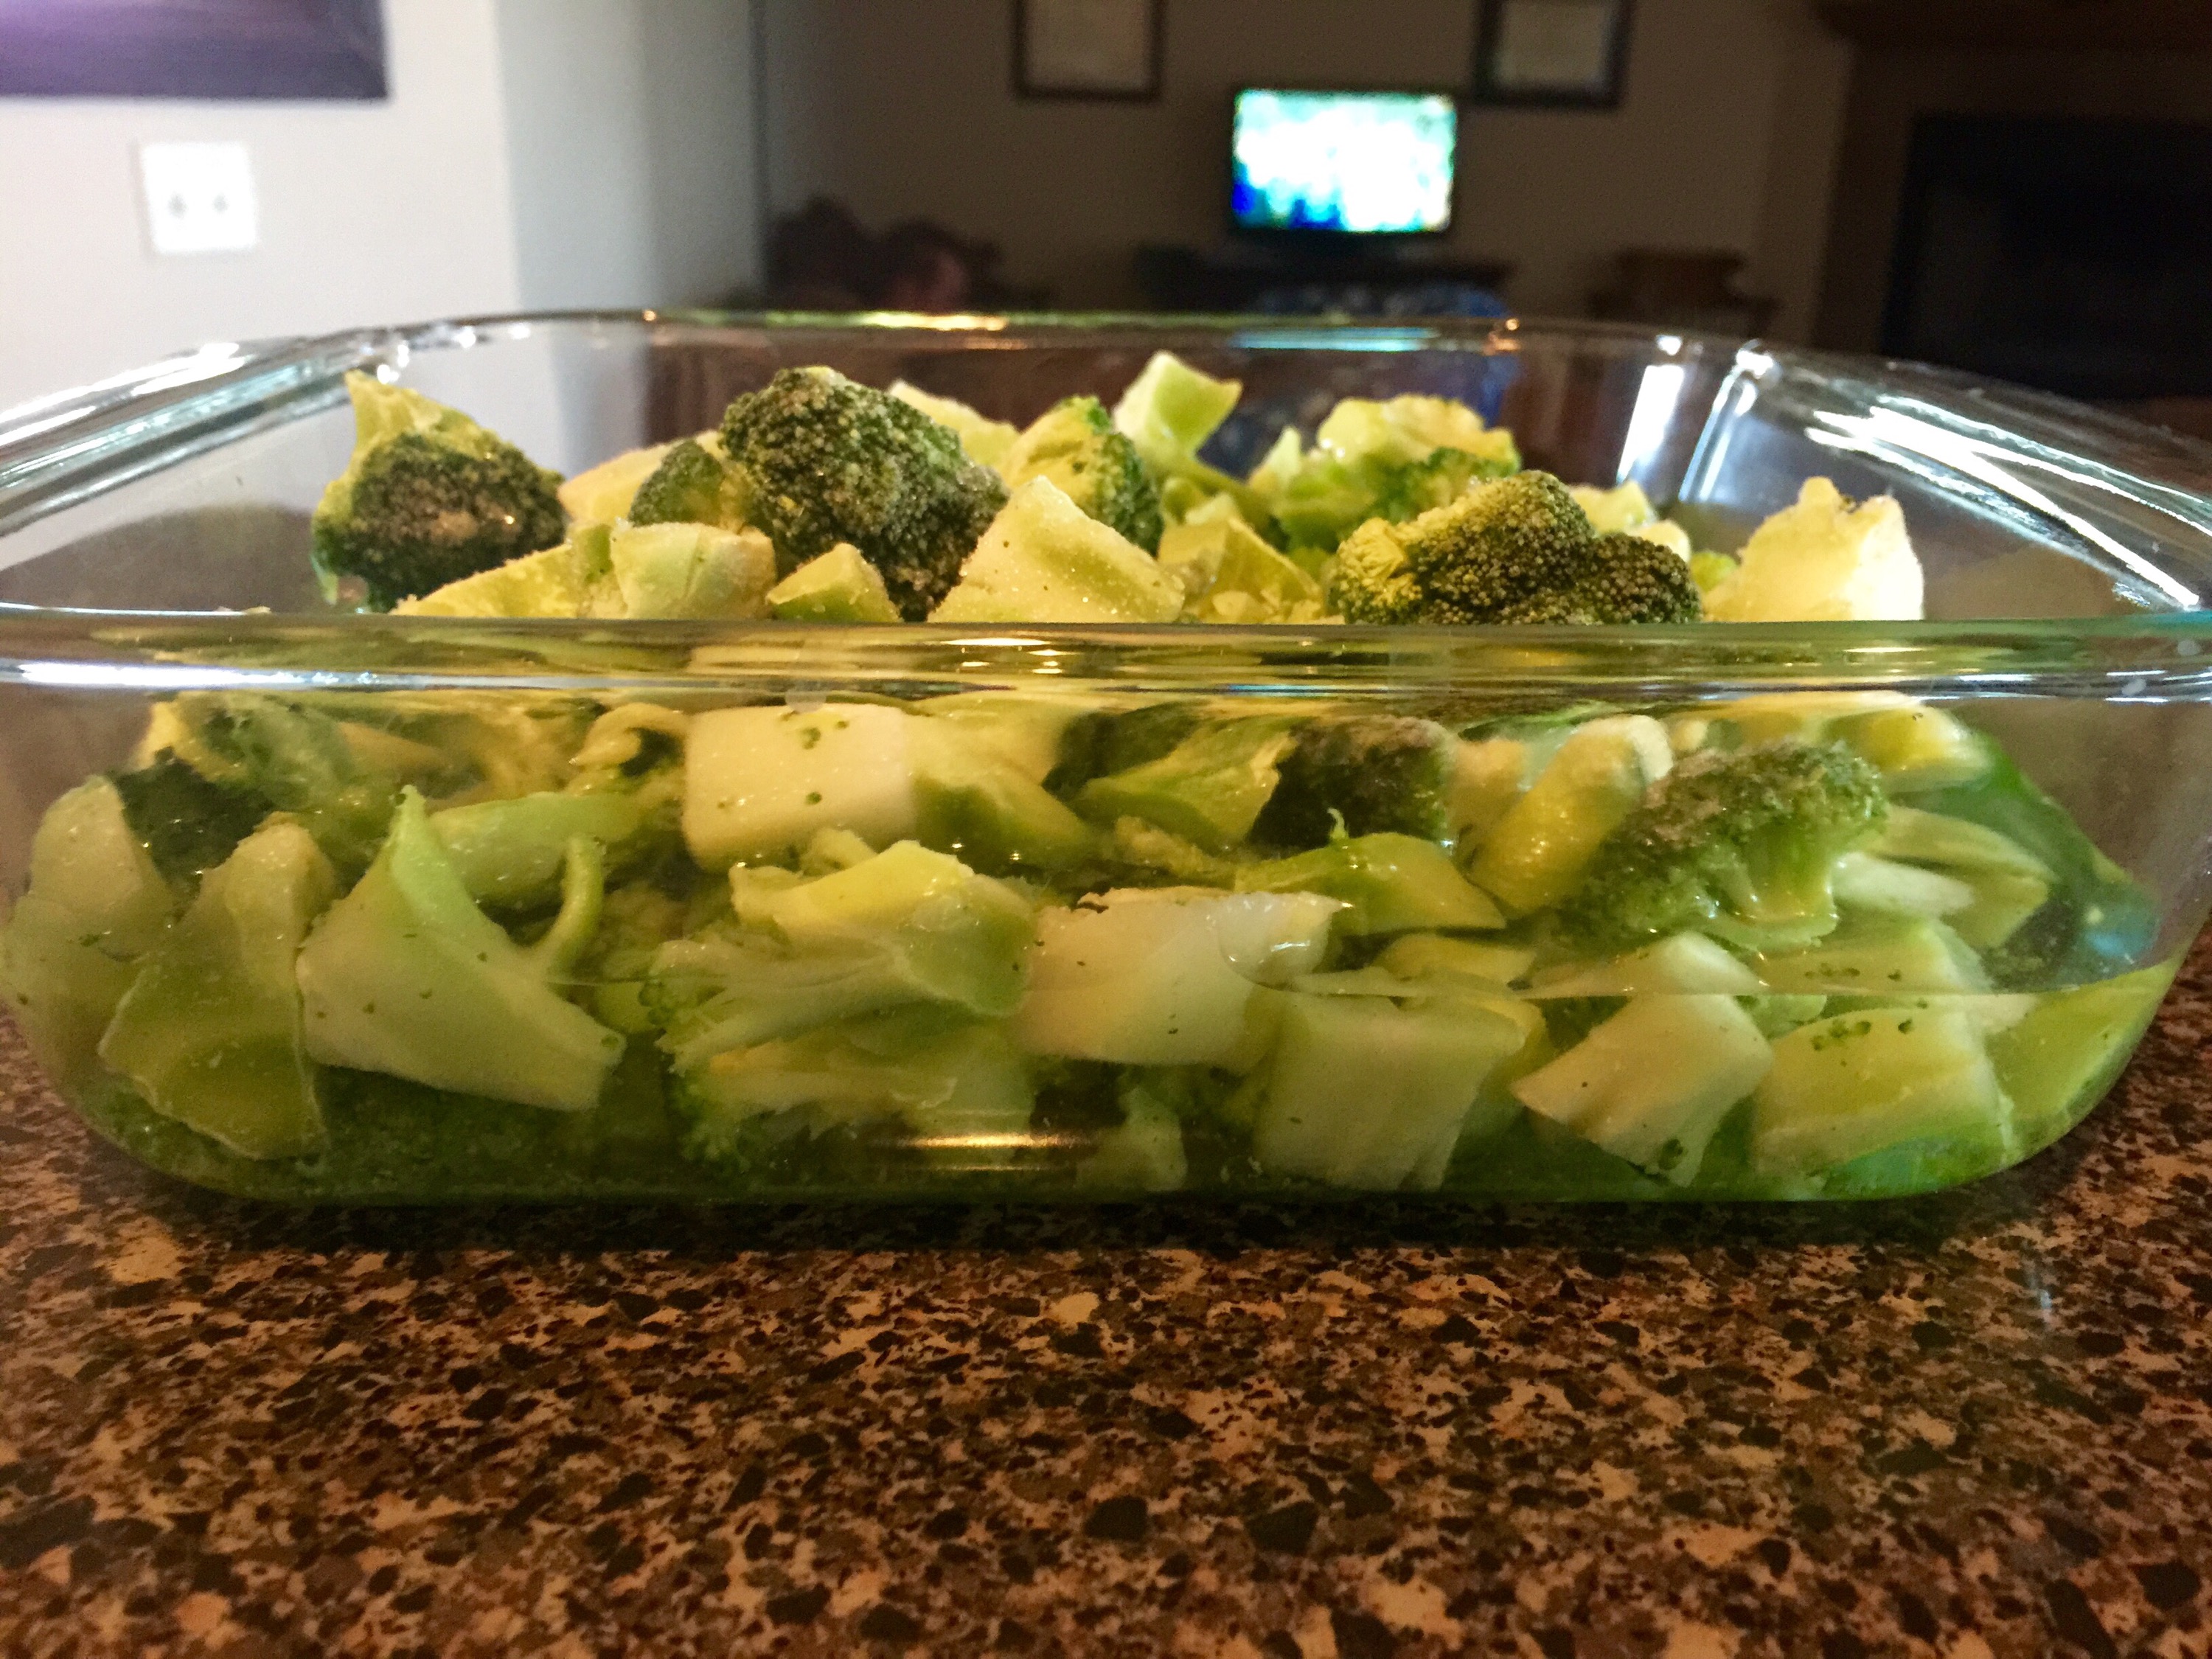
2. Save the leftover ham juice and ham hock. You can use them separately in different dishes to stretch out the use of your ham. Check out my turnip greens recipe if you like those. Or put the ham hock in a pot of beans, cream peas, soup, etc. You can’t go wrong! I even used part of my leftover juice to boil a bag of frozen green beans with salt and pepper and they were fantastic!
Hambone, hambone, have ya heard?! I’m sorry, I couldn’t resist 😄