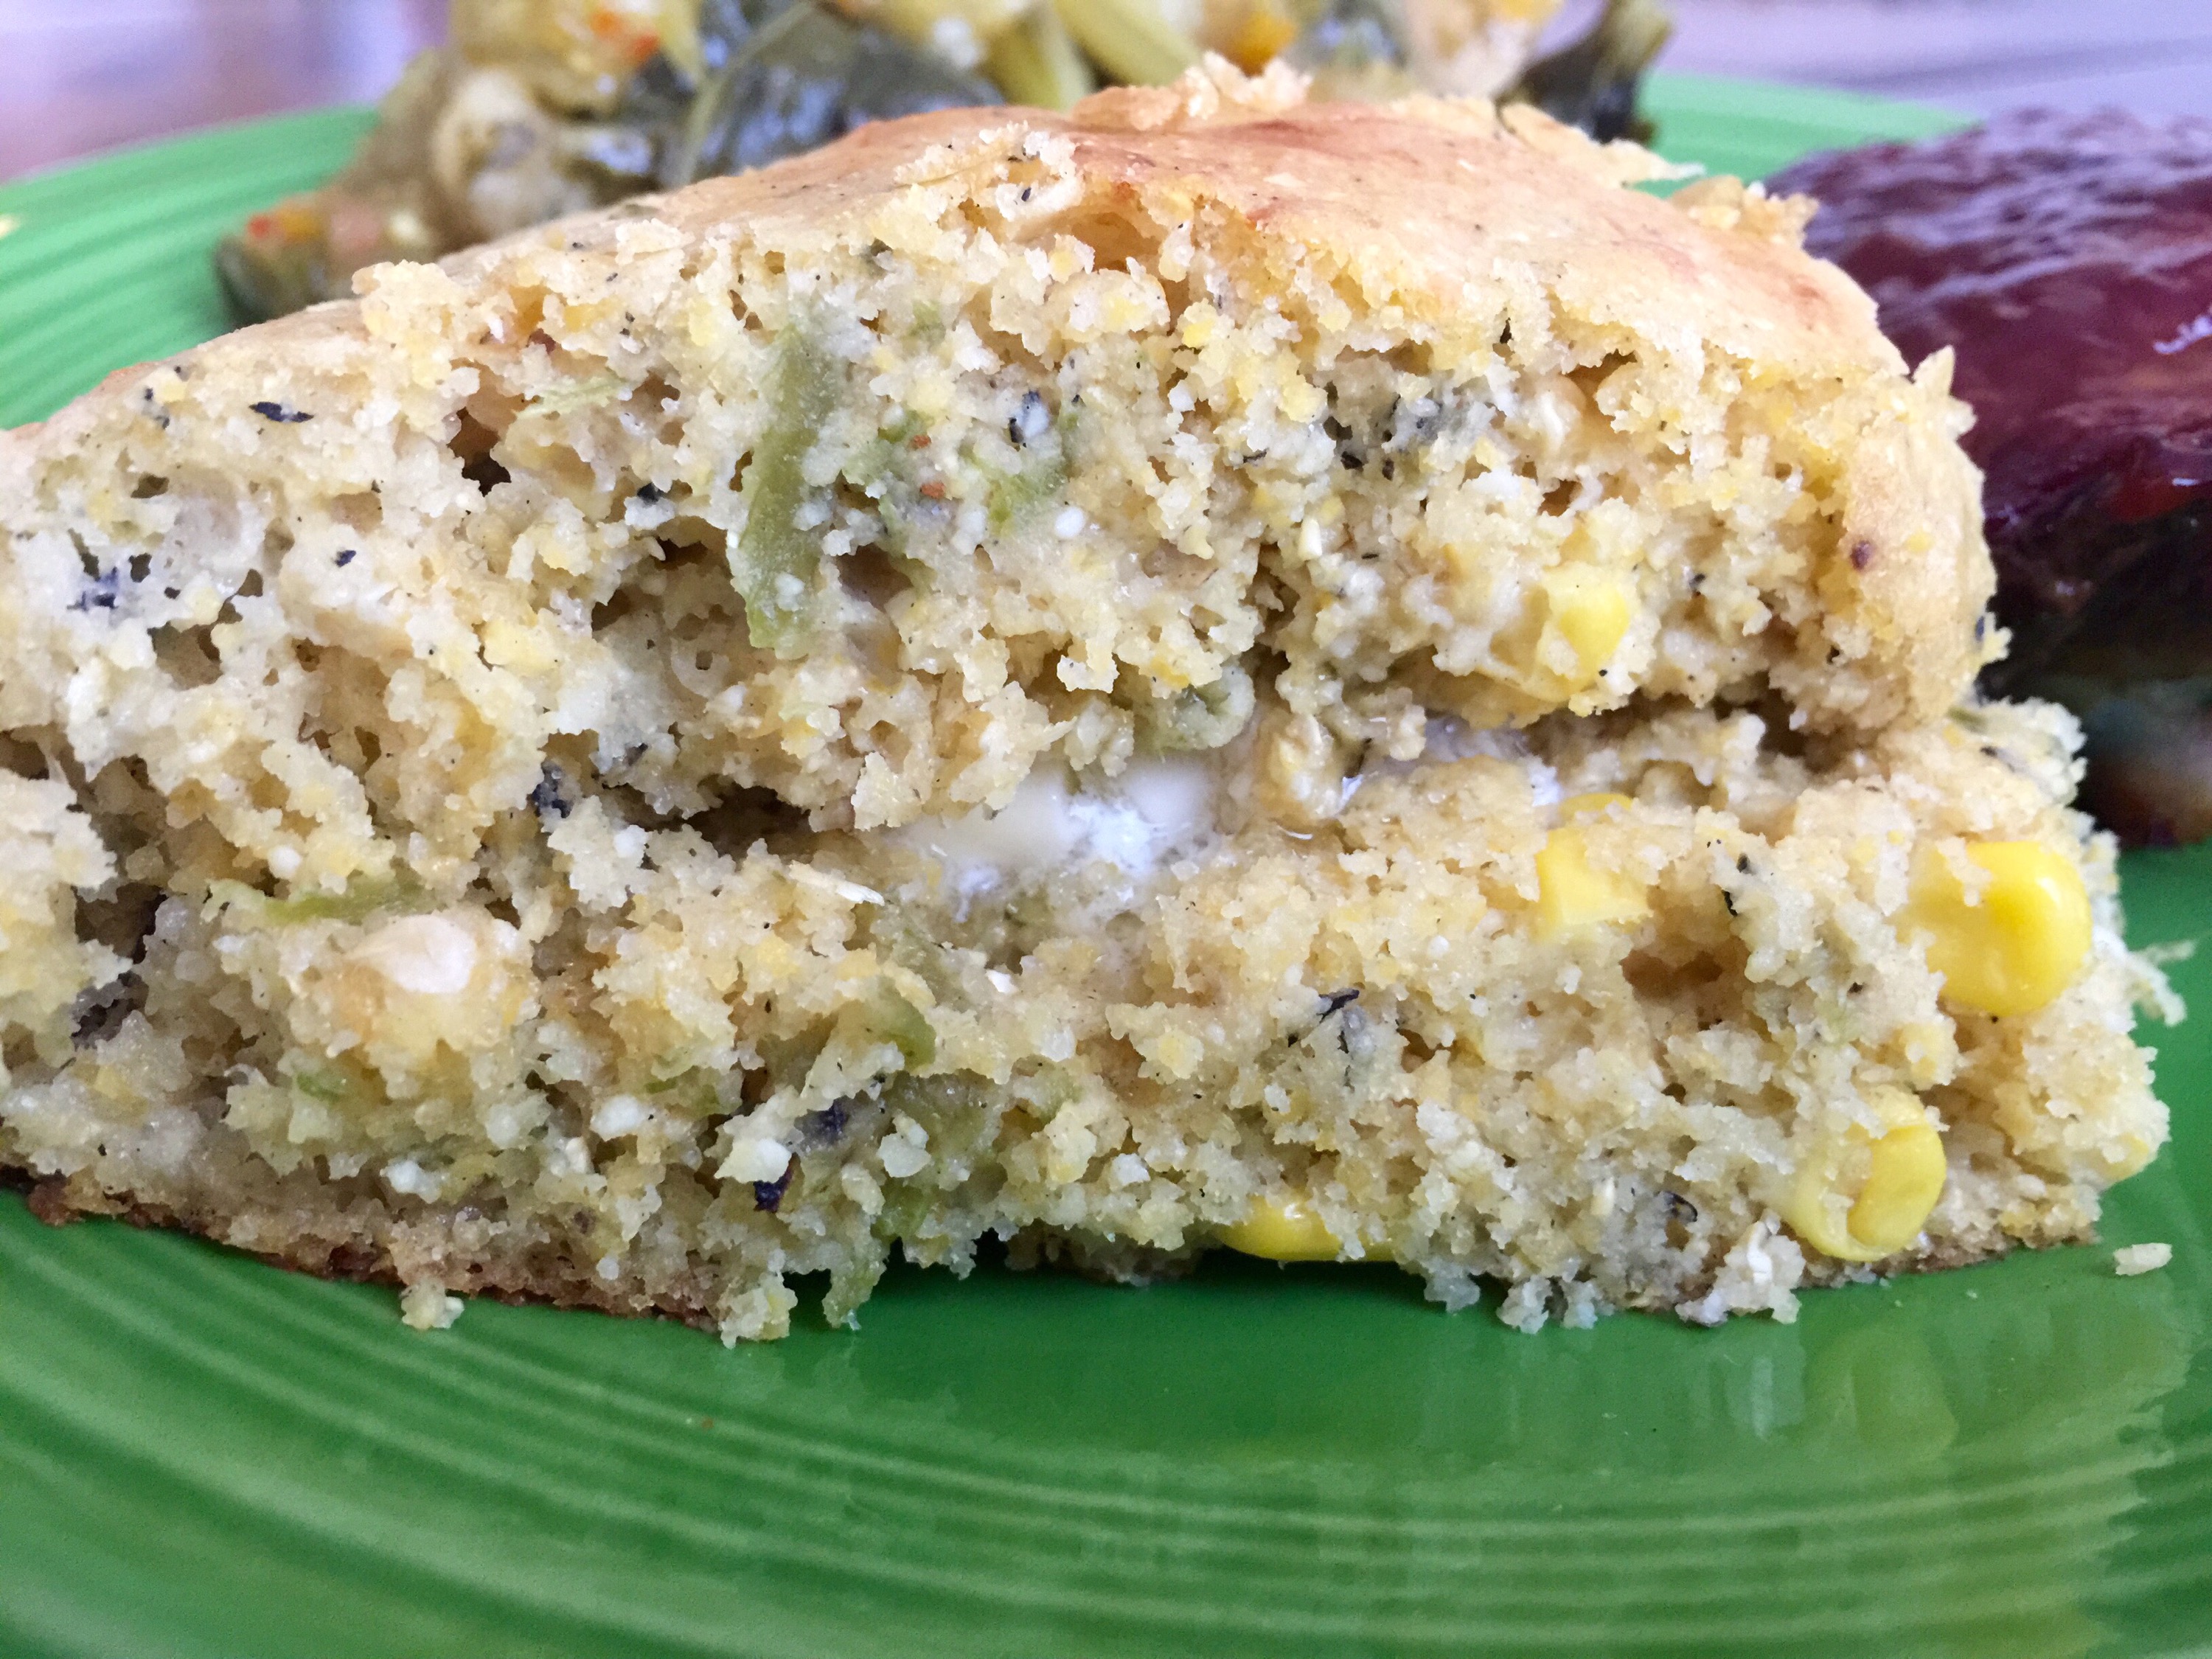
Fall is just around the corner and that means the county fair is on its way for this part of Texas. So I’ve been working all summer on trying to achieve the perfect cornbread recipe to enter into the cornbread contest. I’ve finally got it! My husband even said “This is the best cornbread I’ve ever had in my life!” 😍 I’ll keep yall posted if I win, but even if I don’t, this cornbread is still delicious!
*Update* My cornbread won third place yall in the Tri-State Fair! It was entered into the cornbread contest and 1st and 2nd prize went to plain cornbread, but they said they loved my Mexican cornbread! Hopefully next year they’ll separate the categories into a plain cornbread and Mexican cornbread, but I’ll take it for this year! 😊
Ingredients:
- 1 1/2 c cornmeal
- 1/2 c all purpose flour (you can also use whole wheat flour or corn flour)
- 4 tsp baking powder
- 1/2 tsp salt
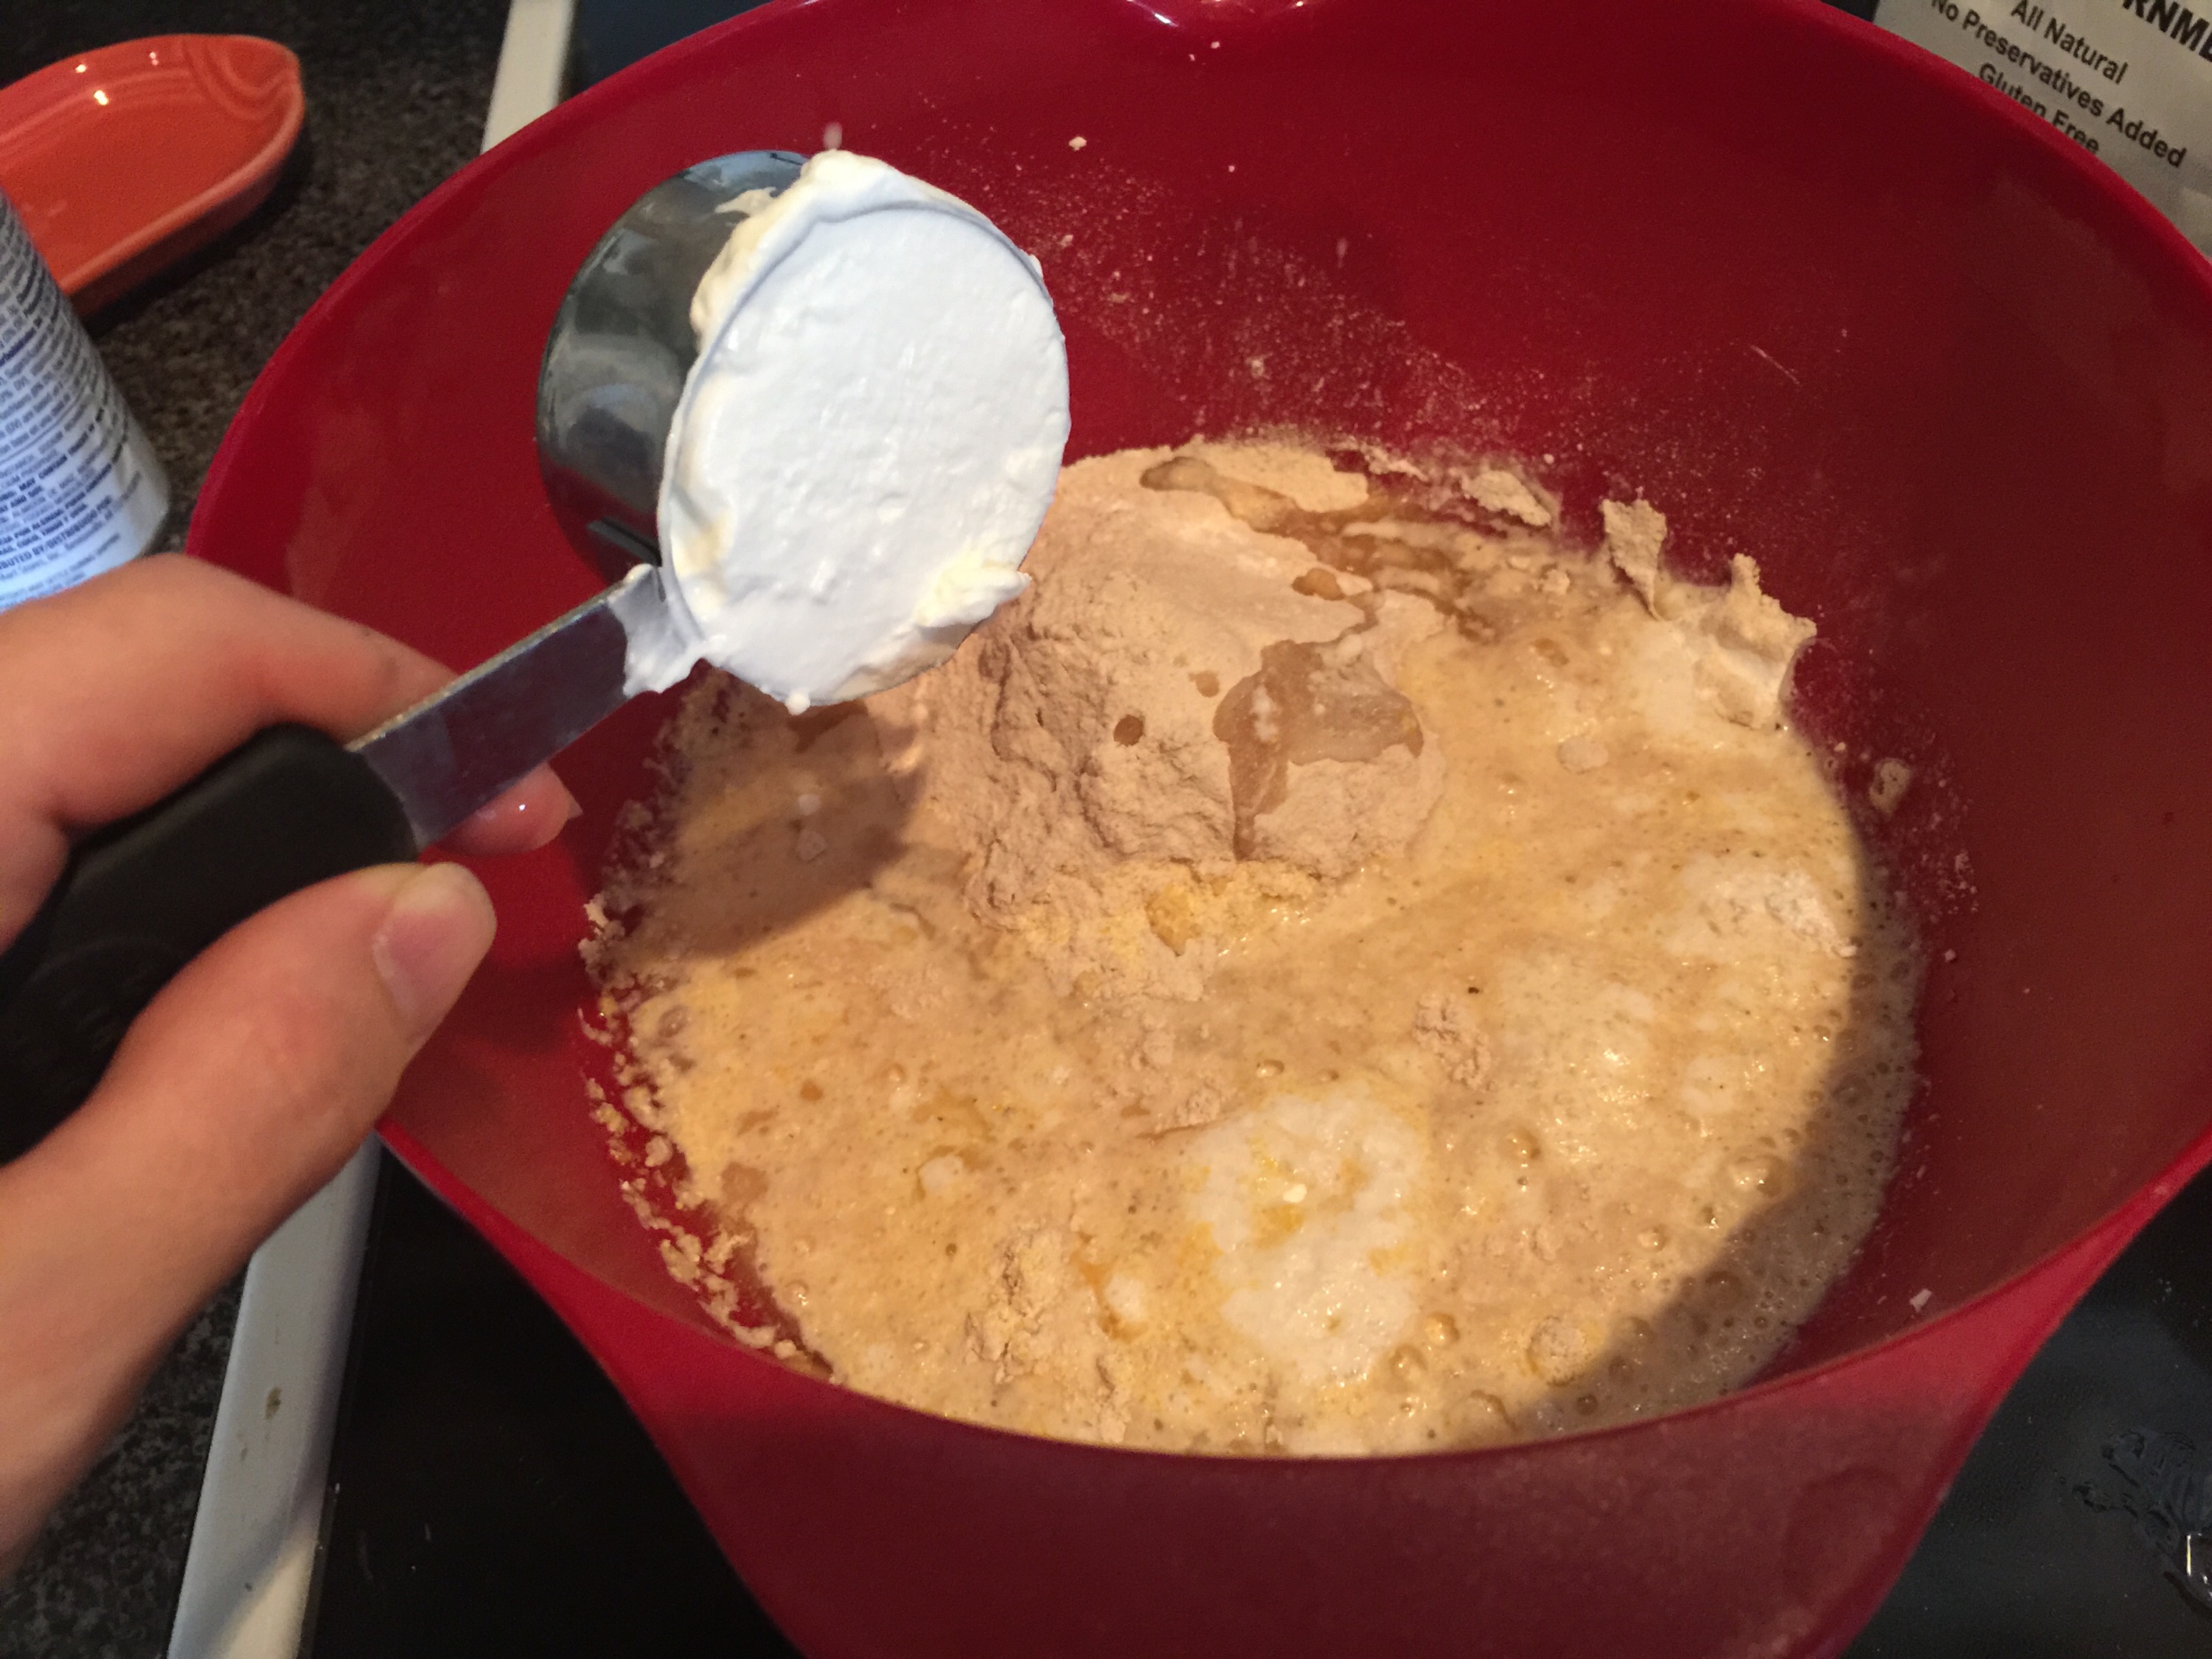
- 1 T honey
- 1 c milk
- 2 eggs
- 1/4 c oil
- 1/4 c sour cream
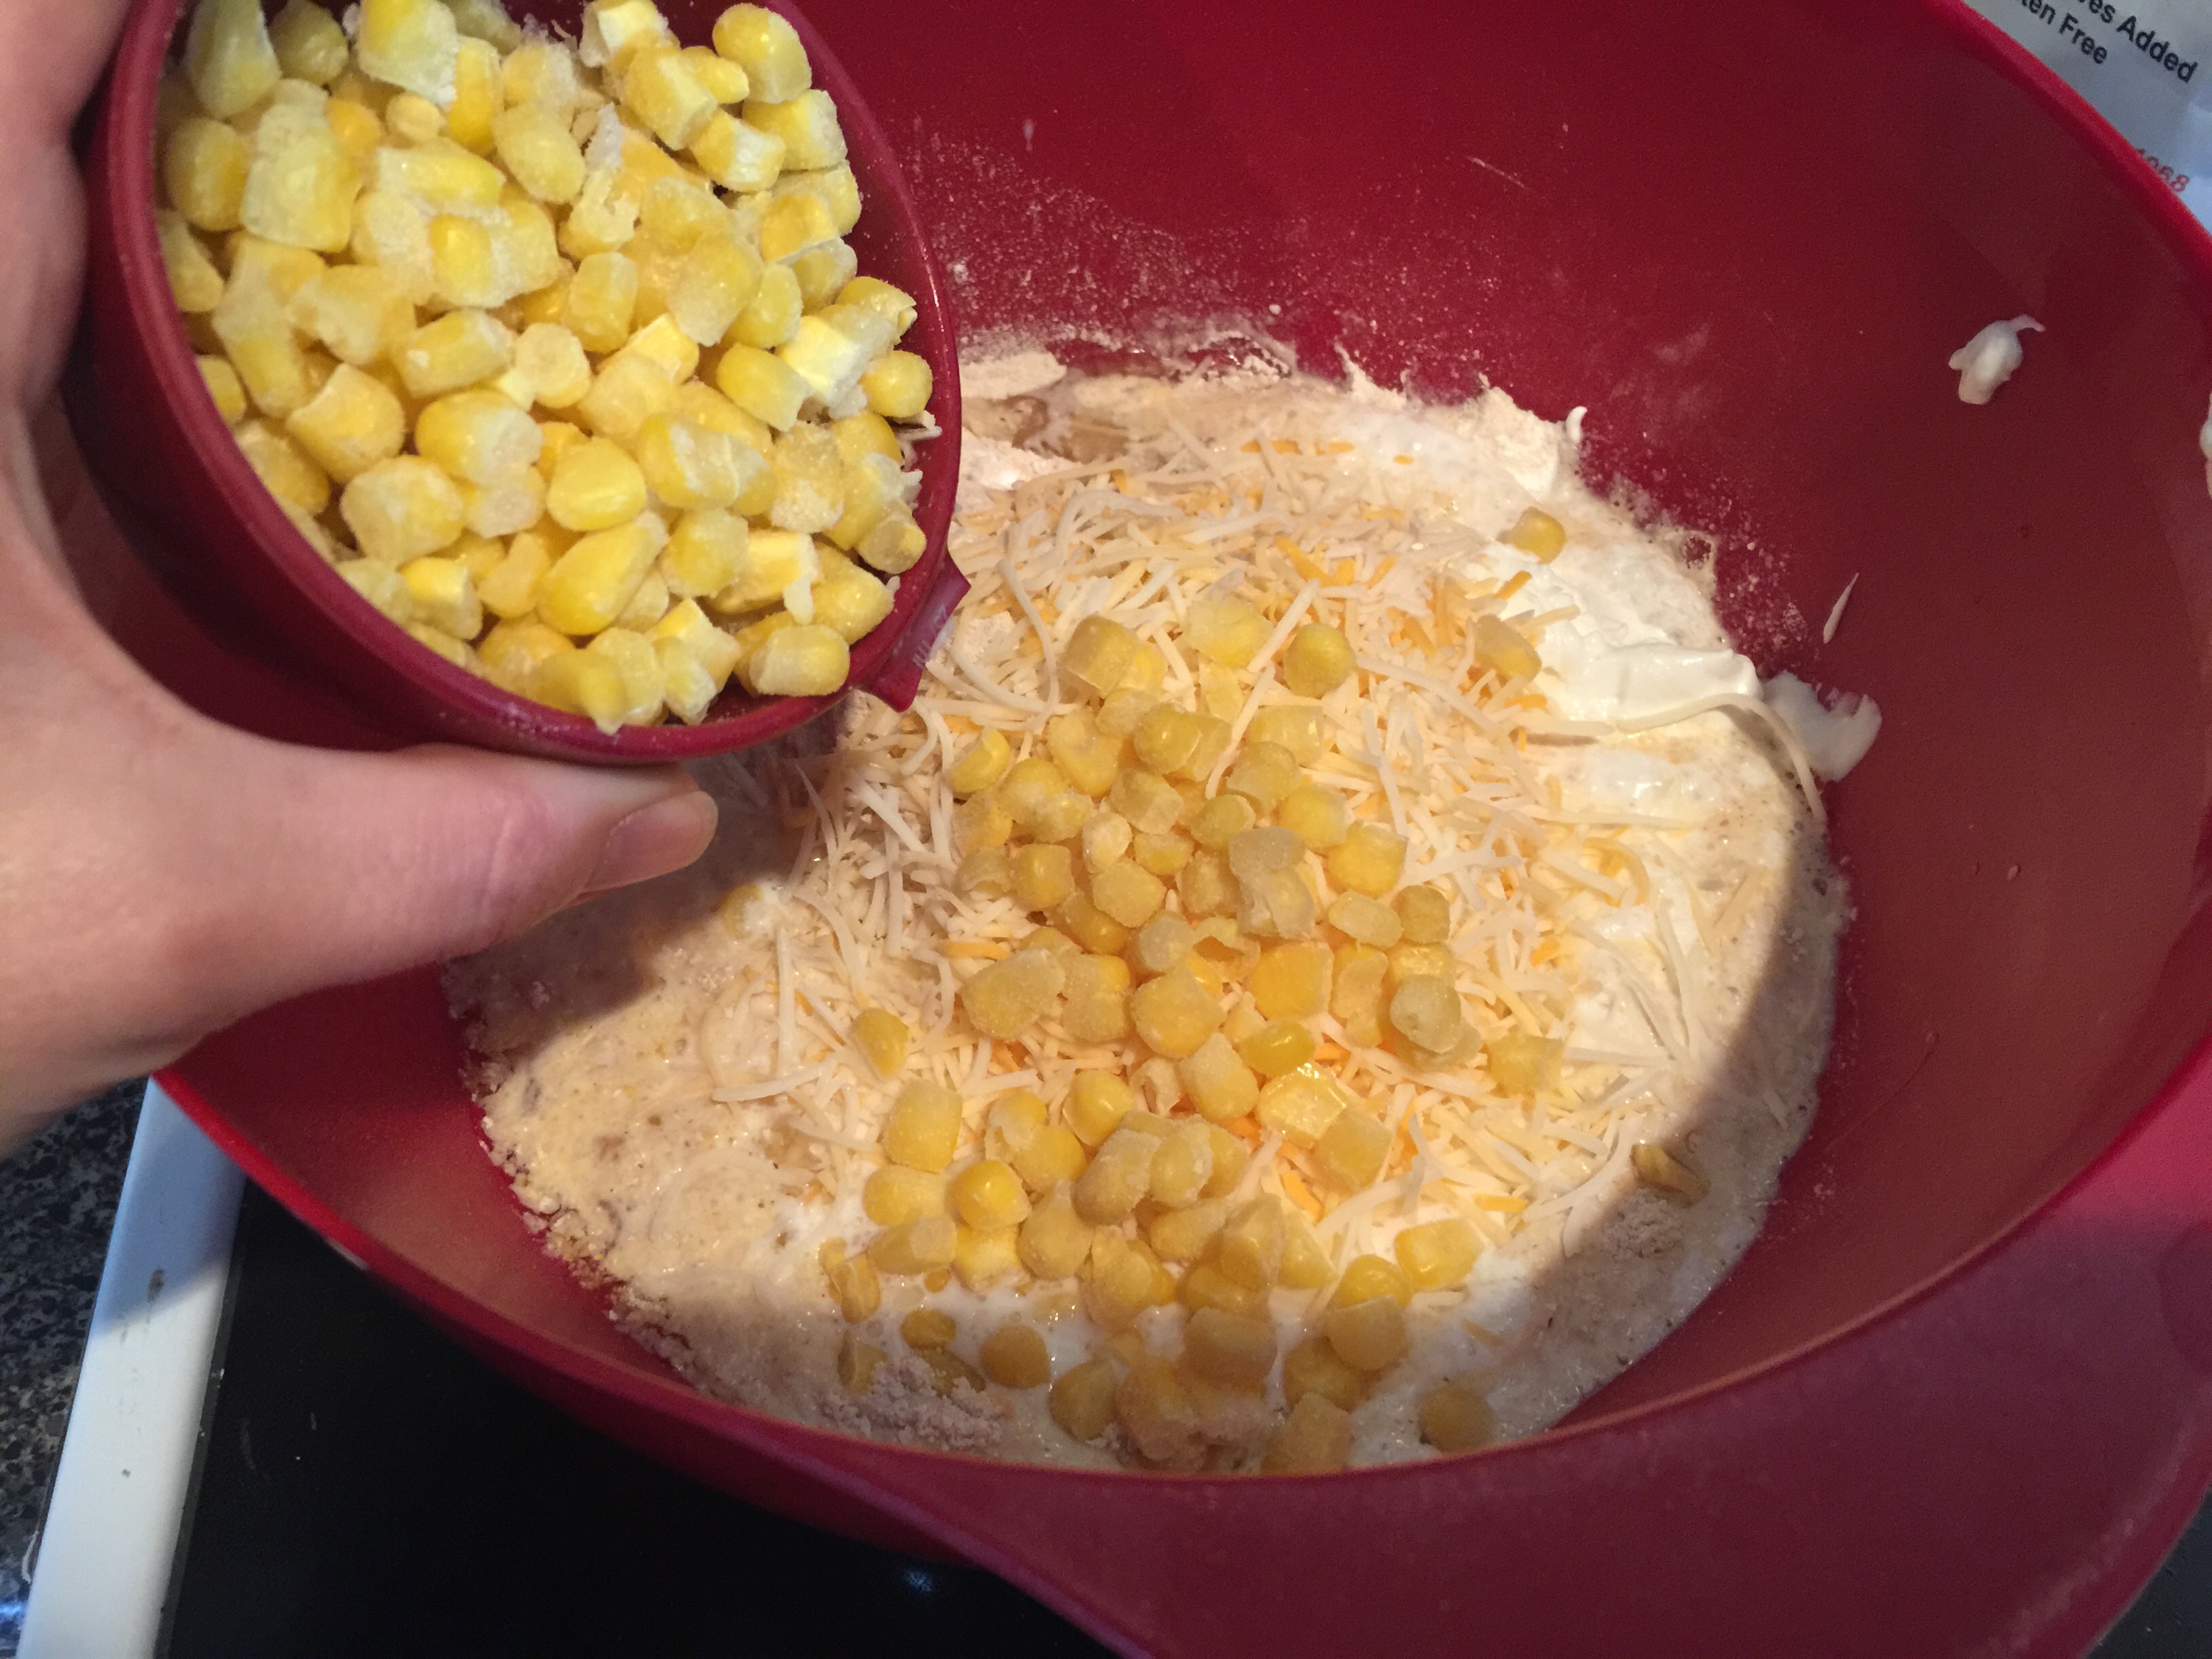
- 1/4 – 1/2 c chopped green chiles (I used Hatch fire roasted chiles and you can adjust the heat by either using 1/4 c or 1/2 c) *if you don’t have these fresh they come canned nearly everywhere
- 1 c frozen corn kernels
- 1 c shredded Mexican cheese (you can just use cheddar if that’s all you’ve got on hand)
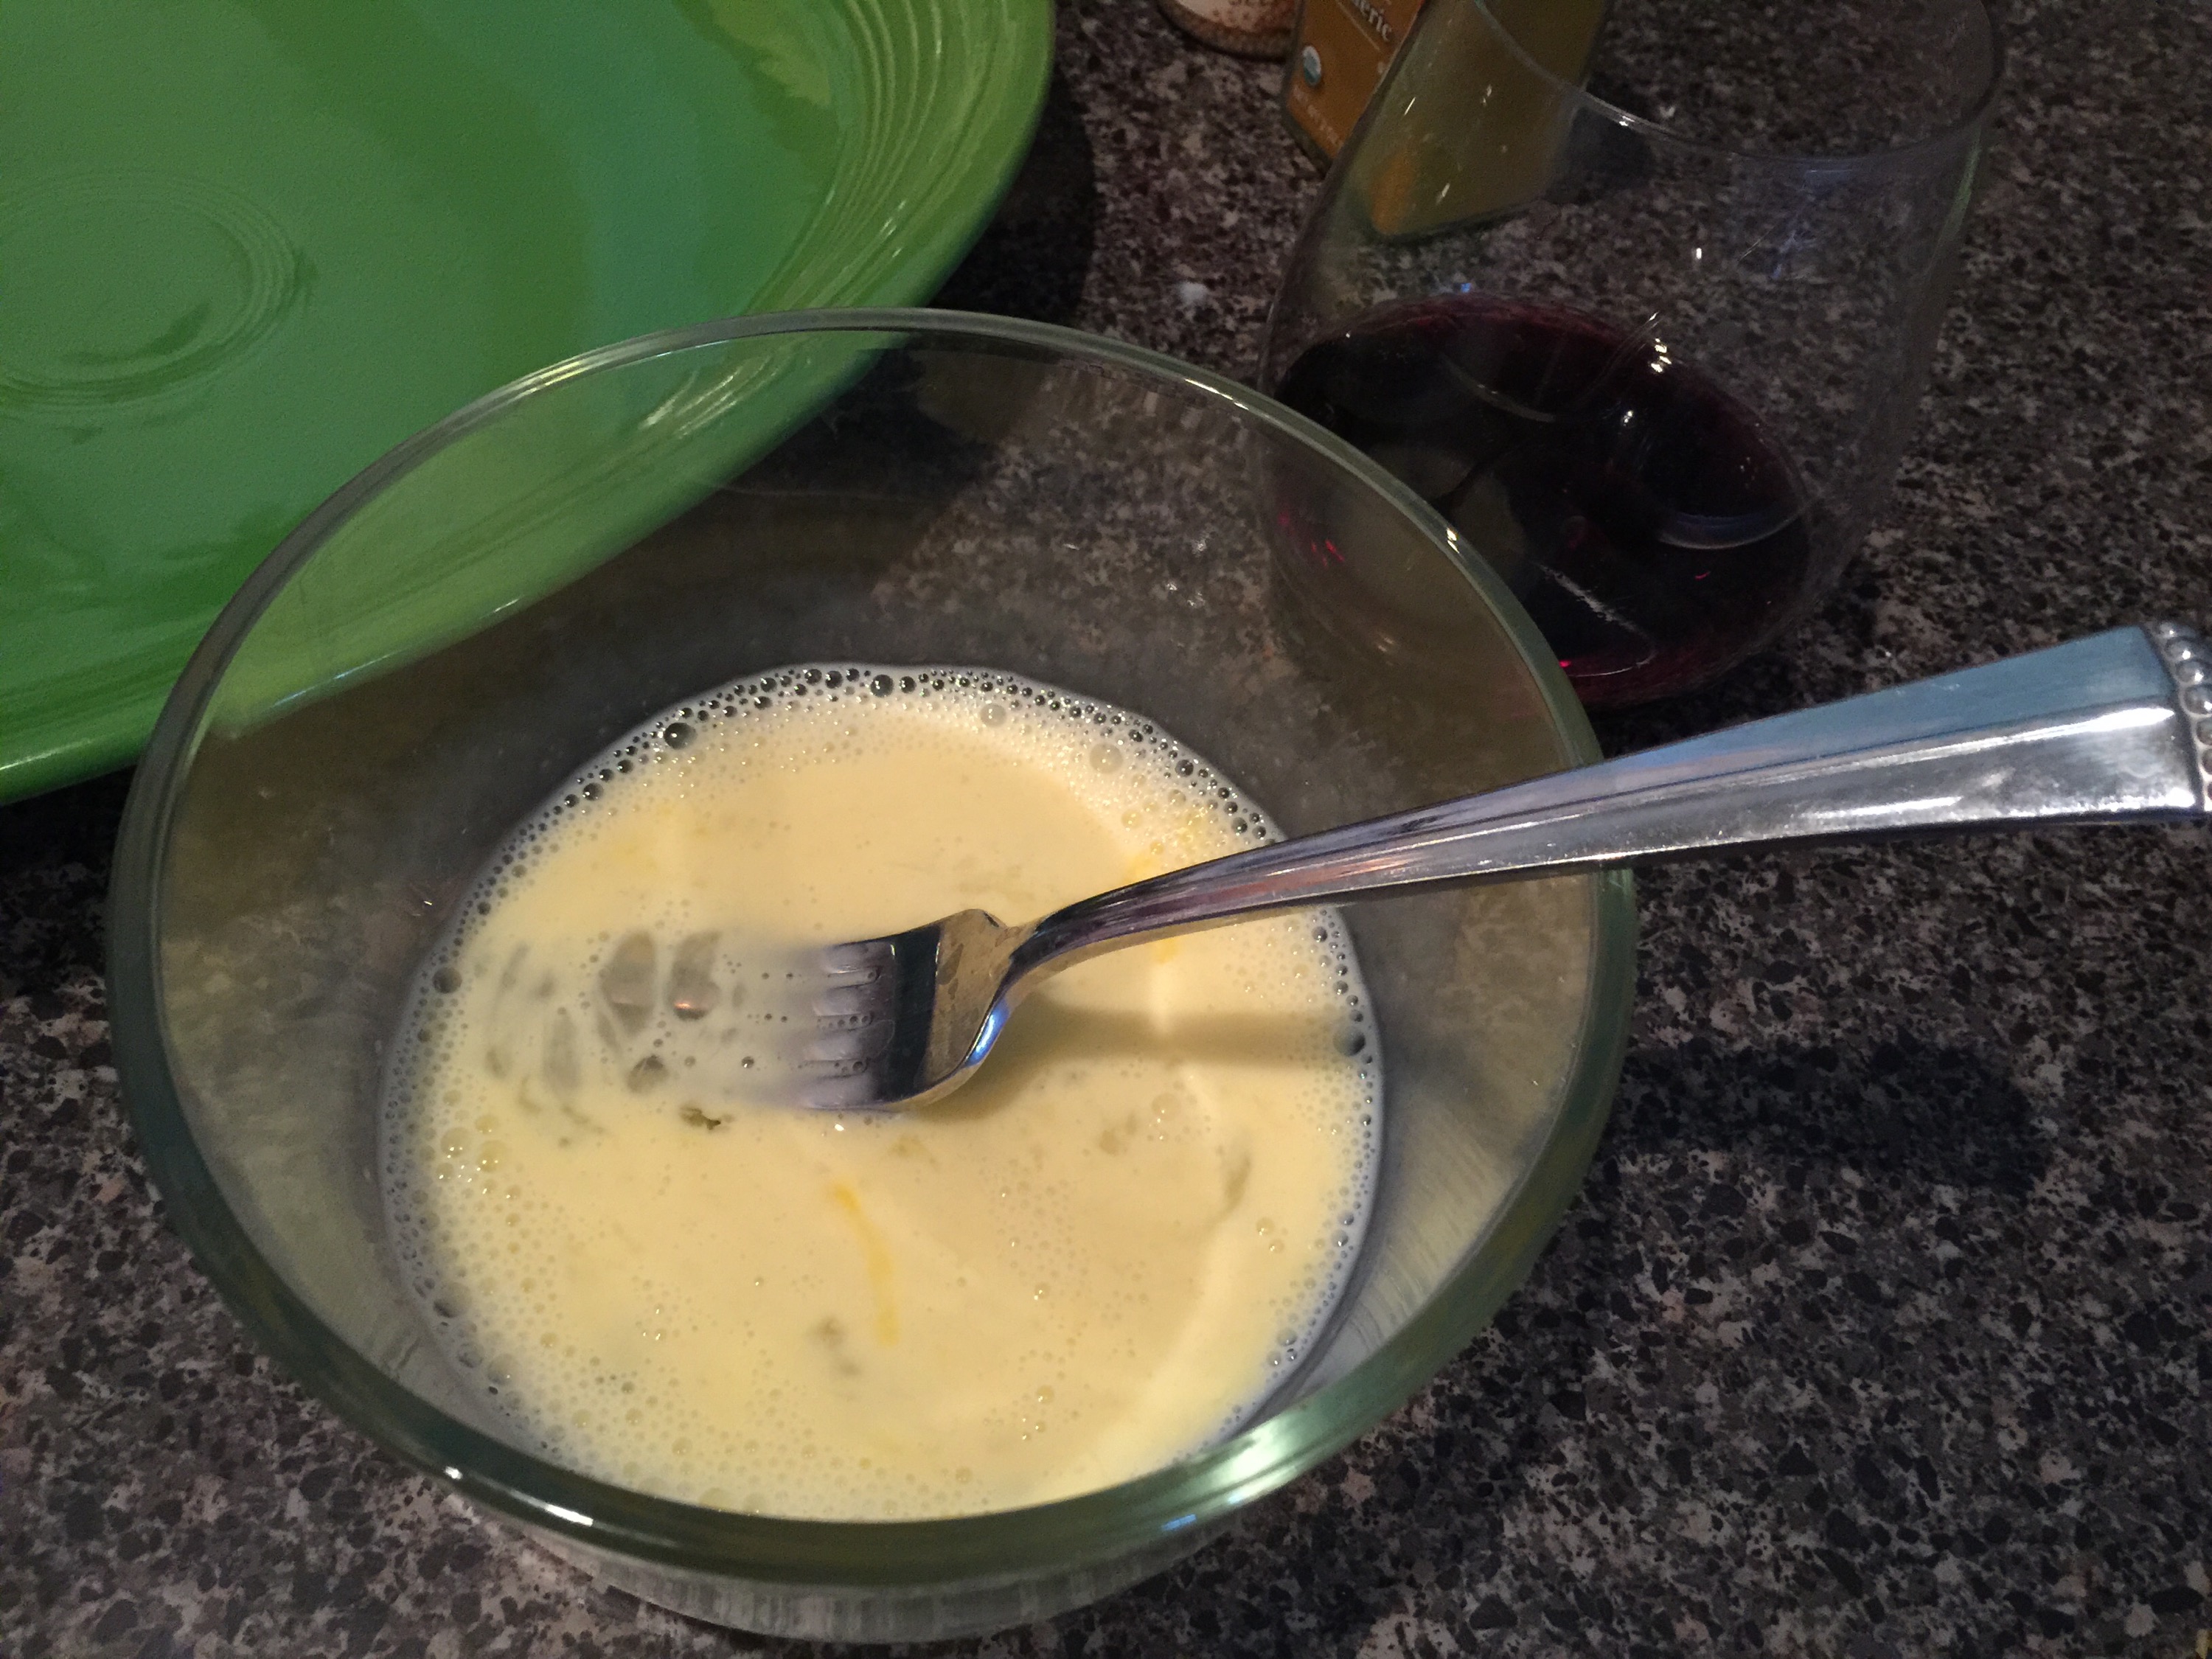
1. Get all your ingredients into a large mixing bowl.
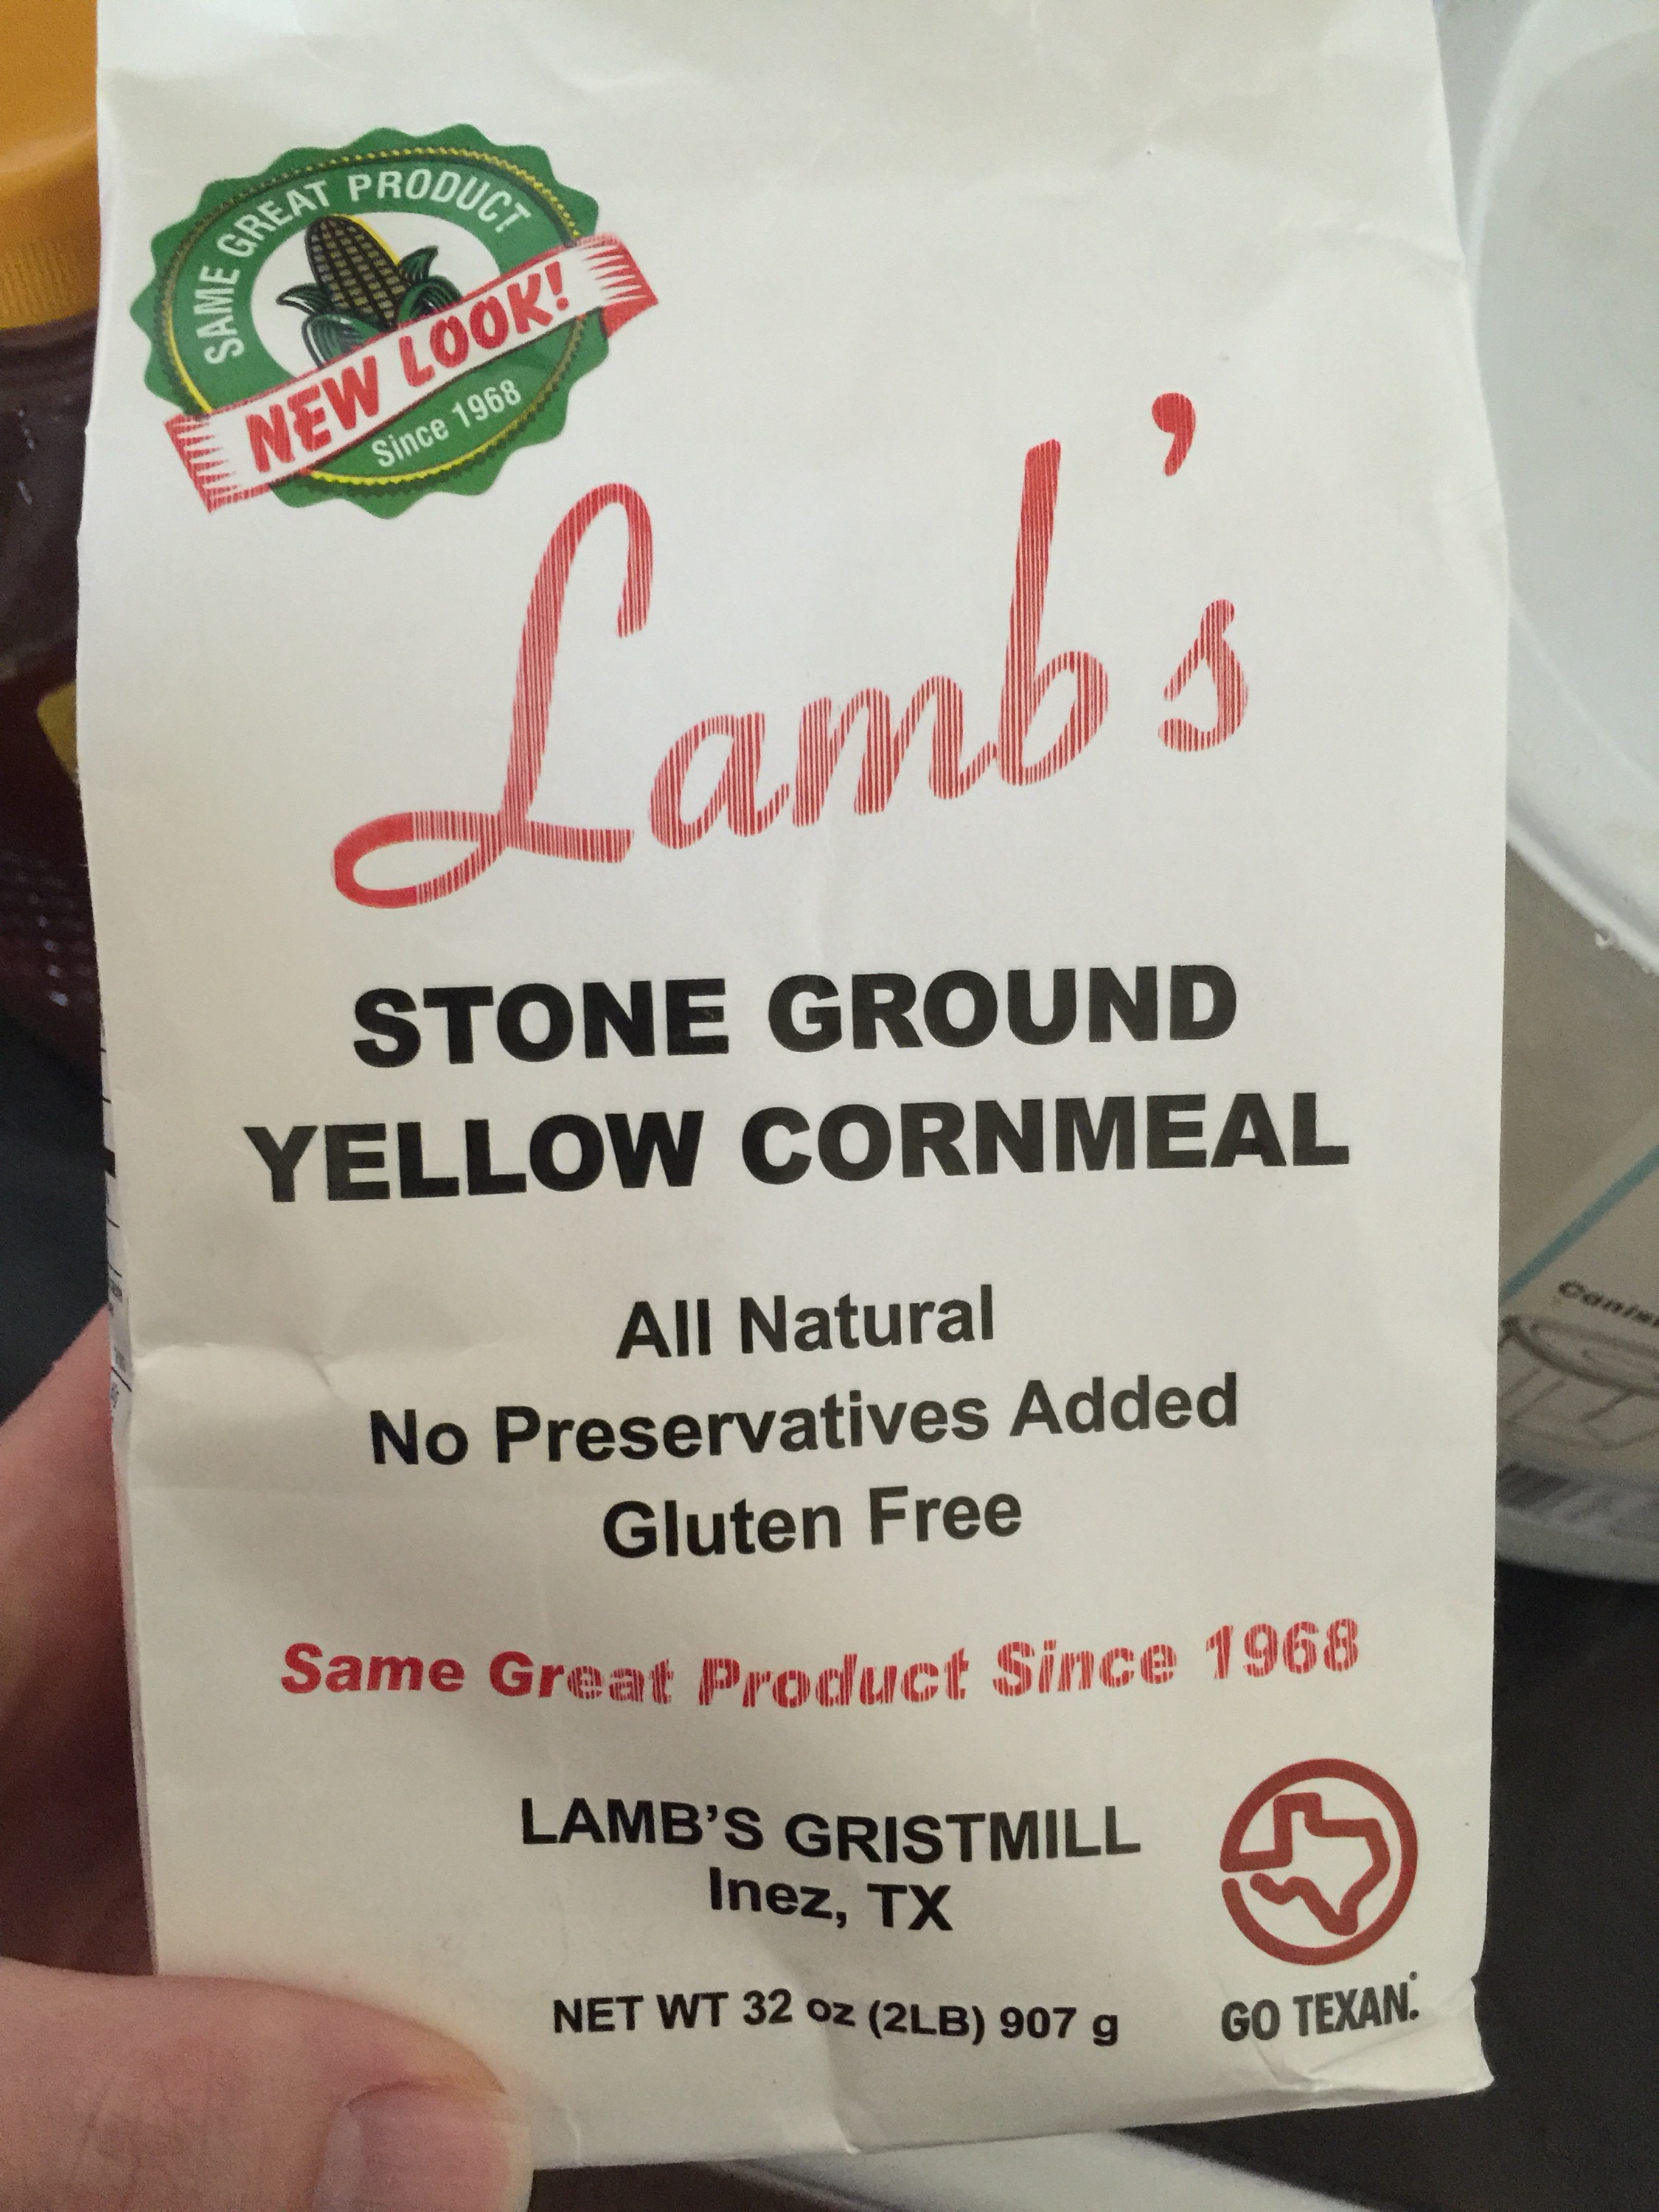
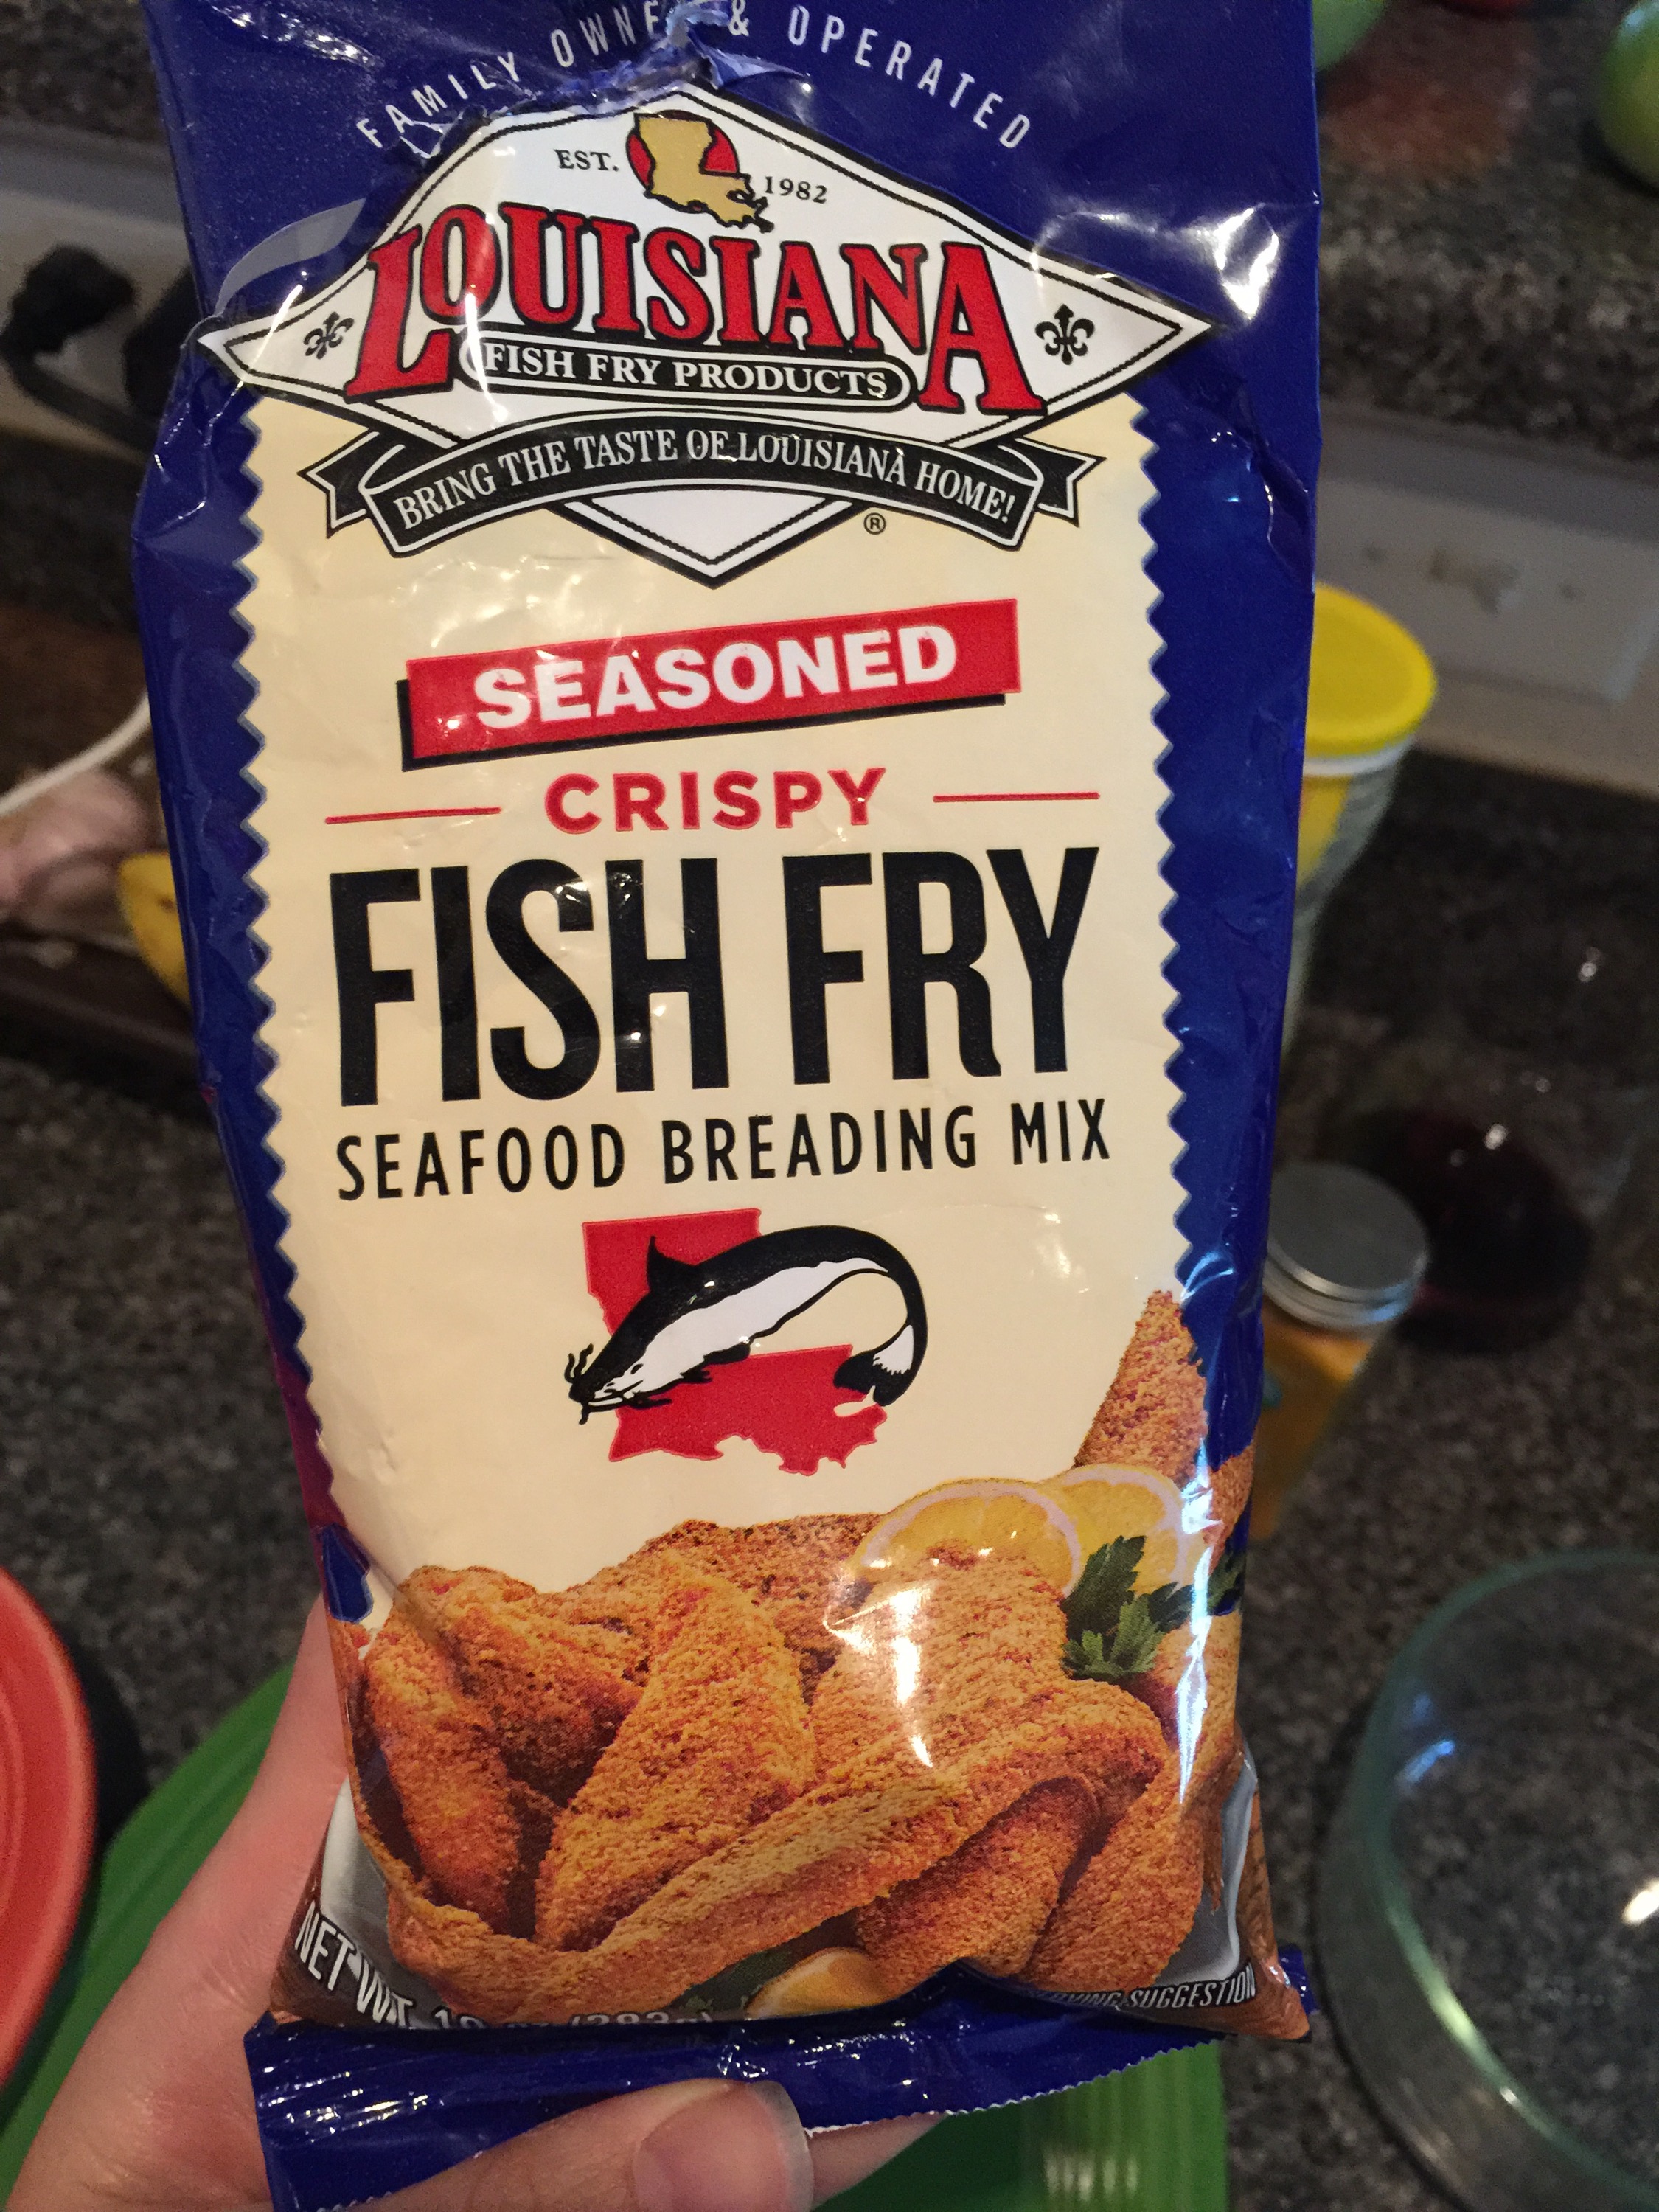
You can use your favorite cornmeal mix. I love this one and plus, it’s from Texas 😀🌵💪🏻


2. After you’ve mixed everything together really well you’re going to pour it into your greased 10 inch cast iron skillet, or as I like to call her “Ole’ Faithful”.

3. Now put into a 400 degree oven for 20-25 minutes or until the top starts to turn golden.

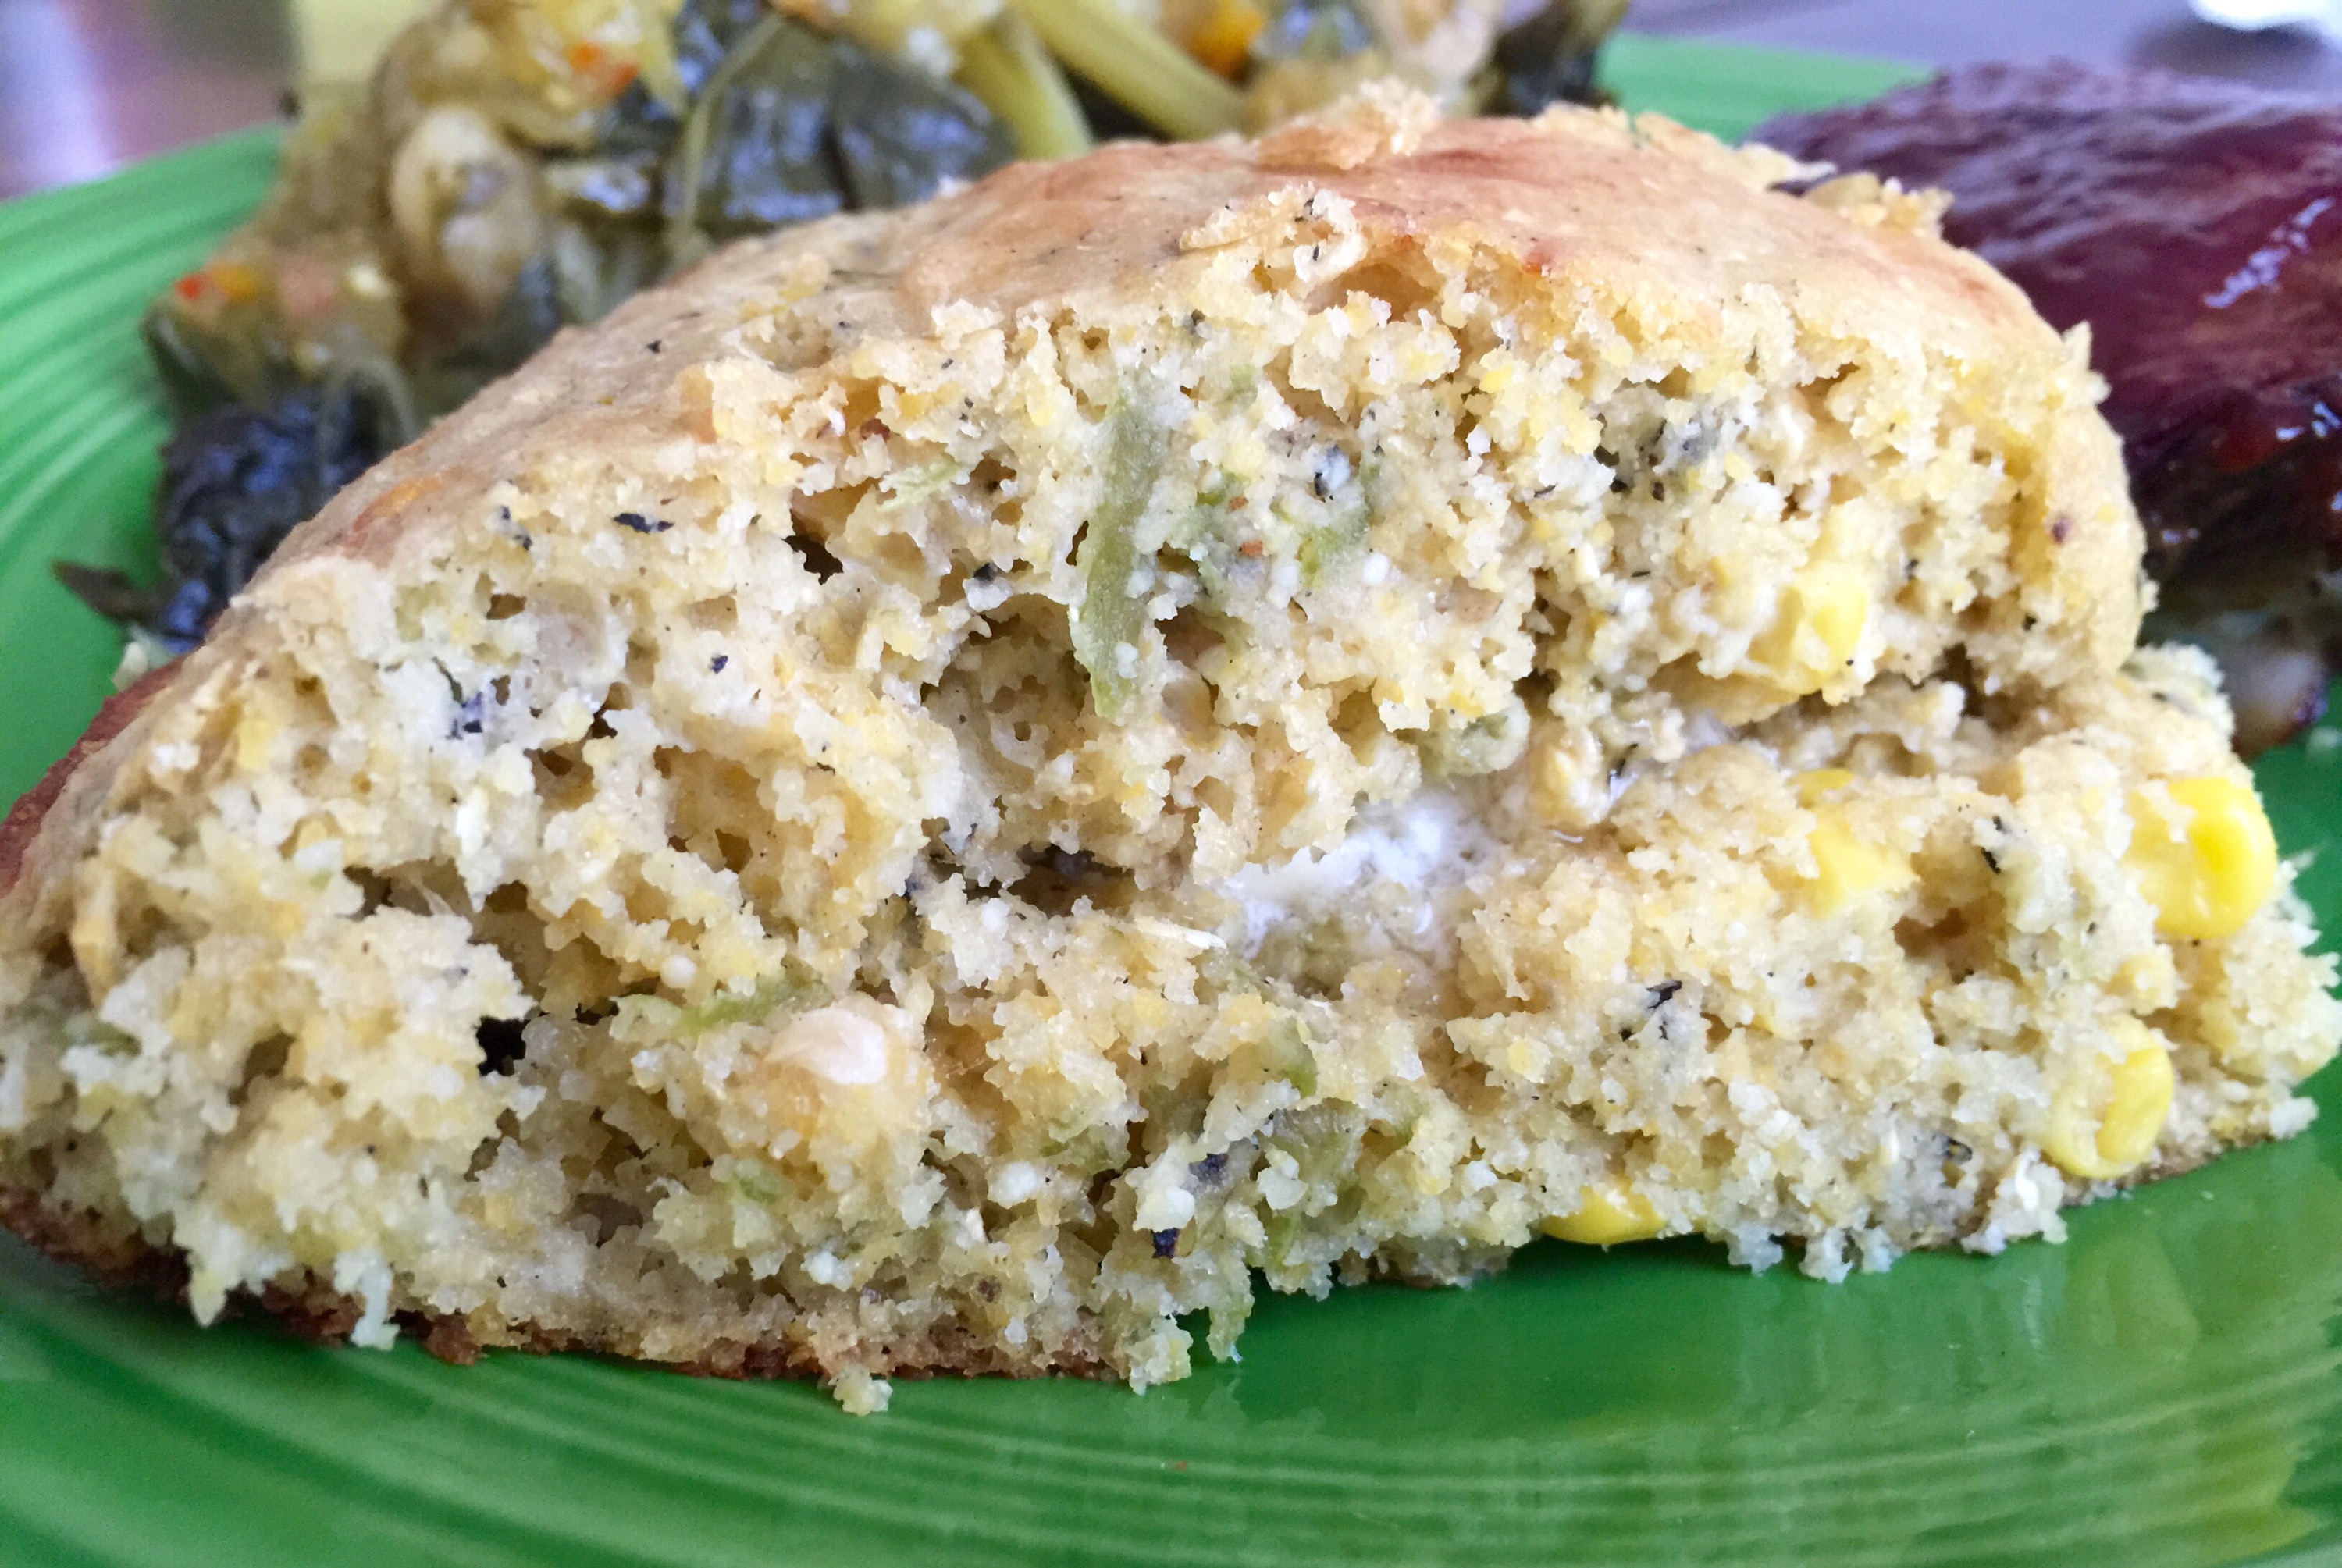
4. Serve with a giant pat of butter and top with chow chow or eat plain. And don’t forget the wine! Wine, butter, and carbs = perfection.