Category Archives: Seafood

Portobello Mushroom And Shrimp Fettuccine Alfredo

Standard
Portobello Mushroom And Shrimp Fettuccine Alfredo

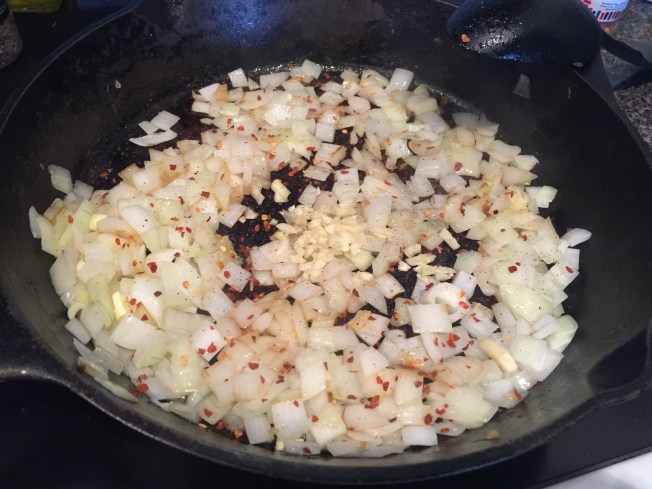
I love a yummy comfort food pasta, and this definitely fits the bill. It warmed me up on this cold day, and was even better later re-heated. Just remember it’s only as good as the ingredients you put in it, so choose a good cheese and a good heavy cream for your sauce, and always keep good butter on hand. You can choose pretty much any vegetable to put in here instead of mushrooms (or omit them entirely), but I think the mushrooms paired nicely with the shrimp. Also, I think garlic would’ve gone nicely with the dish and will definitely try it in there next time I make this.

Ingredients:

  • 1 1/2 sticks of butter
  • 1 pint heavy cream
  • 1 lb fettuccine pasta
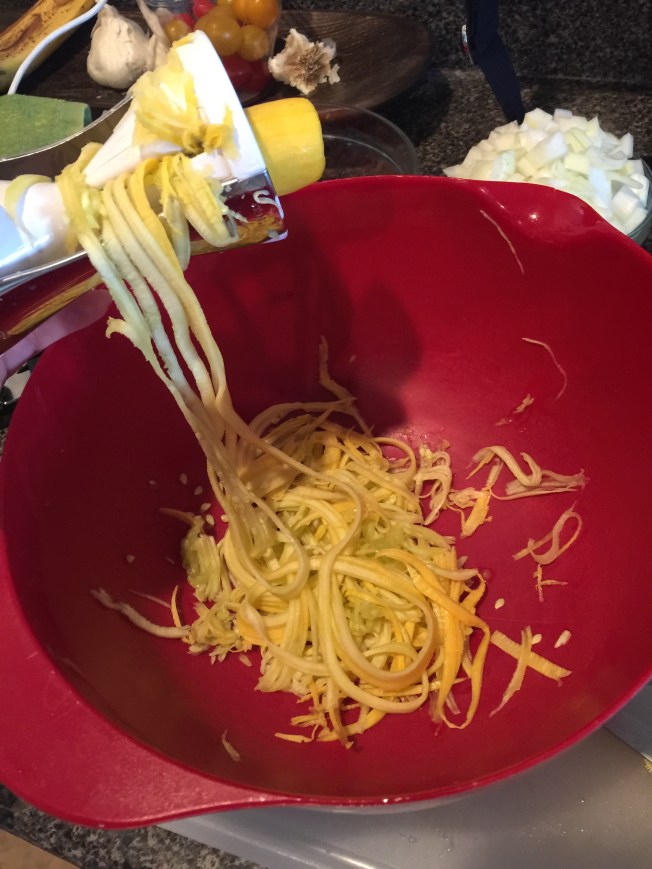
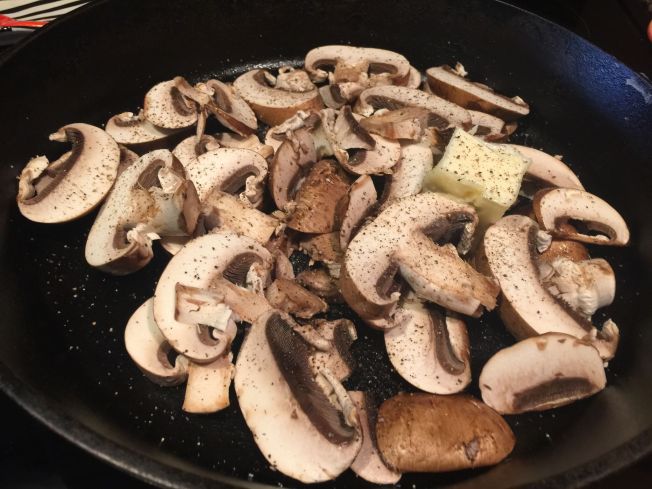
  • 1 carton of mushrooms
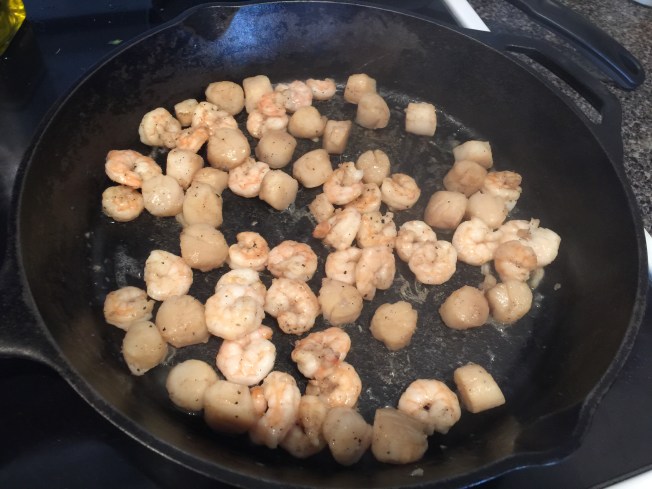
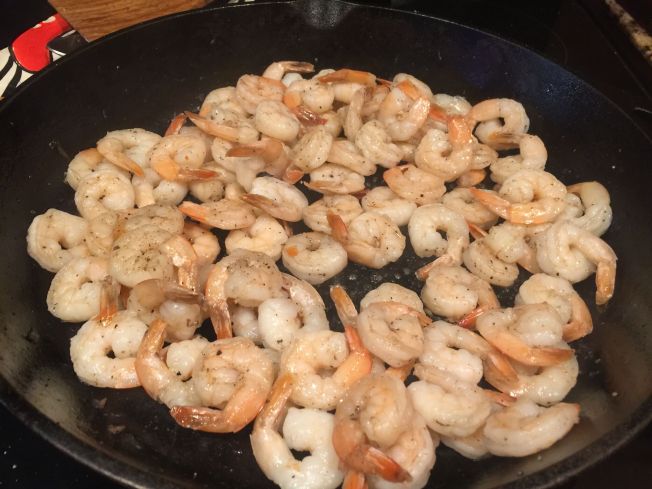
  • 1 1/2 lbs shrimp (peeled and deveined)
  • 2 cups of shredded Parmigiano-Reggiano cheese or Parmigiano-Asiago blend
  • Salt and Pepper

1. Bring a large pot of salted water to a boil and cook your pasta as directed on pasta box or how you like it. Personally, I think al dente is gross and like fully cooked pasta 🙂 You can begin work on the next steps while your pasta is cooking. Note that when the pasta is done, it’s best to drain it and put it straight back into the pot you cooked it in and toss with some olive oil to keep it from sticking together.

unspecified-4

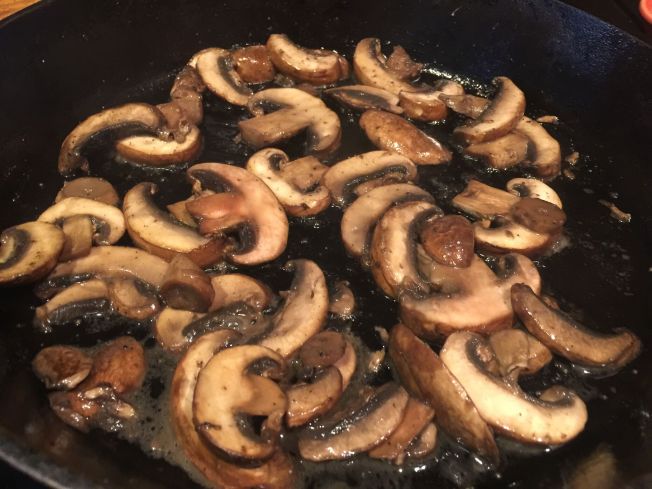
2. Slice your portobello mushrooms and then sauté with 2 tablespoons of butter and season liberally with salt and pepper. Allow to cook for a few minutes on medium-high heat, then take out of skillet and place into bowl for later.

unspecifiedunspecified-1unspecified-2

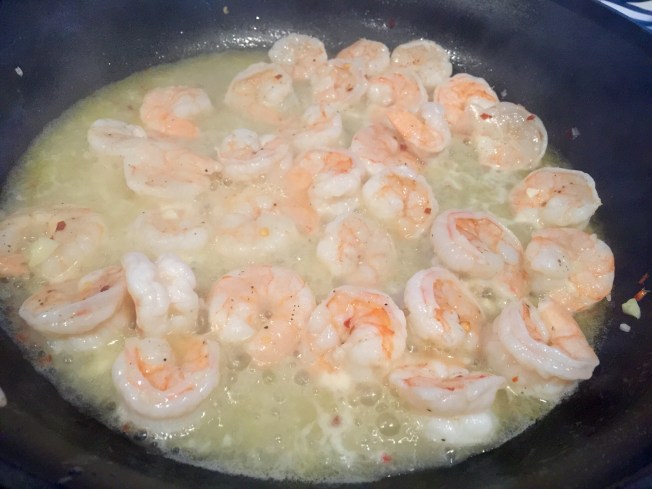
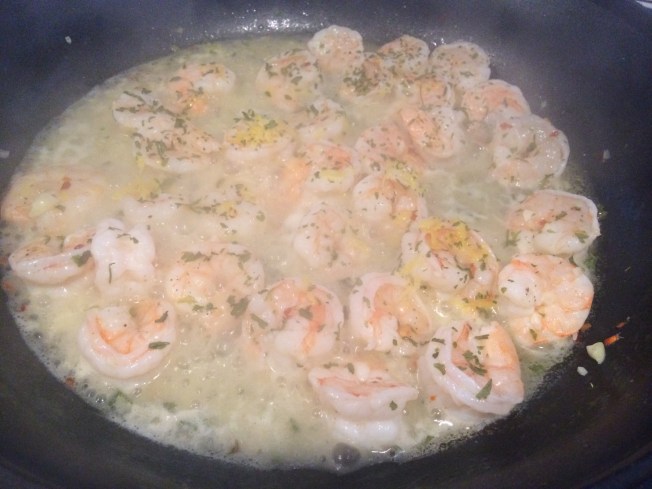
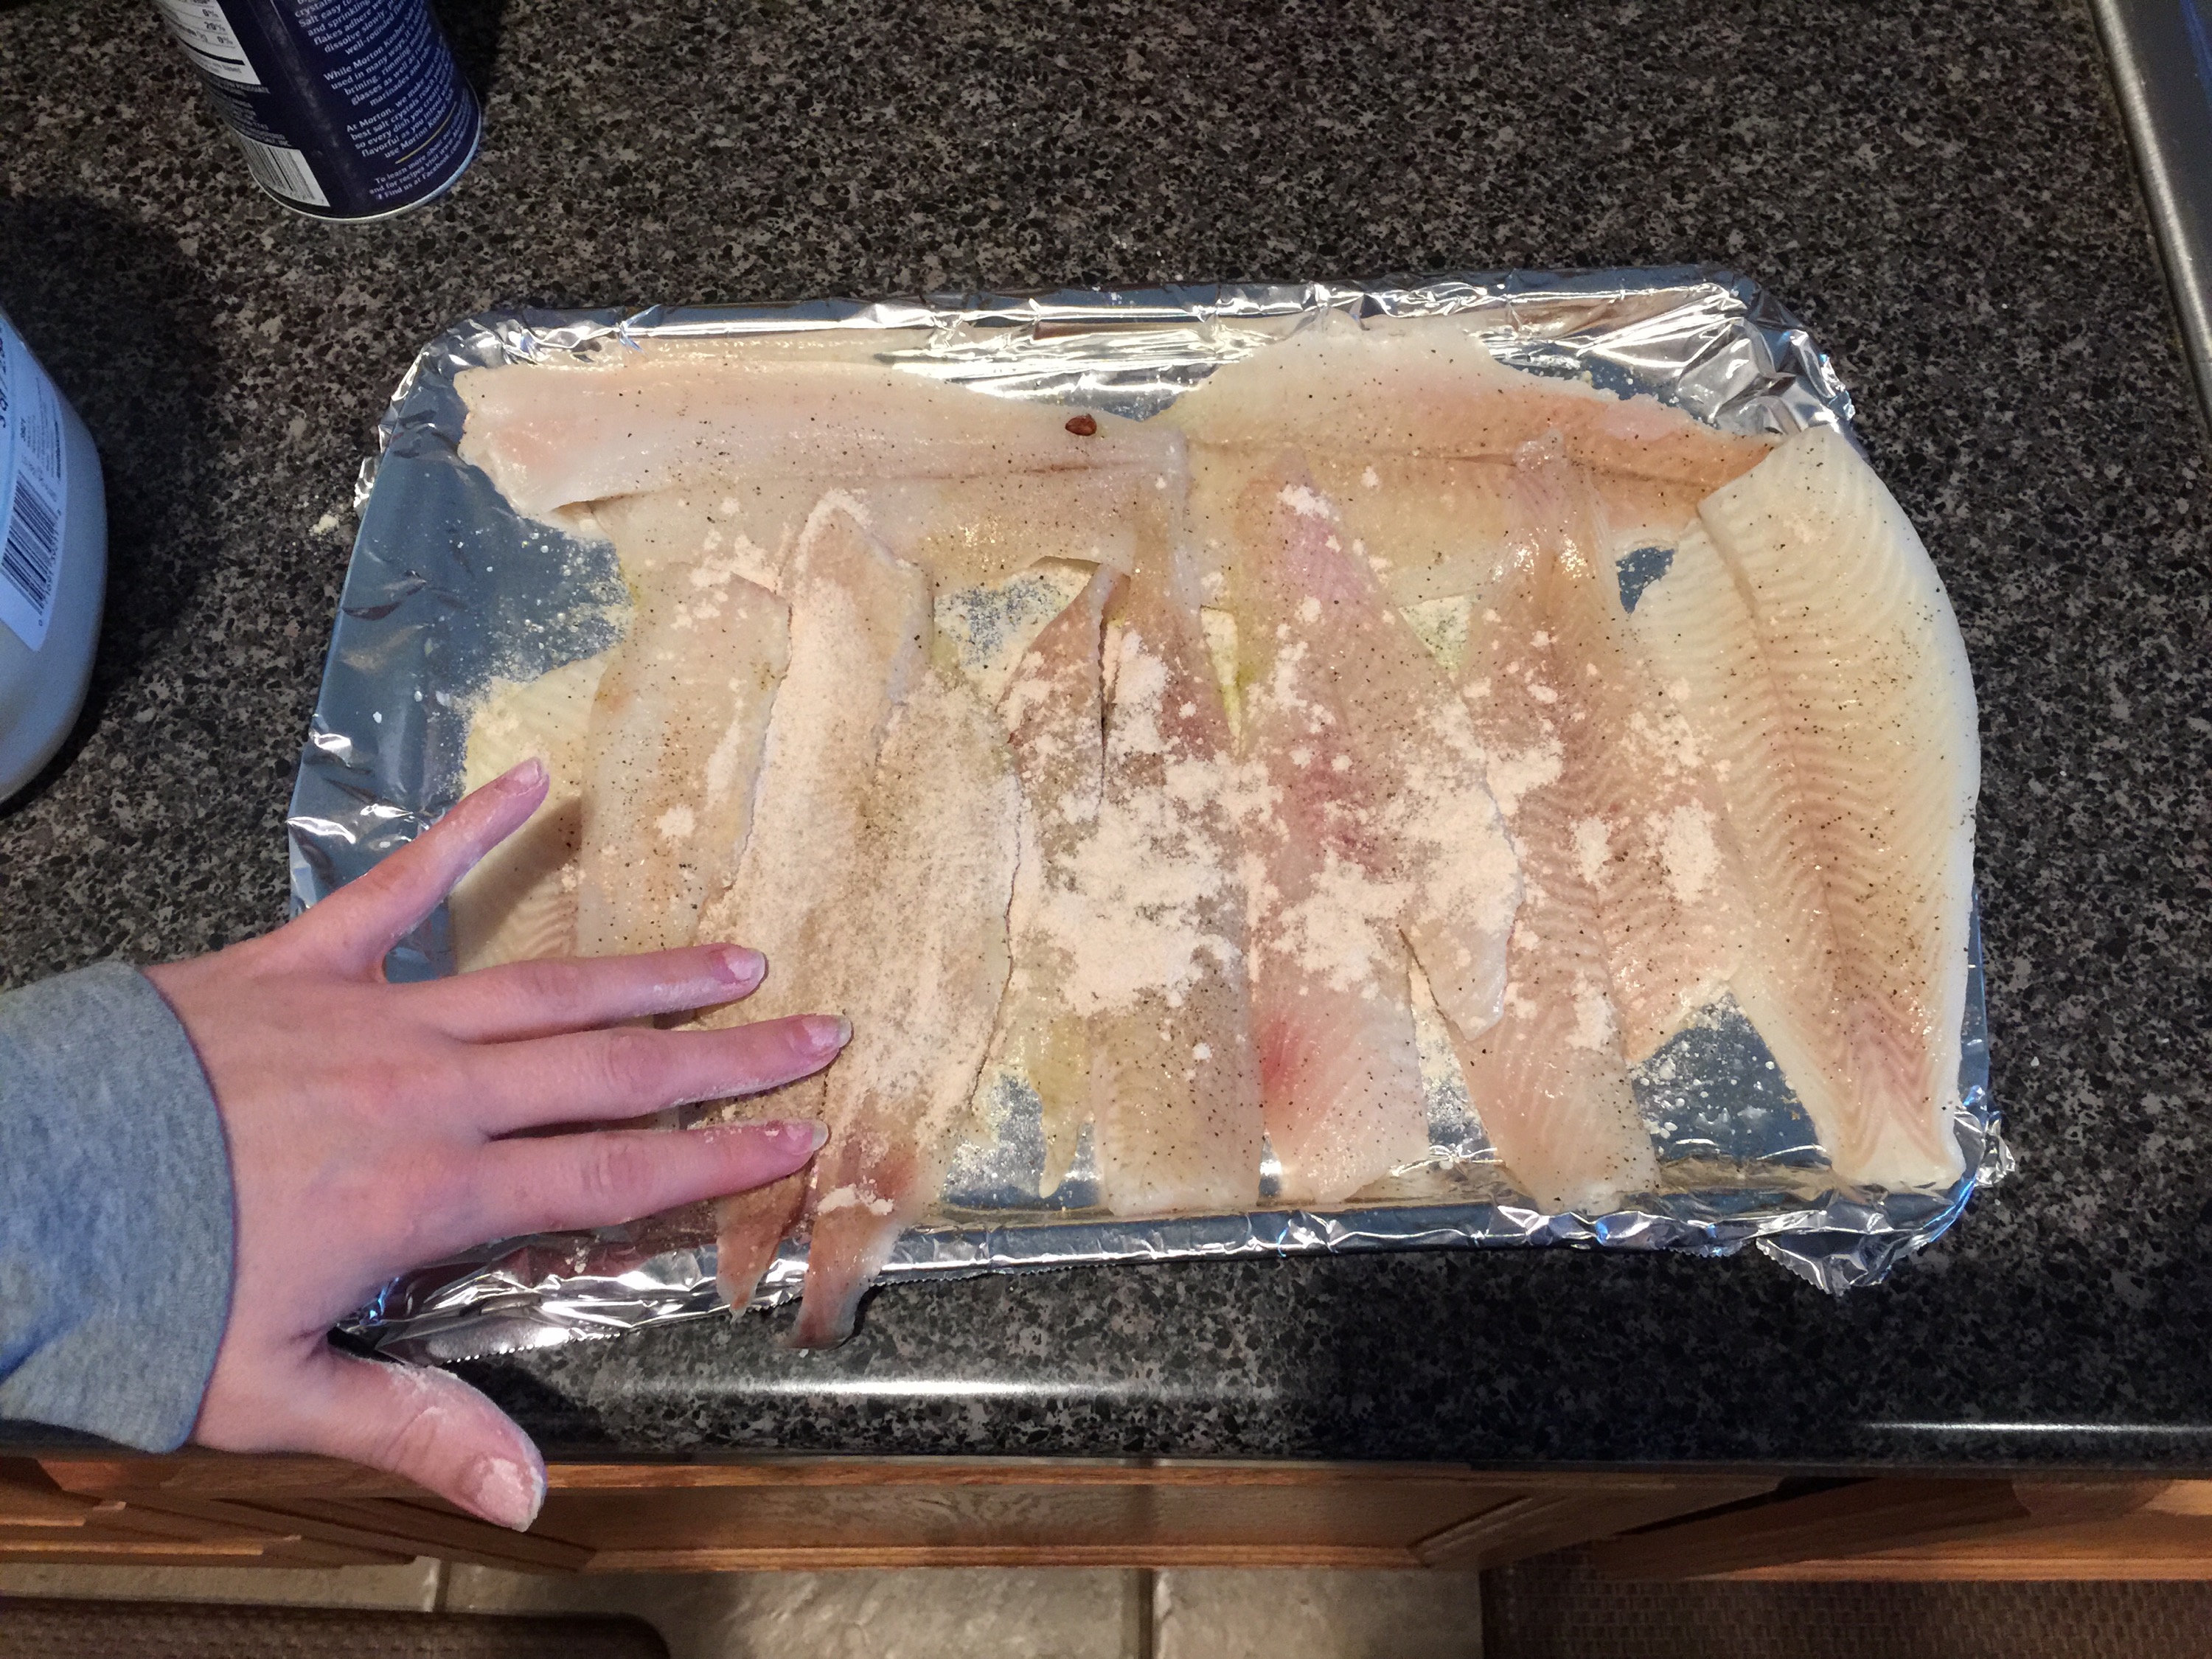
3. Make sure your shrimp is as dry as possible by patting it dry with a paper towel before adding it to your skillet.* Add another 2 tablespoons of butter to your skillet and add your shrimp and season liberally with salt and pepper. Cook on medium-high heat for a few minutes and stir around to make sure both sides are cooked evenly. You’ll know they’re done when they turn orange and form little c’s.

*I find that whenever I use previously frozen shrimp that no matter how well I pat them dry, I still end up having to drain off excess liquid during the cooking process. It’s ok if you have to do that, just remember to re-season them later if necessary.

unspecified-3unspecified-5

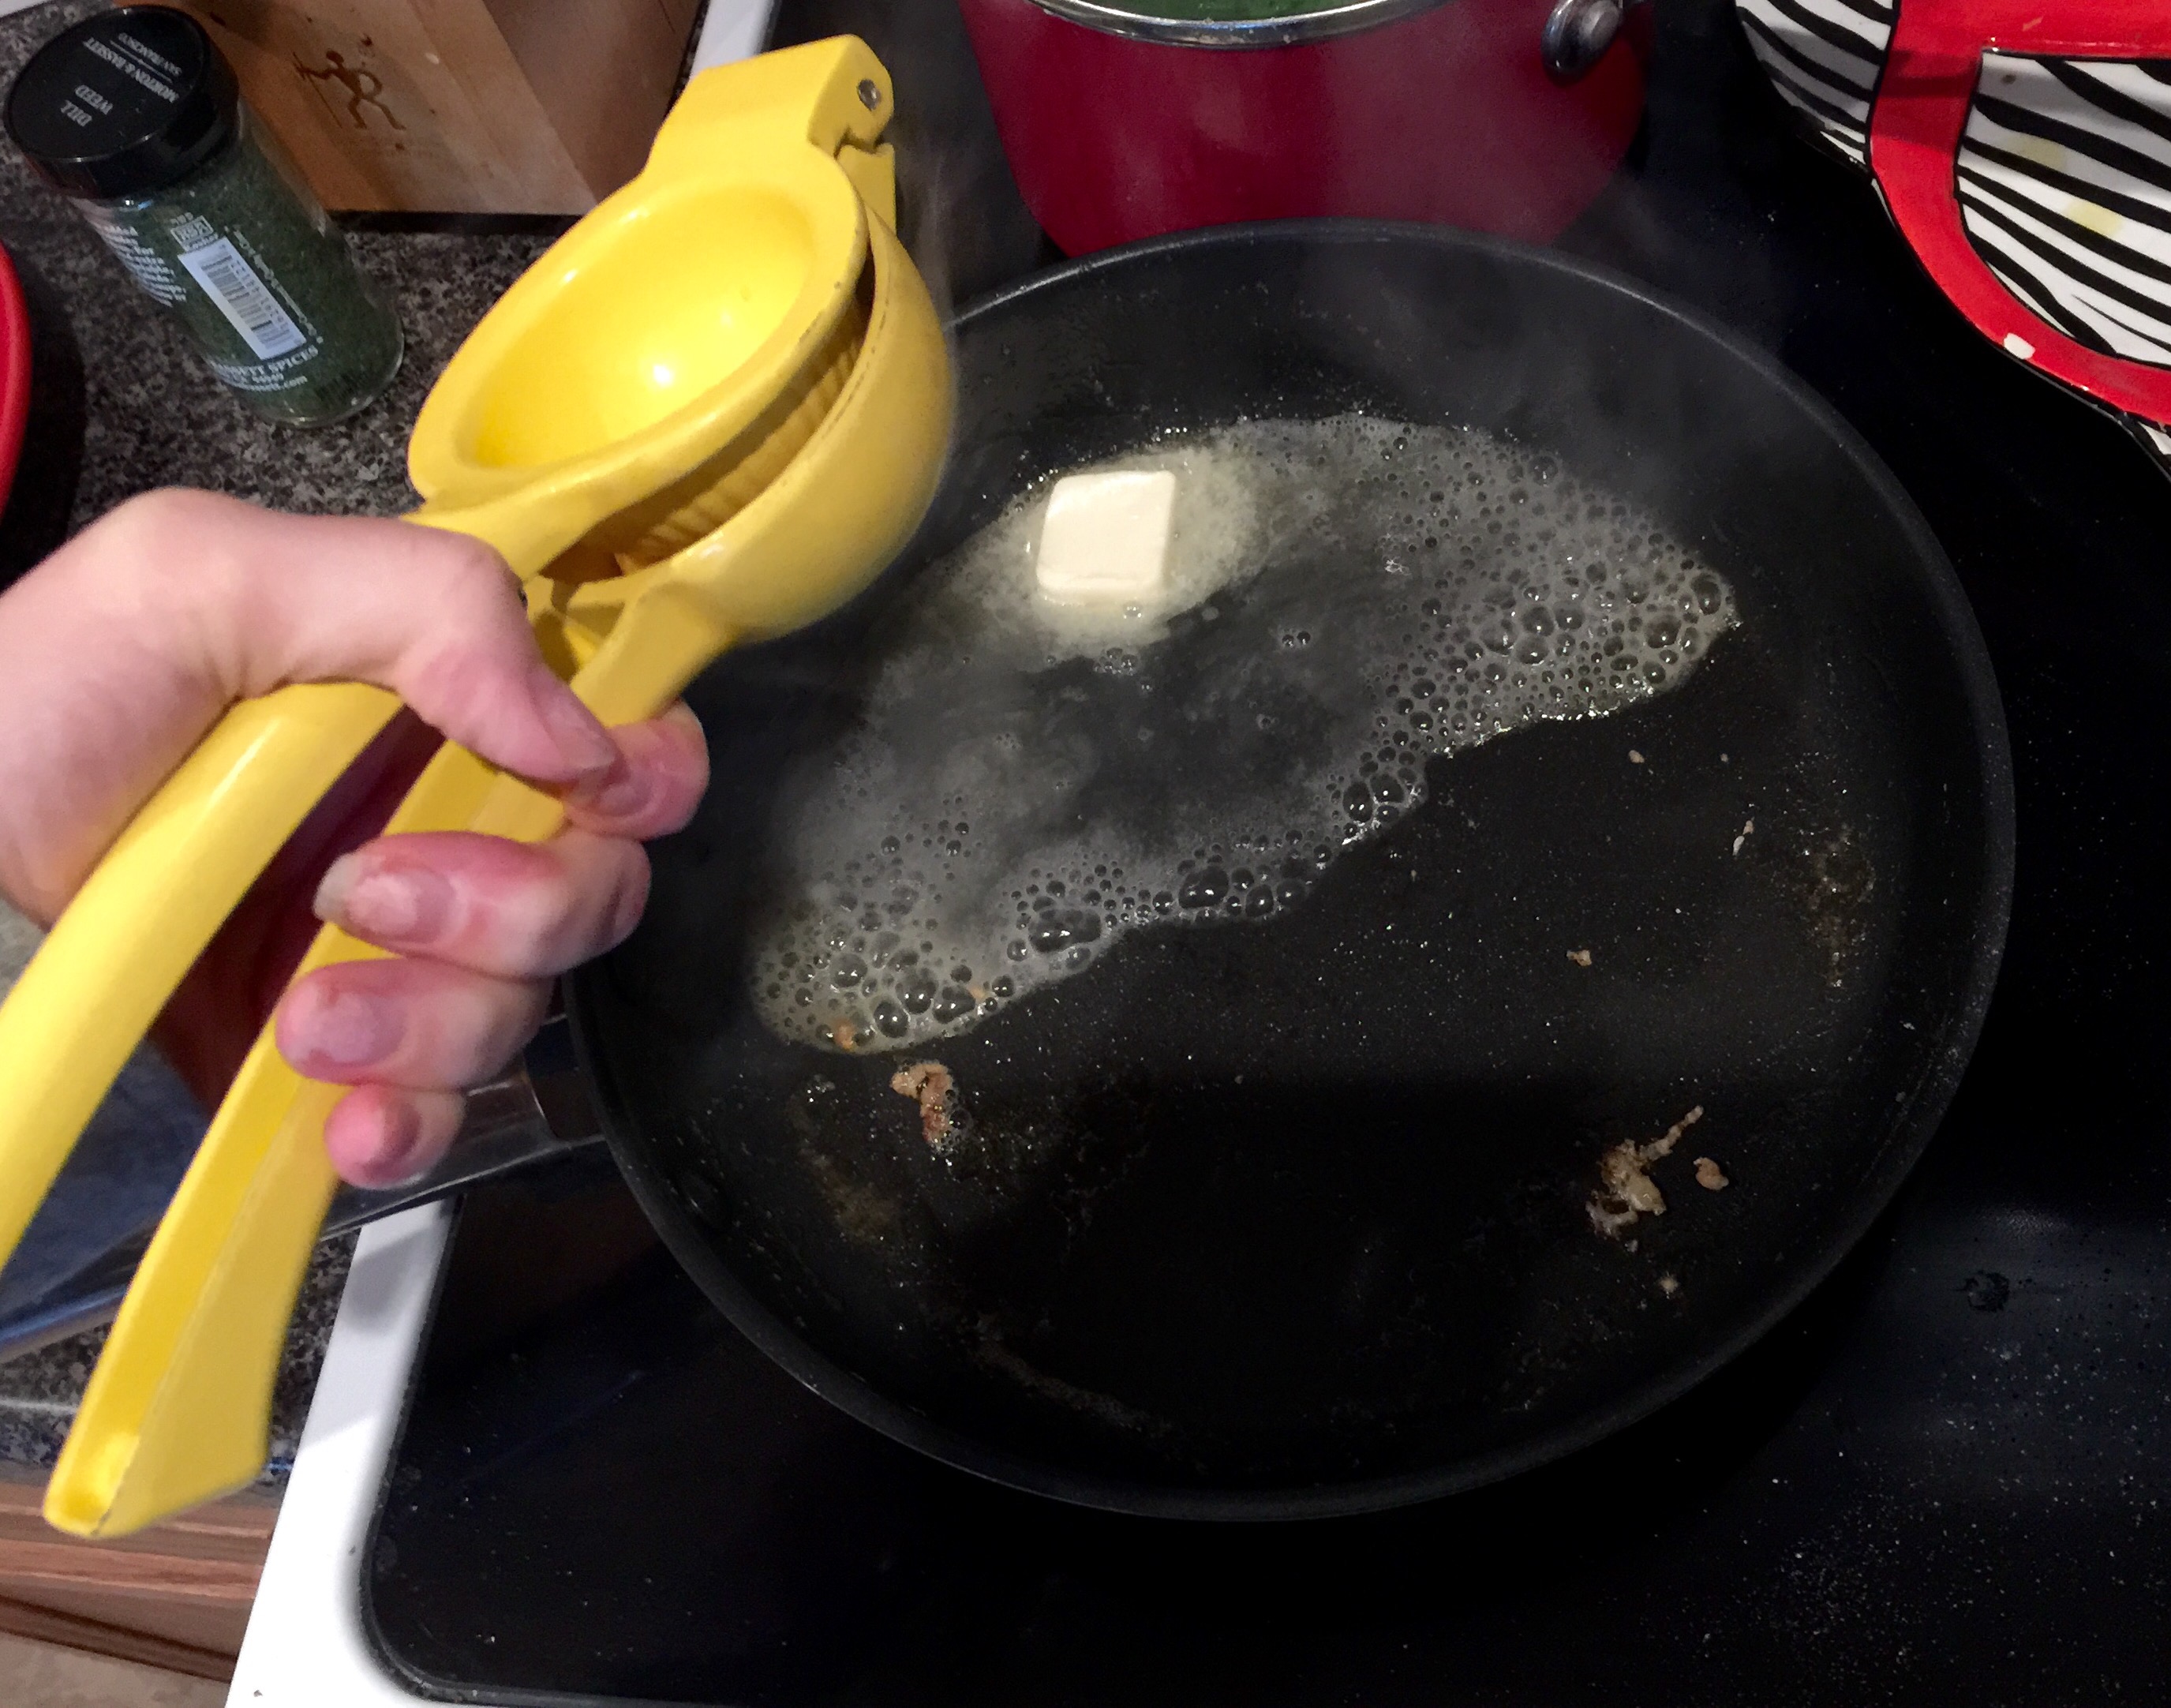
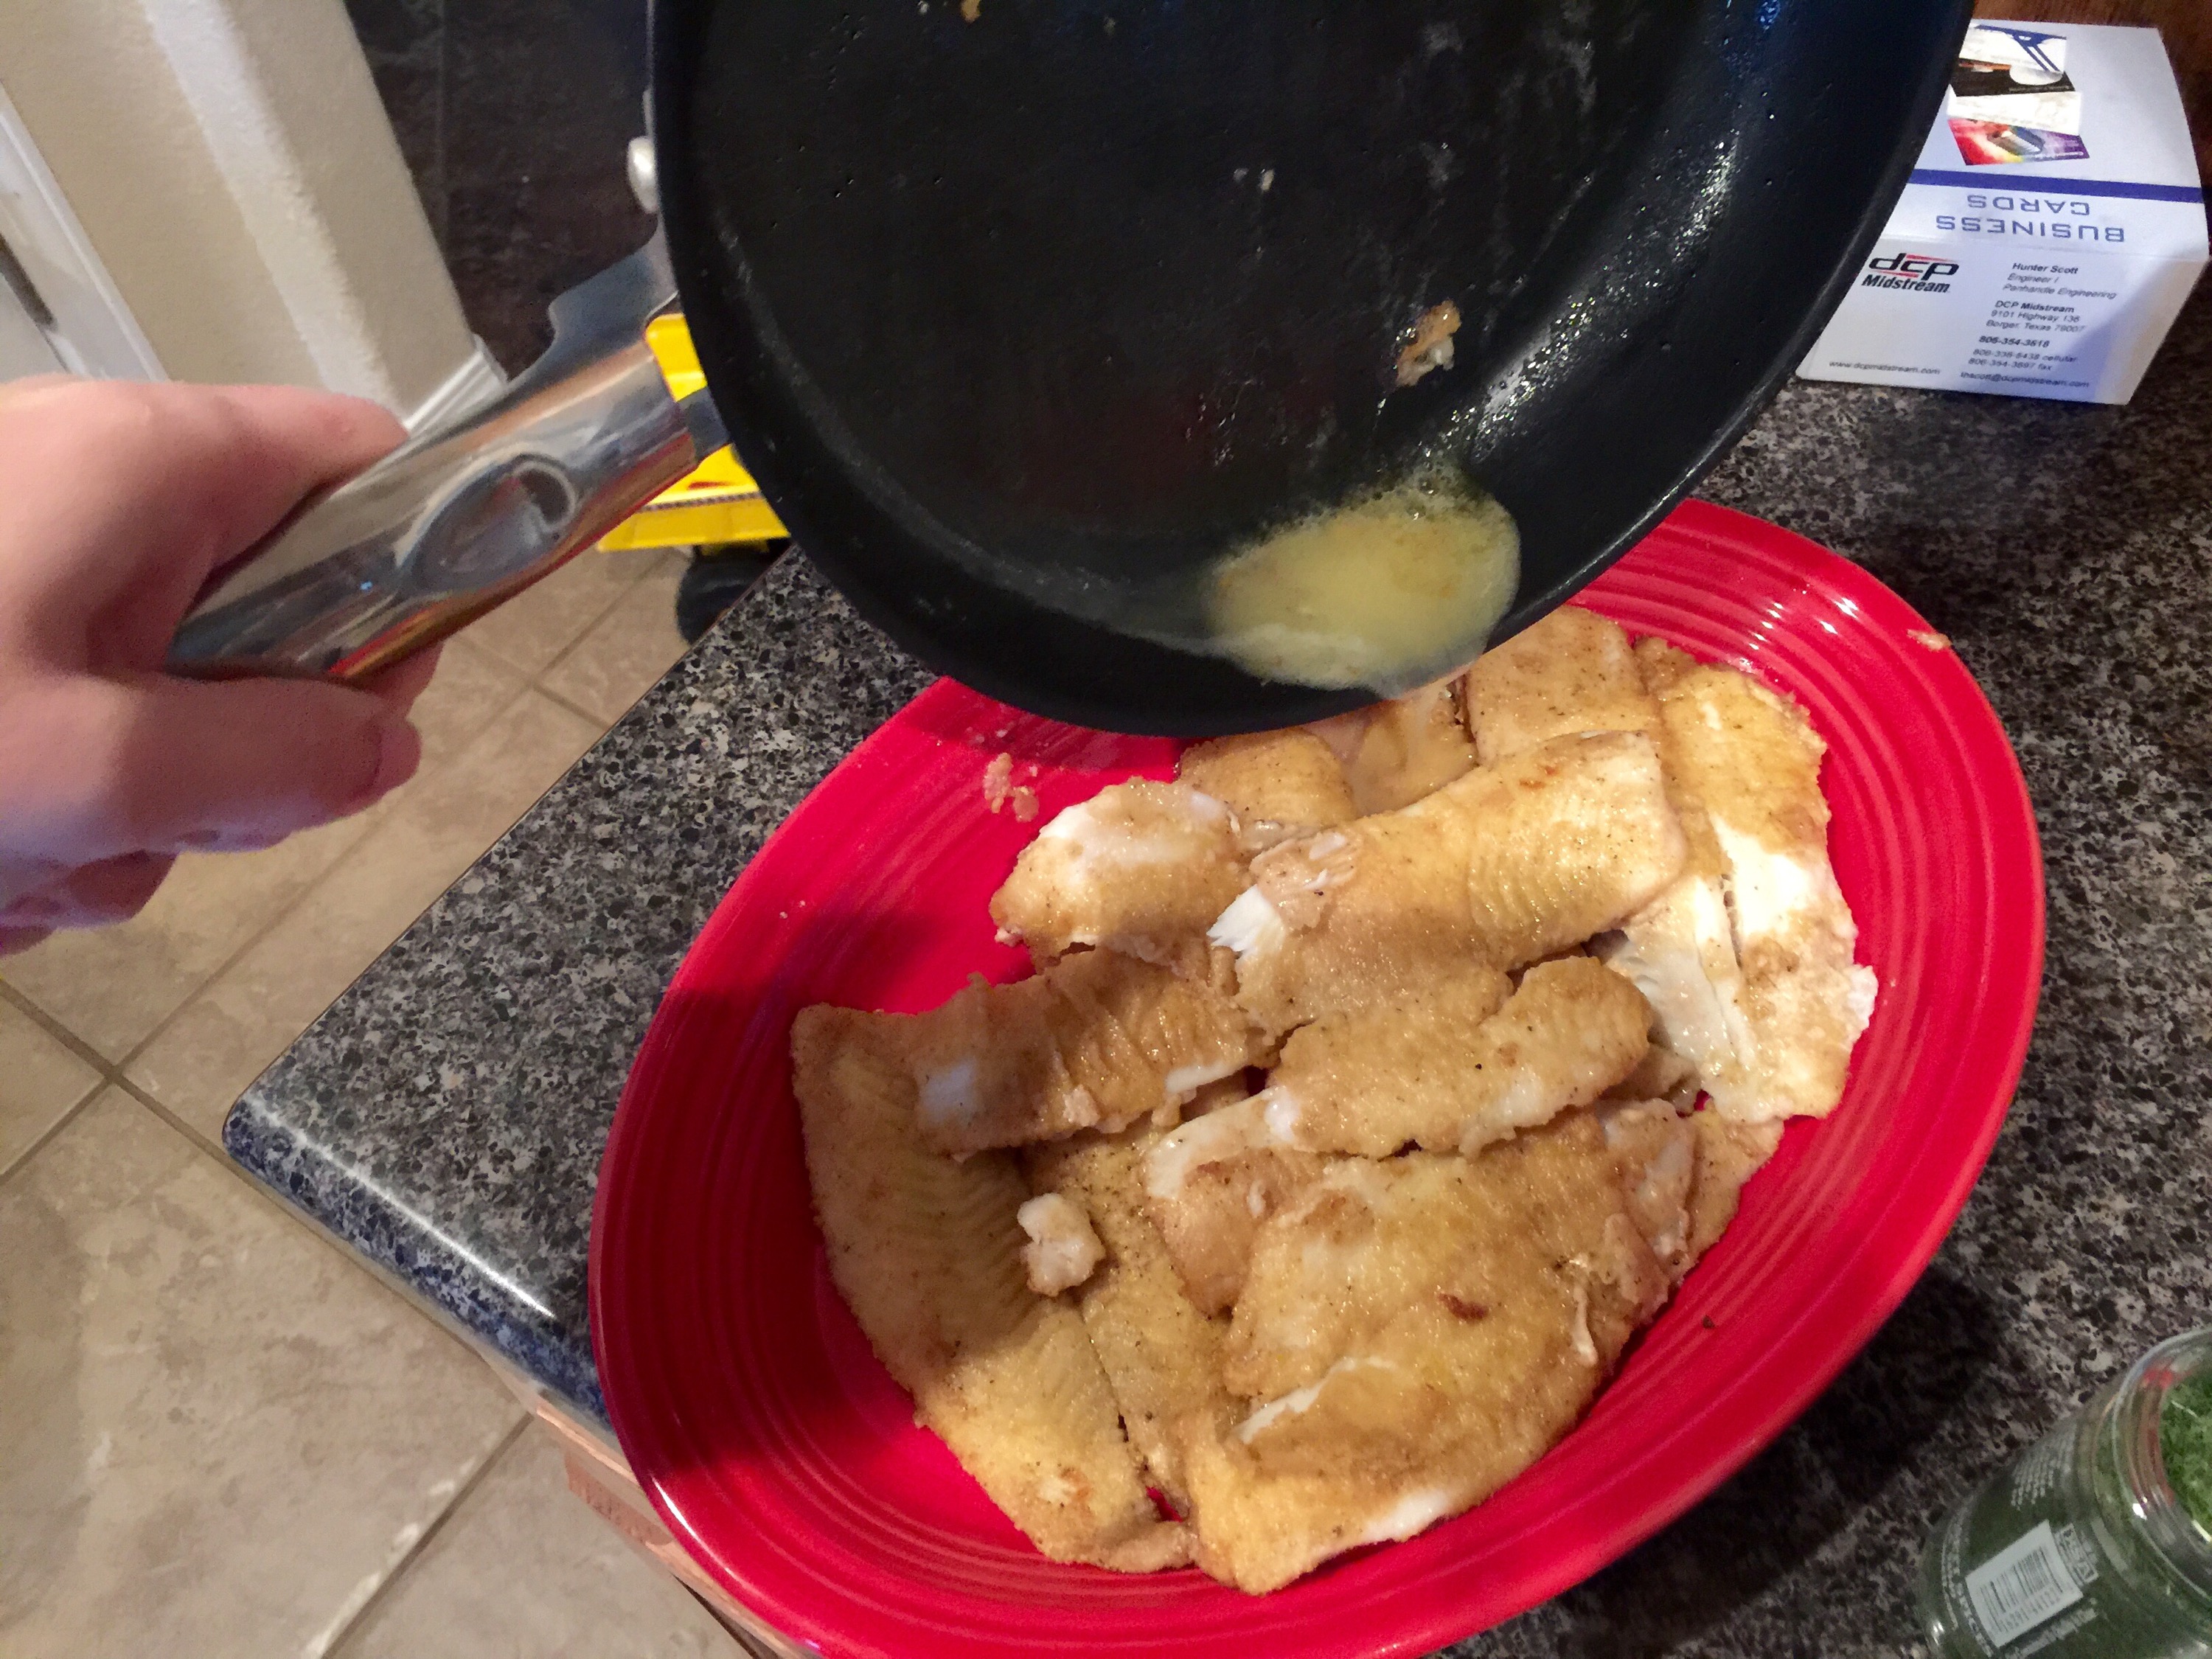
4. Place your shrimp into the bowl with your mushrooms and place your whole stick of butter into the skillet now with heat reduced to medium. The butter will start to melt quickly, and once it does, you will add your pint of heavy cream to the skillet. Allow it to simmer on this elevated heat for about two minutes, then turn the heat down on low. Also, I hope you have as cute as a kitchen helper as I do during this step. 🙂

unspecified-7unspecified-9unspecified-8unspecified-10

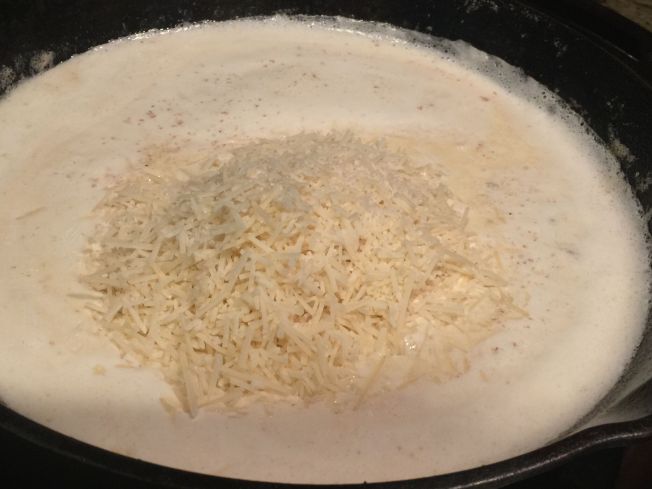
5. With the heat on low on your heavy cream and butter, now you’ll add your 2 cups of cheese. Allow it to melt into the sauce for a few minutes, then season it liberally with salt and pepper. This step is important, or else your pasta sauce will be bland.

unspecified-11

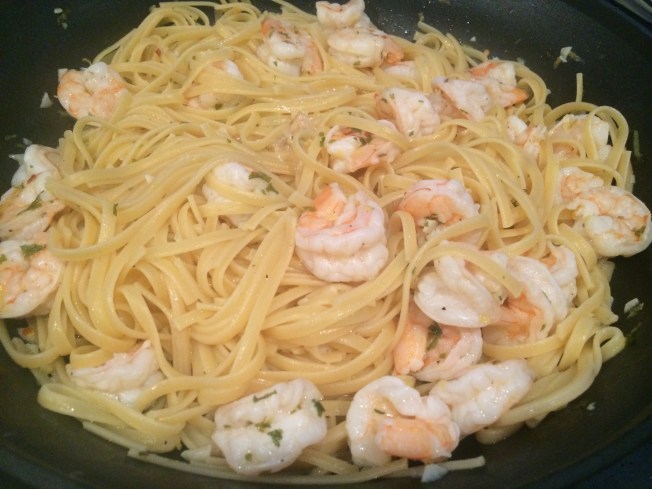
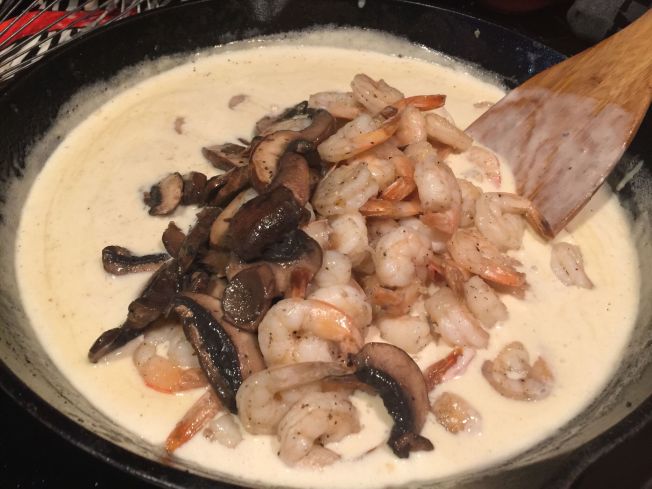
6. Now add your bowl of mushrooms and shrimp back into your sauce, and add your fettuccini to combine it all into one big pot.
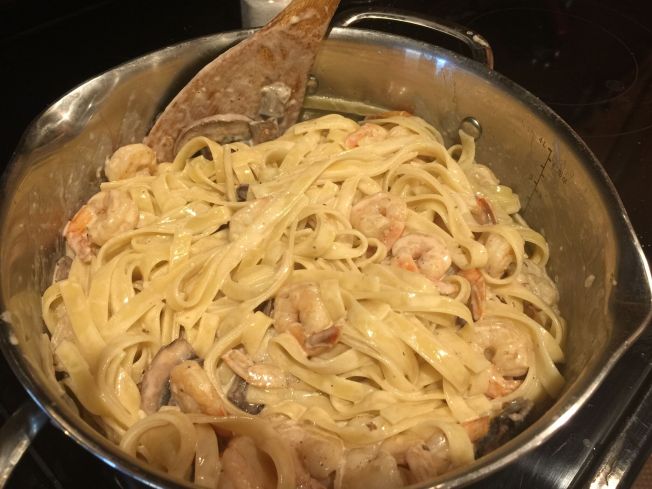
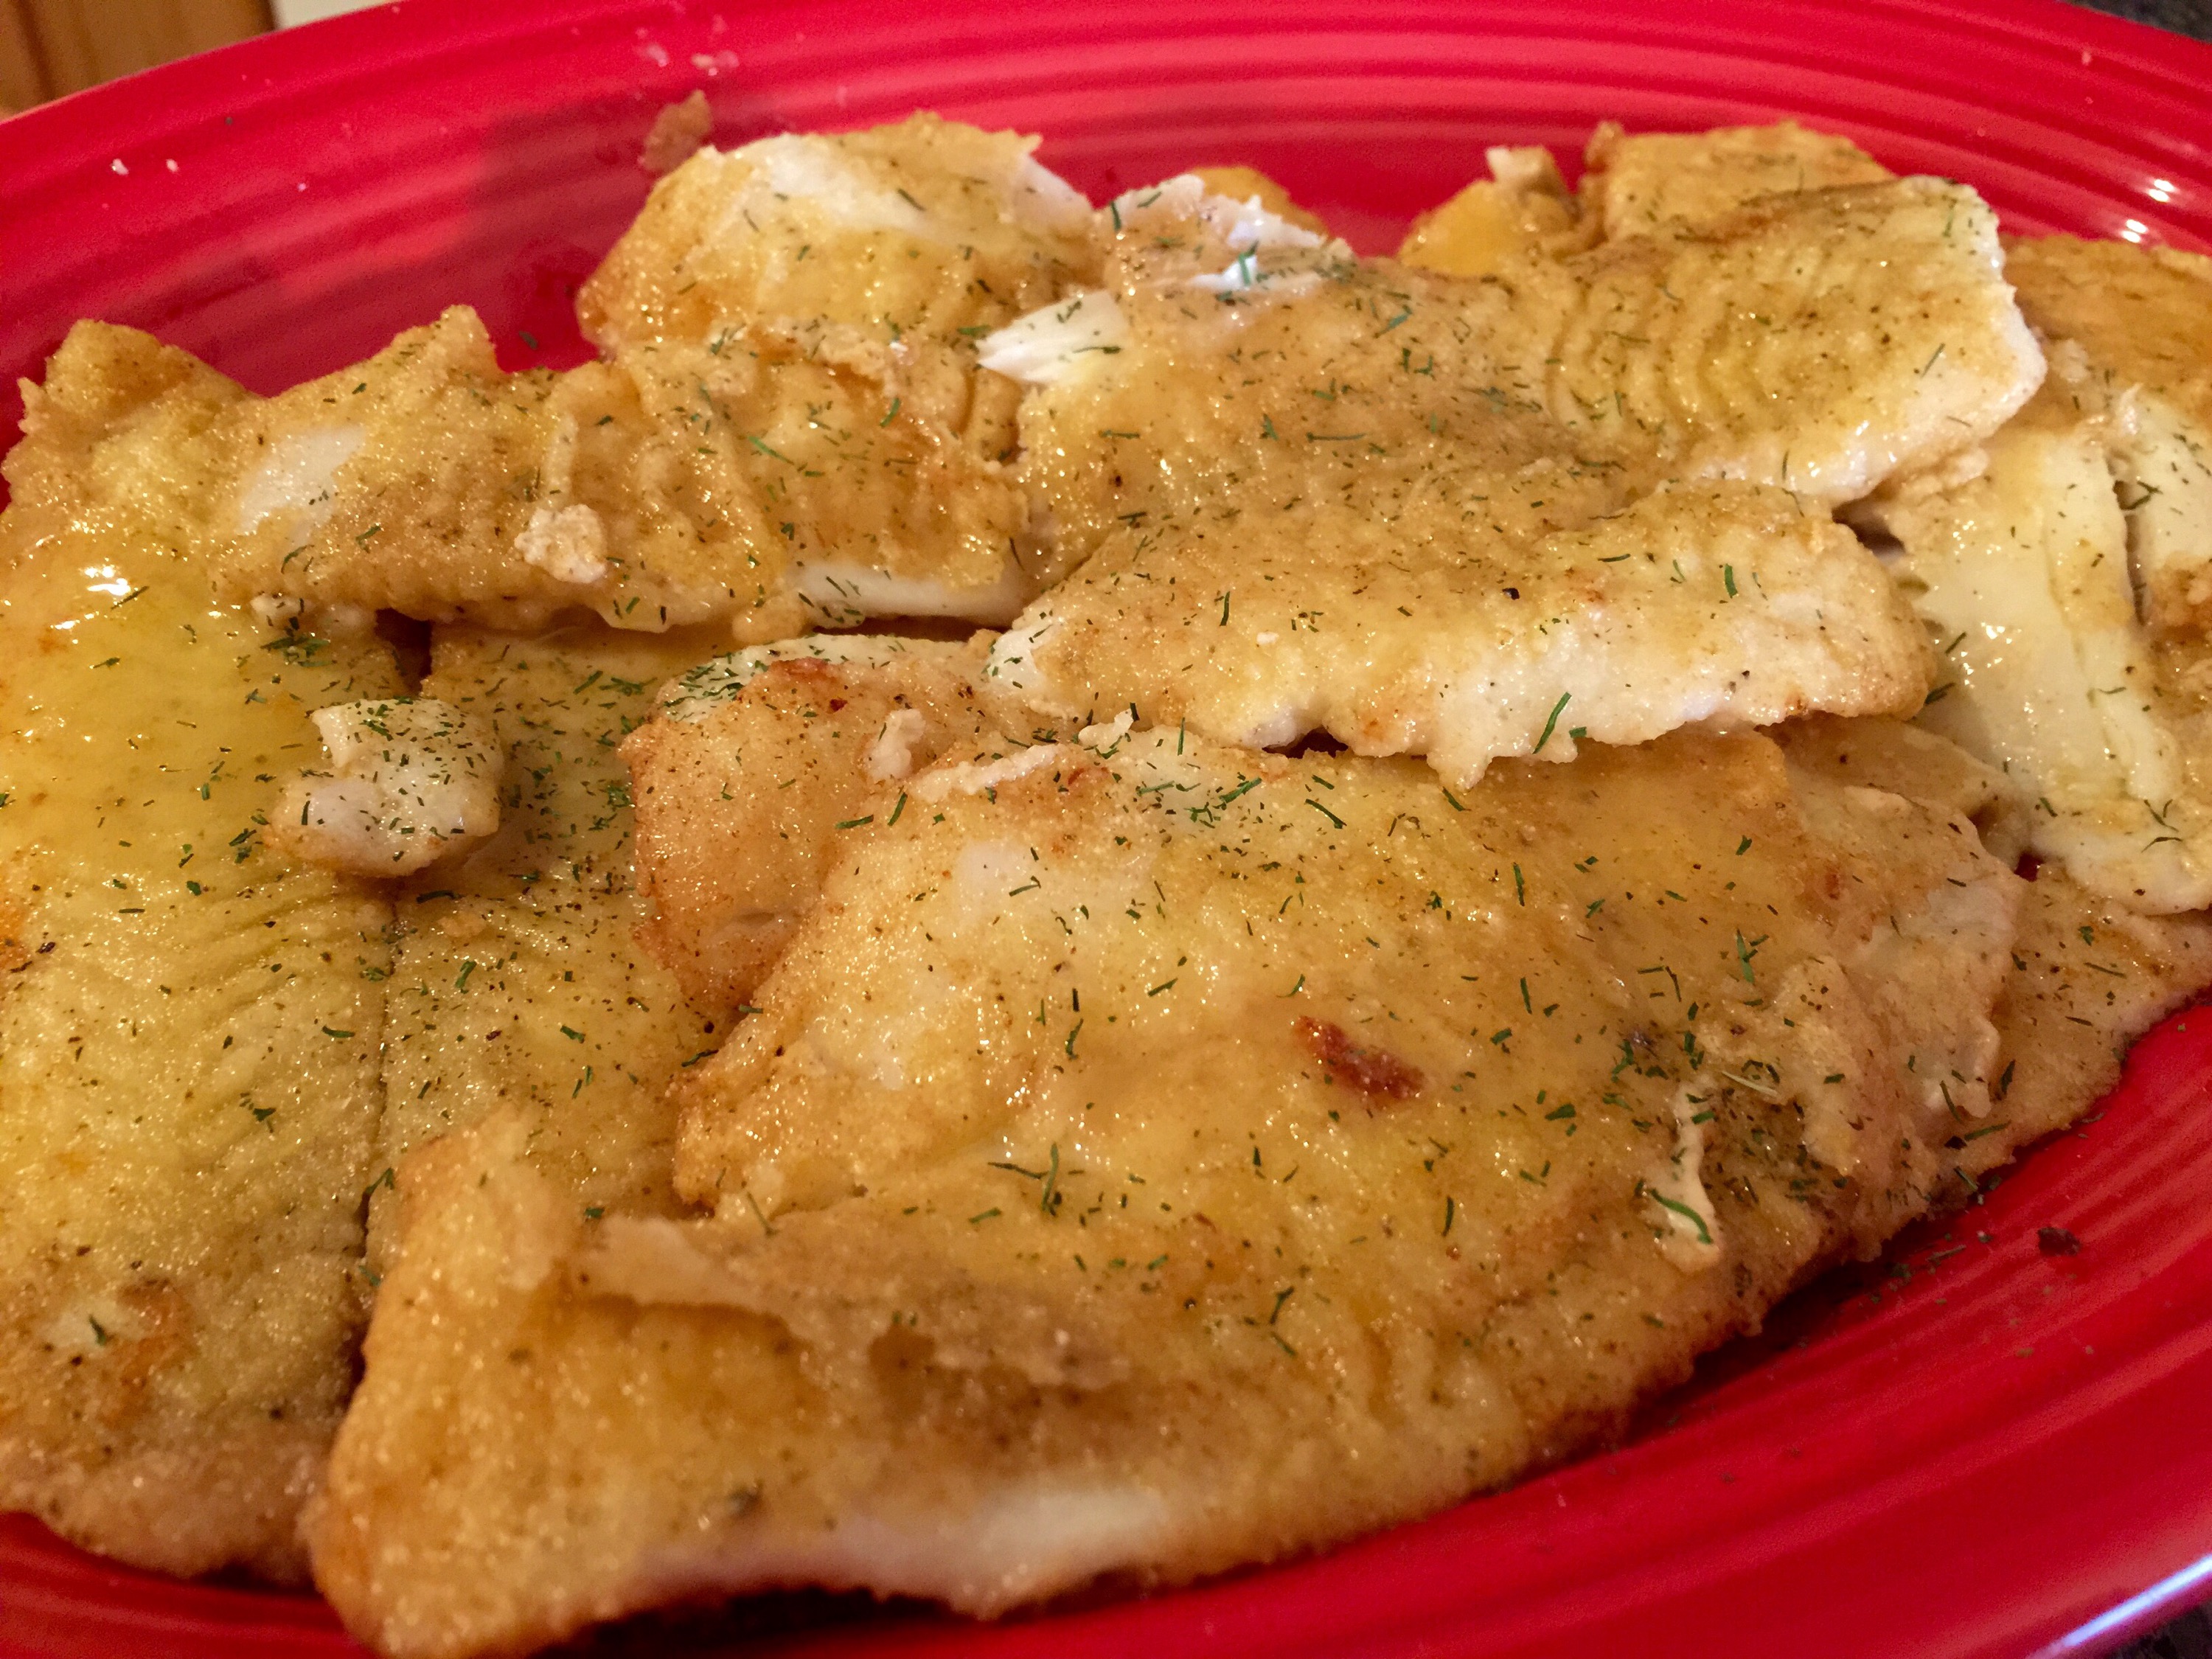
unspecified-13unspecified-15unspecified-16

7. Enjoy 🙂

unspecified-17

Advertisement

Salmon With Lemon Butter Sauce

Standard
Salmon With Lemon Butter Sauce

  
This is a yummy salmon dish with a delicious lemony-buttery-garlicky sauce and a sprinkle of dill. I usually buy my salmon fresh from the seafood market in my grocery store, but our SAMs had a sale on 6 oz frozen salmon fillets and they worked out perfectly for this dish! Just let them defrost of course first if that’s what you decide to use too. 

Ingredients:

  • 4 6oz salmon filets
  • 1/2 c unsalted butter (1 stick)
  • 1 garlic clove
  • 1 lemon
  • Salt and pepper 
  • Fresh or dried dill weed (optional)

1. In a small sauce pot melt your butter stick on low-ish heat. You’re not cooking the butter, just melting it. Also, pre-heat your oven to 375F.

  
2. Get out your little microplane grater and grate your garlic clove and also zest your lemon. Put it straight into your butter. Then, squeeze the lemon juice into there too. Mmm, starting to smell good in here! 


3. Line up your salmon in a baking dish and say to yourself “One fish, two fish, red fish, blue fish!”

  
4. Then, pour your yummy sauce all over your fish.

  
5. Now season your salmon with salt and pepper.

  
6. Now put it in your oven at 375…

  
7. I checked it at 15 minutes and it was at this point I remembered I had fresh dill growing in the garden. Yay! So I swished the butter around in the dish to make sure it was flavoring up everything and then threw some dill on it. Basil would be good, parsley, or even chives. Or you could just leave it without the herbs too 😉

Then it’s back in the oven another five minutes.

  
 8. After 20 minutes or so it’s done! This calls for a red wine blend! ☺️


Seafood Arrabbiata 

Standard
Seafood Arrabbiata 

Y’all, this is the most amaaaaazingly yummy dish! “Arrabbiata” is Italian for “angry”, and it comes from the red pepper flakes in the dish. I like my pasta’s anger somewhere between 1) they’re out of my mascara at the store and 2) on hold with American Airlines for an hour and they just hang up on you. Of course, you can add more or less to your liking 😄

You may have also noticed those aren’t regular pasta noodles in there. No, it’s not spaghetti squash either. It’s yellow summer squash and zucchini cut from my brand spankin new Veggetti! I’m so very happy with my “As Seen On TV” purchase! It cuts the squash into these deliciously long and incredibly pasta-like strands and you can choose thick cut like a linguini or thin cut more like spaghetti/angel hair. That being said, of course you could make this with traditional pasta, but I think you should give the veggie pasta a try!

First, here’s the Veggetti:

You can buy it here on Amazon cheaper than you can get it at Bed Bath & Beyond if you don’t already have one:
Veggetti Spiral Vegetable Slicer, Makes Veggie Pasta

I used yellow squash and zucchini for this pasta, but next time I will probably just use zucchini because it cut up in half the time as the squash and I really couldn’t taste a difference. I’m so excited to try this with my other favorite pasta dishes!

Ingredients:

  • 4 squash, zucchini, or combination of them
  • 1 chopped sweet onion
  • Olive oil
  • 3 chopped garlic cloves
  • 1 15 oz can tomato sauce
  • 1 28 oz can whole peeled tomatoes drained and chopped
  • 2 tsp dried parsley flakes
  • 1/2 lb shrimp (peeled and deveined)
  • 1/2 lb scallops
  • 1/2 lb mussels
  • Red pepper flakes
  • Salt and pepper

1. Get your “pasta” ready by putting your four squash/zucchini through the Veggetti.

2. Get your can of whole peeled tomatoes and drain the juice, then chop the tomatoes and set aside.

Why am I not using diced tomatoes? Because whole tomatoes are generally the highest quality canned tomato and use plum/Roma tomatoes that have been peeled. Diced tomatoes can be a mix of different kinds of tomatoes and not always peeled, so it’s worth the effort to dice these up.


3. In a large skillet over medium high heat, drizzle olive oil and add your shrimp and scallops, season with salt and pepper, and cook until they’re totally done. You might need to drain off a little liquid while its cooking if they give off too much water. Once they’re finished, drain and set aside.

4. In the same skillet, add another drizzle of olive oil and add your chopped onion and season with salt, pepper, and red pepper flakes. Start out with 1/4 tsp and you can always add more later if that’s not enough for you. Sauté for 3-4 minutes.

5. Add your chopped garlic and sauté another minute.

6. Add your chopped tomatoes, tomato sauce, dried parsley flakes, and bring to a boil. Then add your “pasta” noodles, stir, and let boil for one minute.

7. Turn your heat down and add your seafood back into the dish you cooked earlier, plus your mussels.  At my store, mussels are sold already cooked and only need to be heated through. But, if the mussels you purchase are not cooked, add them to the sauce while its boiling and put a lid on your skillet to allow them to steam for a few minutes. You’ll know they’re done once they open up. Any mussels that don’t open are no good and will need to be removed.

Voila! Your angry Italian dish is complete and ready for a glass of wine to go with it!

Mahi Mahi With Basil Lime Butter

Standard
Mahi Mahi With Basil Lime Butter


This is yet another fish dish we are crankin’ out of the Scott household. This latest is another twist on baked fish to jazz it up and give it some flavor. This recipe I used for mahi mahi, but would go great with salmon, flounder, tilapia, etc. It’s a very quick and easy way to make a yummy and healthy fish dinner for your family. I used a pound (two 8 oz filets), but the basil line butter would’ve been enough for double that I think.

Ingredients:

  • 1 lb fish
  • 1 garlic clove chopped
  • 2-3 basil leaves chopped
  • 1/2 lime juice
  • 1/2 lime zest
  • 2 T butter
  • Salt and pepper (pinch of each for butter and also to season fish)

1. Throw all your ingredients together into a small stovetop pot. I ended up only using one basil leaf since mine was ginormous! Melt and stir all together. This should only take about a minute. 


2. Your fish should be on a sheet that’s been sprayed with non-stick spray and seasoned with salt and pepper. Now pour your melted basil lime butter on top.


3. Place your fish under your broiler for anywhere from 5-10 minutes until it’s done (this will depend on type of fish you’re using and thickness).


Yummy! 😄

Budget Friendly Crab Cakes

Standard
Budget Friendly Crab Cakes


Crab cakes are sooooo yummy! But when you’re watching your pocketbook, they aren’t the first thing you think of for affordable meals. This recipe blends mild white fish and crab claw meat to help stretch the crab meat to where you won’t even notice it’s not 100% crab in there. Real crab meat has a strong flavor and will overpower the white fish you use and allow you to have real crab cakes (not that yucky imitation stuff) while not breaking the bank! I used flounder in this recipe because it’s what was on clearance in the meat market at our grocery store, but any mild white fish would work like cod, sole, etc… I’ve made this recipe with all halibut fish (not budget friendly but incredibly good) and it’s amazing too. 

Ingredients:

  • 10 oz flounder or other white fish cooked and unseasoned (just steam it on your stovetop) 
  • 6 oz claw meat (it’s cheaper than lump crab meat and just as yummy)
  • 1/2 c Italian or plain breadcrumbs
  • 1/4 c mayo
  • 1 beaten egg
  • Dash worchestishire 
  • 1 green onion thinly sliced 
  • 1/4 tsp garlic salt
  • 1/4 tsp Tony’s Creole Seasoning
  • 1 tsp parsley flakes
  • Pinch cayenne 
  • Zest 1 lemon
  • Juice 1/2 lemon 
  • 2 T butter (for cooking crab cakes in)

1. Flake your fish apart with two forks and combine fish, crab meat, and the rest of the ingredients together in a mixing bowl.


2. Stir it all together and spray a sheet pan covered in foil with non-stick spray. 


3. Form little crab cakes with your hands whatever size you like.


4. I like to cover my cakes with plastic wrap and chill for at least 20-30 minutes to let them firm up because they’ll cook easier and stay together better. It’s not 100% necessary, but I recommend it. Once they’ve been chilled, melt 1 T butter in a large skillet and add your crab cakes. Don’t overcrowd the pan! 


5. Cook on medium high heat about five minutes a side. 


6. Do in batches and you can keep them warm in a 200 degree oven while you’re waiting for your next batch to finish. Serve with the other lemon half or a remoulade sauce! 


Shrimp Linguini With Lemon Butter Sauce

Standard
Shrimp Linguini With Lemon Butter Sauce


This is soooo yummy! It has a light white wine/buttery/garlicky/lemony deliciousness and I absolutely love it! You can of course use any pasta like angel hair, whole wheat spaghetti, penne, etc… But my favorite is linguini 😄

Ingredients:

  • 1 lb shrimp peeled and de-veined 
  • 3 T butter
  • A drizzle of olive oil
  • 1 lemon (juice and zest)
  • 1/2 lb pasta (8 oz)
  • 2 cloves garlic chopped
  • 2 glugs of white wine
  • Salt, pepper, crushed red pepper flakes, and dried parsley

1. Start boiling your water for your pasta. I like to add salt in there to help flavor it up a bit. Then add your noodles.


2. Start melting your butter over medium high heat in a large sauté pan and add a drizzle of olive oil to it.


3. Once the butter is melted, add your shrimp. It’s best to use shrimp after you’ve pat it dry a bit, otherwise it can make the sauce watery. Season it with salt, pepper, and a pinch of crushed red pepper flakes.


4. Now add two glugs of white wine. That’s the sound your bottle makes when you turn it into your pan. If you’re going with box wine, press the spout for a couple seconds over your pan. See how I keep it classy with my pinky out? 😄


5. Now add your lemon juice and garlic and cook for about five minutes. You’ll know the shrimp is done when it turns orange and form little c’s.


6. Once it’s done, turn the heat off and add your lemon zest and sprinkle parsley flakes all over it. Stir it all together.


7. Your pasta should be done by now. Drain and add noodles to your sauce pan. 


Stir it all together, pour yourself a glass of wine, and enjoy! 

Honey Lime Mahi Mahi

Standard
Honey Lime Mahi Mahi


Y’all may recall I said we’ve been eating more fish in our house. Here is my latest attempt to eat something other than plain seasoned and baked fish, and I have to say it’s pretty delicious and I’ll be making it again. It will work with any fish I’m sure, but this was for one pound of mahi mahi. 

Ingredients:

  • 1 lb fish filets
  • 1 lime (zest and juice)
  • 1-2 tsps honey
  • 1 tsp olive oil
  • Salt and pepper
  • 1 green onion

1. Chop your green onion and put half in a small bowl with your lime juice, lime zest, honey, a pinch of salt, and olive oil. Save the other half of the green onion for garnish. Wisk the marinade together. Give your marinade a taste and see if you want to add more honey or salt. 


2. Cover a sheet pan with foil and spray with non-stick cooking spray. Place your filets on the pan and season with salt and pepper. Then pour your marinade over the filets.


3. Make sure your oven rack is close to the top of your oven and place the filets under your broiler for 10-12 minutes or until filets are done cooking.


4. Sprinkle your remaining green onions on top and serve with Cilantro Lime Rice to keep with the lime theme! Yum!


Lightly Crusted Flounder With Lemon Butter

Standard
Lightly Crusted Flounder With Lemon Butter

IMG_2596

We’ve been eating a lot of fish lately and baking it, while delicious, can get a little old. So I mixed it up this week by putting a light crust on these filets and finishing them with a little lemon butter and dill. If you have rice flour, I recommend using it because it gives a light and crispy crust that you can’t get with regular flour, not to mention gluten free if you’re into that sorta thing. But if you don’t, regular flour works just fine.

Ingredients:
Flounder filets (I did 2 lbs)
Olive oil
1 T butter
Flour
Dill weed (optional but great addition)
Juice of 1 lemon

1. Season both sides of your filet with salt and pepper. Then using your hands, sprinkle a light dusting of flour on both sides as well.

IMG_2590-0

2. Pour a couple of tablespoons into a skillet on medium high heat. Then put your filets is for a few minutes each side. Leave it 2-3 minutes before flipping it over do it gets a nice crust and is easy to flip. Don’t overcrowd your pan and work in batches, pouring more oil in later if needed.

IMG_2592

IMG_2593

3. Set your fish aside on your serving platter once it’s all done cooking. Then add 1 T butter and the juice of a lemon to your pan and stir around about a minute. Then pour lemon butter over flounder filets.

IMG_2594

IMG_2595

4. Finally, sprinkle some fresh or dried herbs over your fish before serving. I love the taste of dill sprinkled over mine! White wine is fab with this dish 😄

IMG_2598

Sweet Chili Glazed Salmon

Standard

IMG_2422

Ok y’all, if you’re searching for the best salmon ever recipe, you can rest now because this is it! I had seen a recipe using sweet chili Asian sauce and orange marmalade on salmon and thought “Well there’s a cool idea!” and came up with this delicious concoction. It was so yummy my husband had me go back up to the store today and buy four more pounds of salmon to keep in our freezer for me to make this recipe again soon!

*  I have since revised this recipe so that it uses less sauce and it is just as delicious! *

Ingredients:
2 lbs salmon cut into filets about 8 oz a piece
1/4 c sweet chili sauce (found on the Asain isle – I love the Grama’s Sweet Chili Glaze) 
1 T apricot preserves
1 T soy sauce
1 T chopped green onions
1 garlic clove minced
Salt and pepper

1. In a small mixing bowl pour in your sweet chili sauce, apricot preserves, green onions, garlic, and soy sauce and whisk together.

IMG_2391 2. Cover a sheet pan with foil and spray with non-stick cooking spray and lay salmon skin side down on the sheet. Season the salmon with salt and pepper, then pour sauce over the top of the salmon and allow it to marinate that way for about 30 minutes.


3. Once it’s done marinating place the salmon near the top of your oven under the broiler for approximately 15 minutes. You’ll want the sauce to caramelize on top of the fish and don’t worry if you see the sauce burning that slid off the fish and is stuck to the foil. 

*This is a picture from my original post, but you’ll get the idea of what the fish will look like when it’s done.

  
It’s now ready to eat and so yummy! My husband likes to pour a little extra sweet chili glaze on the side to dip his in. Yum! 😍

Roasted Red Snapper With Veggies

Standard
Roasted Red Snapper With Veggies

Roasted Red Snapper With Veggies

I love fish! There are so many people that tell me they love fish but that they’re scared to cook it or all they know how to do is fry it. Don’t get me wrong, I love fried fish, but there are so many healthier and just as delicious ways to enjoy our friends from the salty sea. This red snapper is a very mild white fish, and if you can’t find snapper where you are, a similar tasting fish would be grouper, flounder, or another mild white flaky fish. Halibut is delicious too, but it’s usually an arm and a leg, and I like to stick with the affordable stuff! Normally I do sort of a cooked pico de gallo recipe with this fish, but I had some bell peppers in my garden that were ready to pick, so those got incorporated into this dish and I was so happy I put them in there!

Ingredients:
1 fish filet per person
1 large tomato or a few handfuls of cherry tomatoes cut in half
1 handful chopped cilantro
As many chopped jalapenos as you can handle 🙂
2 bell peppers any color
2 chopped onions (I did one sweet and one purple because I had them both, but if you’re just picking one, go with sweet)
butter
2 chopped garlic cloves
Salt and pepper
Olive oil
Your favorite fish seasoning (I like to use the GOYA brands I normally use on chicken which are the Seasoning Total and GOYA con pepper in addition to a few cracks of fresh black pepper from the grinder)

1. Using an oven safe skillet (hello cast iron!), saute with about 3 T of butter and a drizzle of oil your onions and peppers and season with salt and pepper. This will take about 10 minutes or so on medium high heat. Then add your garlic and saute for a few more minutes.
-8

2. Turn the heat off and add your chopped tomatoes and cilantro and add additional salt if needed. Stir that around until everything is incorporated.
-9

3. Place your seasoned fish filets on top of the veggies and place into a 425 degree oven for about 12 minutes. You’ll need to vary your time based on how many filets you have, the thickness, etc, but you get the idea that they’re going in and coming out pretty quickly. Also, I find it helps roast the fish and hold in the moisture if you drizzle the tops with a little olive oil as well as the seasoning you put on them.
-10

4. I started checking my fish at 10 minutes and I could tell when it was done when the meat bounced back firmly and poked a fork in there and it was opaque. Remember, when you take it out it will continue to carry over cook, so there’s no need for you to cook the blazes out of it.
-11

5. Plate that puppy up and serve with a twist of lime or a side of rice for a delicious and healthy meal! -13