Monthly Archives: November 2014

Green Bean Casserole

Standard
Green Bean Casserole

Green Bean Casserole

Are y’all so excited for Thanksgiving? I can hardly wait! I’ve been looking forward to this delicious meal for the last month, and I’ve been prepping to get everything ready for the big day. This green bean casserole is creamy, cheesy, and so yummy! I am going to freeze it today and then take it out of my freezer Wednesday night before Thanksgiving and let it defrost in the fridge overnight. It’s one of those side dishes I can easily prepare ahead of time so I’m not swamped doing everything the day of.

Ingredients:
2 frozen bags of whole green beans
1 large sweet onion
2 cloves garlic
1/2 stick of butter
1 jar of pimentos or 1/4 c roasted red bell peppers chopped
8 oz Velveeta
2 oz cream cheese
1 can cream of mushroom
6 oz (1 can) French’s fried onions
Salt and pepper
Cayenne pepper (optional)

1. First boil your green beans in salted water for about 10 minutes. You want them cooked all the way through, just not so cooked that they’re soggy and limp like canned green beans. Bleh! Fresh is what makes all the difference in this recipe. Once they’re done, drain and set aside.
-12

2. Meanwhile, saute your onions, garlic, butter, salt, and pepper over medium heat until they start to turn golden. -13

3. Once your onions are done, add your cream of mushroom, cream cheese, Velveeta, and roasted red peppers to the pan. Also add a pinch of cayenne pepper if you want to. You’ll want to watch this and stir often so it doesn’t burn on the bottom.
-14

4. Once that’s all melted and smelling delicious, add 1/2 your can of fried onions to this and stir together.
-15

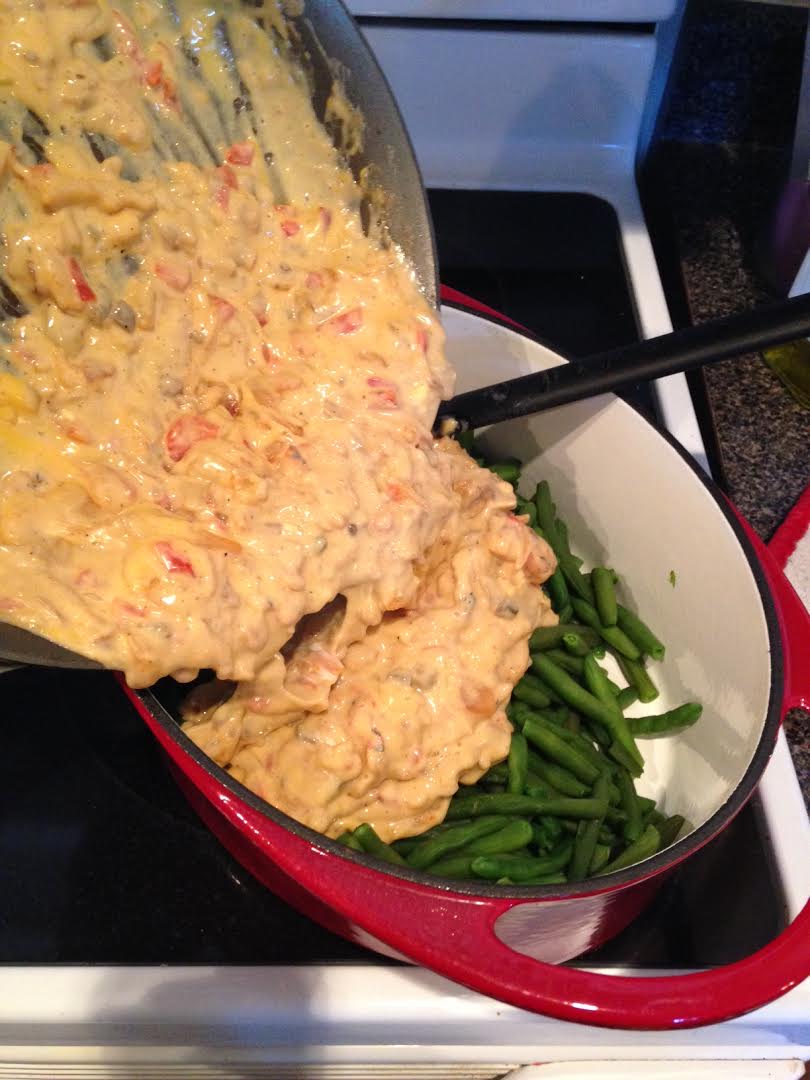
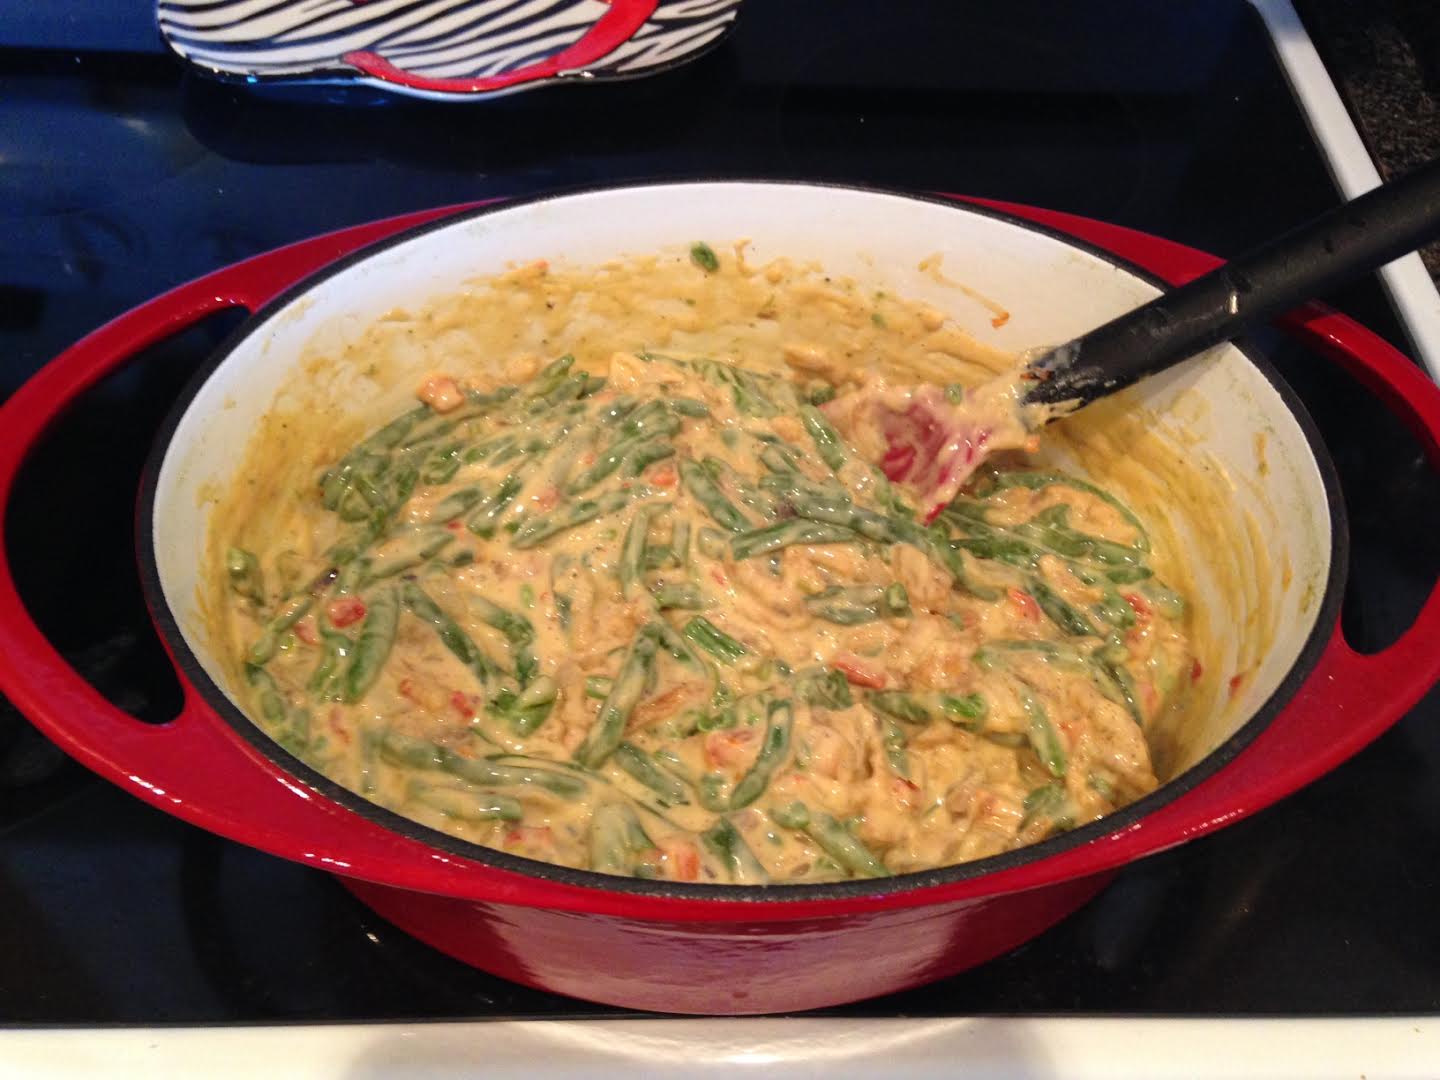
5. Now add your creamy mix to the green beans and stir together gently.
-16
-17

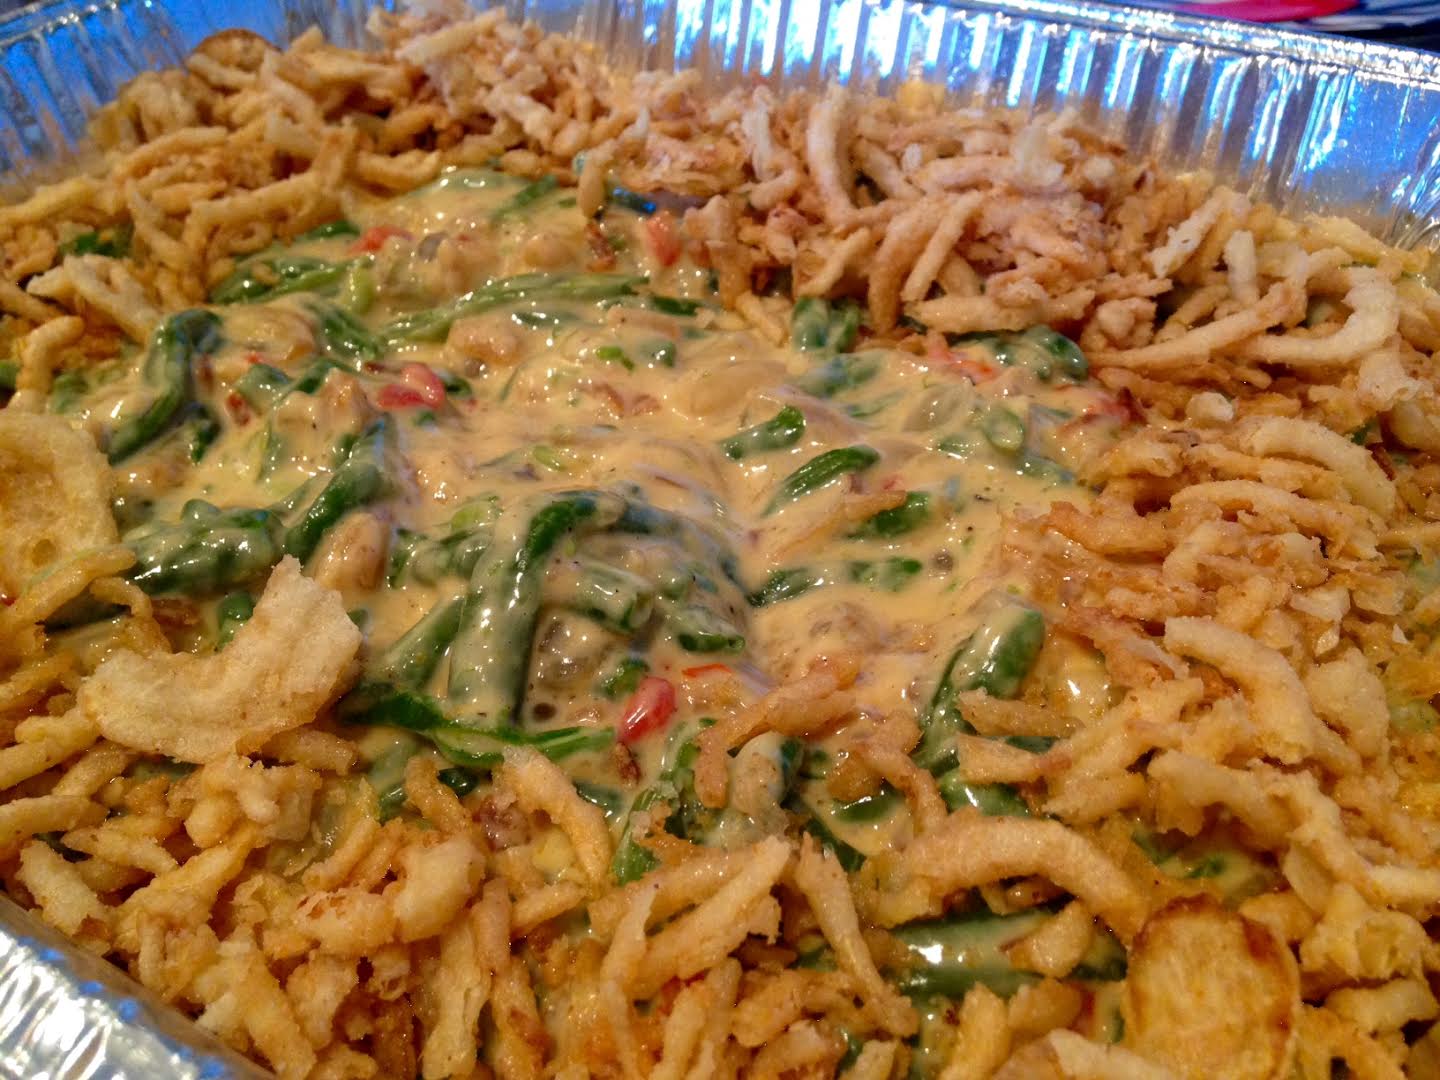
6. Lastly, sprinkle the last of the fried onions over the top of the green beans and bake at 350 for 30 minutes.
-20

Enjoy 🙂

Waffles

Standard
Waffles

Blueberry Waffles
Jalapeno Bacon Waffles

I love love love waffles! Love them! This recipe is great for classic waffles, or add your favorite mixins! I love blueberries in mine, and my husband loves jalapenos and bacon. So weird, but he loves it.

Ingredients:
2 cups self-rising flour (This is one of those time savers I love because you don’t have to add salt and baking powder. If you don’t have self-rising flour, just add 1 tsp salt and 4 tsp baking powder to the recipe.)
2 T white sugar
1 T honey
2 eggs
1 1/2 c milk (we use coconut milk at our house, but any milk will do)
1/3 c melted butter
1 tsp vanilla extract
1/4 c mixins per waffle if you want them and keep separate from the mixing bowl (blueberries, strawberries, jalapenos and bacon, whatever… frozen fruit works best)

Combine all your ingredients and add 1/3 c at a time to your waffle iron that you’ve sprayed with non-stick cooking spray between each waffle. Right after you pour the mixture onto the iron, sprinkle your 1/4 c of mixins on top of the batter and close the lid. Cook according to the instructions on your waffle iron. Makes about 10 waffles.

Homemade Chicken Broth

Standard
Homemade Chicken Broth

Homemade Chicken Broth

Chicken broth made at home is so much tastier than the boxed/canned stuff you get at the store, not to mention much cheaper when you compare how much this makes! This broth is great for any recipe, like Chicken Noodle Soup, Texas Cornbread Dressing, or any other recipe that calls for broth or stock. What’s the difference between broth and stock? Stock is really more about the carcass of the animal (chicken bones, beef bones, etc.) and broth boils the meat. They’re both delicious, but broth is a bit quicker to make and doesn’t take all day boiling away, plus it leaves you with leftover meat you can chop up and make just about anything with (soup, chicken salad, enchiladas, the possibilities are endless!). Also, I should note I used chicken thighs for this broth recipe because that’s what I had in my freezer and not a whole chicken. Either one will work perfectly. The key is you want your chicken to have skin and bones, because it’s going to deliver the most flavor.

Ingredients:
1 bunch of celery with leaves
3 carrots
1 large onion skin on
2 bay leaves
2 Knorr chicken bouillon cubes
1 T garlic herb seasoning
1.5 gallons of water (24 cups of water)
1 large package chicken thighs or 1 whole chicken between 2.5-3.5 pounds (my chicken thighs were 3 pounds)

1. Don’t even bother peeling or skinning your veggies, just give them a rough chop and throw them all in your stock pot.
IMG_4030

2. Add your chicken and seasonings into the pot.
IMG_4031

3. Cover with water and bring to a boil, then lower to a simmer and leave uncovered.
IMG_4032
Homemade Chicken Broth

4. After about an hour and a half your broth is done cooking! Take out a strainer and place over another large pot or bowl in your sink and pour everything out of your stock pot into it. I suggest pulling your chicken out first before trying this move, because if your strainer is like mine, it’s probably not big enough to hold all of that.
IMG_4035

5. Now you have lots of delicious broth left in your bowl and you can use it now or freeze in containers and use whenever you want. So good!
-14

Perfect Pot Roast

Standard
Perfect Pot Roast

Perfect Pot Roast

I love easy dinners like this pot roast you can just throw in all one dish and let it cook away all day! I made mine in the oven only because I wanted to use my shiny orange ovenware dish, but this works perfectly in a crockpot too. Crocktober lasts pretty much all fall and winter at my house, and this is one of my favorites. Also, I know some of you may be hesitant about using sweet potato in this recipe, but I promise you it’s so delicious, and once you’ve tried it you’ll never cook pot roast with just plain potatoes ever again!

Ingredients:

1 large sweet potato
1 large sweet onion
8-10 purple potatoes (you could use new potatoes too, I just love the color of the purple ones)
1 large Yukon gold potato
3 garlic cloves
3 carrots
1 can cream of mushroom and chicken (if you can’t find this, just use regular cream of mushroom)
1 package Zesty Italian Seasoning
4 cups of water
Your favorite all purpose seasoning (something with salt, pepper, garlic, etc)
2-3 lb pot roast

1. Chop all your veggies and put in your crockpot or casserole dish. Combine in a separate bowl can of cream of mushroom/chicken, Zesty Italian Seasoning, and 4 c water. Stir until combined and pour over the veggies.
image

image

2. Season pot roast liberally on all sides with your favorite all purpose seasoning and place on top of veggies and cover with lid.
image

3. Bake in oven for six hours at 300 degrees or place crockpot on high for 6-8 hours (depending on the strength of your crockpot and weight of your roast). Serve over rice or with tortillas in a pot roast taco for a delicious cool weather meal! If you’re serving with rice, I like to cook the rice with some of the pot roast liquid after it’s done cooking to give it extra flavor. Yum!
image

Dutch Apple Pie

Standard
Dutch Apple Pie

Dutch Apple Pie

This cooler weather is so perfect for baking something delicious in your kitchen and making your whole house smell amazing! This Dutch Apple Pie is so good and is made with my absolute favorite apples: Honey Crisp. You can make this pie with a mix of different apples or just pick your favorite, but I highly suggest Honey Crisp! Also, I’ve made this without the pie crust many times and just made it in a baking dish as a crisp and it’s perfect too! 

 Ingredients: 

 (Filling) 

  • 5-6 peeled and sliced thin apples 
  • 3 T flour 
  • Juice of 1 lemon 
  • 1/2 tsp cinnamon 
  • 1/4 c brown sugar packed 
  • 1/2 c white sugar 
  • Your favorite pie crust

 (Topping) 

  • 3/4 c flour
  •  1/4 c brown sugar
  •  1/4 c white sugar
  •  1/2 tsp cinnamon 
  • 1/3 c butter cut into cubes

 1. Stir all filling ingredients in a large bowl and dump into pie crust. I used a frozen pie crust because ain’t nobody got time to make a homemade crust!
image

2. Combine your topping ingredients in a bowl and using either a pastry cutter or two forks stir together until butter is well incorporated and is roughly the size of peas.
image
image

3. Place pie on a foil lined cookie sheet to prevent spills and bake at 375 for 50 minutes. Allow to cool on cooling rack before eating. It’s perfection, trust me!
image