Monthly Archives: March 2015

Mexican Steak Burritos

Standard
Mexican Steak Burritos


These burritos are very yummy and use pretty much whatever cheap cut of beef you want for your steak. The marinade for the steak is easy and helps tenderize whatever cut of beef you decide to use for your steak. This steak I purchased was around $2 and is classified as “family steak” at my grocery store – whatever that means. So feel free to shop your clearance section to make these as pocket friendly as possible!

Ingredients:

  • Steak for burrito
  • Italian dressing
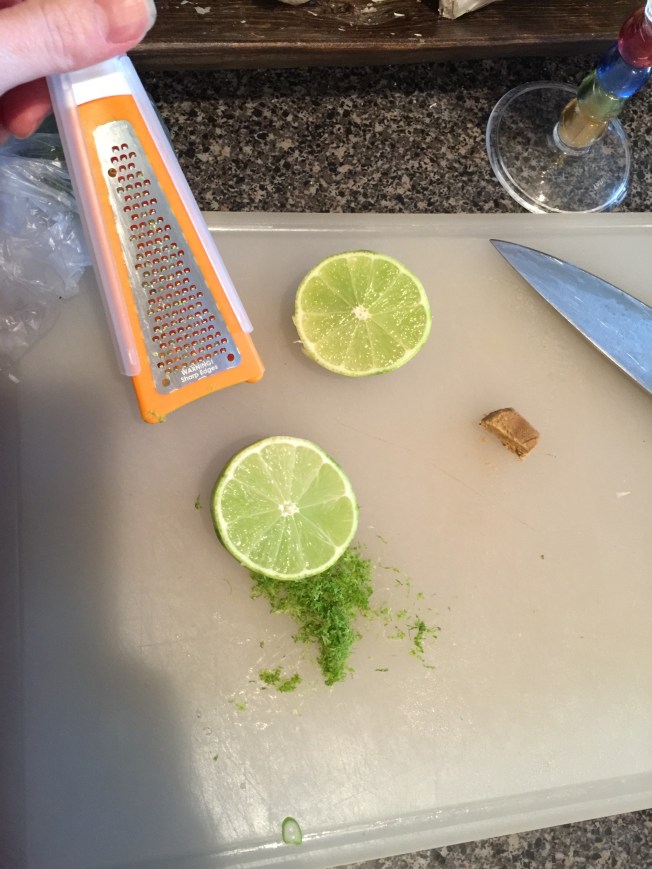
  • Lime juice from 1 lime
  • Fajita seasoning
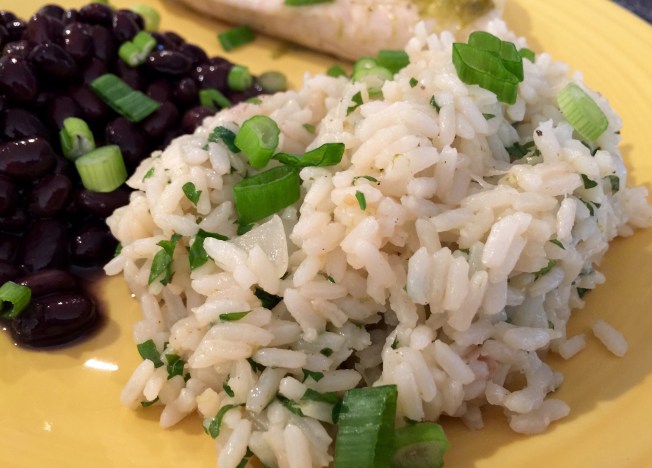
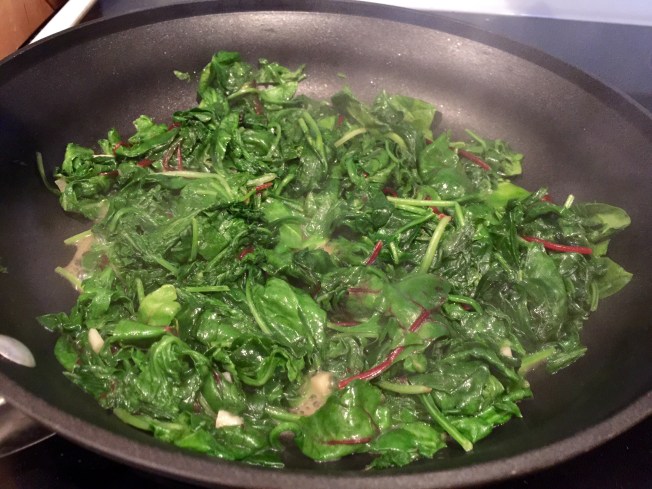
  • Toppings for burrito like grilled veggies, cilantro lime rice, refried black beans, lettuce, tomatoes, sour cream, etc! 
  • Tortillas

1. Take a large ziploc bag and place your steak in there and give it a few big squeezes of Italian dressing, the juice of one lime, and several dashes of fajita seasoning. Then allow the marinade to work for a minimum of four hours or even overnight.


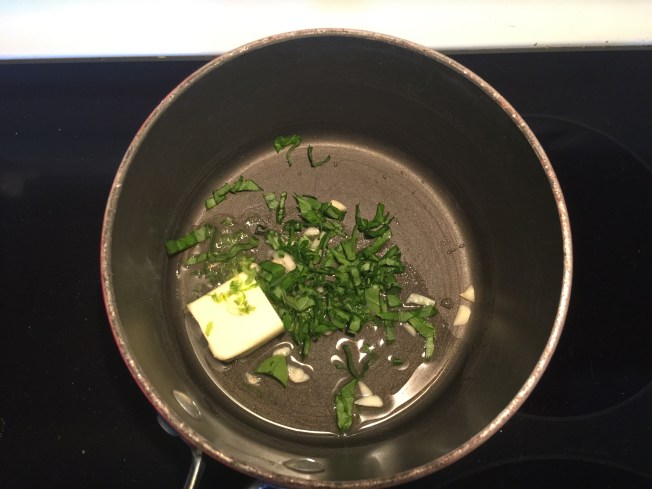
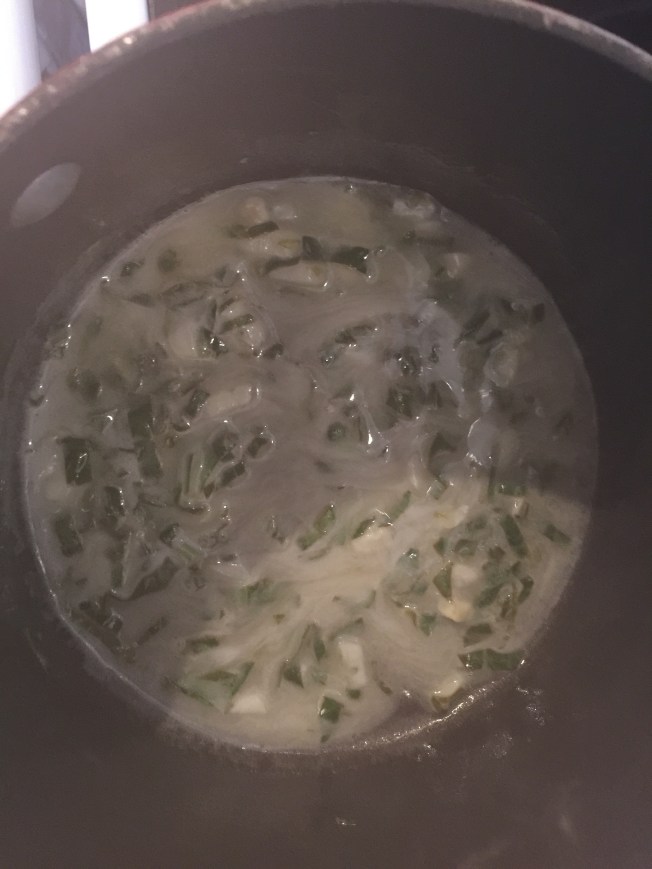
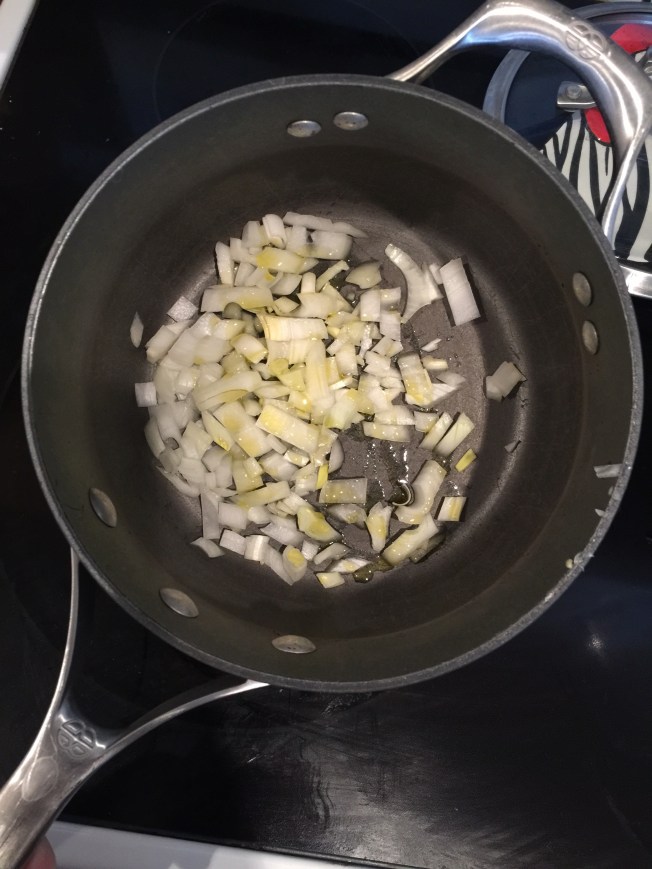
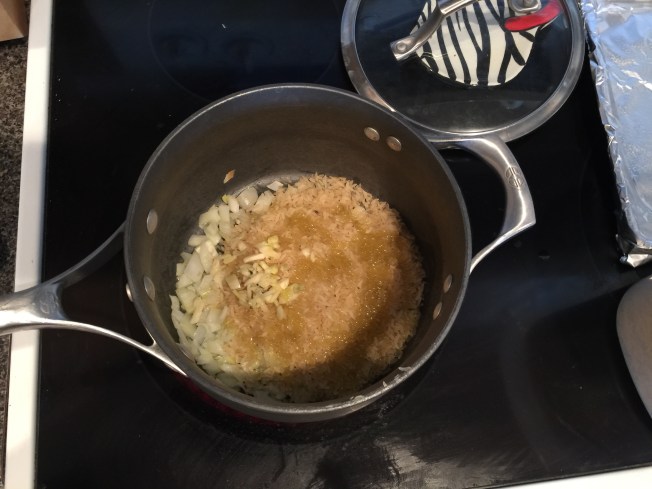
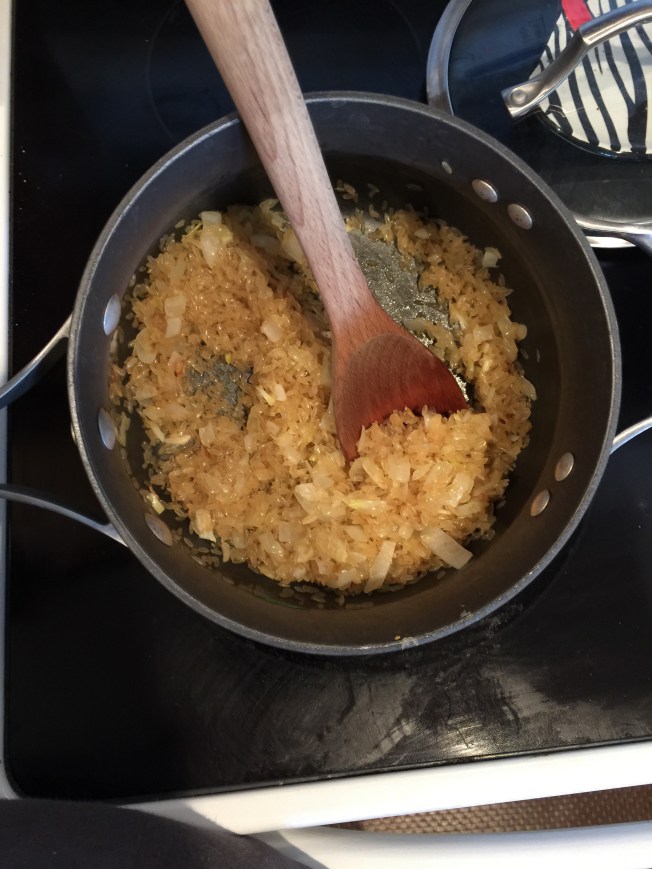
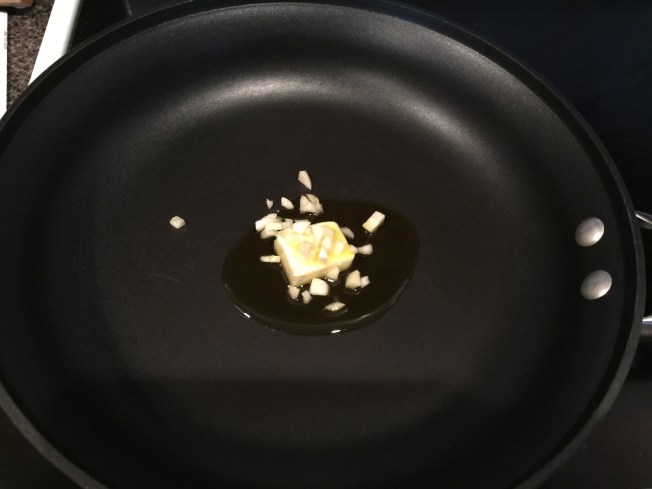
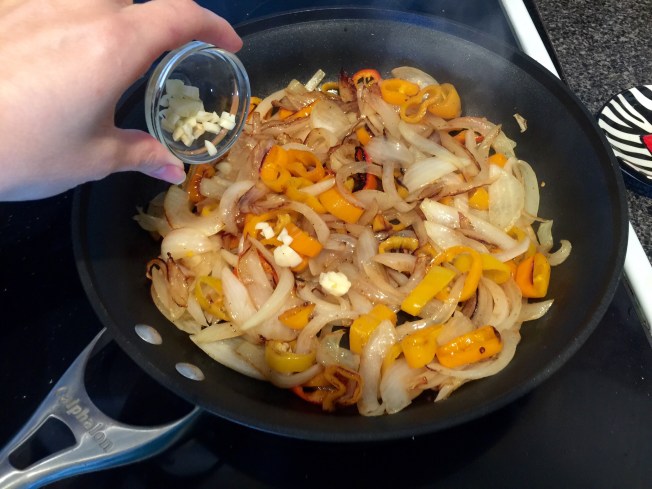
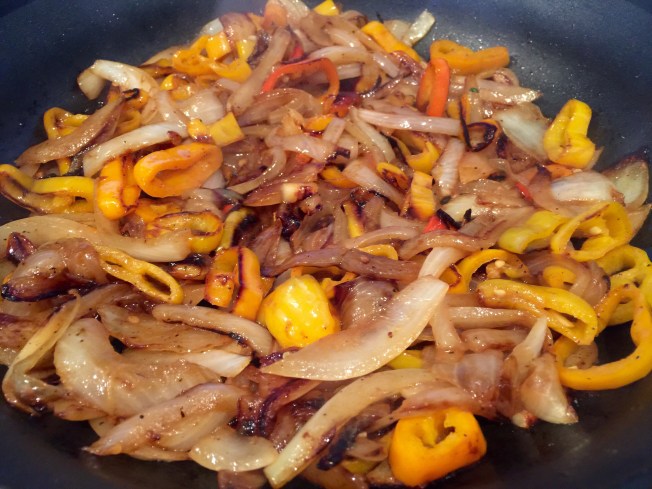
2. If you’re planning on veggies, I used two sweet onions and ten of those sweet mini peppers sautéed with two tablespoons of butter, a drizzle of olive oil, salt and pepper. I cooked them for fifteen minutes over medium high heat, then added one chopped garlic clove and cooked for an additional five minutes.


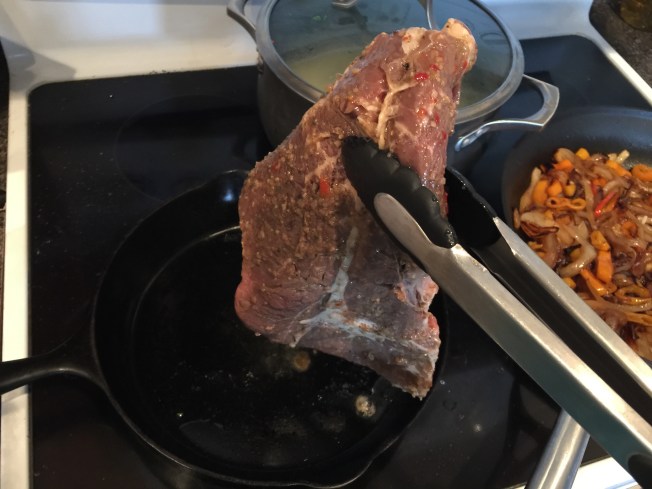
3. For the steak, you can go outside and grill your steak, or if you live somewhere that going outside is terrible (like where I live), just cook your steak in your cast iron skillet inside. Drizzle a little oil in the pan, turn the heat up fairly high, and cook your steak to desired doneness. Personally, I like mine more of the rare end. That’s the beauty of cooking your own burritos!


4. Now start stuffing your burritos! I used whole wheat tortillas, refried black beans, cilantro lime rice,  lettuce, tomatoes, grilled veggies, and sour cream. So delicious!!! 


Mahi Mahi With Basil Lime Butter

Standard
Mahi Mahi With Basil Lime Butter


This is yet another fish dish we are crankin’ out of the Scott household. This latest is another twist on baked fish to jazz it up and give it some flavor. This recipe I used for mahi mahi, but would go great with salmon, flounder, tilapia, etc. It’s a very quick and easy way to make a yummy and healthy fish dinner for your family. I used a pound (two 8 oz filets), but the basil line butter would’ve been enough for double that I think.

Ingredients:

  • 1 lb fish
  • 1 garlic clove chopped
  • 2-3 basil leaves chopped
  • 1/2 lime juice
  • 1/2 lime zest
  • 2 T butter
  • Salt and pepper (pinch of each for butter and also to season fish)

1. Throw all your ingredients together into a small stovetop pot. I ended up only using one basil leaf since mine was ginormous! Melt and stir all together. This should only take about a minute. 


2. Your fish should be on a sheet that’s been sprayed with non-stick spray and seasoned with salt and pepper. Now pour your melted basil lime butter on top.


3. Place your fish under your broiler for anywhere from 5-10 minutes until it’s done (this will depend on type of fish you’re using and thickness).


Yummy! 😄

Budget Friendly Crab Cakes

Standard
Budget Friendly Crab Cakes


Crab cakes are sooooo yummy! But when you’re watching your pocketbook, they aren’t the first thing you think of for affordable meals. This recipe blends mild white fish and crab claw meat to help stretch the crab meat to where you won’t even notice it’s not 100% crab in there. Real crab meat has a strong flavor and will overpower the white fish you use and allow you to have real crab cakes (not that yucky imitation stuff) while not breaking the bank! I used flounder in this recipe because it’s what was on clearance in the meat market at our grocery store, but any mild white fish would work like cod, sole, etc… I’ve made this recipe with all halibut fish (not budget friendly but incredibly good) and it’s amazing too. 

Ingredients:

  • 10 oz flounder or other white fish cooked and unseasoned (just steam it on your stovetop) 
  • 6 oz claw meat (it’s cheaper than lump crab meat and just as yummy)
  • 1/2 c Italian or plain breadcrumbs
  • 1/4 c mayo
  • 1 beaten egg
  • Dash worchestishire 
  • 1 green onion thinly sliced 
  • 1/4 tsp garlic salt
  • 1/4 tsp Tony’s Creole Seasoning
  • 1 tsp parsley flakes
  • Pinch cayenne 
  • Zest 1 lemon
  • Juice 1/2 lemon 
  • 2 T butter (for cooking crab cakes in)

1. Flake your fish apart with two forks and combine fish, crab meat, and the rest of the ingredients together in a mixing bowl.


2. Stir it all together and spray a sheet pan covered in foil with non-stick spray. 


3. Form little crab cakes with your hands whatever size you like.


4. I like to cover my cakes with plastic wrap and chill for at least 20-30 minutes to let them firm up because they’ll cook easier and stay together better. It’s not 100% necessary, but I recommend it. Once they’ve been chilled, melt 1 T butter in a large skillet and add your crab cakes. Don’t overcrowd the pan! 


5. Cook on medium high heat about five minutes a side. 


6. Do in batches and you can keep them warm in a 200 degree oven while you’re waiting for your next batch to finish. Serve with the other lemon half or a remoulade sauce! 


Shrimp Linguini With Lemon Butter Sauce

Standard
Shrimp Linguini With Lemon Butter Sauce


This is soooo yummy! It has a light white wine/buttery/garlicky/lemony deliciousness and I absolutely love it! You can of course use any pasta like angel hair, whole wheat spaghetti, penne, etc… But my favorite is linguini 😄

Ingredients:

  • 1 lb shrimp peeled and de-veined 
  • 3 T butter
  • A drizzle of olive oil
  • 1 lemon (juice and zest)
  • 1/2 lb pasta (8 oz)
  • 2 cloves garlic chopped
  • 2 glugs of white wine
  • Salt, pepper, crushed red pepper flakes, and dried parsley

1. Start boiling your water for your pasta. I like to add salt in there to help flavor it up a bit. Then add your noodles.


2. Start melting your butter over medium high heat in a large sauté pan and add a drizzle of olive oil to it.


3. Once the butter is melted, add your shrimp. It’s best to use shrimp after you’ve pat it dry a bit, otherwise it can make the sauce watery. Season it with salt, pepper, and a pinch of crushed red pepper flakes.


4. Now add two glugs of white wine. That’s the sound your bottle makes when you turn it into your pan. If you’re going with box wine, press the spout for a couple seconds over your pan. See how I keep it classy with my pinky out? 😄


5. Now add your lemon juice and garlic and cook for about five minutes. You’ll know the shrimp is done when it turns orange and form little c’s.


6. Once it’s done, turn the heat off and add your lemon zest and sprinkle parsley flakes all over it. Stir it all together.


7. Your pasta should be done by now. Drain and add noodles to your sauce pan. 


Stir it all together, pour yourself a glass of wine, and enjoy! 

Honey Lime Mahi Mahi

Standard
Honey Lime Mahi Mahi


Y’all may recall I said we’ve been eating more fish in our house. Here is my latest attempt to eat something other than plain seasoned and baked fish, and I have to say it’s pretty delicious and I’ll be making it again. It will work with any fish I’m sure, but this was for one pound of mahi mahi. 

Ingredients:

  • 1 lb fish filets
  • 1 lime (zest and juice)
  • 1-2 tsps honey
  • 1 tsp olive oil
  • Salt and pepper
  • 1 green onion

1. Chop your green onion and put half in a small bowl with your lime juice, lime zest, honey, a pinch of salt, and olive oil. Save the other half of the green onion for garnish. Wisk the marinade together. Give your marinade a taste and see if you want to add more honey or salt. 


2. Cover a sheet pan with foil and spray with non-stick cooking spray. Place your filets on the pan and season with salt and pepper. Then pour your marinade over the filets.


3. Make sure your oven rack is close to the top of your oven and place the filets under your broiler for 10-12 minutes or until filets are done cooking.


4. Sprinkle your remaining green onions on top and serve with Cilantro Lime Rice to keep with the lime theme! Yum!


Cilantro Lime Rice

Standard
Cilantro Lime Rice


This rice is soooo yummy! It goes great with almost anything, but I love it with black beans. Yum yum yum! This recipe is enough for 2-3 people, so double it if you need more than that.

Ingredients:

  • 1 c rice (I use converted rice for almost everything, but white or brown rice would work here too)
  • 2 c water (or however much your rice instructs you to use)
  • 1 small sweet onion chopped
  • Olive oil
  • 1/2 chicken bullion cube chopped up
  • 1 lime (juice and zest)
  • 1 garlic clove chopped
  • Cilantro
  • Salt and pepper
  • Green onions (optional garnish)

1. Put your sweet onion into a pot and drizzle some olive oil on them. Season with salt and pepper and cook for s few minutes on medium high heat. You’re just going to sweat them out a little bit. 


2. Now add your rice and chopped garlic into the pot. Also drizzle additional oil onto the rice, as you’ll be “stir frying” it for a few minutes. Do not walk away from your pot right now – this burns easily! Cook for 2-3 minutes stirring frequently.


3. Now add the zest of your lime, the juice of the lime, the 1/2 chicken bullion cube either chopped or crushed between your fingers, and water to the pot. Bring to a boil for one minute, then put a lid on it and turn the heat down to simmer.


4. Cook the rice 20 minutes (or as your instructions say for your specific kind of rice) and once it’s done, add a few handfuls of chopped cilantro. I also like to garnish mine with green onion and another squeeze of fresh lime. And don’t forget the most important part – a margarita!


Sautéed Greens

Standard
Sautéed Greens


This is a quick and easy recipe for sautéing pretty much any green. This time I had a big bag of mixed greens, but this would’ve been good for any of the greens alone in the mix as well. Serve with a peppery vinegar sauce to take it to the next level of deliciousness!

Ingredients:

  • 1 Lb greens
  • 1 garlic clove chopped
  • 1 T butter
  • 1 T olive oil
  • Salt and pepper

1. First add butter and oil into your largest sauté pan. Also add your chopped garlic and turn on medium high heat.


2. Next, add your greens to the pan. Today, I’m working with kale, Swiss chard, and spinach!


3. I know it looks like waaaay too much food for the pan, but trust me, it’s going to wilt into practically nothing! This is seriously a serving for two people. You’re going to stir it around every little bit to help the cooked leaves get to the top so newer ones can wilt down too. Watch.


4. Add salt and pepper and enjoy like that or add a little pepper vinegar to make it outstanding! Yum!

Oven Baked Sweet Potato Fries

Standard
Oven Baked Sweet Potato Fries


Mmm french fries! I love any and all potatoes almost every which way, but there is a special place in my heart for french fries. Yall might remember I’ve posted a recipe before for sweet potato fries dredged in seasoning and deep fried. While delicious and something I do whenever I’m having a “fry me to the moon” sorta weekend, these are a bit better for you and honestly much easier to do. 

Ingredients:

  • Sweet potatoes
  • Olive oil
  • Your favorite seasoning salt

1. Peel and cut up your sweet potatoes into the fry thickness you desire. Use a very sharp knife, because they’re hard to cut through. I’ve broken three fry cutters that swear they’ll cut sweet potatoes, so just get out your knife sharpener if you need to.


2. Drizzle olive oil all over the fries, then season with your favorite salty seasoning (or even just kosher salt) and toss together so the fries are all coated.


3. Spread out evenly over a sheet pan you’ve covered in foil and sprayed with non-stick cooking spray. 


4. Place in your pre-heated oven at 450 degrees for 20-25 minutes. Give them a good shake about halfway through to make sure they cook evenly.


Enjoy 🙂