Category Archives: Chicken

Quick And Easy Taco Salad

Standard
Quick And Easy Taco Salad


I love an easy and delicious weeknight meal, especially when it’s something healthy and satisfying. This is a quick and easy taco salad that uses one of those .49 cent taco seasoning packets from the seasoning isle. Yes, I could’ve gone with a homemade taco seasoning, but really I just didn’t feel like it today😄

Ingredients for taco meat part:

  • 1 lb ground meat (beef, turkey, venison, even chicken would work)
  • 1 packet taco seasoning
  • 1 small sweet onion chopped
  • 1 chopped bell pepper or 3 chopped sweet mini bell peppers (as pictured)
  • 1 garlic clove chopped
  • 1 jalapeño pepper chopped (seeded and deveined)
  • 1 can drained black beans

Ingredients for salad and optional toppings:

  • Chopped romaine lettuce
  • Tomatoes
  • Lime
  • Sour cream
  • Avocado
  • Grated cheese
  • Crushed tortilla chips

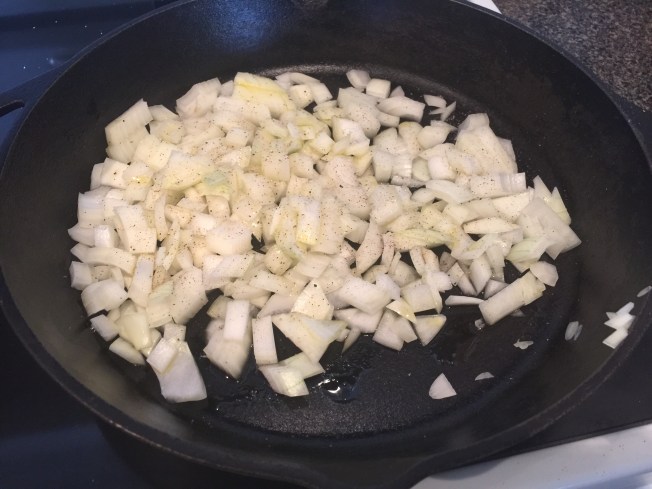
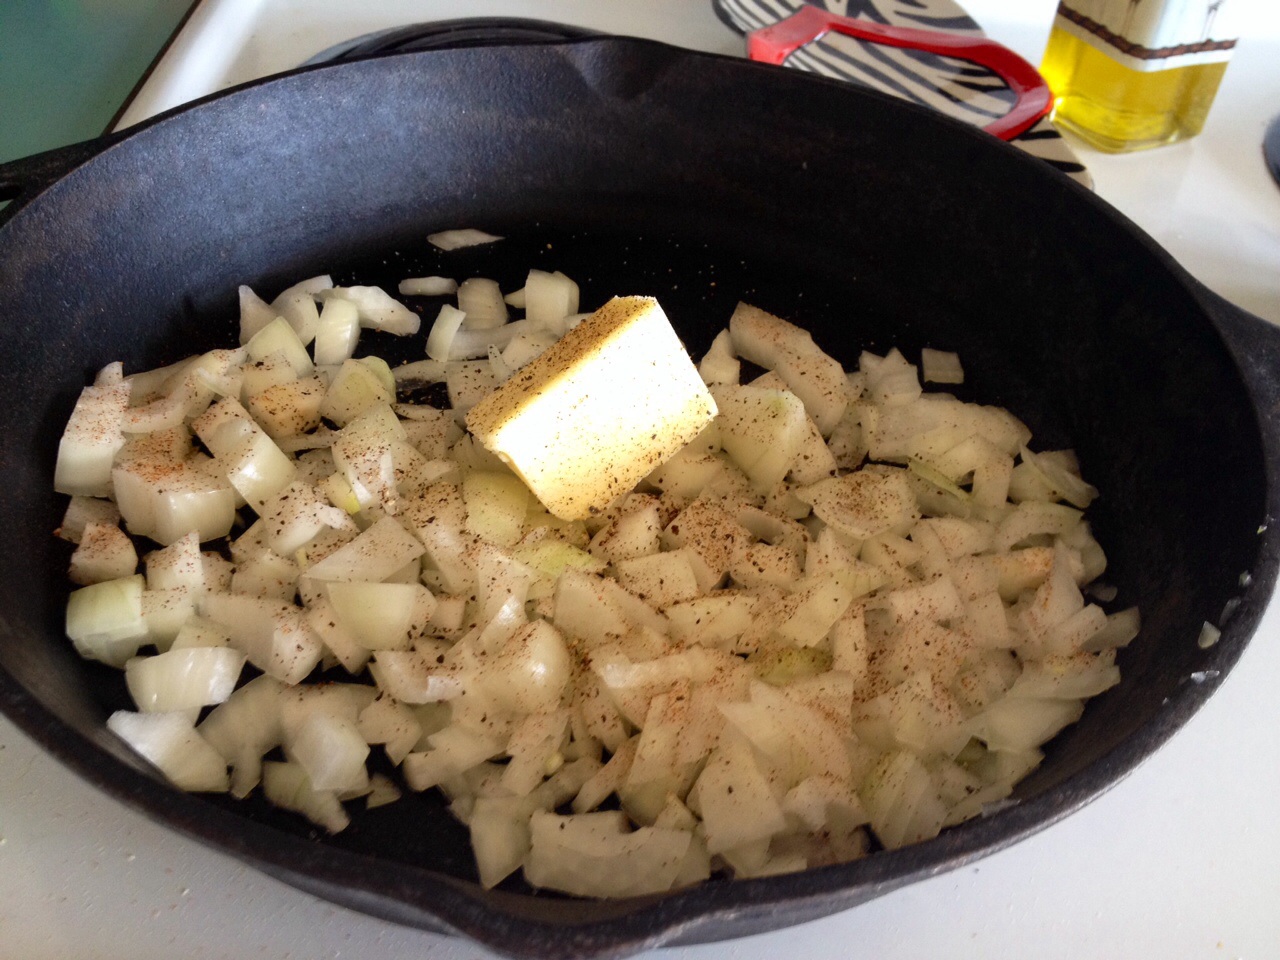
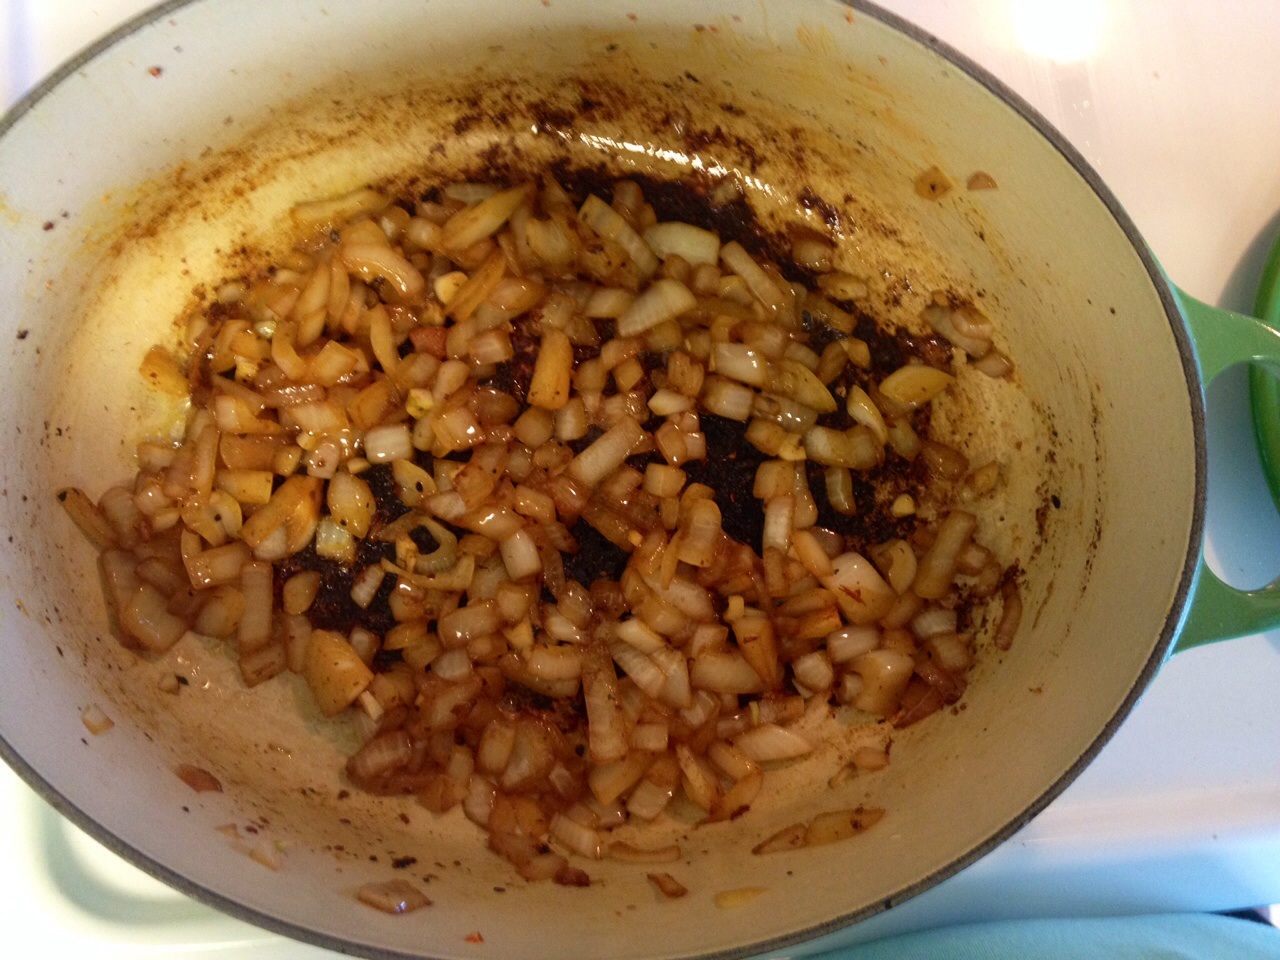
1. In a large skillet over medium high heat drizzle a little olive oil over your onion, peppers, and garlic. Sauté for 5-7 minutes.


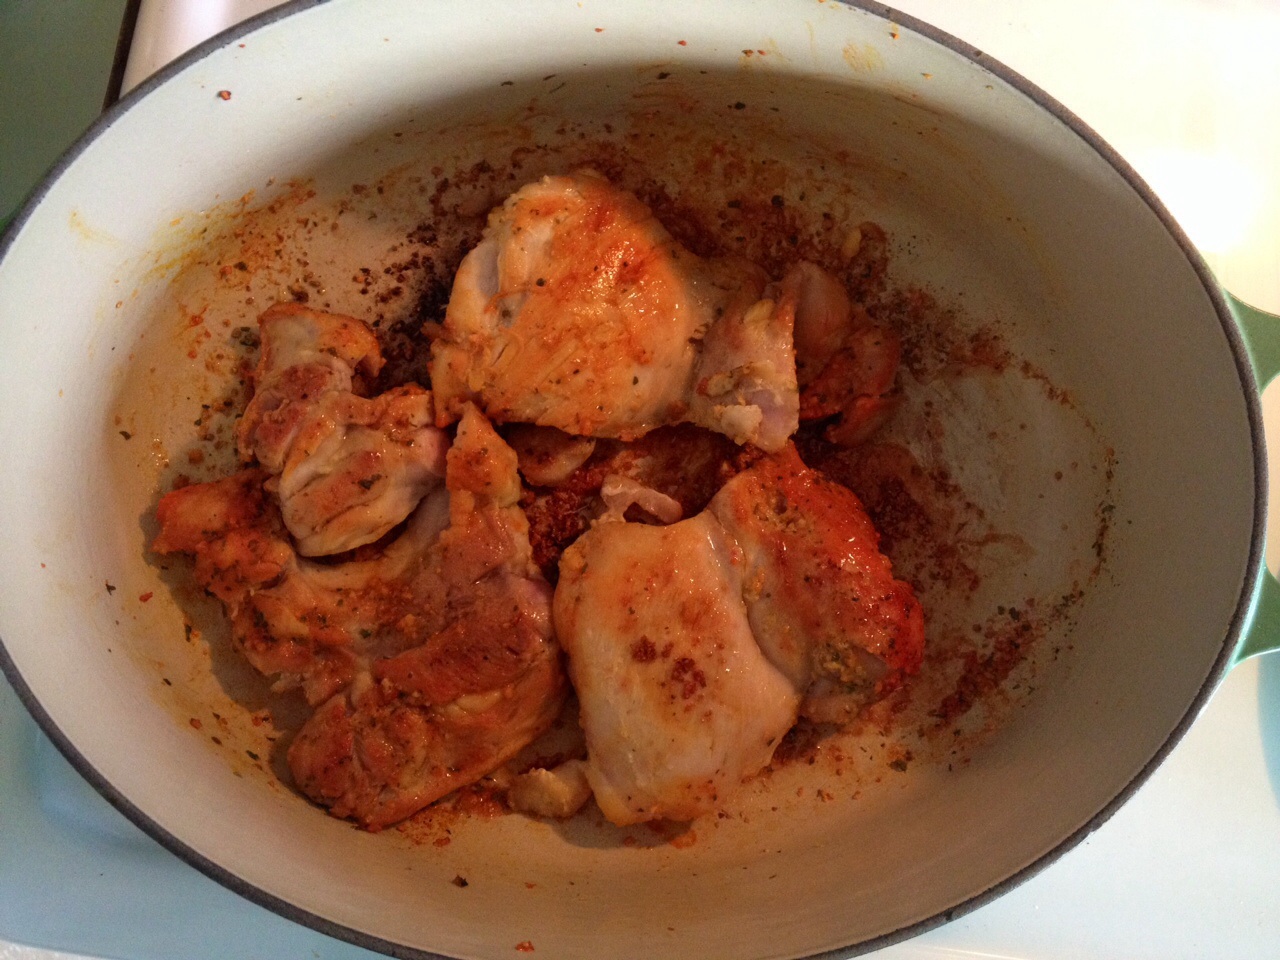
2. Now that it got a bit of a head start cooking, add your ground meat to the skillet.

 
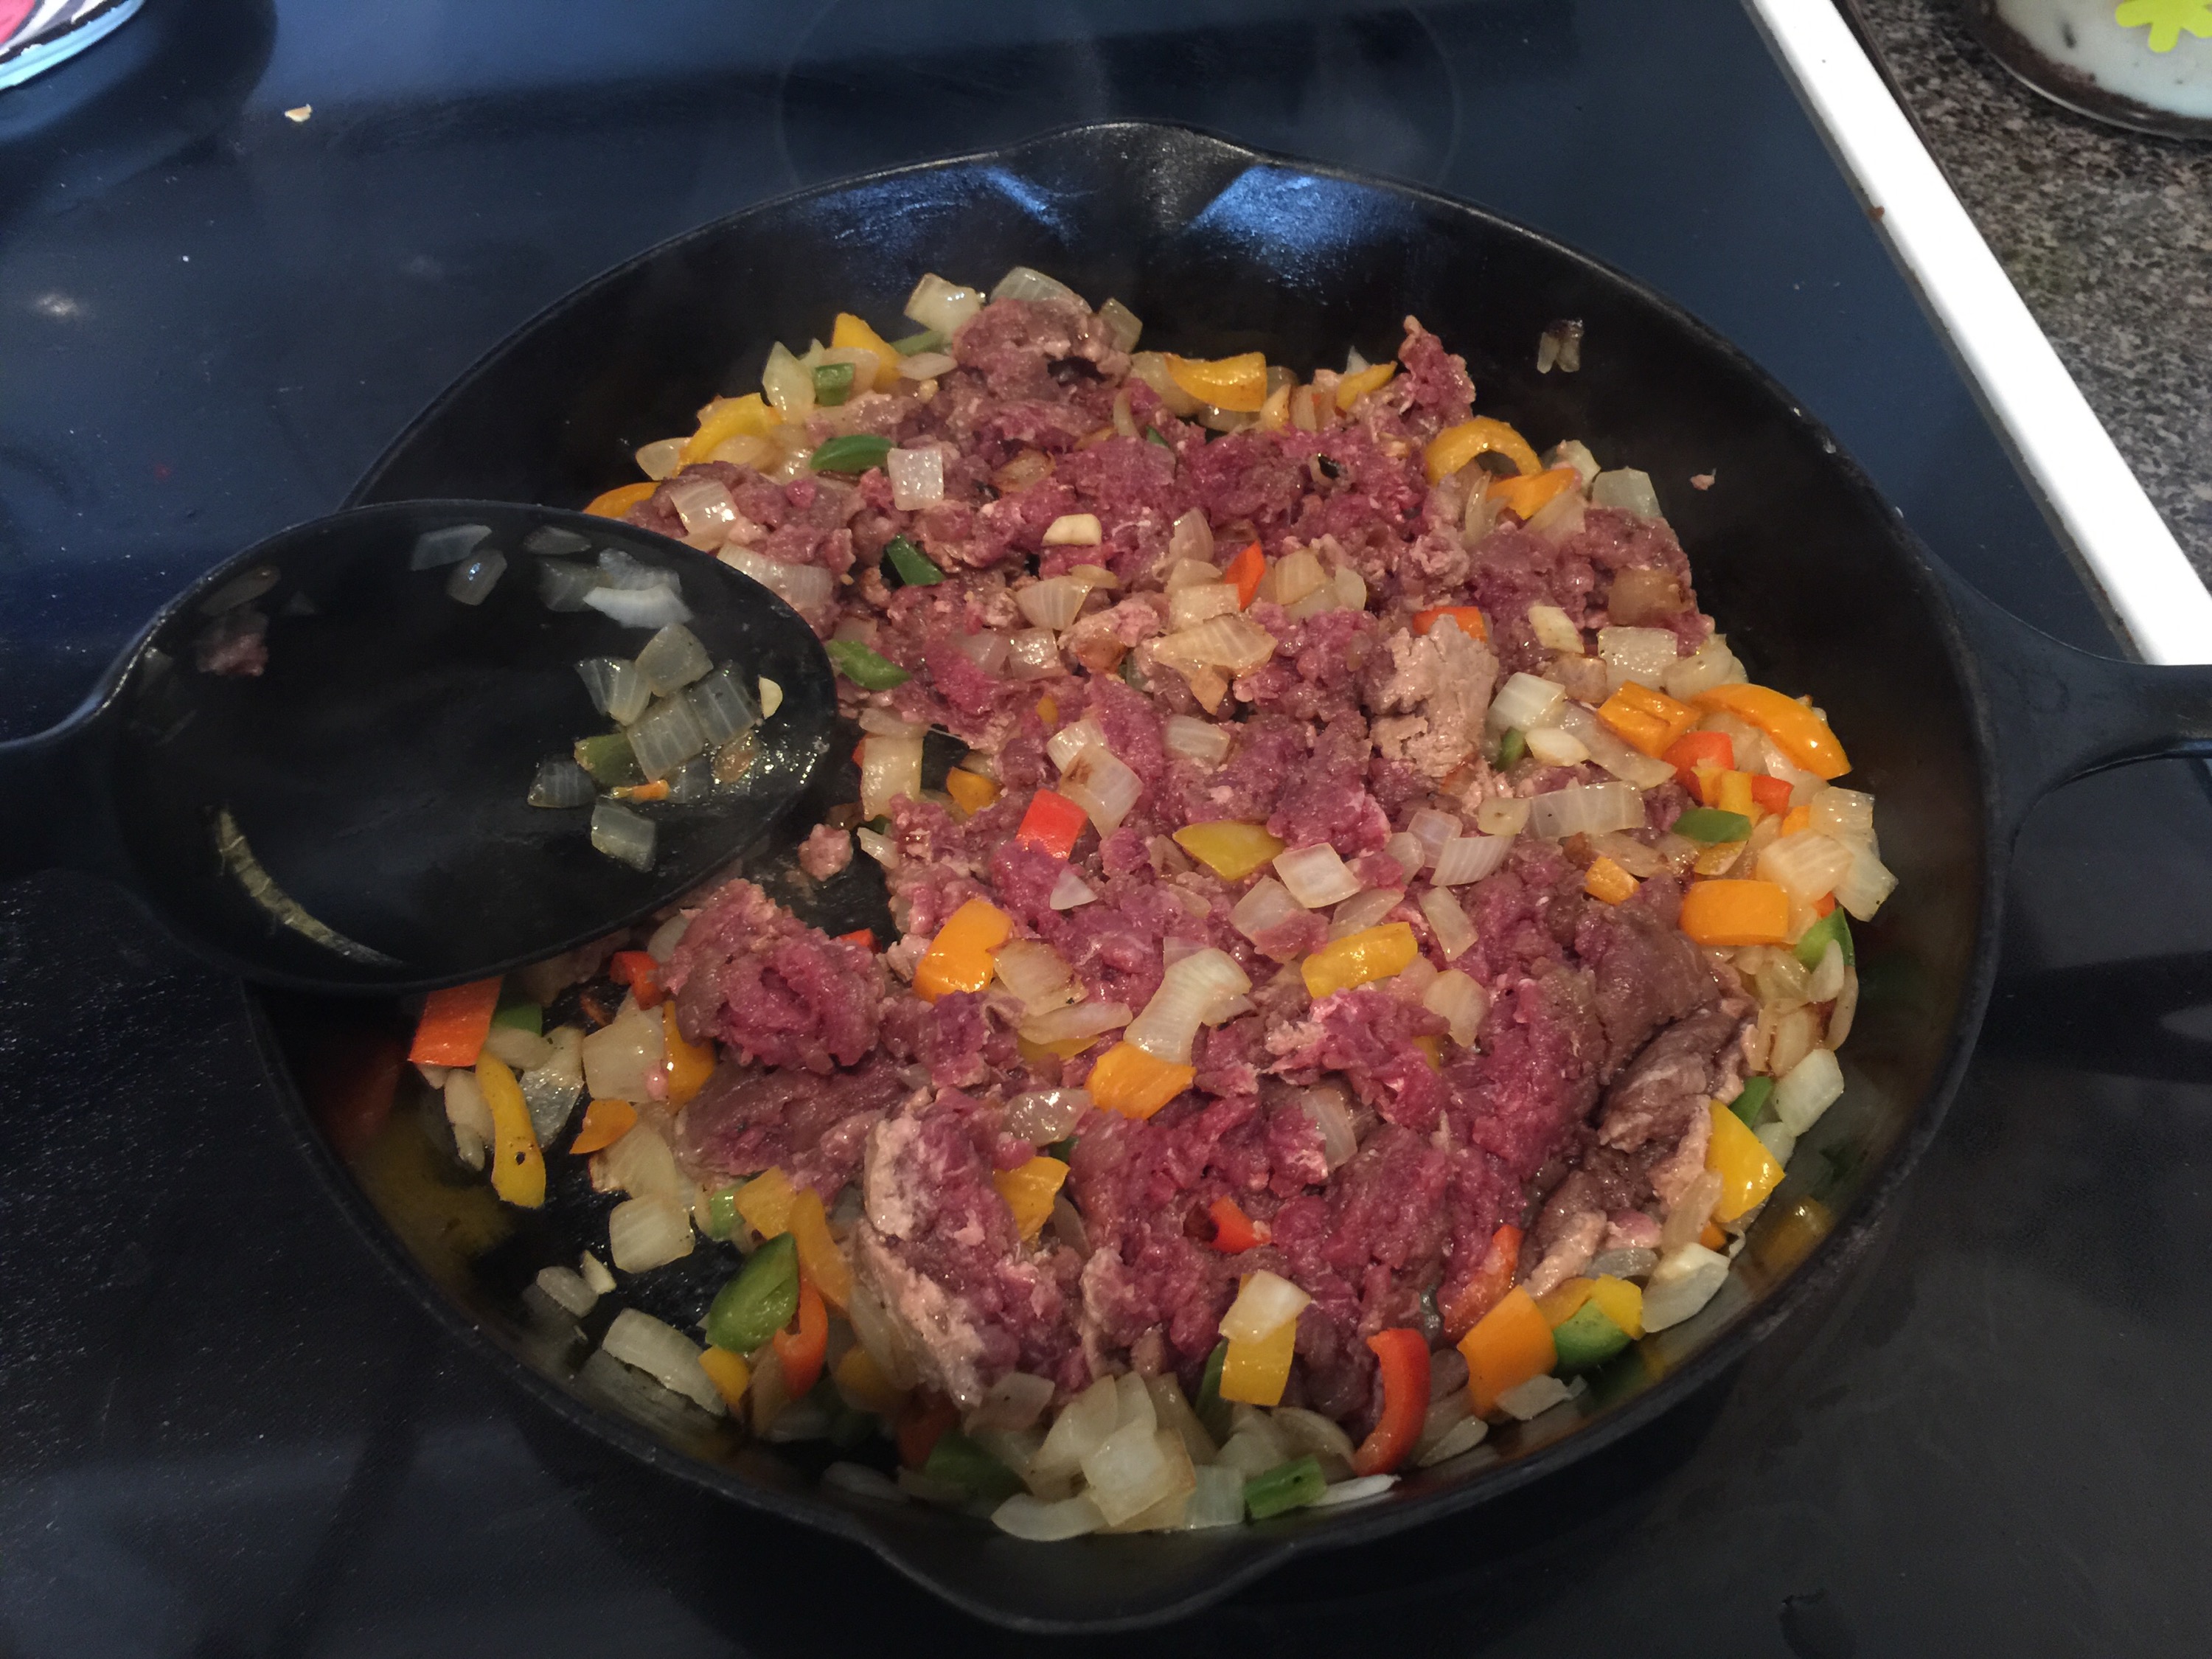
3. Stir occasionally until browned and cooked completely, then drain off any excess fat if necessary.


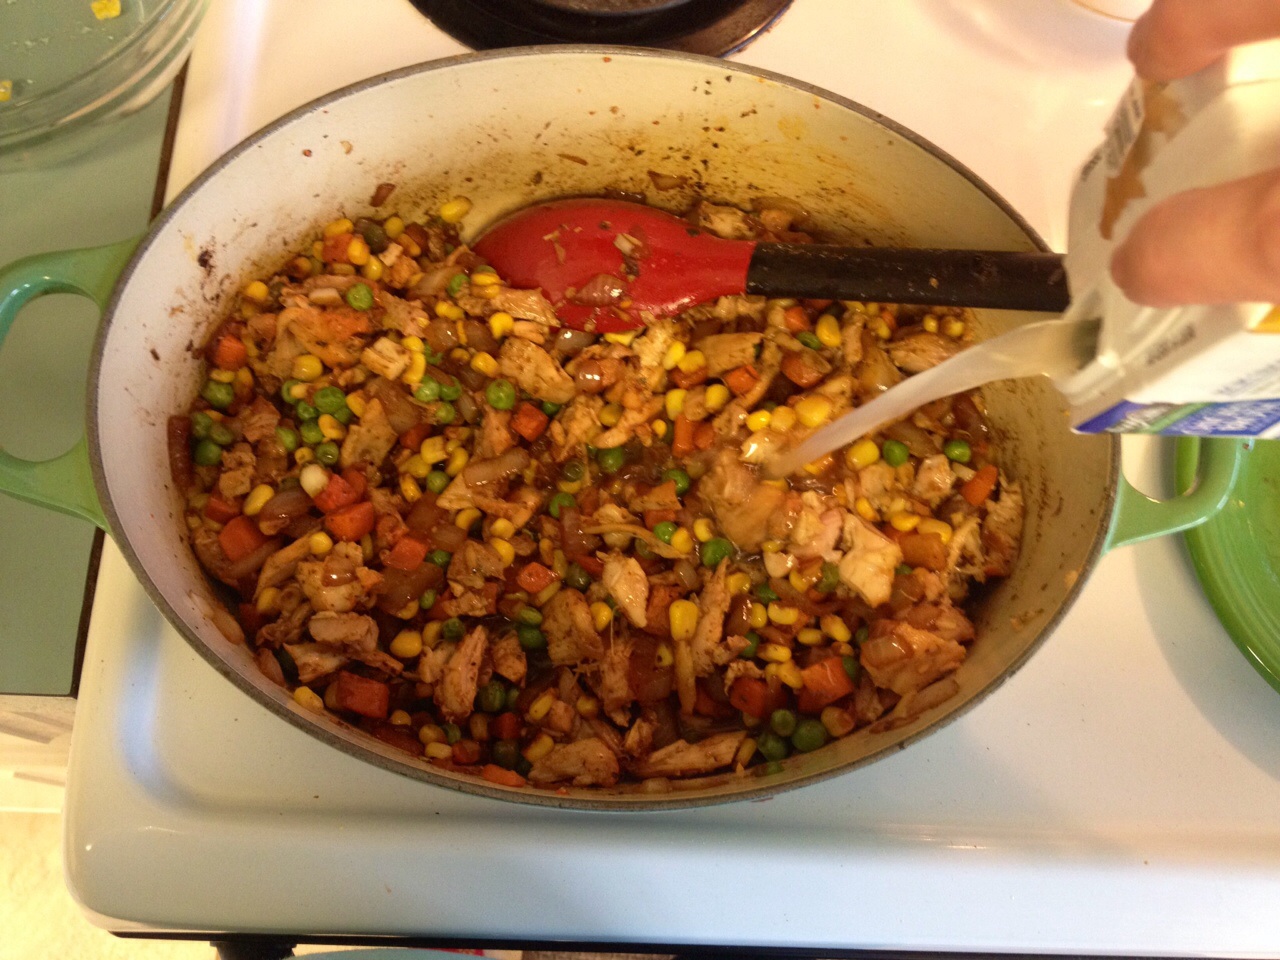
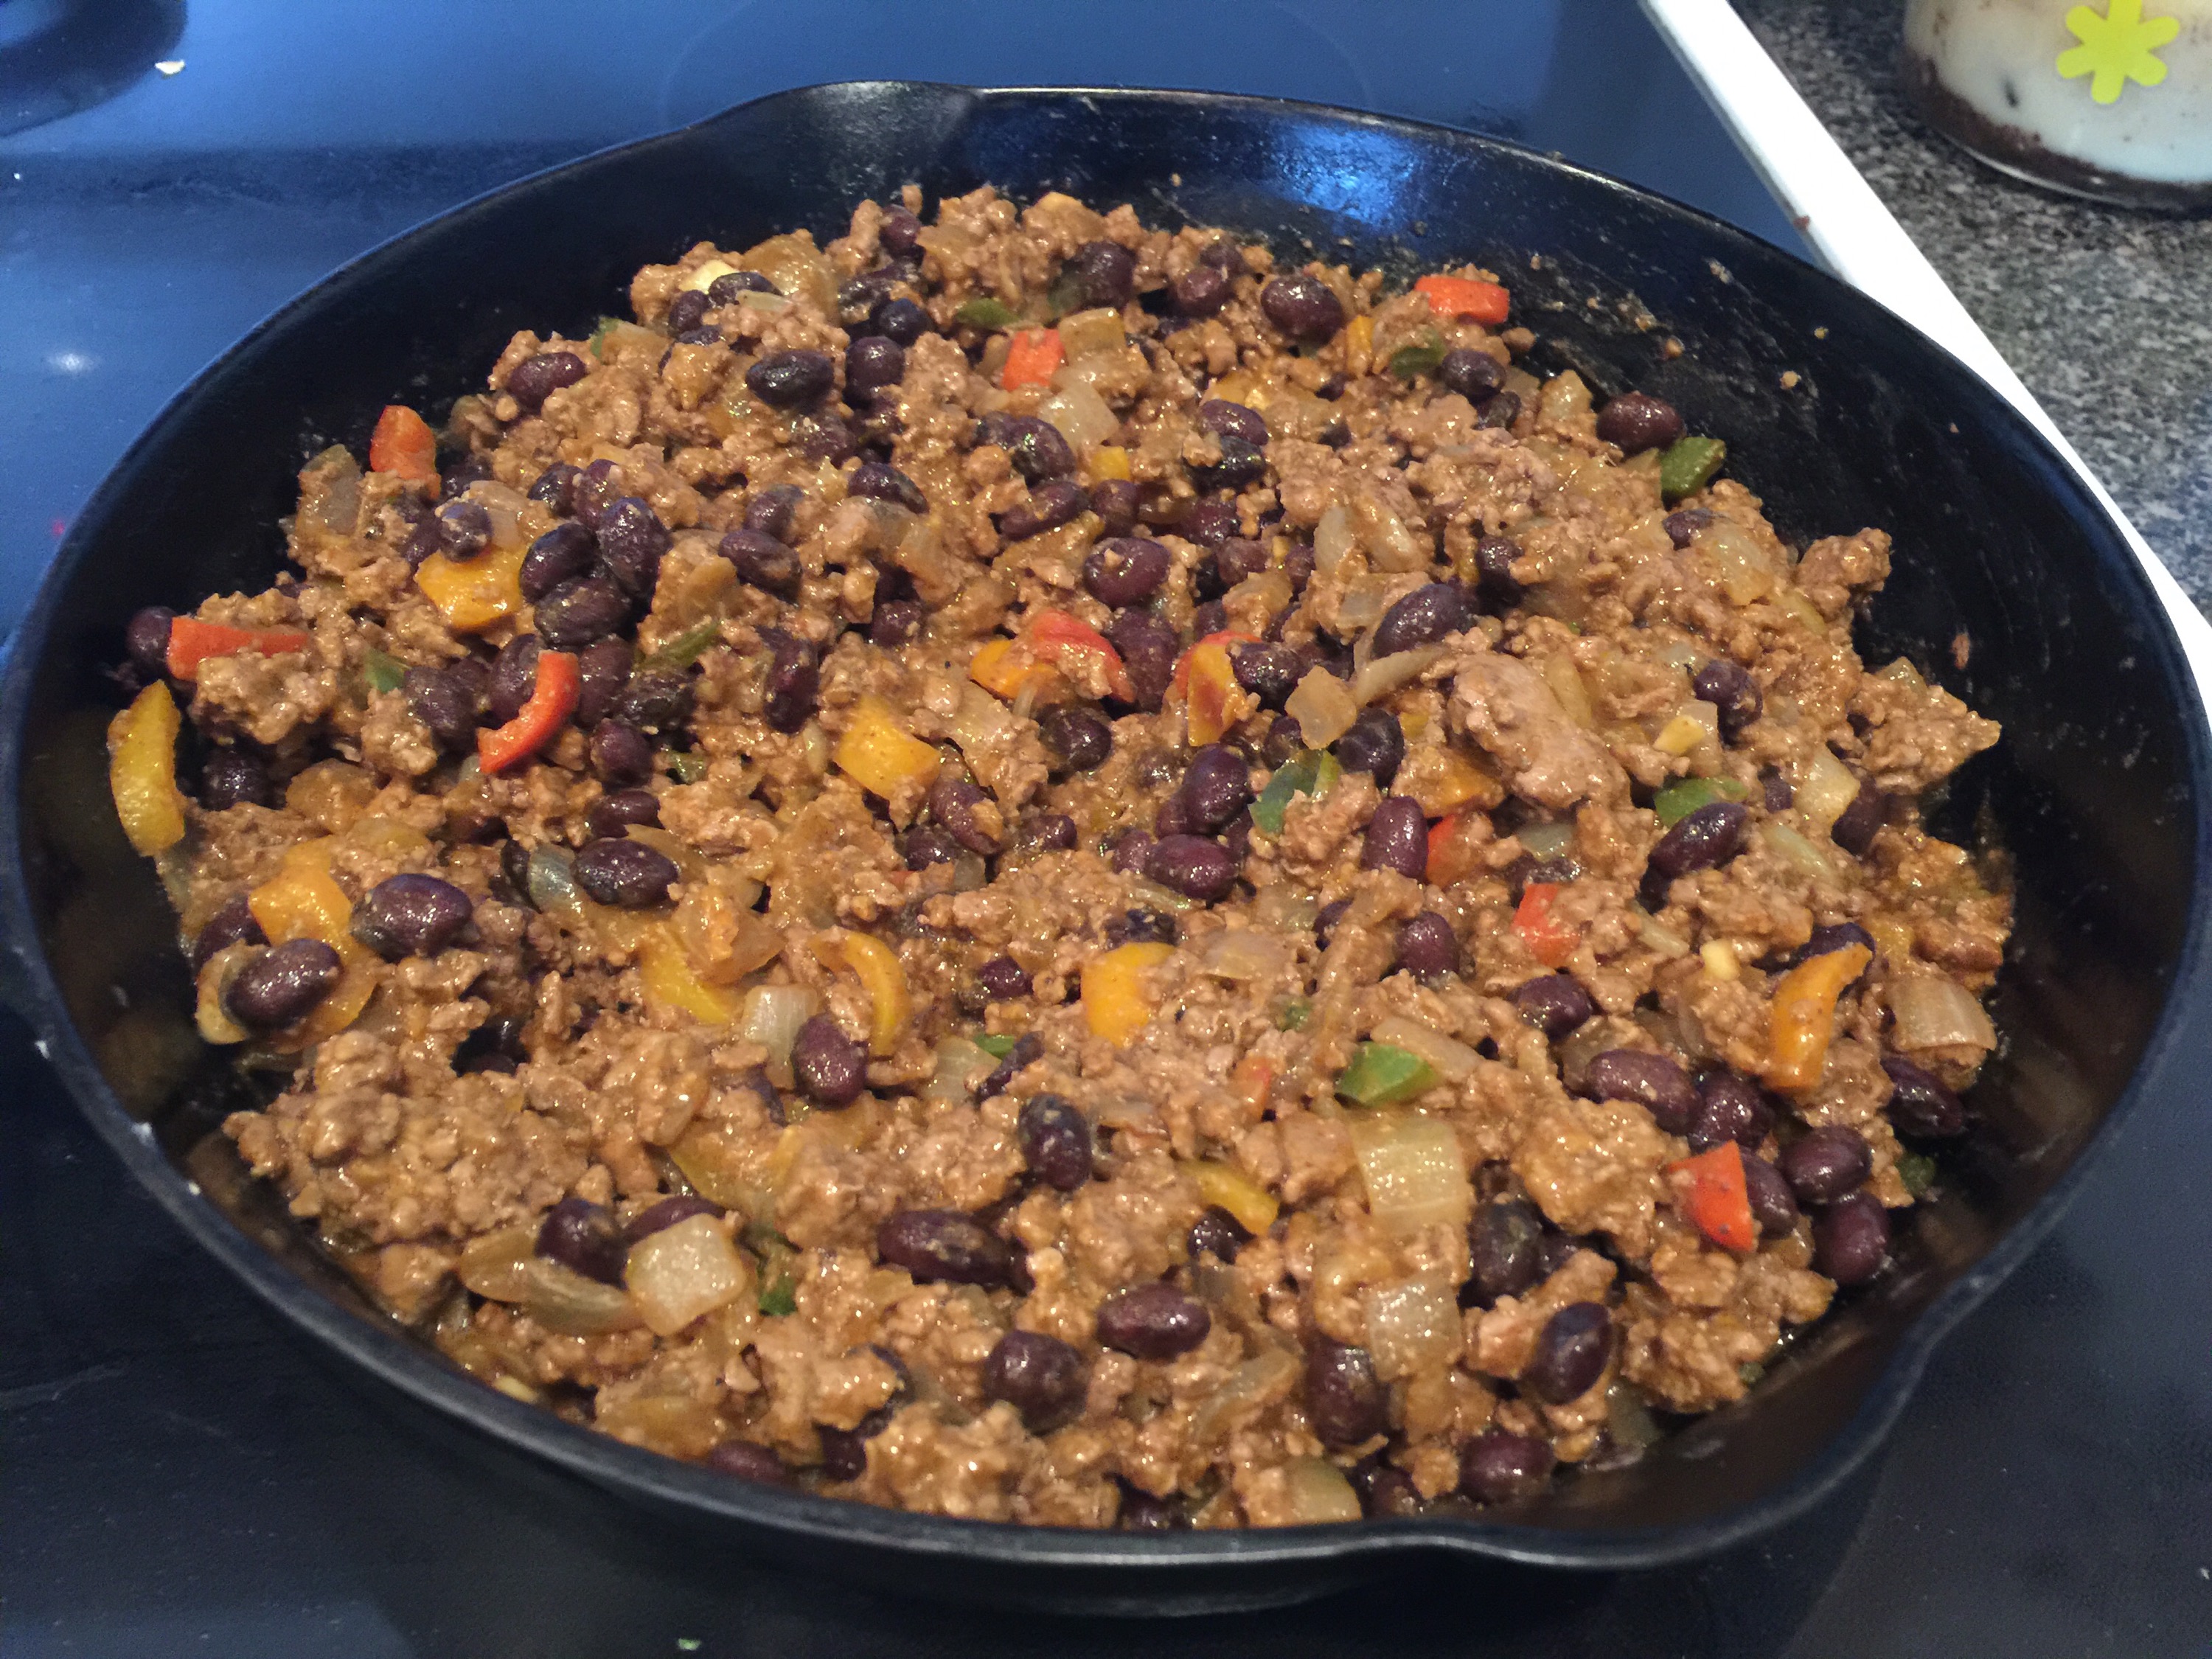
4. Add your packet of taco seasoning and 2/3 c water. Turn the heat down to simmer and allow to cook for about five minutes or until some of the liquid has cooked off.


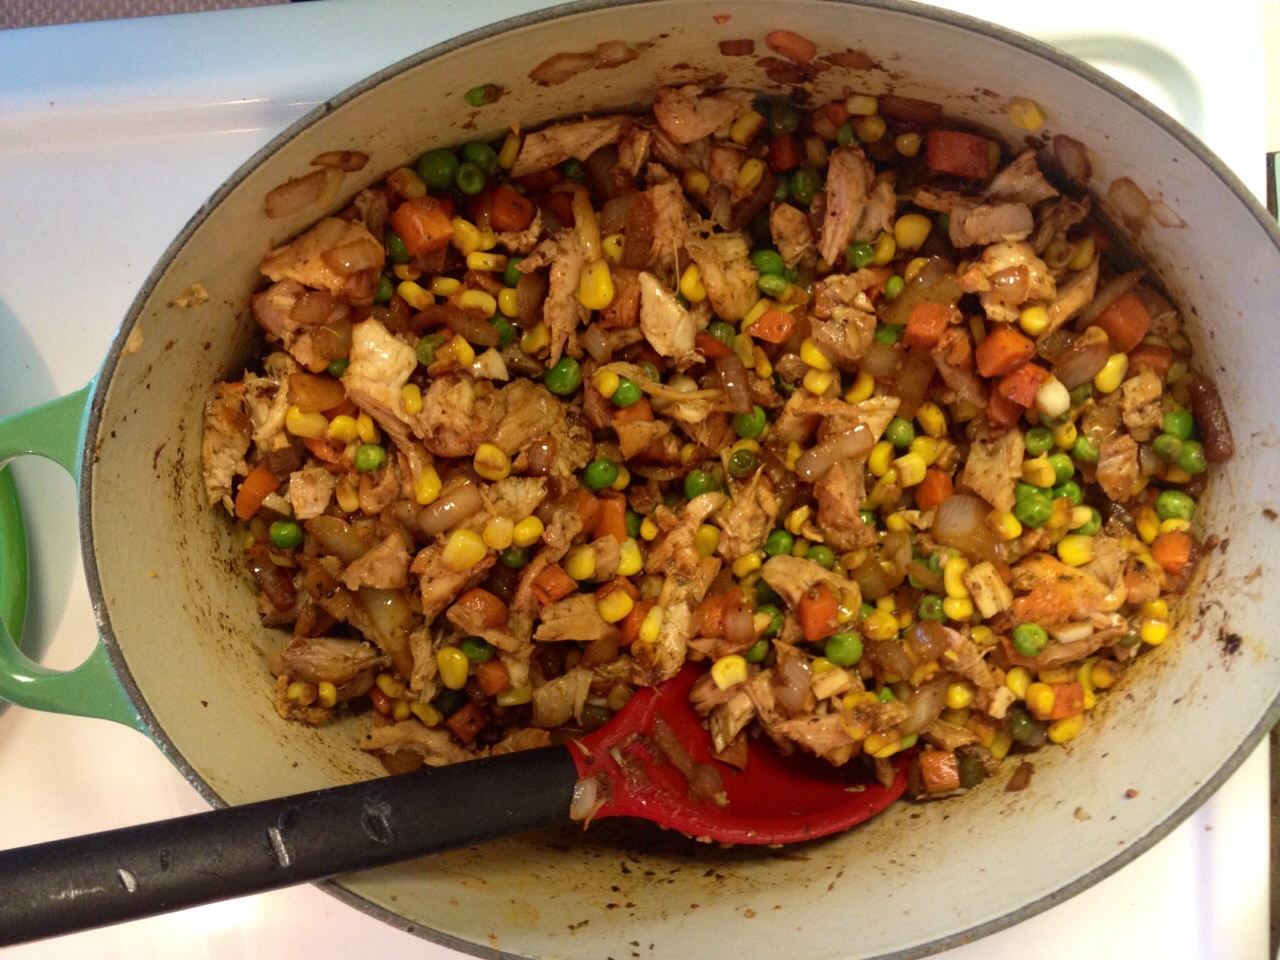
5. Now add your can of drained black beans and allow it to heat up a minute before turning the heat off and serving over your salad.

 
I love fresh avocado, a scoop of sour cream, and fresh lime juice squeezed on mine for the dressing. If you like something sweeter try it with Catalina dressing. Both ways are delicious! 

Advertisement

Spicy Chicken Pasta

Standard
Spicy Chicken Pasta


Y’all remember just last week I posted about my new Veggetti Spiral Vegetable Slicer, Makes Veggie Pasta and how much I loved it. Well I made another dish with it very similar to the Seafood Arrabbiata, except this is a quick and easy weeknight meal I made with leftover grilled chicken. If you don’t have any leftover chicken on hand, 1/2 of one of those rotisserie chickens from the grocery store would be perfect! 

Ingredients:

  • 1 sweet onion chopped
  • 1 28 oz can whole peeled tomatoes 
  • 1 15 oz can tomato sauce
  • 1 lb diced chicken
  • 1/4 – 1/2 tsp red pepper flakes (depending on how hot you like it)
  • 2-3 cloves chopped garlic
  • 4 zucchini or squash for Vegetti noodles
  • Olive oil
  • Salt and pepper
  • Dried parsley flakes

1. Add onion and a drizzle of olive oil to your skillet and season with salt and pepper. Sauté 3-4 minutes on medium high heat. 


2. Now add your chopped garlic and red pepper flakes and sauté another minute.


3. As I explained in my Seafood Arrabbiata post, whole peeled tomatoes are the highest quality canned tomato, so I prefer to use them over diced tomatoes. Drain and chop them up and add them to your skillet with tomato sauce as well as your parsley flakes and bring to a boil. 


4. Now add your squash and zucchini noodles to your skillet and throw in your diced chicken as well. Turn the heat down to a simmer and allow noodles to soften up a bit in the sauce. Taste to see if you want to add any salt and pepper or any additional heat with more red pepper flakes. 


Enjoy your quick and easy meal!

Easy Oven BBQ Chicken

Standard
Easy Oven BBQ Chicken

2015/01/img_1417.jpg

Do yall ever just feel so exhausted you feel like making dinner is equivalent to climbing Mt. Everest? That’s how I felt yesterday after doing 4,573 piles of laundry. I was actually buried alive there for a little bit and things got iffy, by I made it out ok. I was craving my other BBQ Chicken, but as I said before, I had no energy and no ability to baste my chicken because I knew my arms would fall off. So I did it this way instead, and it was just as delicious and very easy to do!

Ingredients:
3 lbs chicken thighs bone in skin on (the cheap chicken thigh pack)
2 garlic cloves chopped
1 sweet onion
1 c BBQ sauce (Head Country is the best)
6-8 oz apricot jam (Mine was an 8 oz jar I had eaten some out of already, but you get the drift 😄)
1/2 stick butter
Salt and pepper

1. Melt your butter in a heavy duty Dutch oven and once it’s hot, place your chicken skin side down to get a nice sear on it. Make sure to season it with salt and pepper. Flip it over after a few minutes and then set it aside. It’s far from cooked, but we just want to get the skin crispy for later.

2015/01/img_1406-0.jpg

2015/01/img_1407-0.jpg

2015/01/img_1408-0.jpg

2. Now toss in your onion and turn the heat down a bit if you need to. Again, season it with salt and pepper and cook it 15-20 minutes or until they’re golden and cooked through. Toss your garlic in there during the last five minutes.

2015/01/img_1409.jpg

2015/01/img_1410.jpg

3. After that’s all cooked, add your cup of BBQ sauce and apricot jam into it and stir all together. Turn off the heat.

2015/01/img_1411.jpg

4. Now lay your chicken in there with the skin side up, put the lid on it, and set in your oven at 325 for one hour.

2015/01/img_1412.jpg

5. Now it’s done! If you don’t have a Dutch oven, but you do have a slow cooker, you could do all the cooking on your stovetop in a skillet (preferably cast iron) and dump it into your slow cooker on high for 4 hours or low for 8. We had ours with baked potatoes and it was perfection!

2015/01/img_1415.jpg

Chicken Noodle Soup

Standard
Chicken Noodle Soup

Chicken Noodle Soup

There’s nothing better than homemade chicken noodle soup on a cool weather day, or when you’re recovering from an illness. Mmmm 🙂 This is only about a million times better than the canned version! I think the trick to making the chicken extra tasty is letting it marinade overnight in your favorite all purpose seasoning (something salt-free like a garlic herb seasoning) in the fridge (or at least for four hours if you can’t do it overnight). Let’s get started…

Ingredients:
1 package chicken thighs with bone and skin on
4 carrots
4 celery sticks (with leafy tops)
2 onions (I love sweet onions)
Chicken bouillon cube (as always, I use the Knorr brand)
6 oz egg noodles
1 stick butter
1/4 c flour
2-3 small garlic cloves chopped
Your favorite all purpose seasoning, salt, and pepper

1. Chop 1 onion, 3 carrots, garlic, and celery and place in saute pan. You’re going to reserve the celery leafy tops and bottoms, 1 carrot, and 1 onion sliced in half and place all of that in a pot to make your broth.
-6
-7

2. Add your marinated chicken to the pot with the veggies and add your chicken bouillon cube and enough water to completely cover the veggies and chicken. Set to a boil and let this go for about an hour.
-8

3. Meanwhile, add your butter, salt, and pepper to your veggies in your saute skillet and set that on about medium heat. You don’t want to brown these – you want to sweat them out and cook until they’re soft and the onions are transparent. This should take about 20-25 minutes. You’ll notice in this picture there is only 1/2 stick of butter present. I decided halfway through cooking these they needed more butter. I think the lesson here is clear: When it doubt, add more butter! Amen.
-6

4. After your veggies are done cooking, add your flour and stir the veggies around for 3-4 minutes while the flour cooks through and it will thicken up the veggies. Then turn the heat off and set aside.
-9-10-11

5. At this point your kitchen smells delicious! Don’t worry, you’re almost done… Now you’ll get out a strainer and dump your broth and chicken pot into it, allowing the broth to go into a bowl under the strainer and then pick out the chicken to cut into bite sized pieces on your cutting board (discard skin and bones).
-12-13-14

6. Discard the stuff in the strainer and pour the veggies, chicken, and broth mix all back into the pot and bring to a boil. Also, I added about 2 cups of water after dumping the broth in to thin it out a bit, but you can use your own judgement here. Then add 6 oz or so of your favorite noodles (I love egg noodles here) and allow to boil until the noodles are cooked. That’s it! Now the most delicious homemade chicken noodle soup is ready to eat 🙂
-15

Chicken Spaghetti

Standard
Chicken Spaghetti

Chicken Spaghetti

Who loves cheese? Well then this chicken spaghetti recipe is for you! It has an ooey gooey cheesy sauce that is absolutely delicious! Also, this is a great recipe to chop up veggies into tiny pieces and hide them in the sauce so your kids eat them. I’ve got lots of squash and parsley in my garden right now and my son had no idea either were in this dish. I think you could easily substitute zucchini, peas, chopped asparagus, finely chopped broccoli, finely chopped spinach, or any combination of those veggies into this dish easily!

Ingredients:

1 sweet onion finely chopped

1/4 c roasted red peppers chopped (or two jars pimentos)

Additional chopped veggies of your choice (I used one yellow squash and a few sprigs of chopped parsley)

1/2 lb linguine pasta (I used whole wheat)

4 oz Velveeta

1 can cream of mushroom

2 T cream cheese

1 cup shredded mozzarella cheese

1 package boneless skinless chicken thighs (about 2 lbs)

Chicken bouillon cube

Salt and pepper

2 chopped garlic cloves

3 T butter

1 T garlic and herb seasoning

Additional mozzarella or other Italian cheese for topping

Italian breadcrumbs

1. First we’re going to season the water you’ll be using to cook the chicken (and later the noodles). Bring a pot of water with chicken bouillon and garlic herb seasoning to a boil and add chicken to pot. This will need to boil about 20-25 minutes.

image

2. Add chopped onion, chopped veggies of your choice, butter, salt, and pepper to a sauté pan. Cook until veggies become tender and add chopped garlic and roasted red peppers and cook a few more minutes on medium high heat.

image

3. Turn heat down to medium low and add cream of mushroom, cream cheese, mozzarella, and Velveeta. Stir and allow mixture to melt and come together.

image

image

4. Pull your chicken out of the boiling seasoned water and cut into bite size pieces.

image

5. Add chicken to sauce mixture.

image

6. Add linguini to the boiling seasoned water and cook using directions on the box. Once it’s done, add the drained pasta to the chicken and cheese mix.

image

7. Pour this into a buttered 9×11 baking dish and top with more cheese and sprinkle top with Italian breadcrumbs.

image

8. Bake in a 375 degree oven for 20 minutes or until top is golden brown.

image

Mmmmmm would you look at that beautiful masterpiece?! It’s delicious with a hunk of crusty garlic bread and large glass of red wine 🙂

BBQ Chicken

Standard
BBQ Chicken

BBQ Chicken

This is hands down the best BBQ chicken you will ever have! That’s right, I’m that confident in this BBQ chicken recipe and its deliciously sticky BBQ sauce. Mmmmm 🙂 While reading Ree Drummond (The Pioneer Woman)’s facebook page, I noticed she had put up a recipe for her BBQ chicken. She does hers with peach preserves and her favorite BBQ sauce (which happens to be one of my favorites as well), and I decided to change up the recipe a bit to make it my own. So essentially, it’s a mix of recipes. Let’s get started!

Ingredients:
1/3 cup mesquite/smoky/spicy bbq sauce (I used Head Country Orignial here because I love it and also because Ree Drummond used it in her original recipe)
1/3 cup sweet/mild bbq sauce (I used Sweet Baby Ray’s here and Original or Honey BBQ would be delicious)
1/4 cup apricot preserves
1-2 garlic cloves finely chopped
salt and pepper
2 1/2 – 3 pounds chicken thighs/wings/legs

1. Whether you’re doing this on the grill or in your oven, you’ll need to spray a piece of foil with non-stick cooking spray to keep the chicken from sticking throughout this process. If you’re doing it in your oven, you can either spray a jelly roll pan with or without foil, or use a grilling rack. I used the grill for my chicken because the wind wasn’t trying to blow my house down that day, and it was nice to be outside.
-6

2. Salt and pepper both sides of whatever chicken you’re using.
-7

3. Combine both BBQ sauces, apricot preserves, and chopped garlic in a small sauce pot and place on the stove on low. Stir until combined, then you can turn off the heat once it’s all married up nicely.
-1

4. You’re going to cook your chicken on the grill/oven for about 20-25 minutes before you start basting it with the sauce. If you’re using your oven, the first 20-25 minutes the temperature should be around 350. Once your time is up, turn up the heat to about 400, or just crank up your grill and baste the first side of the chicken, flip over, then baste the other side. Then allow it to cook another 7-8 minutes before repeating the process. You’ll do this several times until you run out of sauce and your chicken is done. Make sure you’re closing the lid of grill after each basting and also make sure not to lose any of the skin during the flipping process.
-5
-4
-3
Doesn’t that look delicious? It’s ready to eat! Those apricot preserves and their plump juicy apricots really make this chicken amazing!

Chicken Casserole

Standard
Chicken Casserole

Chicken Casserole

Y’all know by now I love to use leftovers and turn them into another yummy meal. This saves time and money, which adds money to your wine budget. Genius, I know 🙂 This is a simple make ahead meal that freezes great too! For this I used leftover grilled chicken, but you could use a store bought rotisserie chicken if you wanted to.

Ingredients:
1 sweet onion chopped
1 garlic clove chopped
1 can cream of chicken
1 can cream of mushroom
1 cup shredded mozzarella cheese, plus extra to sprinkle on top (I love Kraft Mozzerella with a touch of Philadelphia)
1 cup shredded cheddar cheese, plus extra to sprinkle on top
2 cans diced green chiles
1 can Rotel
4 cups diced chicken
Salt, pepper, cayenne pepper, and your favorite season-all
1/2 stick of butter
Olive oil
6 corn tortillas

1. Sauté onion with butter, olive oil drizzle, salt, pepper, and cayenne pepper pinch on medium to high heat. After about 15 minutes add your chopped garlic and sauté another five minutes.
image

2. Meanwhile, tear up your corn tortillas and line the bottom of a baking dish with them.
image

3. Add your cream of mushroom, cream of chicken, chiles, Rotel, chicken, and cheese. Stir on medium to high heat until cheeses are melted and everything is thoroughly combined. It’s at this point I like to taste it and sprinkle a little season-all type seasoning on there like Tony’s or Jane’s Krazy Mixed Up Salt.
image

4. Pour mixture over tortillas.
image

5. Sprinkle as much cheese as you want over the top. Note: if you’re planning on freezing this, allow it to cool after this step and cover with plastic wrap, then a layer of foil.
image

6. Bake at 350 for 30 minutes. I like to serve mine with crushed tortilla chips, green onion, and a dollop of sour cream. Yummy!
image

Soup For A Cold Day

Standard
Soup For A Cold Day

Soup For A Cold Day

Y’all, I could hardly drag myself from my bed with my electric blanky into my bathroom with my personal space heater due to this crazy weather. It’s safe to say I despise the cold, and if I had it my way it would come for Christmas holidays then GO AWAY! This soup was so yummy and warmed me up long enough so I could build a fire and try to stay warm!

Ingredients:
3 boneless skinless chicken thighs
1 sweet onion chopped
1 cup frozen corn
1 cup frozen peas and carrots
1 garlic clove chopped
1 – 1 1/2 tsp your favorite season-all (I used Janie’s Crazy Mixed Up Salt)
GOYA Sazon, GOYA Adobo, and GOYA Seasoning Total Seasonings
1 box chicken broth
1/2 – 3/4 c queso (Didn’t see that comin did ya?!)
1/4 – 1/2 c half and half
1 can Rotel
1/2 c uncooked rice

1. Put your chicken thighs in your soup pot and season both sides liberally with the three GOYA seasonings. Look familiar? It should, this is the same stuff used on my grilled chicken recipe!
image

2. Once your chicken is done, pull out and set aside. Then get your husband in the kitchen and have him help cut it up. Ha! 🙂
image

3. See all those dark num nums at the bottom of the pot? Mmm, they’ll give us lots of flavor! Throw in your onions and add a little olive oil if you need to. Sauté about ten minutes and then add your garlic in, then sauté another few minutes.
image

4. Now add your frozen veggies and Rotel.
image

5. Season your veggies liberally with your favorite season-all.
image

6. Add your chopped up chicken back to the mix.
image

7. Add one box of chicken broth and bring to a boil.
image

8. Add your uncooked rice and allow to boil for a minute before turning to a simmer and putting a lid on it for 20 minutes.
image

9. Now add your queso to the soup. Oh my goodness, the cheesy goodness!!!
image

10. Now give your soup a healthy splash of half and half to balance it all out!
image

11. Your soup is done!
image

12. Serve with shredded cheese, avocado, sliced cherry tomatoes, green onion, and a dollop of sour cream! Mmmmmm!!!
image

Chicken Parmesan

Standard
Chicken Parmesan

Chicken Parmesan

I’m sure most of you are used to your traditional breaded and fried Chicken Parmesan, but this is a baked version. Read: I did not say this was recipe is better for you, but we can pretend I did if that makes you feel better 🙂 As I was saying, this recipe is less mess and so much tastier than the traditional version! So crack open a red and let’s get started!

Ingredients:
1 package boneless skinless chicken thighs
1 cup REAL mayo
1/2 cup Italian breadcrumbs divided
1/2 cup shredded Parmesan cheese (Notice I said shredded, not that imitation grated stuff on the shelf)
1 cup shredded mozzarella cheese
Salt and pepper

1. In a mixing boil combine mayo, 1/4 c Italian breadcrumbs, and Parmesan cheese.
image

2. Place your chicken on a cookie sheet that’s been lined with foil and sprayed with nonstick spray. Season with salt and pepper. Then spread your mayo mixture evenly over the chicken.
image

3. Sprinkle remaining Italian breadcrumbs over the chicken.
image

4. Place chicken in a 375F oven for 40 minutes.
image

5. Pull chicken out after about 40 minutes and sprinkle mozzarella all over the chicken. Put back in the oven for another 5 minutes.
image

Serve with whole wheat angel hair pasta, marinara sauce, and cheesy garlic bread for a delicious dinner!

Cream Cheese Chicken Enchiladas

Standard
Cream Cheese Chicken Enchiladas

Chicken Enchiladas With Cream Cheese Sauce

So, once again I had leftover grilled chicken and needed to do something with it, plus I had a request for a chicken enchilada recipe, so naturally I made my delicious cream cheese chicken enchiladas. Back in college, my friend Jill used to make her chicken enchiladas very similar to this recipe, and I’ve taken it and done things a little different with it. Actually, many things are different from when I was back in college, like how much I can drink and how late I can stay up, but that’s neither here nor there. I love the cream cheese sauce instead of a sour cream sauce and think these are so yummy! Also, I’ll go ahead and say I ran out of shredded cheese (in our family we call this “sprinkle cheese”) at the end, so I didn’t have nearly as much cheese on top of the enchiladas as I would’ve liked. It was a Great American Tragedy lemme tell ya, but they were still tasty 🙂

Ingredients:
2-3 cups of chicken chopped, sliced, shredded, whatever (Don’t make this part hard on you – use leftover chicken, a store bought rotisserie chicken you picked apart with your hands, or pan sear some chicken and chop it up in your kitchen)
1 1/2 cups salsa (Yes, you can use store bought salsa if you’d like. However, I’d suggest adding some chopped cilantro to it since they never have that fresh taste to them)
2 8 oz packages cream cheese
1 can Rotel
2 cans diced green chiles (I like the Hatch brand hot ones, but mild is fine too)
1/4 tsp garlic salt
Pepper to taste
1 dozen tortillas
At least 1 cup shredded cheese

1. Place your cream cheese in a pot over the stove on low heat. Don’t rush this because it burns easily. Keep stirring it around until it’s smooth and creamy like this.
-12

2. After it’s melted and creamy, add your salsa, Rotel, chiles, garlic salt, and pepper to cream cheese and stir. Taste the now pinkish mixture to see if you want to add more salsa to it or if you like it how it is. Keep on low to medium heat.
-13

3. Take one cup of the cheese sauce and pour over your chopped/sliced/shredded chicken. It will now sort of look like the most delicious chicken salad you’ve ever seen in your life! -14
-1

4. Spray a 9×11 baking dish with non-stick spray and preheat your oven to 350. Start to fill up your tortillas with about two spoonfulls each of chicken mixture.
-2

5. As you’ve heard me say before, I like corn tortillas and my husband likes flour, so I had him come in and help hold down the corn ones because they’re a little tricky sometimes.
-3

6. Pour the cheese sauce all over the enchiladas and make sure to spread it out so it covers the entire baking dish and there aren’t any “naked” tortillas.
-4-5

7. Sprinkle as much shredded cheese as you like all over the enchiladas.
-6

8. Bake in a 350F oven for 20-30 minutes or until cheese is melted and sauce is bubbly 🙂-7