Category Archives: Breakfast/Brunch

Apple Butter

Standard

  
One of my favorite things in life is apple butter on top of a buttery piece of toast in the morning. Yum!!! I also love the excitement of when the grocery store here gets their big shipment of apples in, and I always get a bunch of my favorite Honey Crisp apples. Those, as well as a few other kinds make up this recipe of apple butter, but feel free to stick with just your favorite or go all out like I did.*

The rich gold color comes from the length of time you let this slow cook. I did mine for 8 hours, but I easily could’ve let this go all night in a crock pot if I had one big enough. 

You can either make this recipe and freeze it or can it. I canned mine and I’m not going to get too descriptive in the canning instructions because I’m going to assume you know what you’re doing. If not, see my Strawberry Apricot Jam recipe for further detail or of course just ask me in the comment section.

*I used a mix of mostly Honey Crisp, Golden Delicious, Sweet & Crunchy, and a girl in my MOPS group gave me some from her tree at home that looked like McIntosh to me, but she wasn’t sure what kind they are. 

Ingredients: 

1. First lets prep those apples! But first, let’s spike some cider to get us in the mood 😉 Ok, now then…


2. Toss all your apples into your giant pot.

  
3. Now dump in your spices, sugar, and cider and bring to a boil. *If you’re doing this in a crock pot you can just turn on low and come stir it in a few hours. Let it boil for a minute or so, then turn down to a simmer. Cover mostly with a lid but allow a small space to remain to let some of the steam out.


4. Now you’re going to let this slow cook for a minimum of six hours (I did mine eight but could’ve gone longer like I said before) but keep coming back to give it a stir every now and then.


5. Once it’s the color you want, get out your hand blender and go to town on these puppies!


6. Now you can either divide this out and freeze it, or can it like I did with a ten minute water bath. Again, check my recipe above for water bath times where you are if you aren’t sure. This made 14 1/2 pint jars. 

  
7. Now go get a big honkin’ slab of butter and put it on some bread, toast it up, and then lather it up with some golden apple butter. Delicious!


Advertisement

Strawberry Apricot Jam

Standard
Strawberry Apricot Jam

Strawberry Apricot Jam

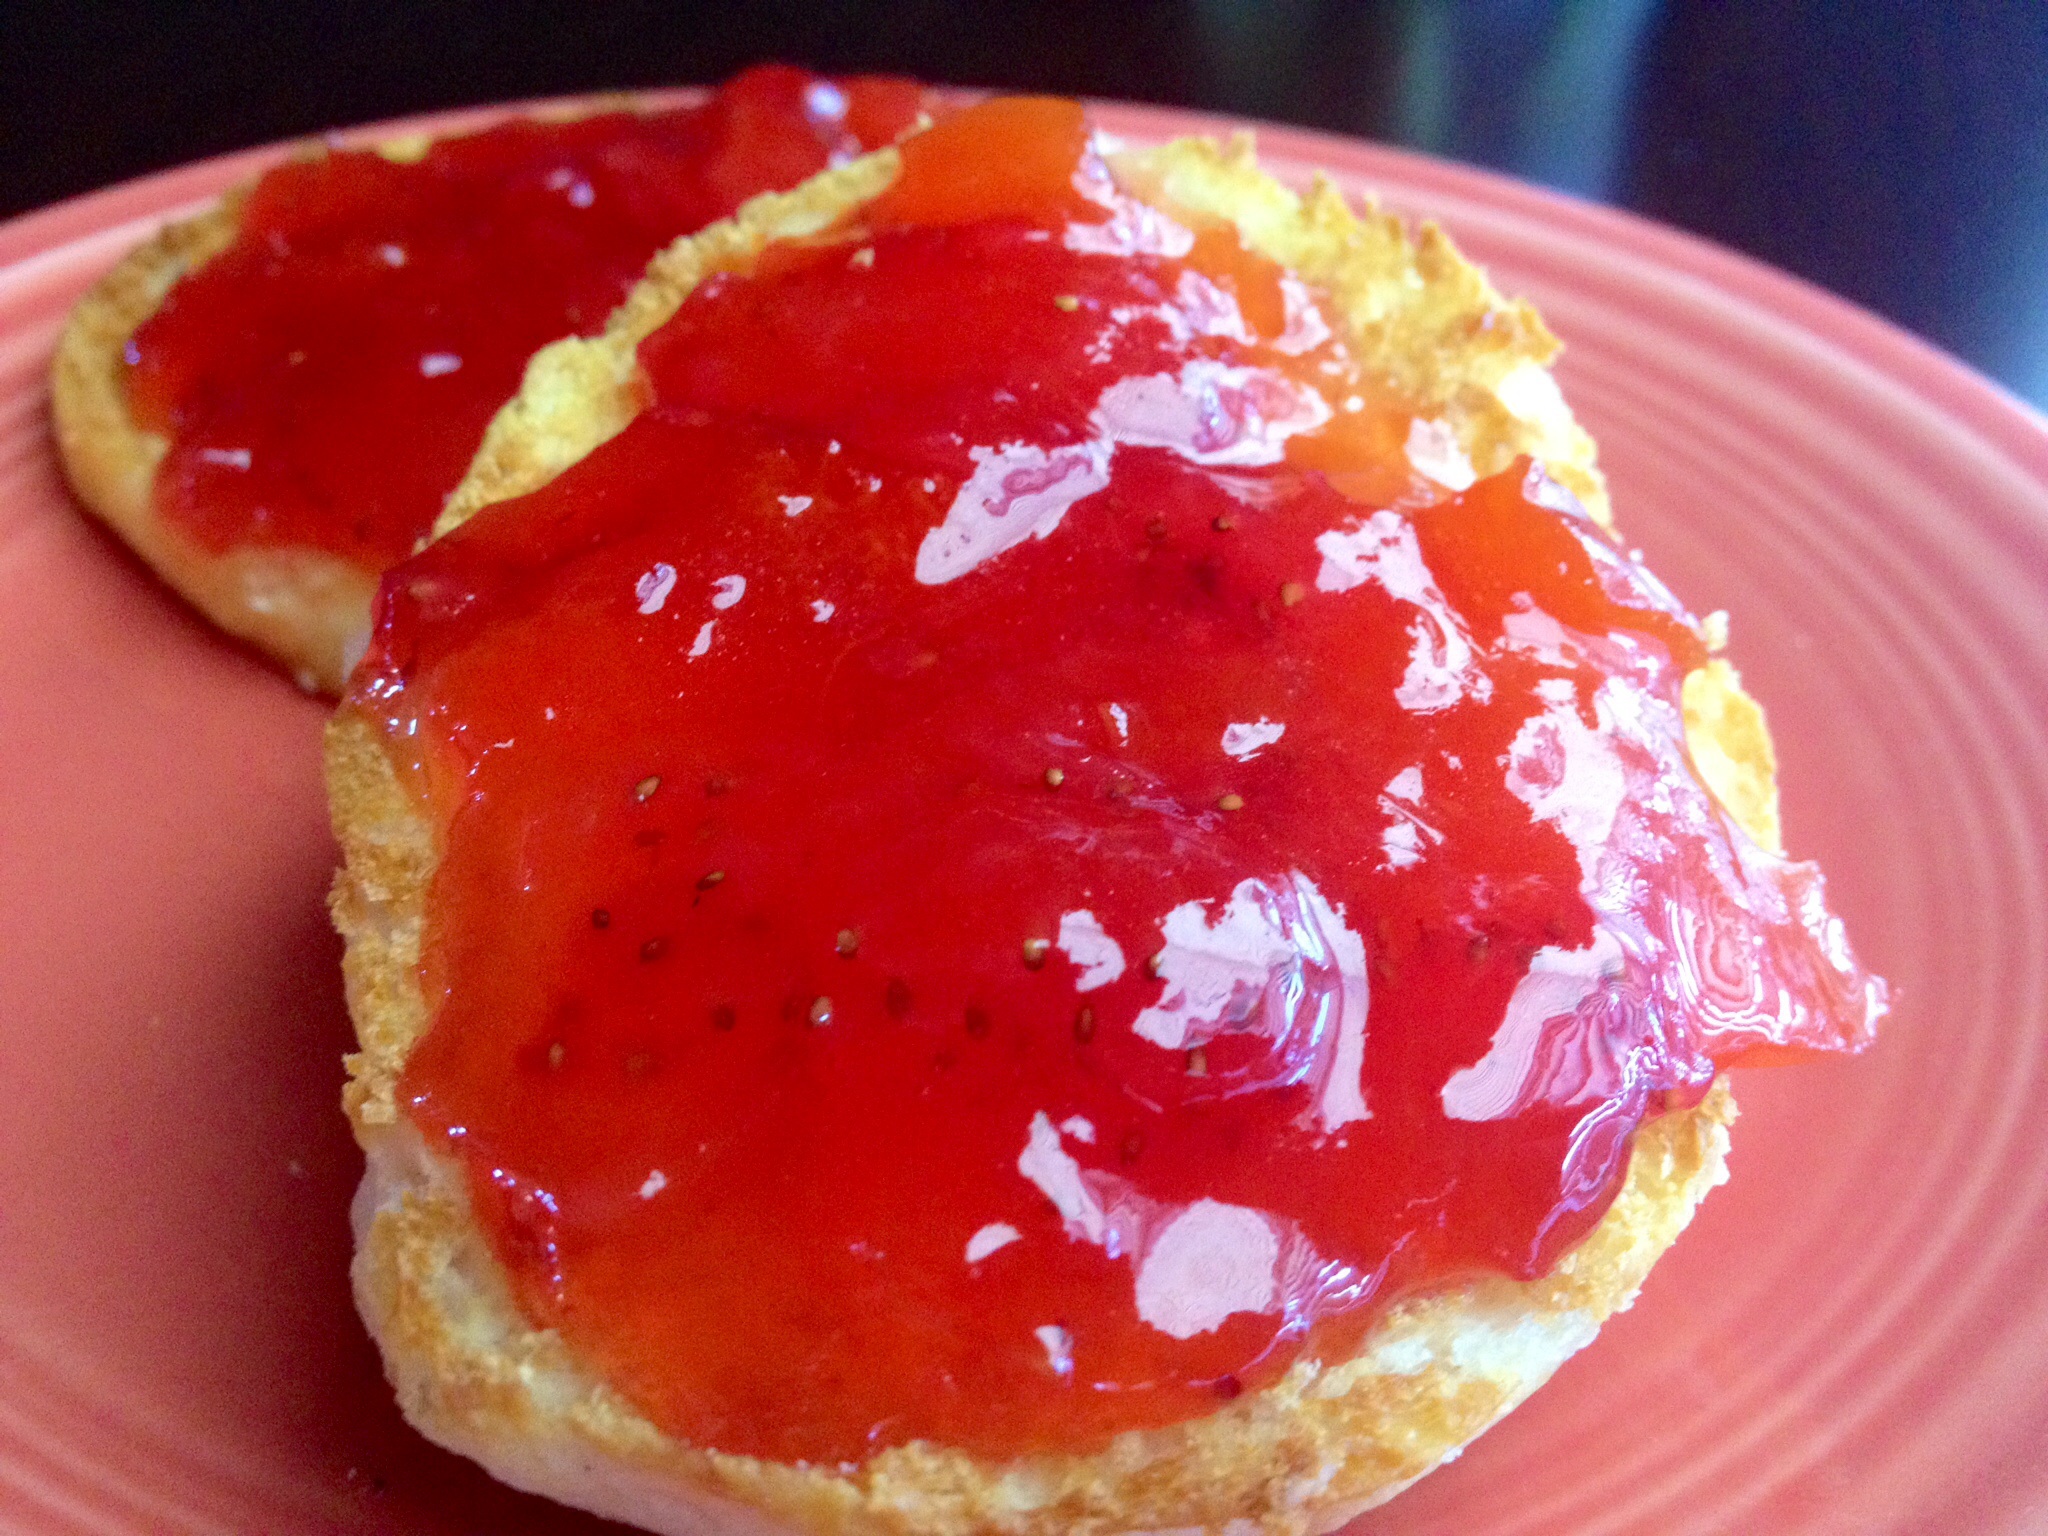
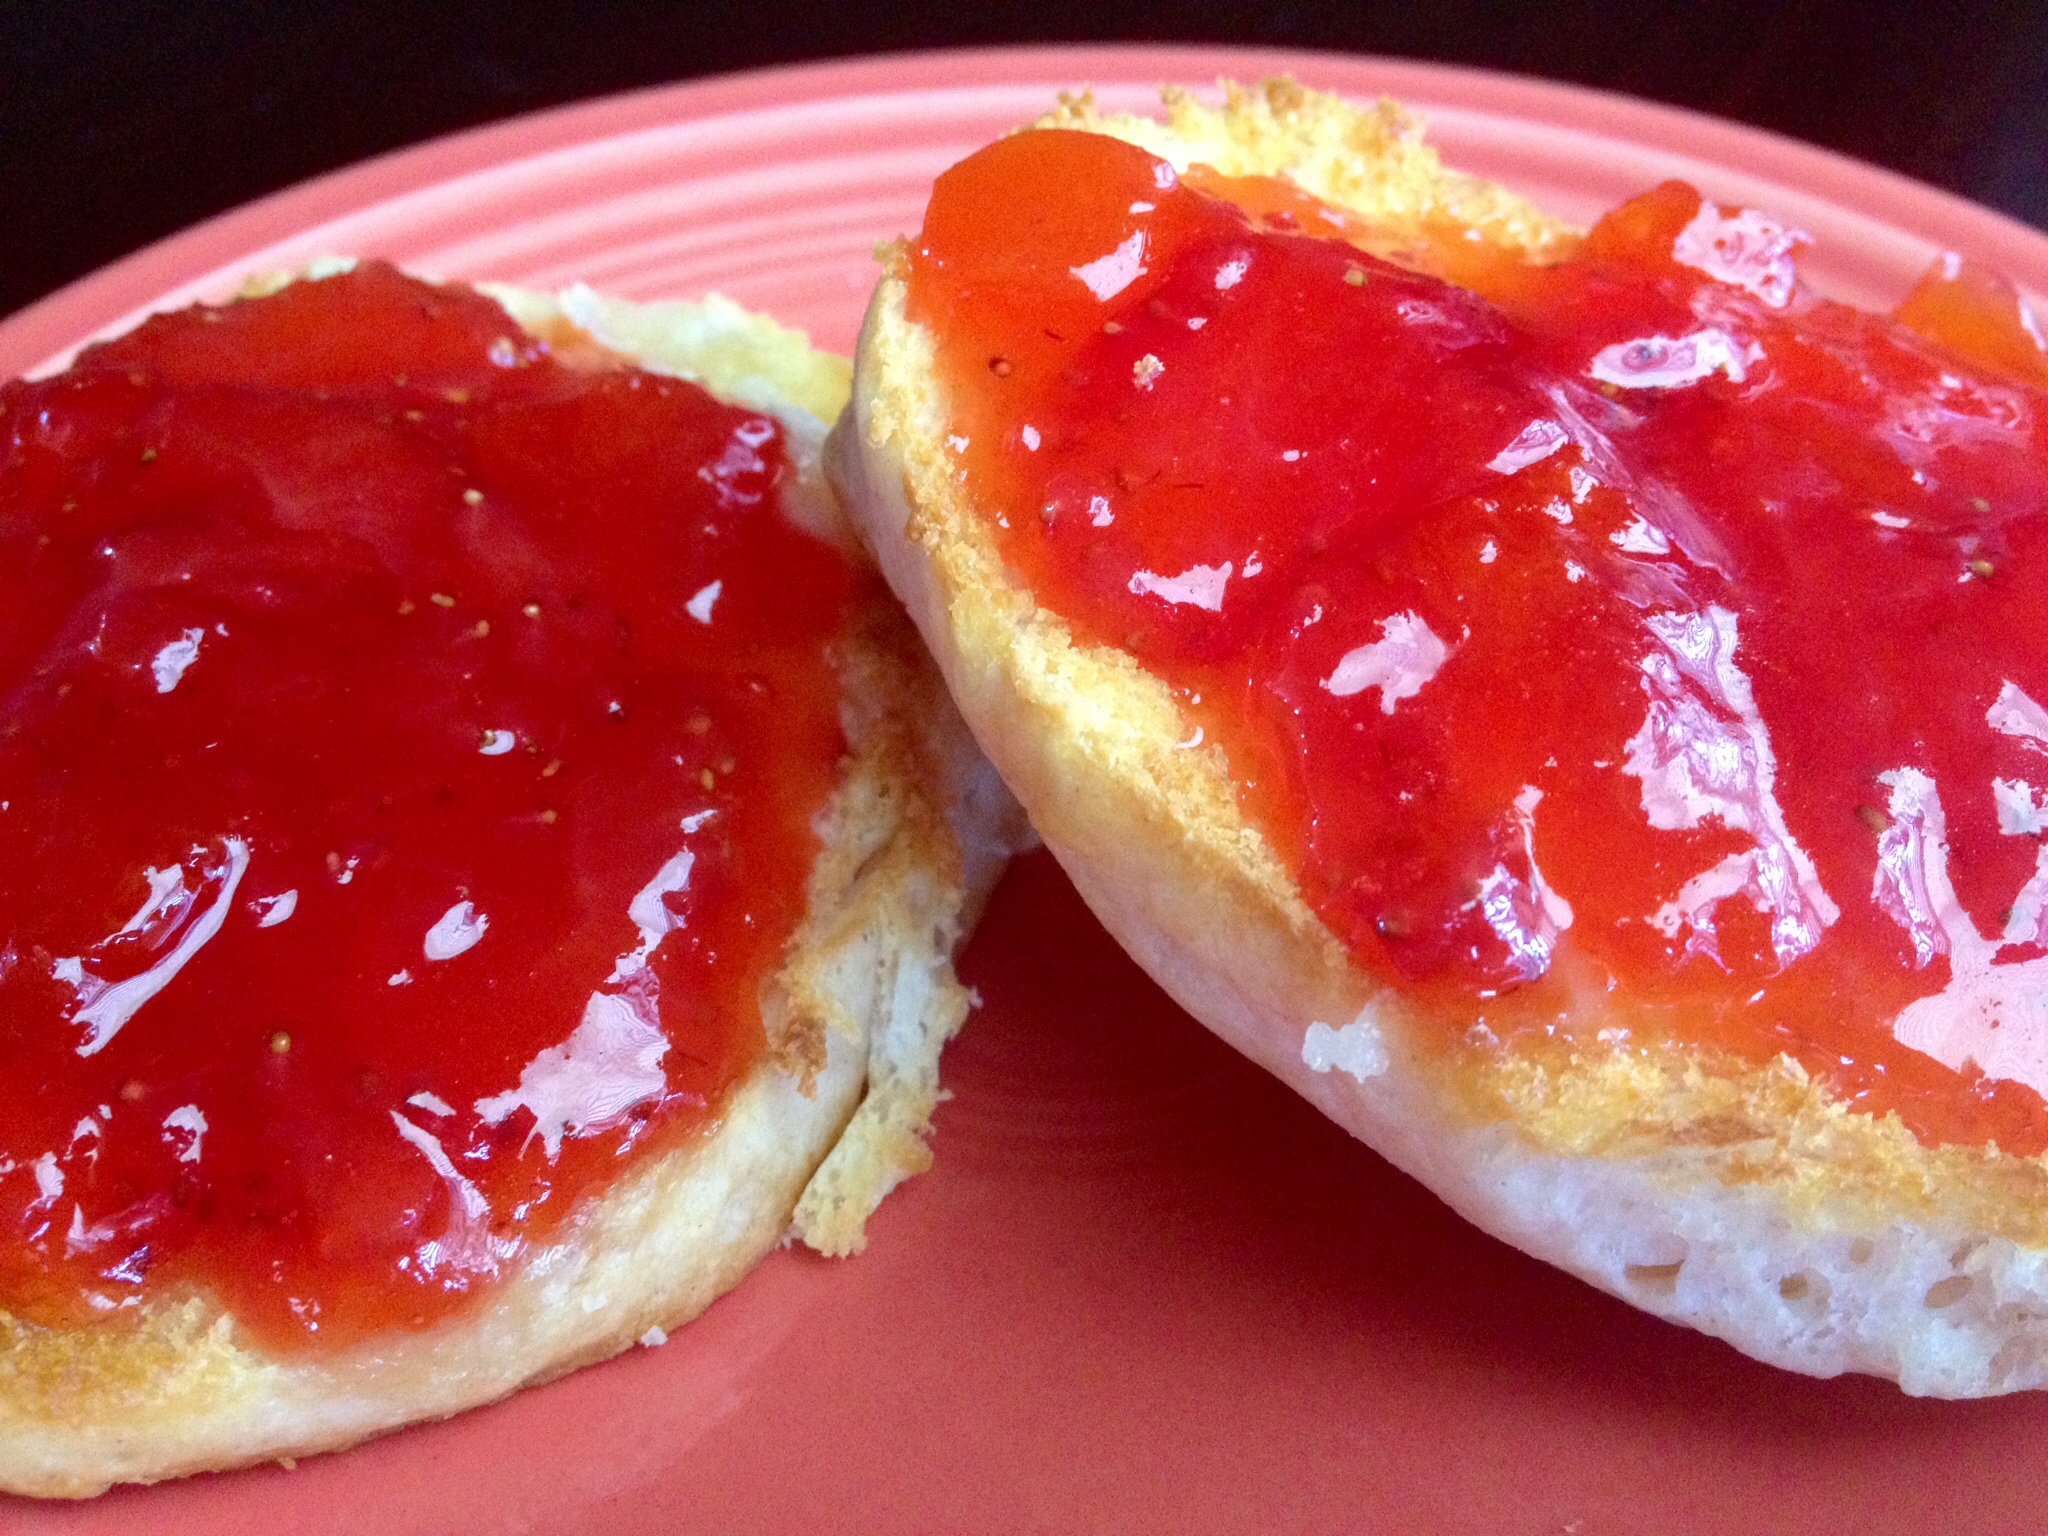
This is the absolute best jam I have ever eaten! It is the perfect mix of strawberries and apricots and has a sweet and tangy taste that is out of this world! It’s the only jam I make that I don’t sell because I just can’t part with it! Have I mentioned it’s the best jam ever? Ok, so you get my point 🙂

Ingredients:

  • 3 cups crushed strawberries (roughly 6 cups whole strawberries to give you an idea how many to mash)
  • 2 cups finely chopped apricots
  • 7 cups of sugar
  • 1 box SUREJELL Premium Fruit Pectin
  • 1/2 tsp (doesn’t have to be exact) butter
  • 8-9 8 oz jelly jars

If you know how to make jam/jelly/preserves and are familiar with the process, you can skip over this part. Otherwise, let’s get the basics across:

  • Never ever try to double a recipe. If you need to make two or more batches of jelly, do it. If you try to double your recipe and do it all at once it will not work and the jam will not set. Don’t ask me why, I don’t make the rules.
  • Do not attempt to reduce the sugar in the recipe or it will not set and all of your efforts will be wasted. Also, I really do not recommend using any sugar substitute like Splenda or anything like that. I’ve done it before and it really doesn’t taste very good. Aside from that, sugar is a natural preservative and is part of the reason why you are able to can fruit and put it away at room temperature for months or even years at a time.
  • It’s usually best to wash your jars in the hot cycle of your dishwasher and allow them to sit in there while it’s still hot and steamy before you use them. So, the first thing I do before anything else is load my empty dishwasher (I don’t want actual dirty dishes in there during this process) and allow it to wash my jars on the hottest cycle it has. Meanwhile, I’ll start doing everything else I need to for my jelly. By the time I’m ready to use my jars, the wash cycle is over and they’re hot and ready to go when I need them.
  • Keep your seals in a pot of water kept on simmer over the stove. You definitely do not want it boiling, but you want it to be hot. You can keep your rings for the lids just on your counter top or wherever out of the way as there is really nothing you need to do with these to prep them.
  • You’ll need a dry measuring cup, liquid measuring cup, large saucepan, large stock pot, small sauce pot for seals,1 large bowl, 1 large mixing spoon, 1 potato masher to crush your strawberries, 1 metal dinner spoon, a ladle, and the items in the kits listed above. You’ll also need some sort of timer (you can use your microwave timer or even the timer on your cell phone if you have one).
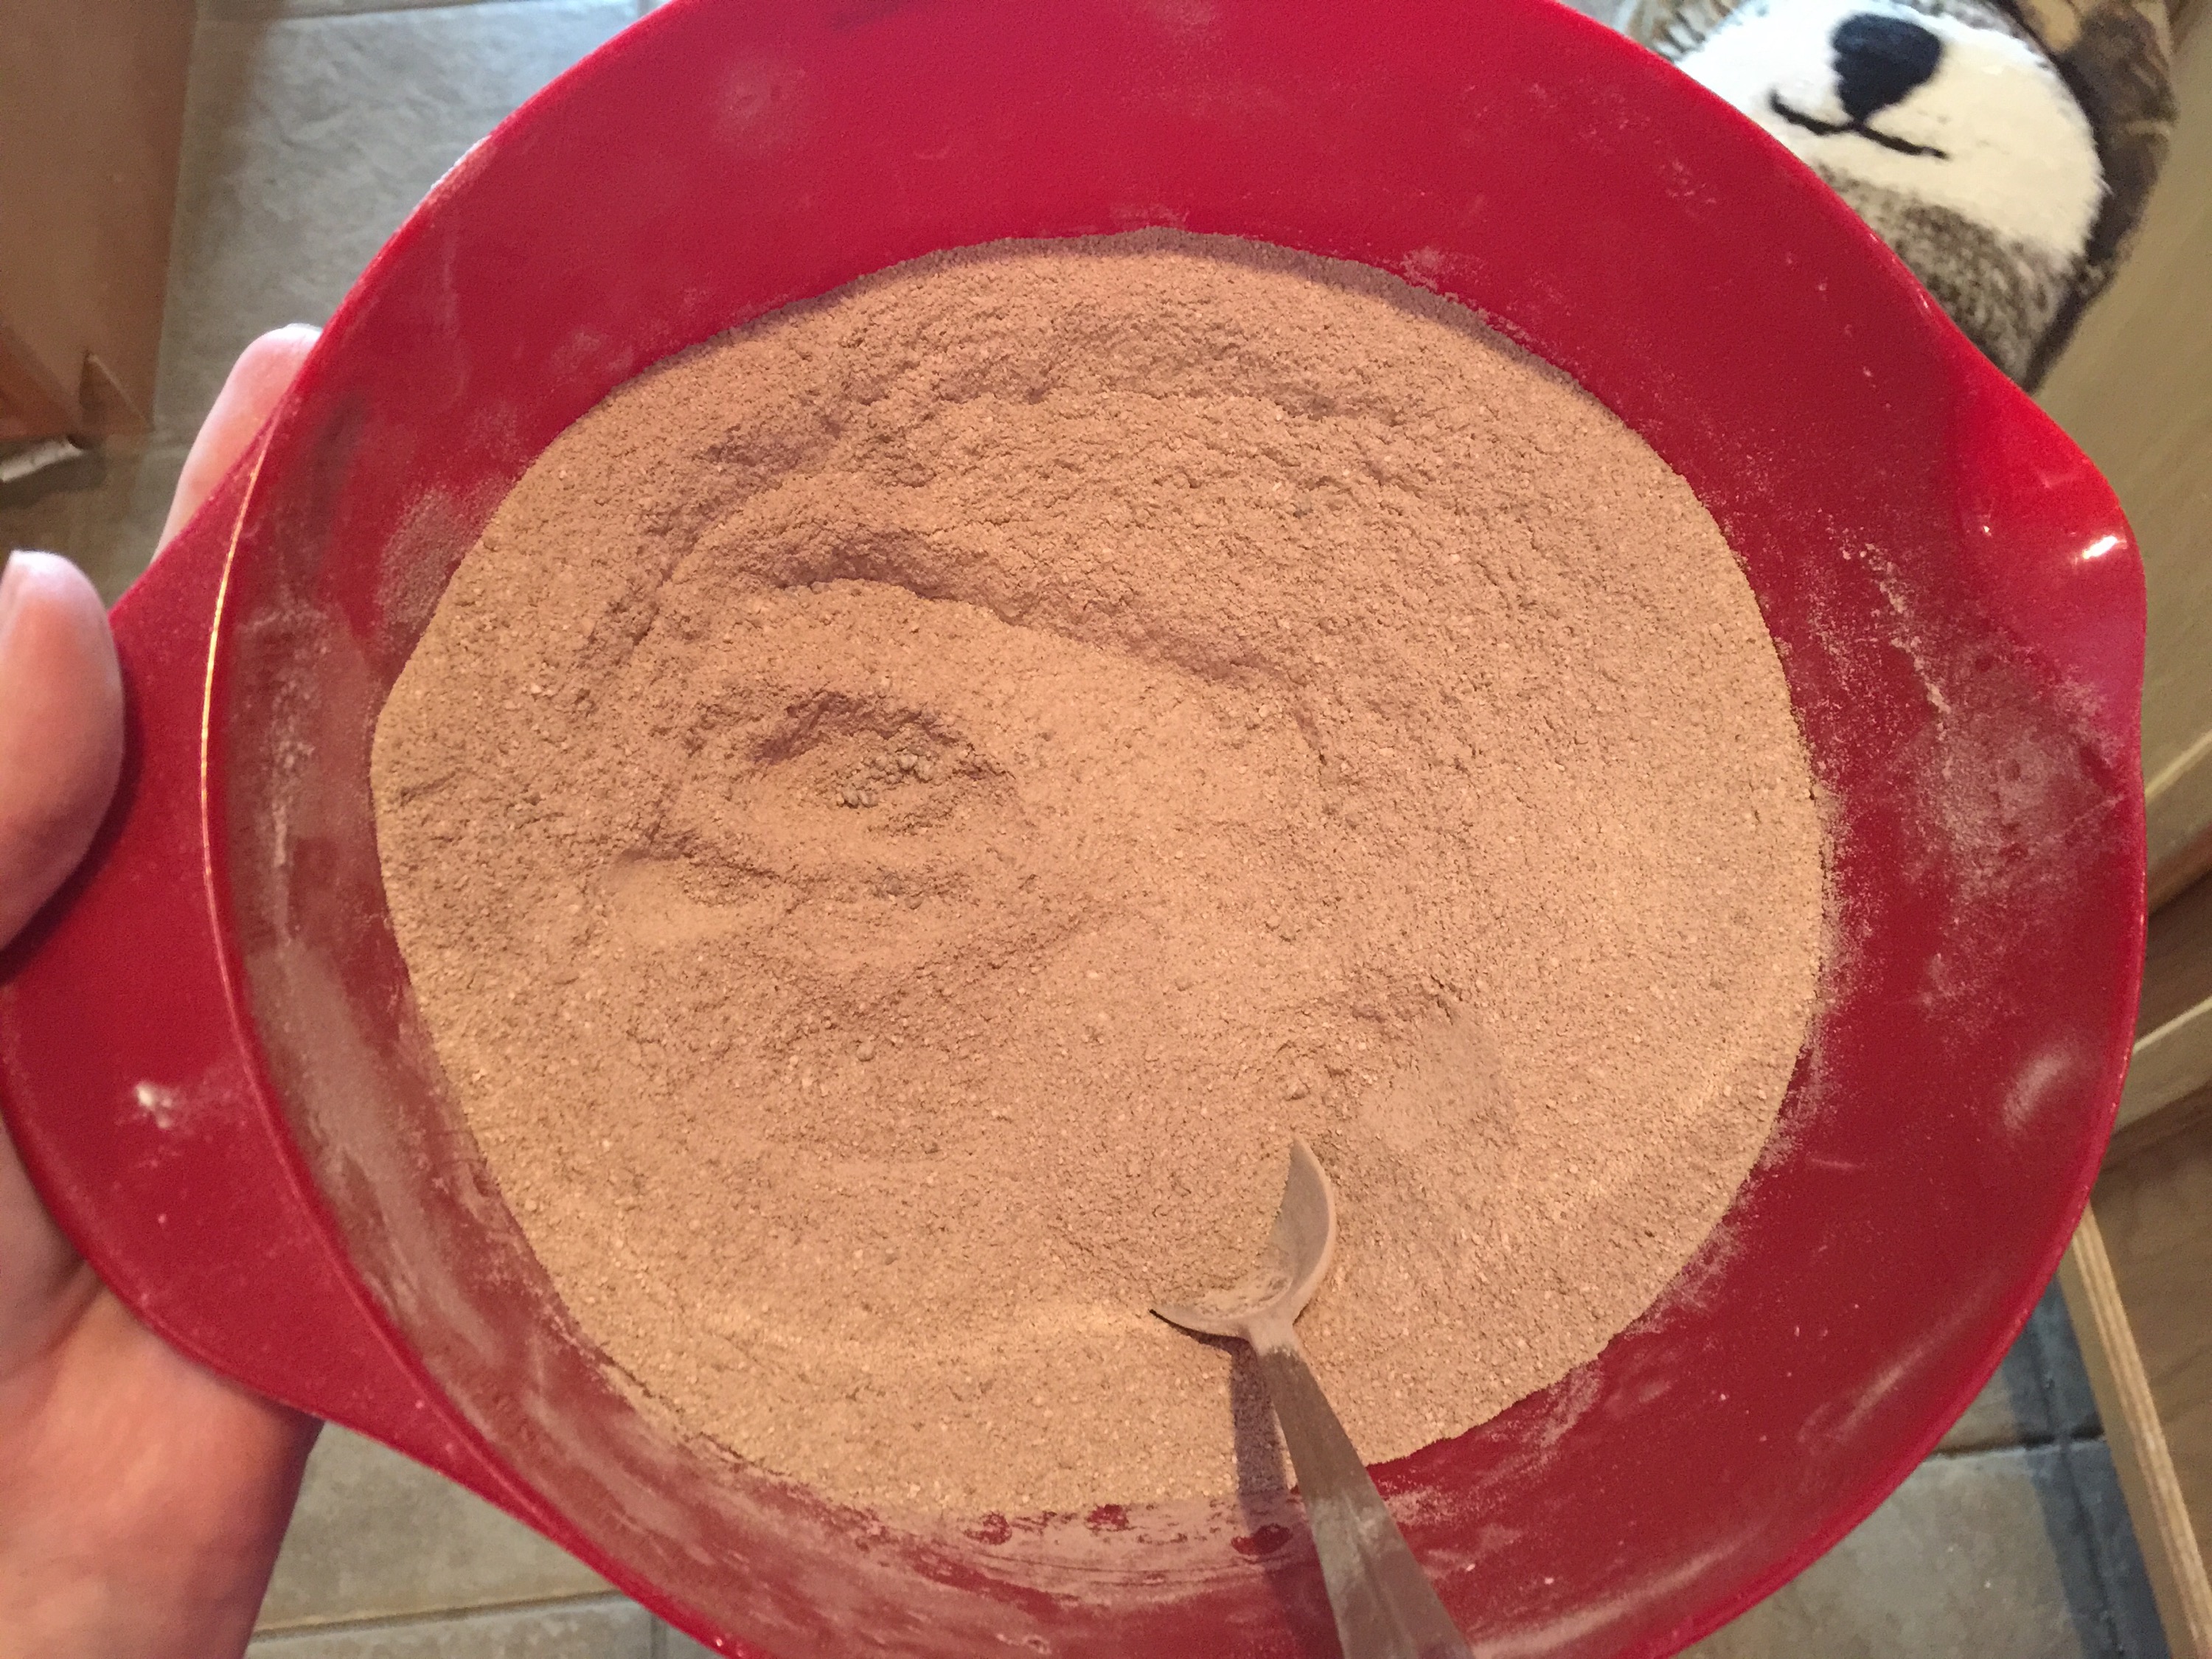
  • Before you get started measure your sugar into a bowl and set aside so it’s ready. Timing is everything in the jam making process so it needs to be in a bowl and ready to go when we need it.
  • Have three pot holders ready to go. Two will be for picking up the sides of your pot of hot jam and the other will be to set on your counter top so you can put your jam on top of it.
  • Have a clean dish towel on your counter next to your third pot holder where you will put your jars when you are ready to fill them up. If making more than one batch of jam, use a clean dish towel each time. ** I had zero dish towels ready when I made this jam because laundry just wasn’t on my to-do list at the time. So I had a huge mess to clean up and that’s why my dishtowels are missing from the picture.**
  • You can re-use jars and can re-use rings, but you can never re-use seals. So save those jam jars and rings when you’re done with them! You can buy new seals for cheap at the store in the canning section.
  • Lastly, I realize some people have actual canning pots so you don’t have to purchase the cheap plastic basket. That’s fabulous and if you actually own one, you don’t need me to explain how this all works. However, if you’re wondering if you need to buy one of these, I would advise that no, you do not. It’s a very expensive pot that really you will only use for processing jars and is sort of like that giant turkey roaster you only bring out once or twice a year that takes up too much space in your kitchen. So, this recipe will be explaining the processing using the cheap plastic basket 🙂

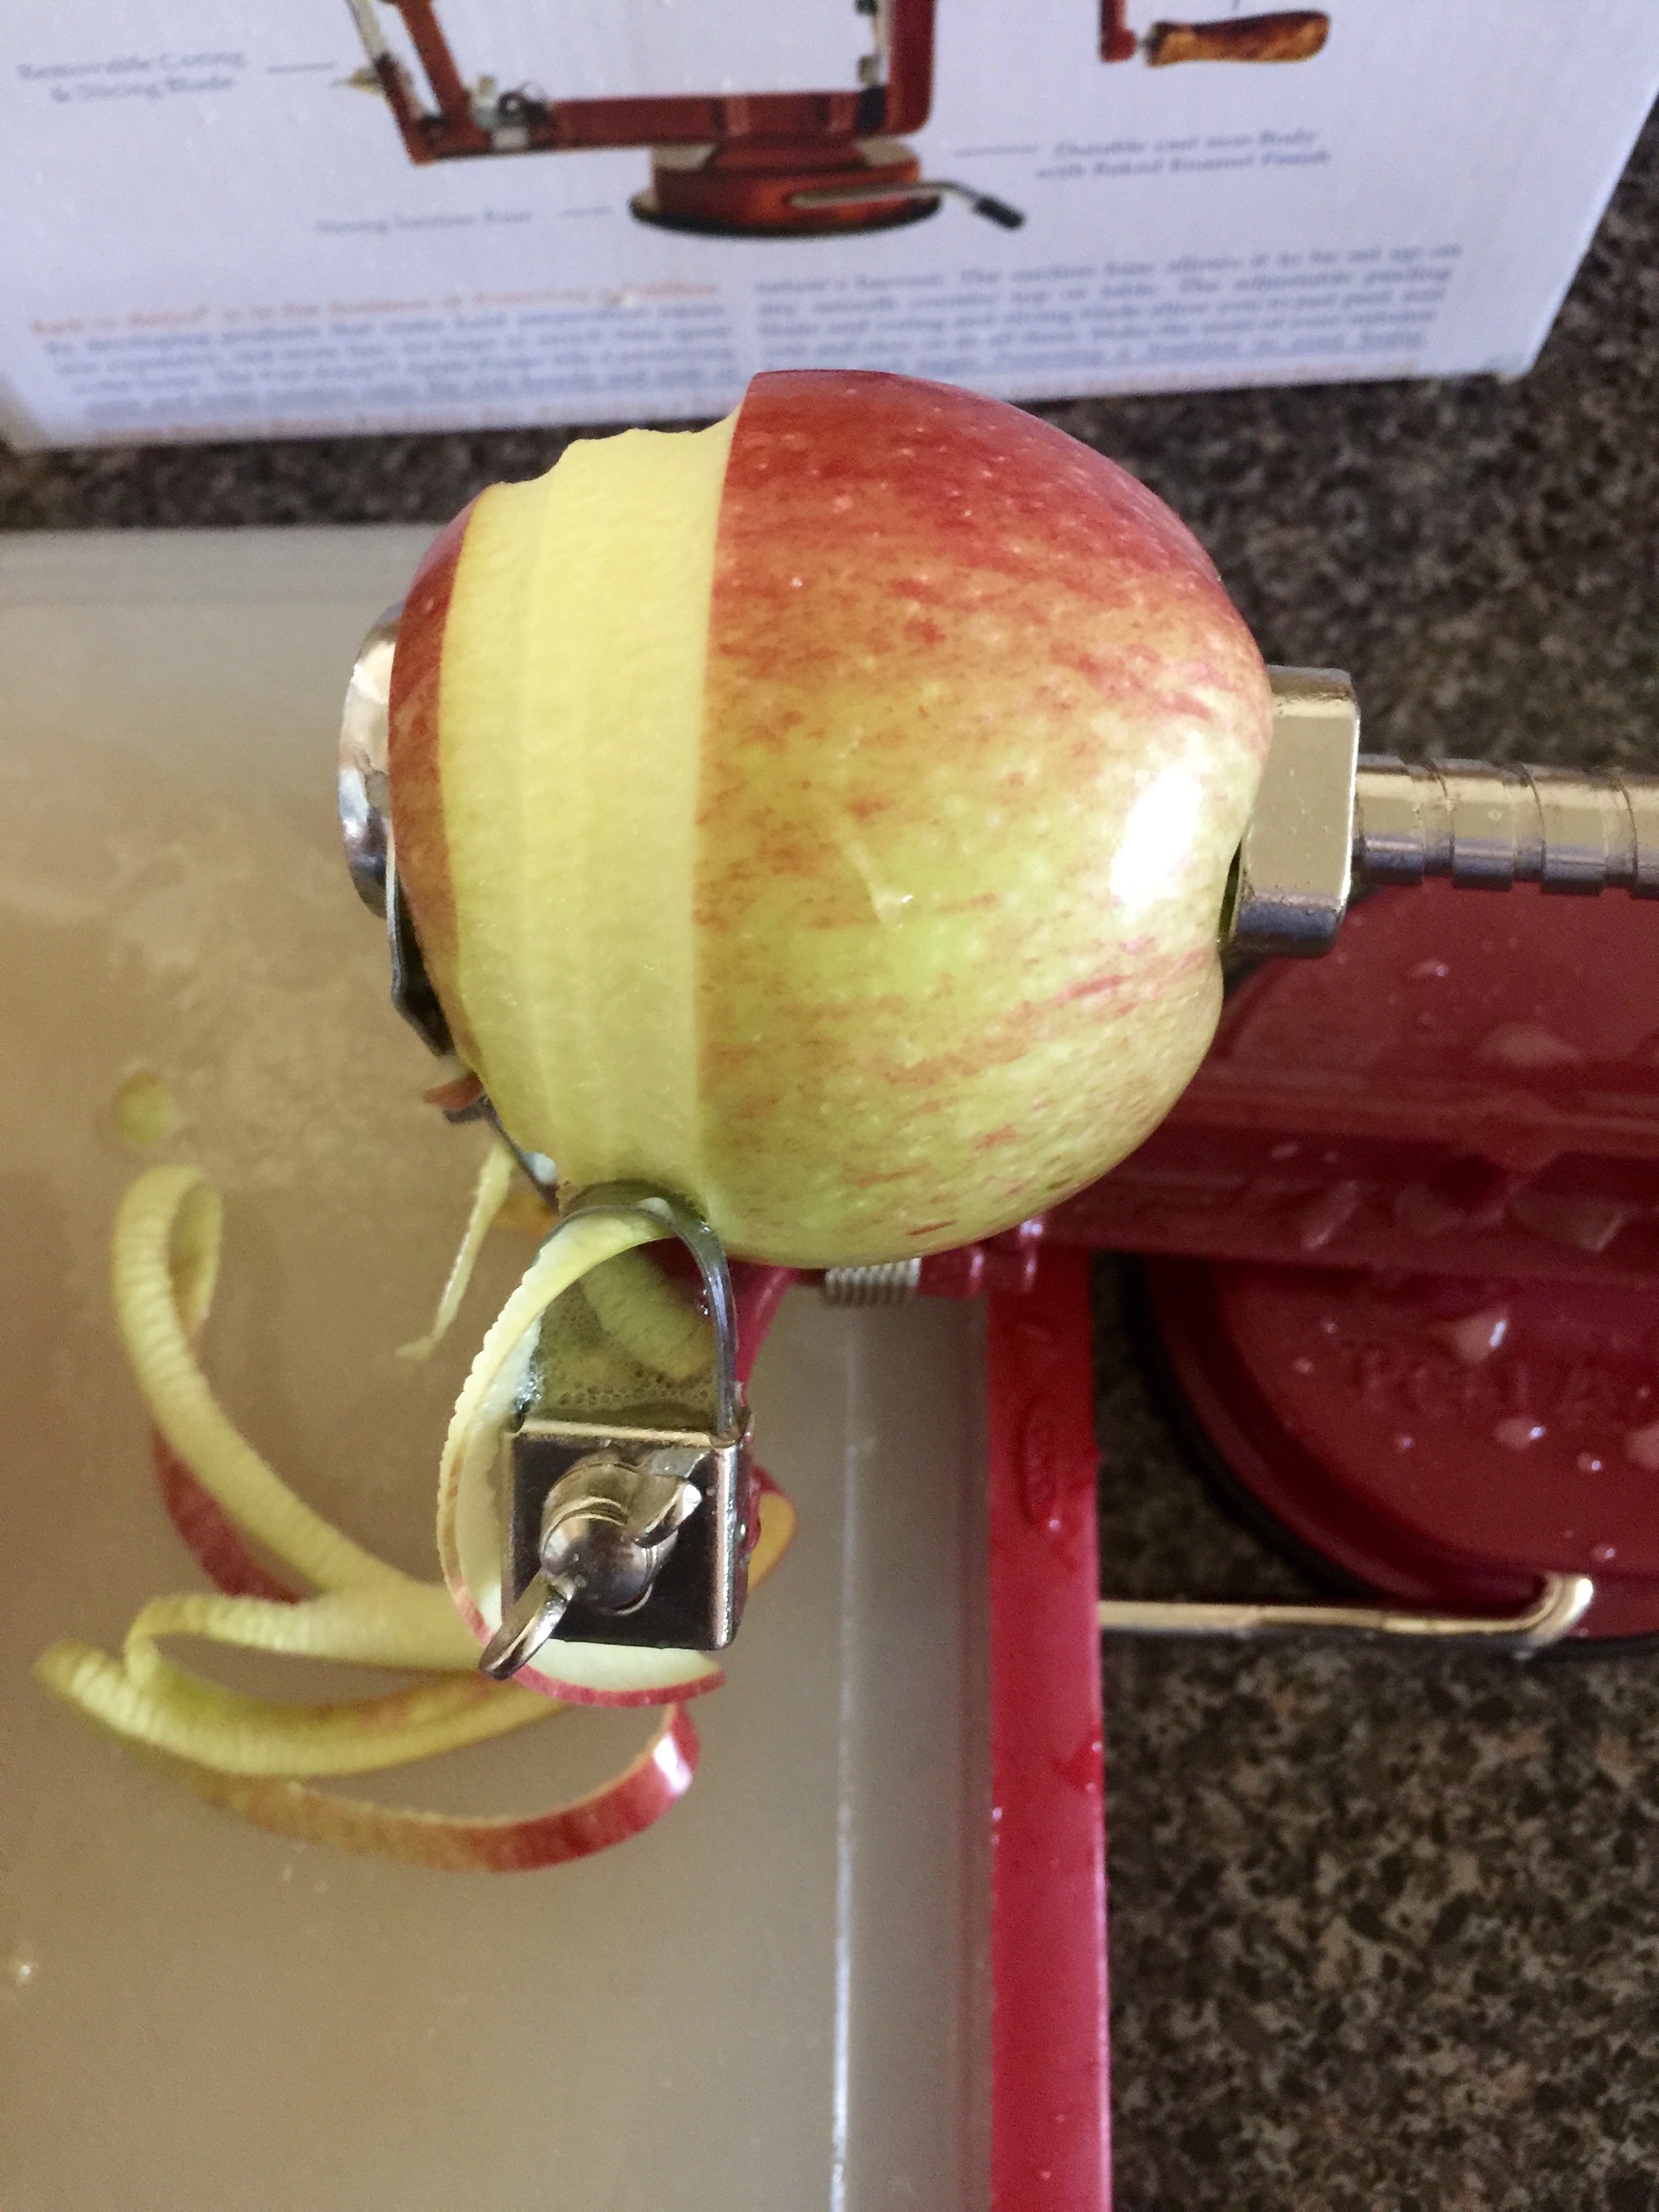
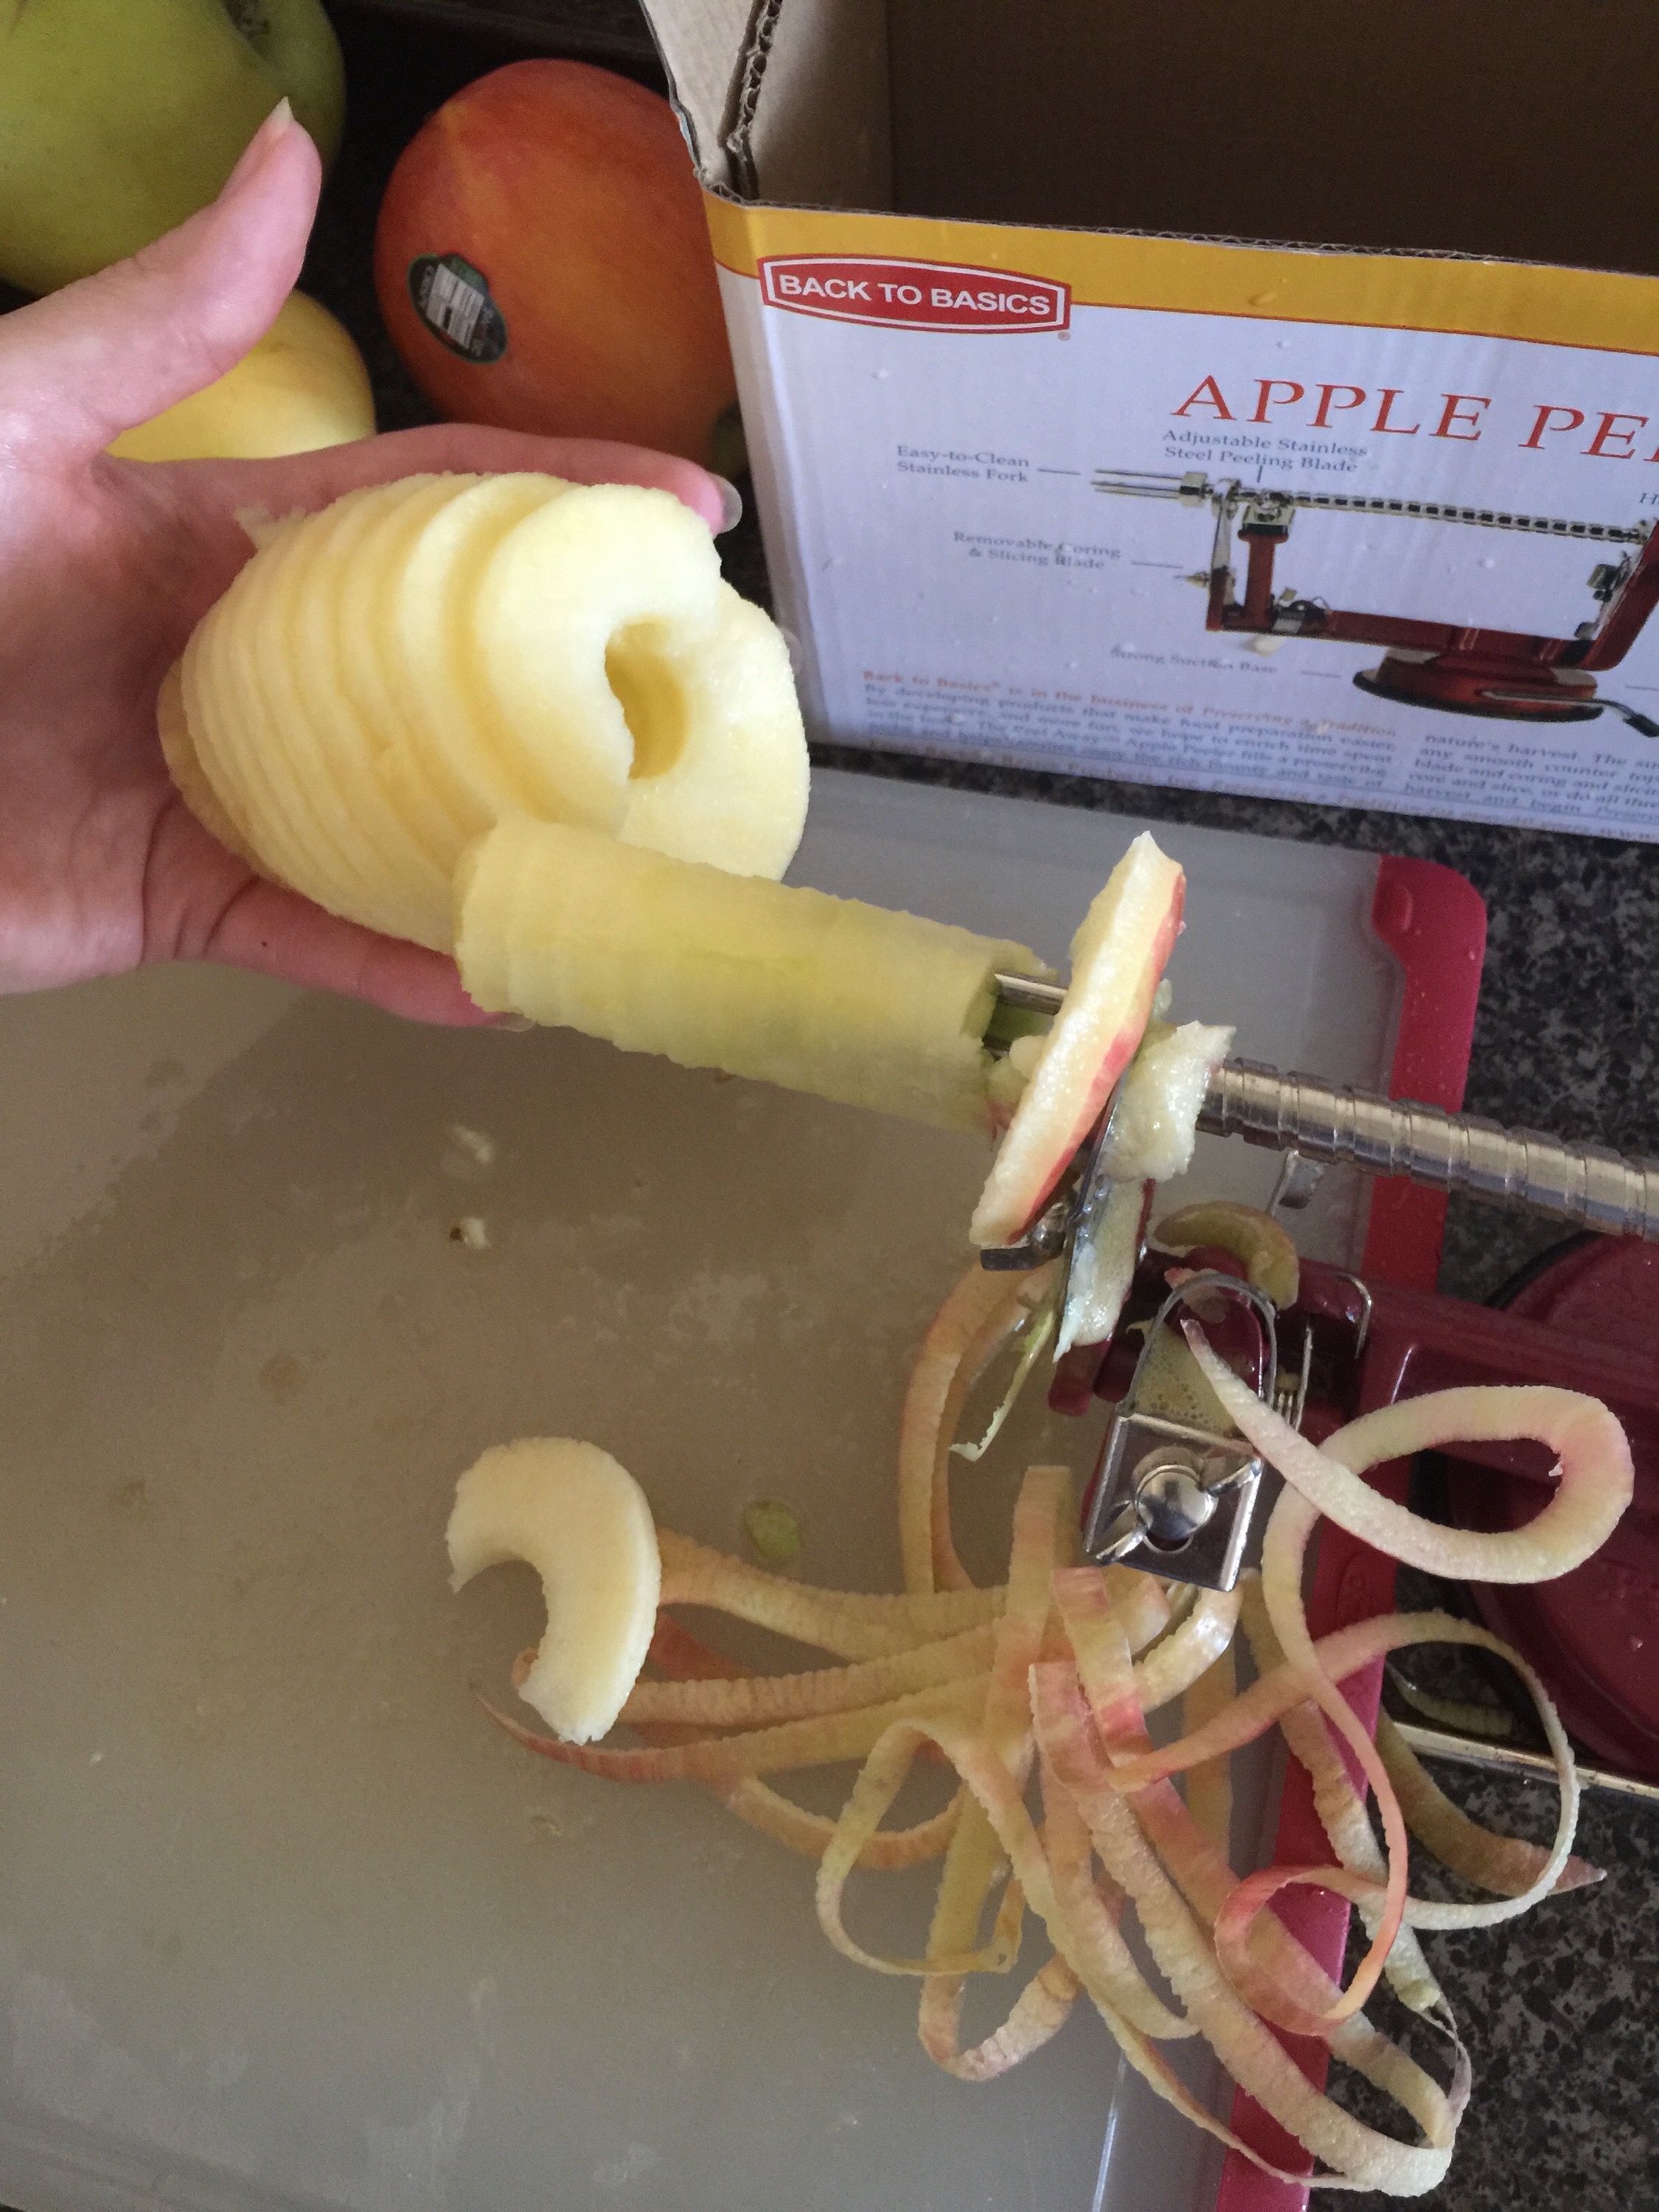
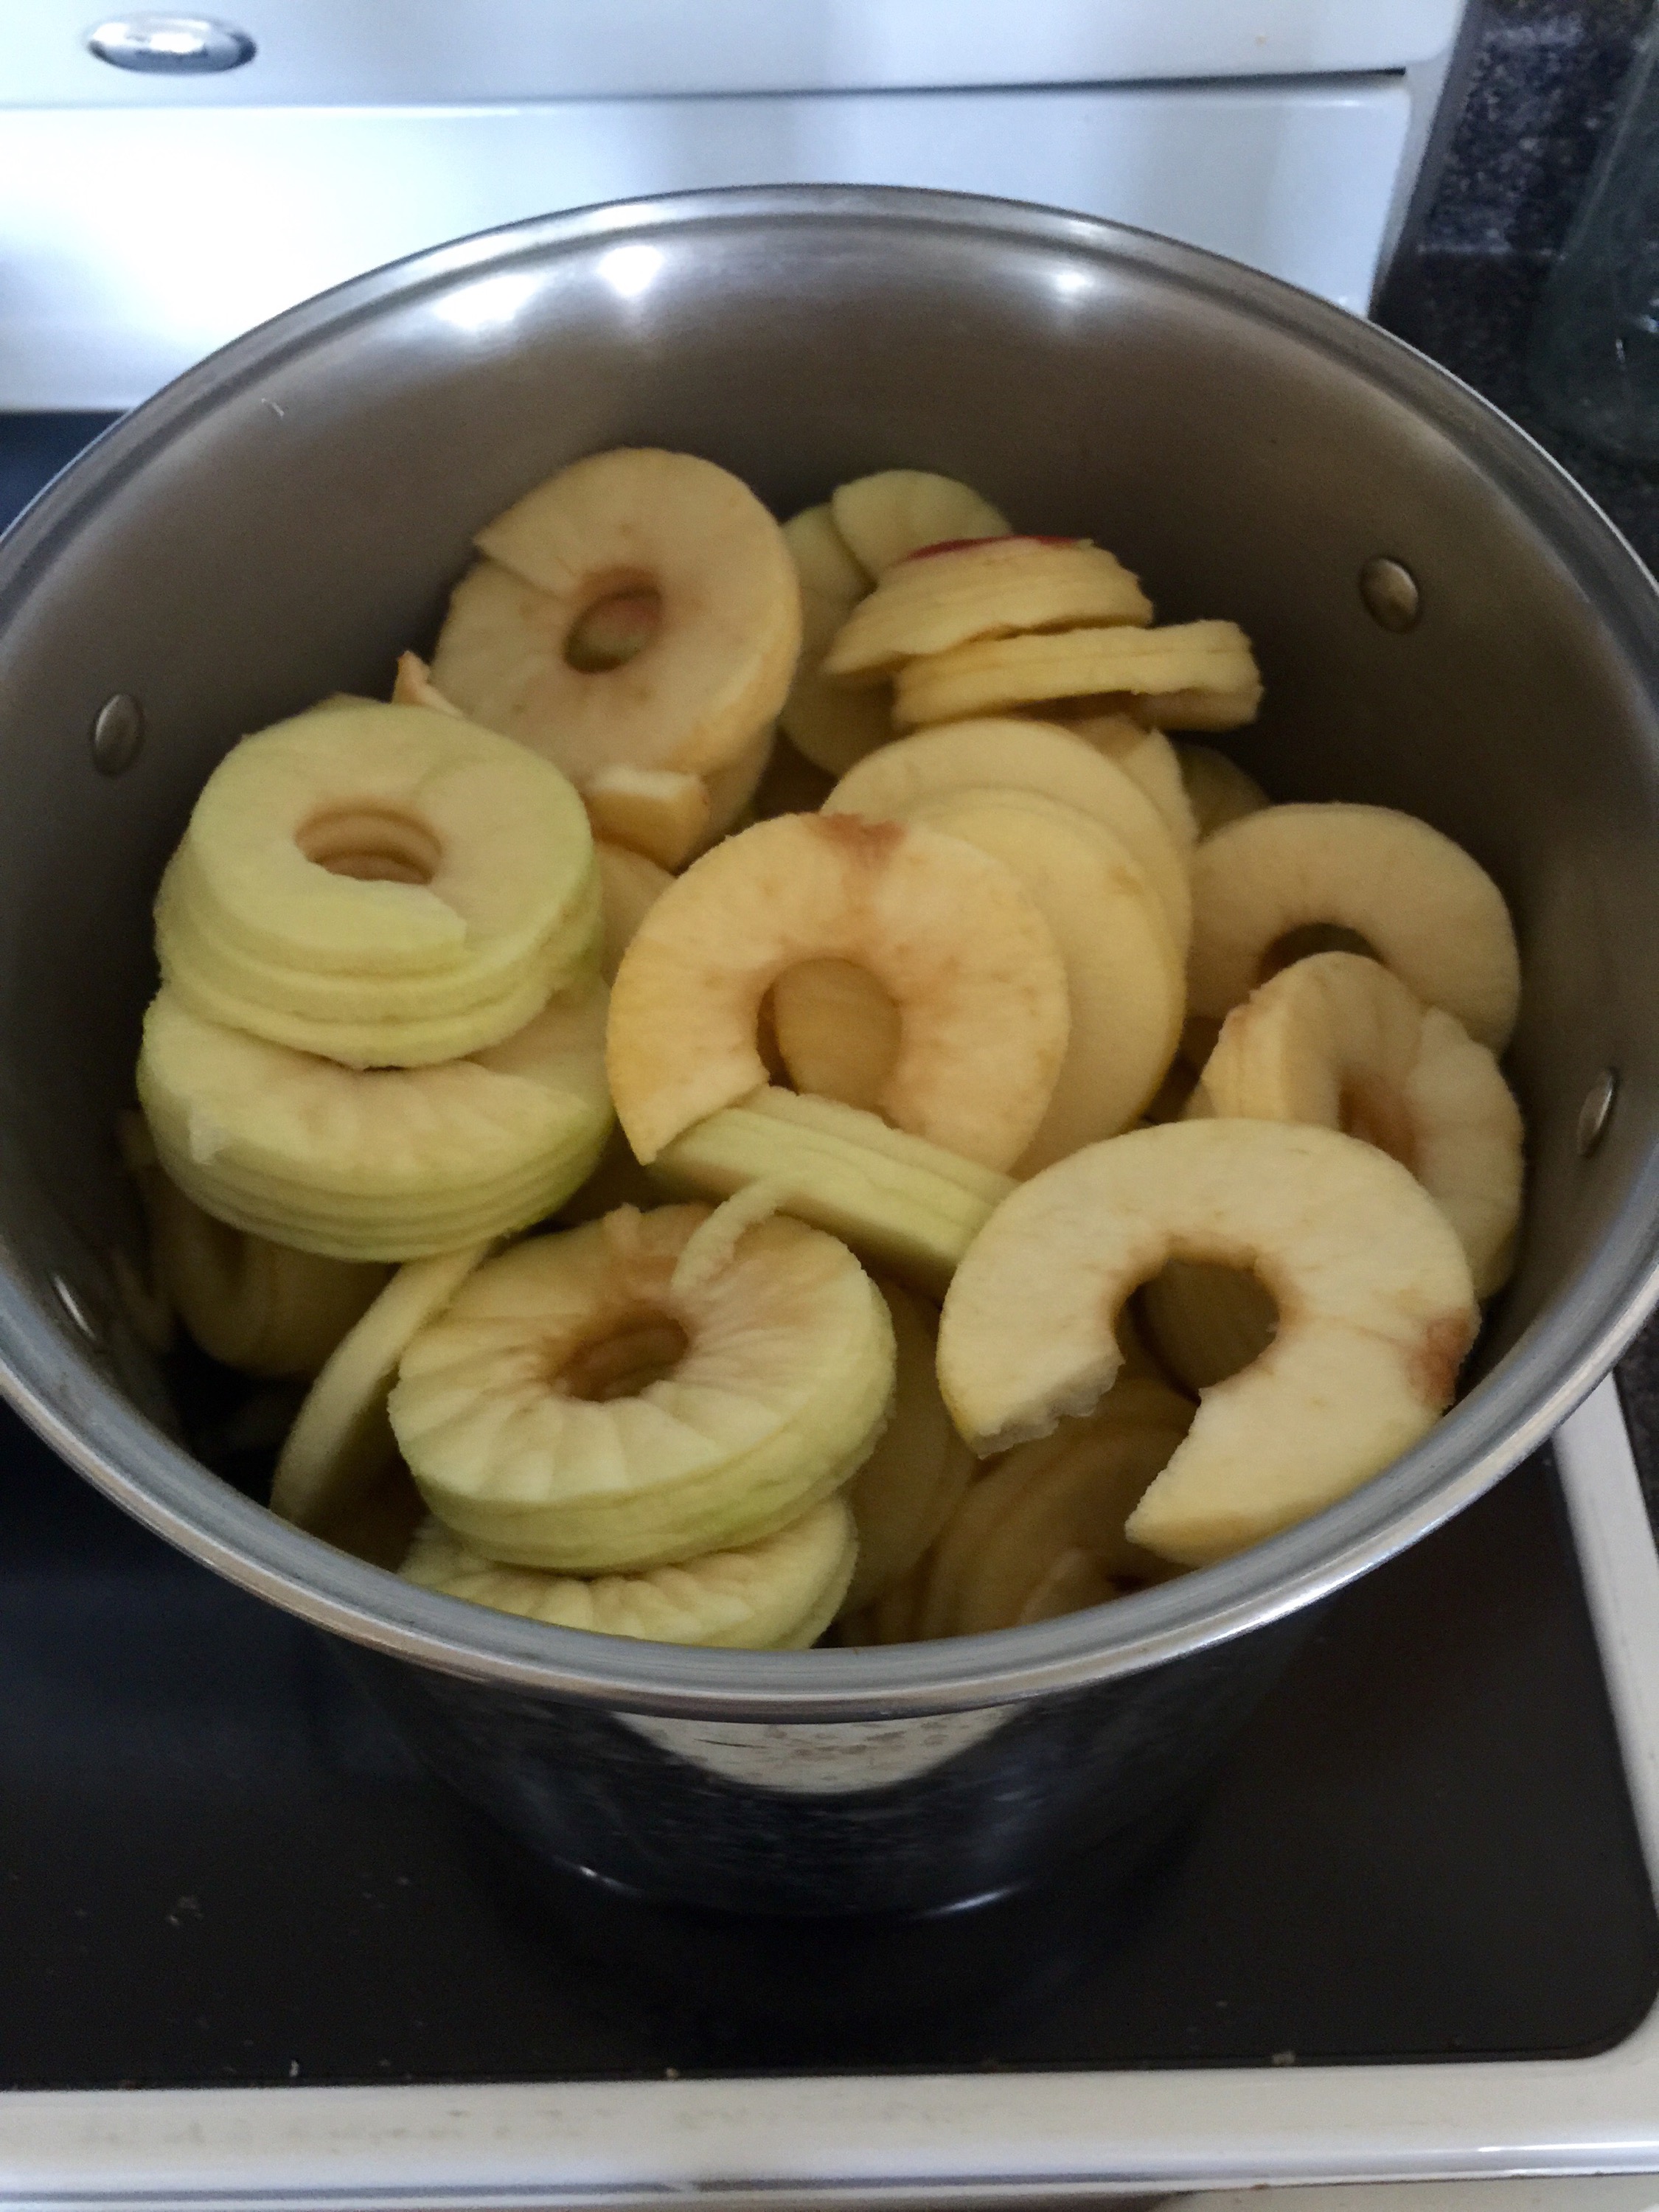
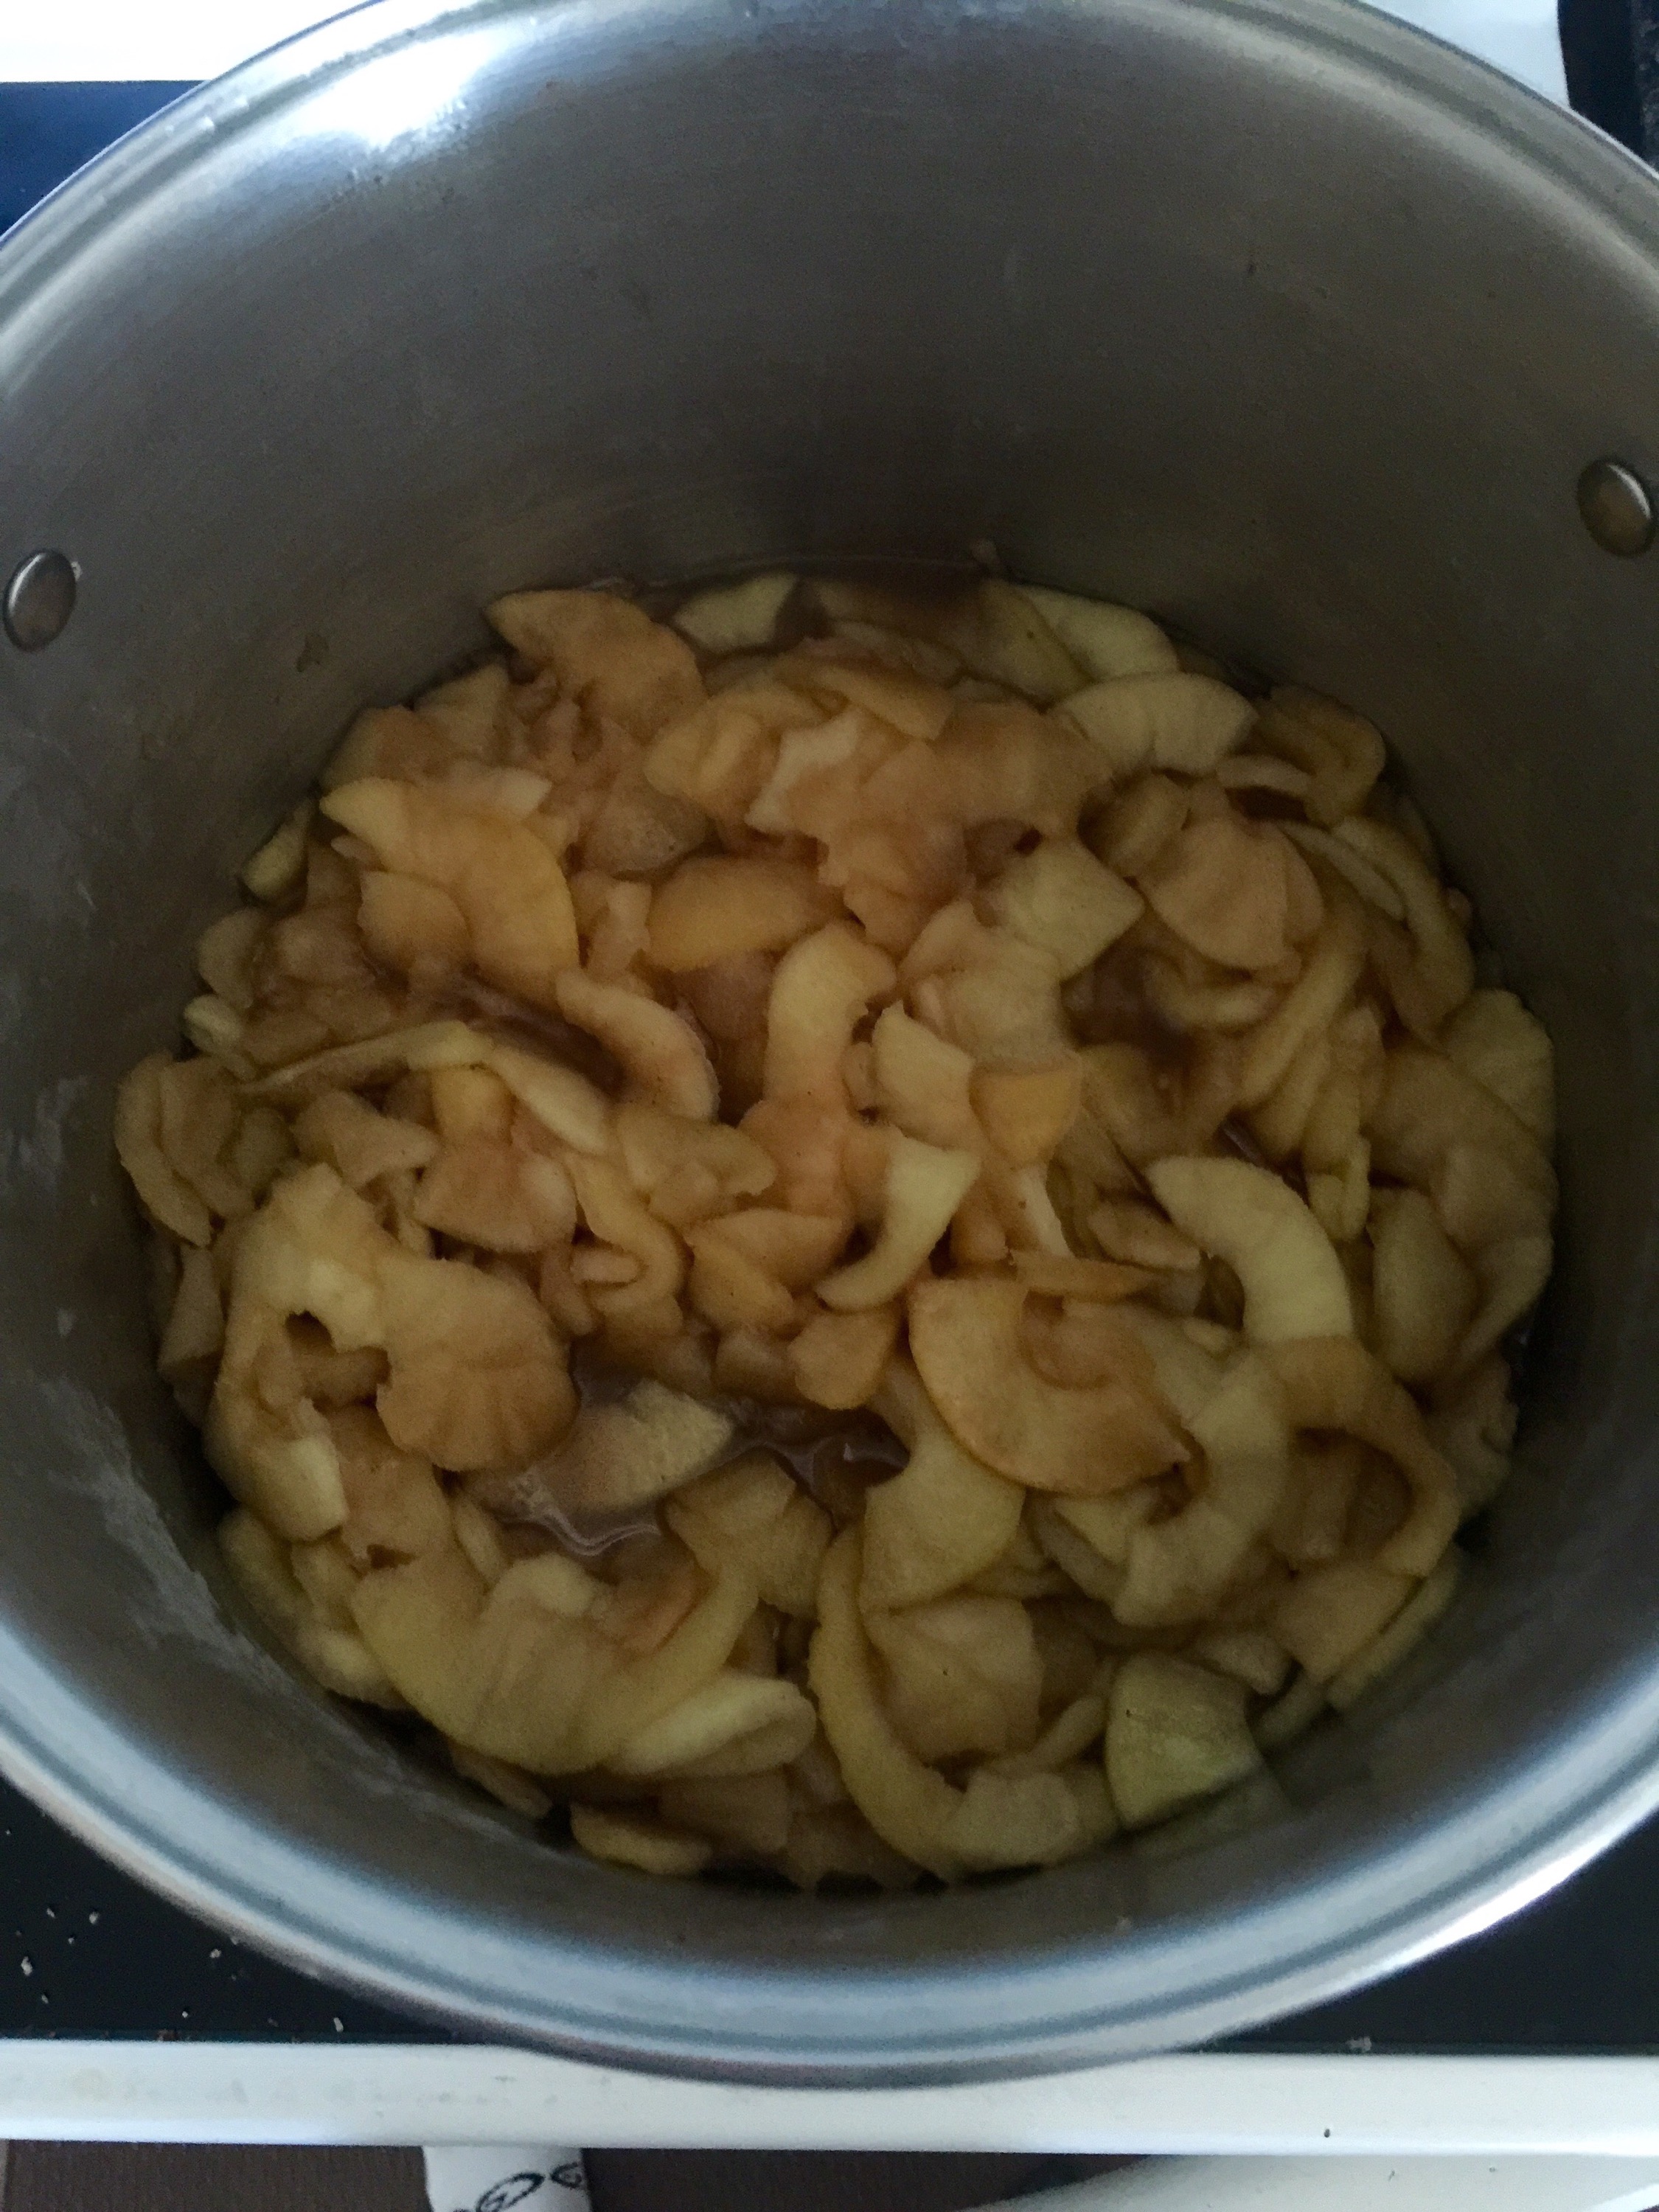
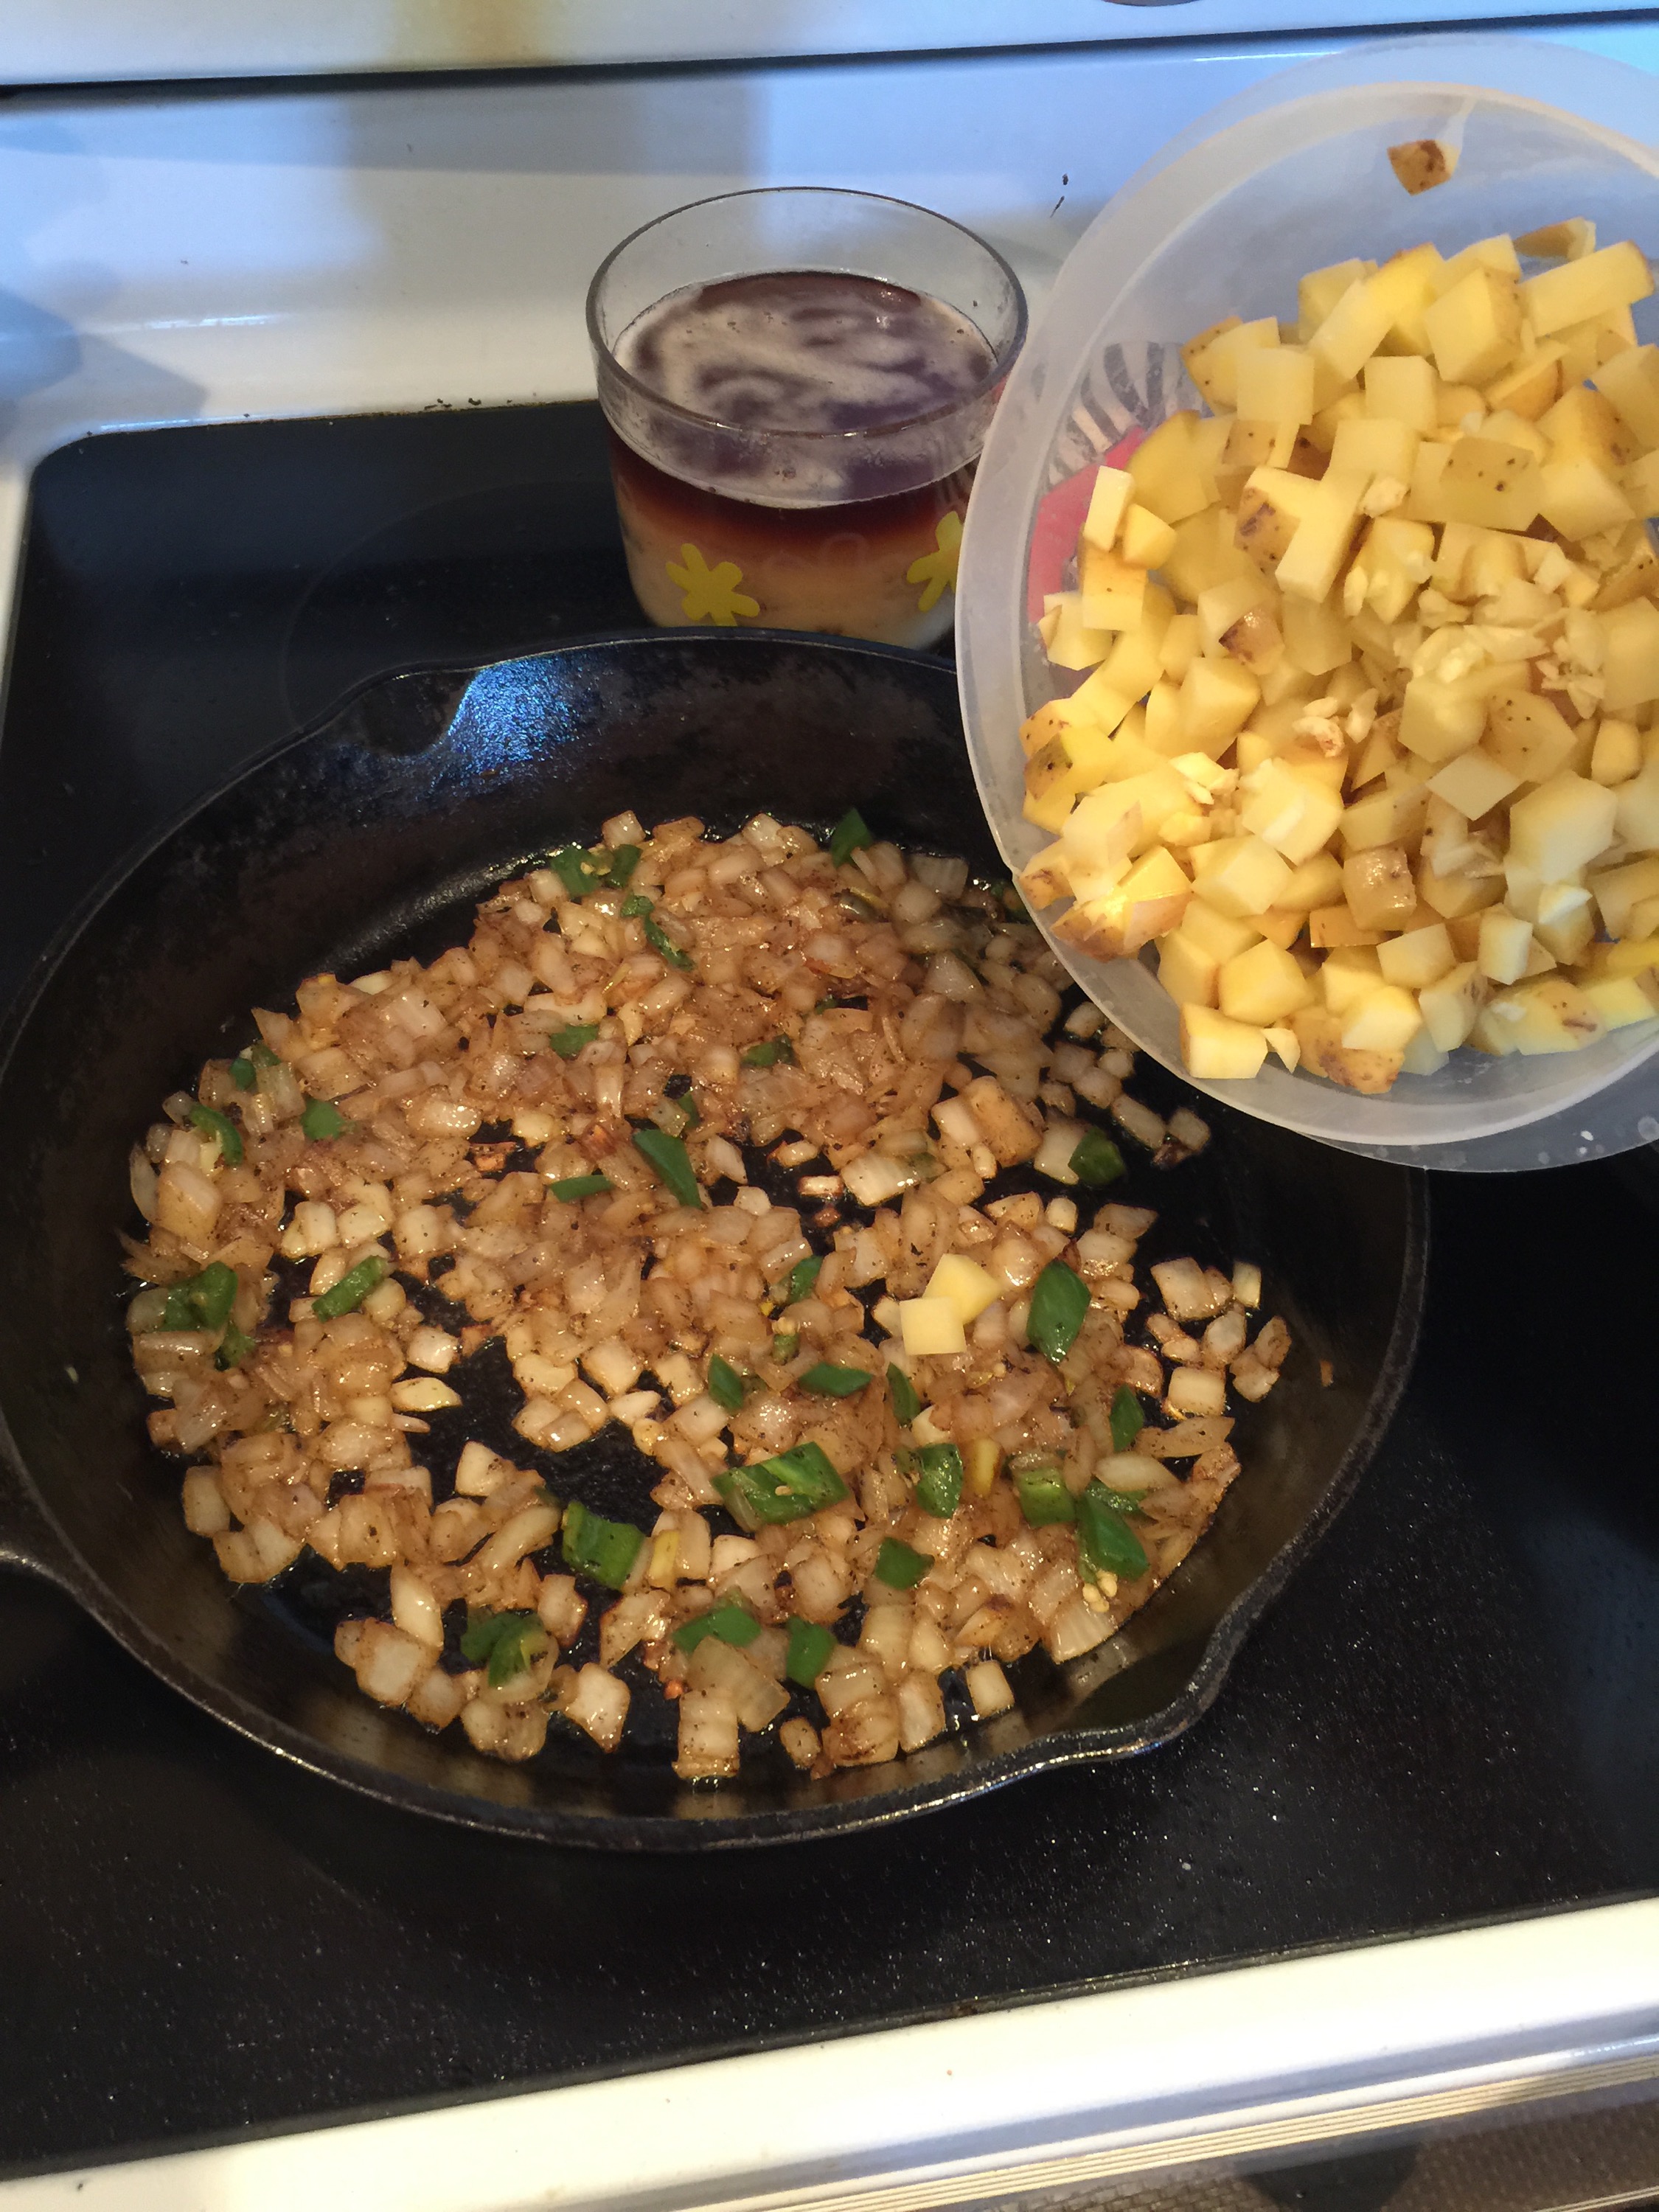
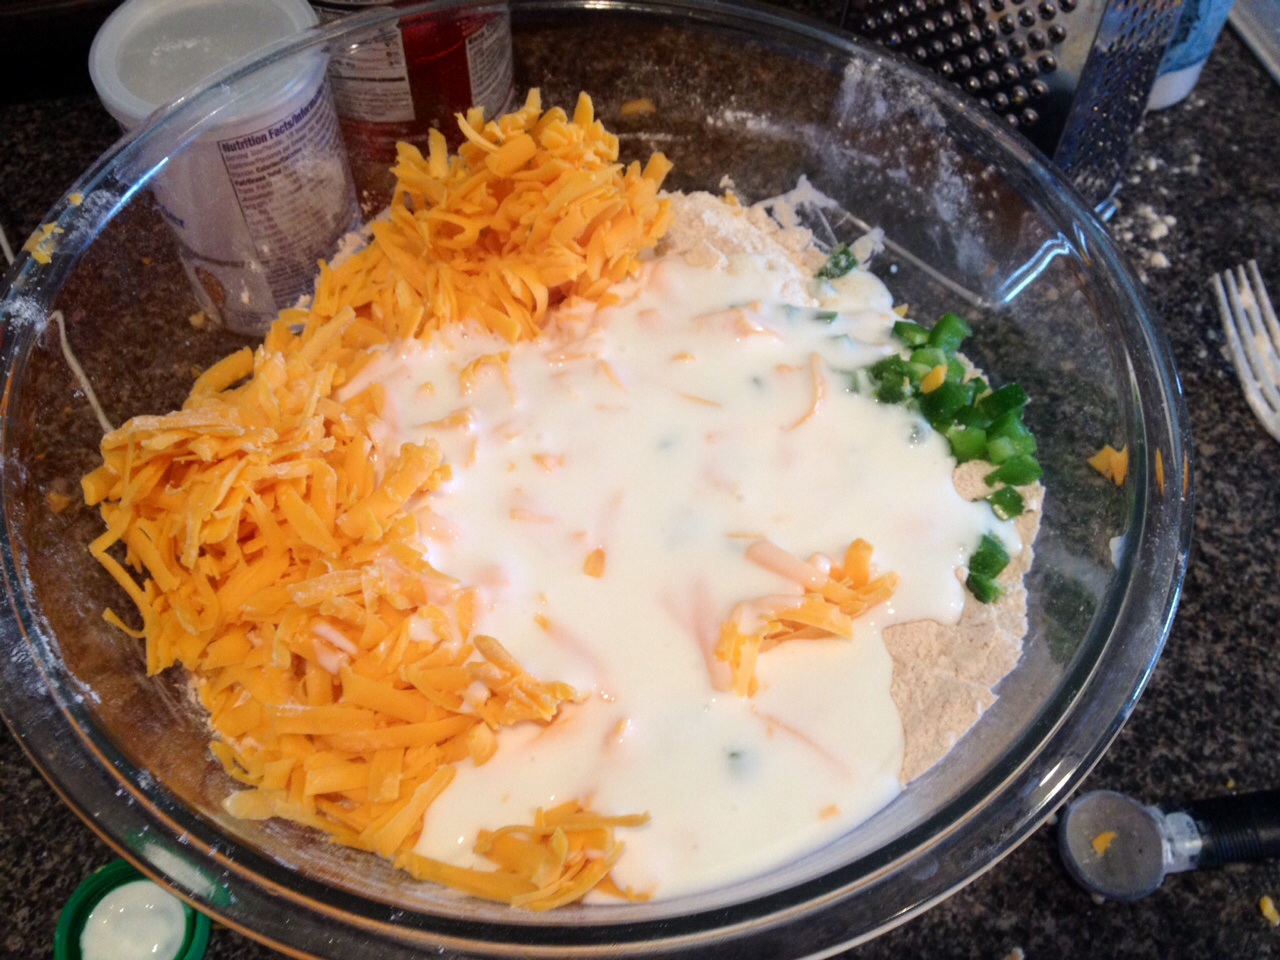
1. First, prep your fruit and put it into your saucepan. Cut the stems off and cut strawberries in half of about 6 cups of strawberries into a large bowl. Then mash with potato masher until they’re sort of soupy looking but still have some yummy chunks of strawberries in there. Then using your measuring cup, measure exactly three cups of crushed strawberries into your pot. Then, wash and finely chop your apricots and measure two cups of those into your pot as well with the strawberries. Also, in your large stockpot, fill with water and bring to a boil and then put the lid on and turn to simmer. We’ll come back to this.

image

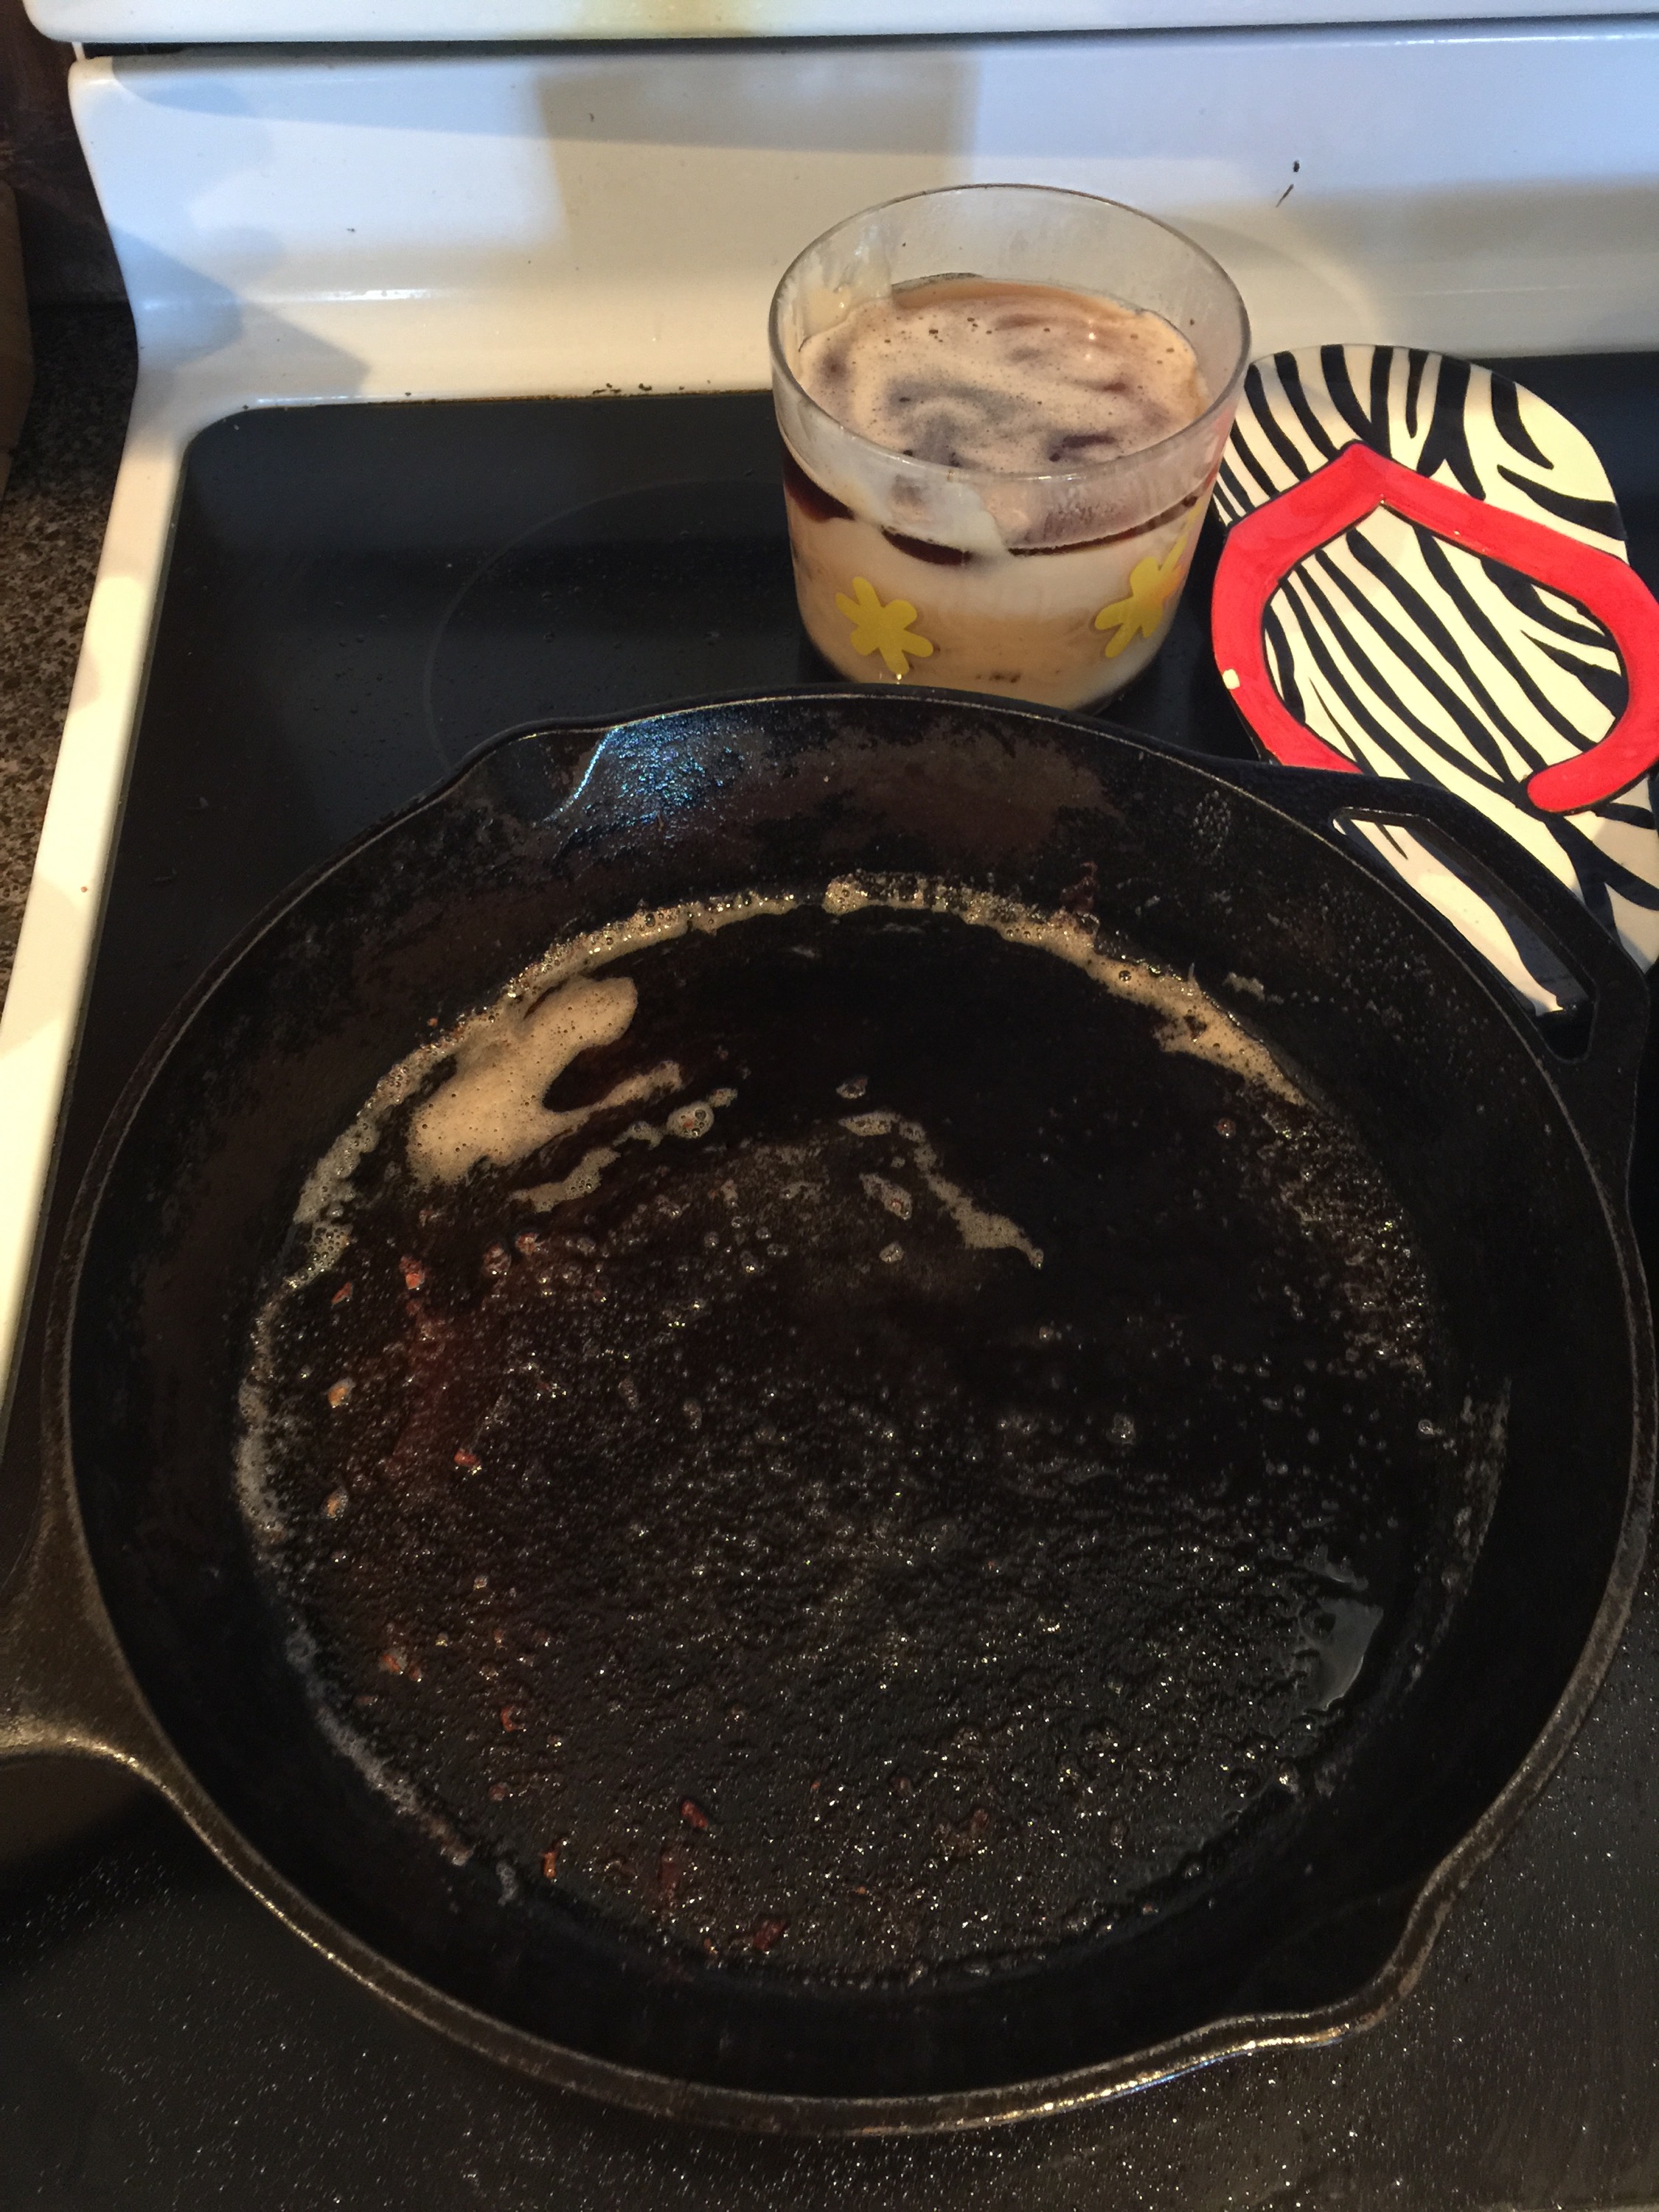
2. Now sprinkle your SUREJELL onto your fruit and put your small pat of butter in there and bring to a boil stirring often. (The butter acts as an anti-foaming agent. You’ll see what I’m talking about here in a minute.)

image

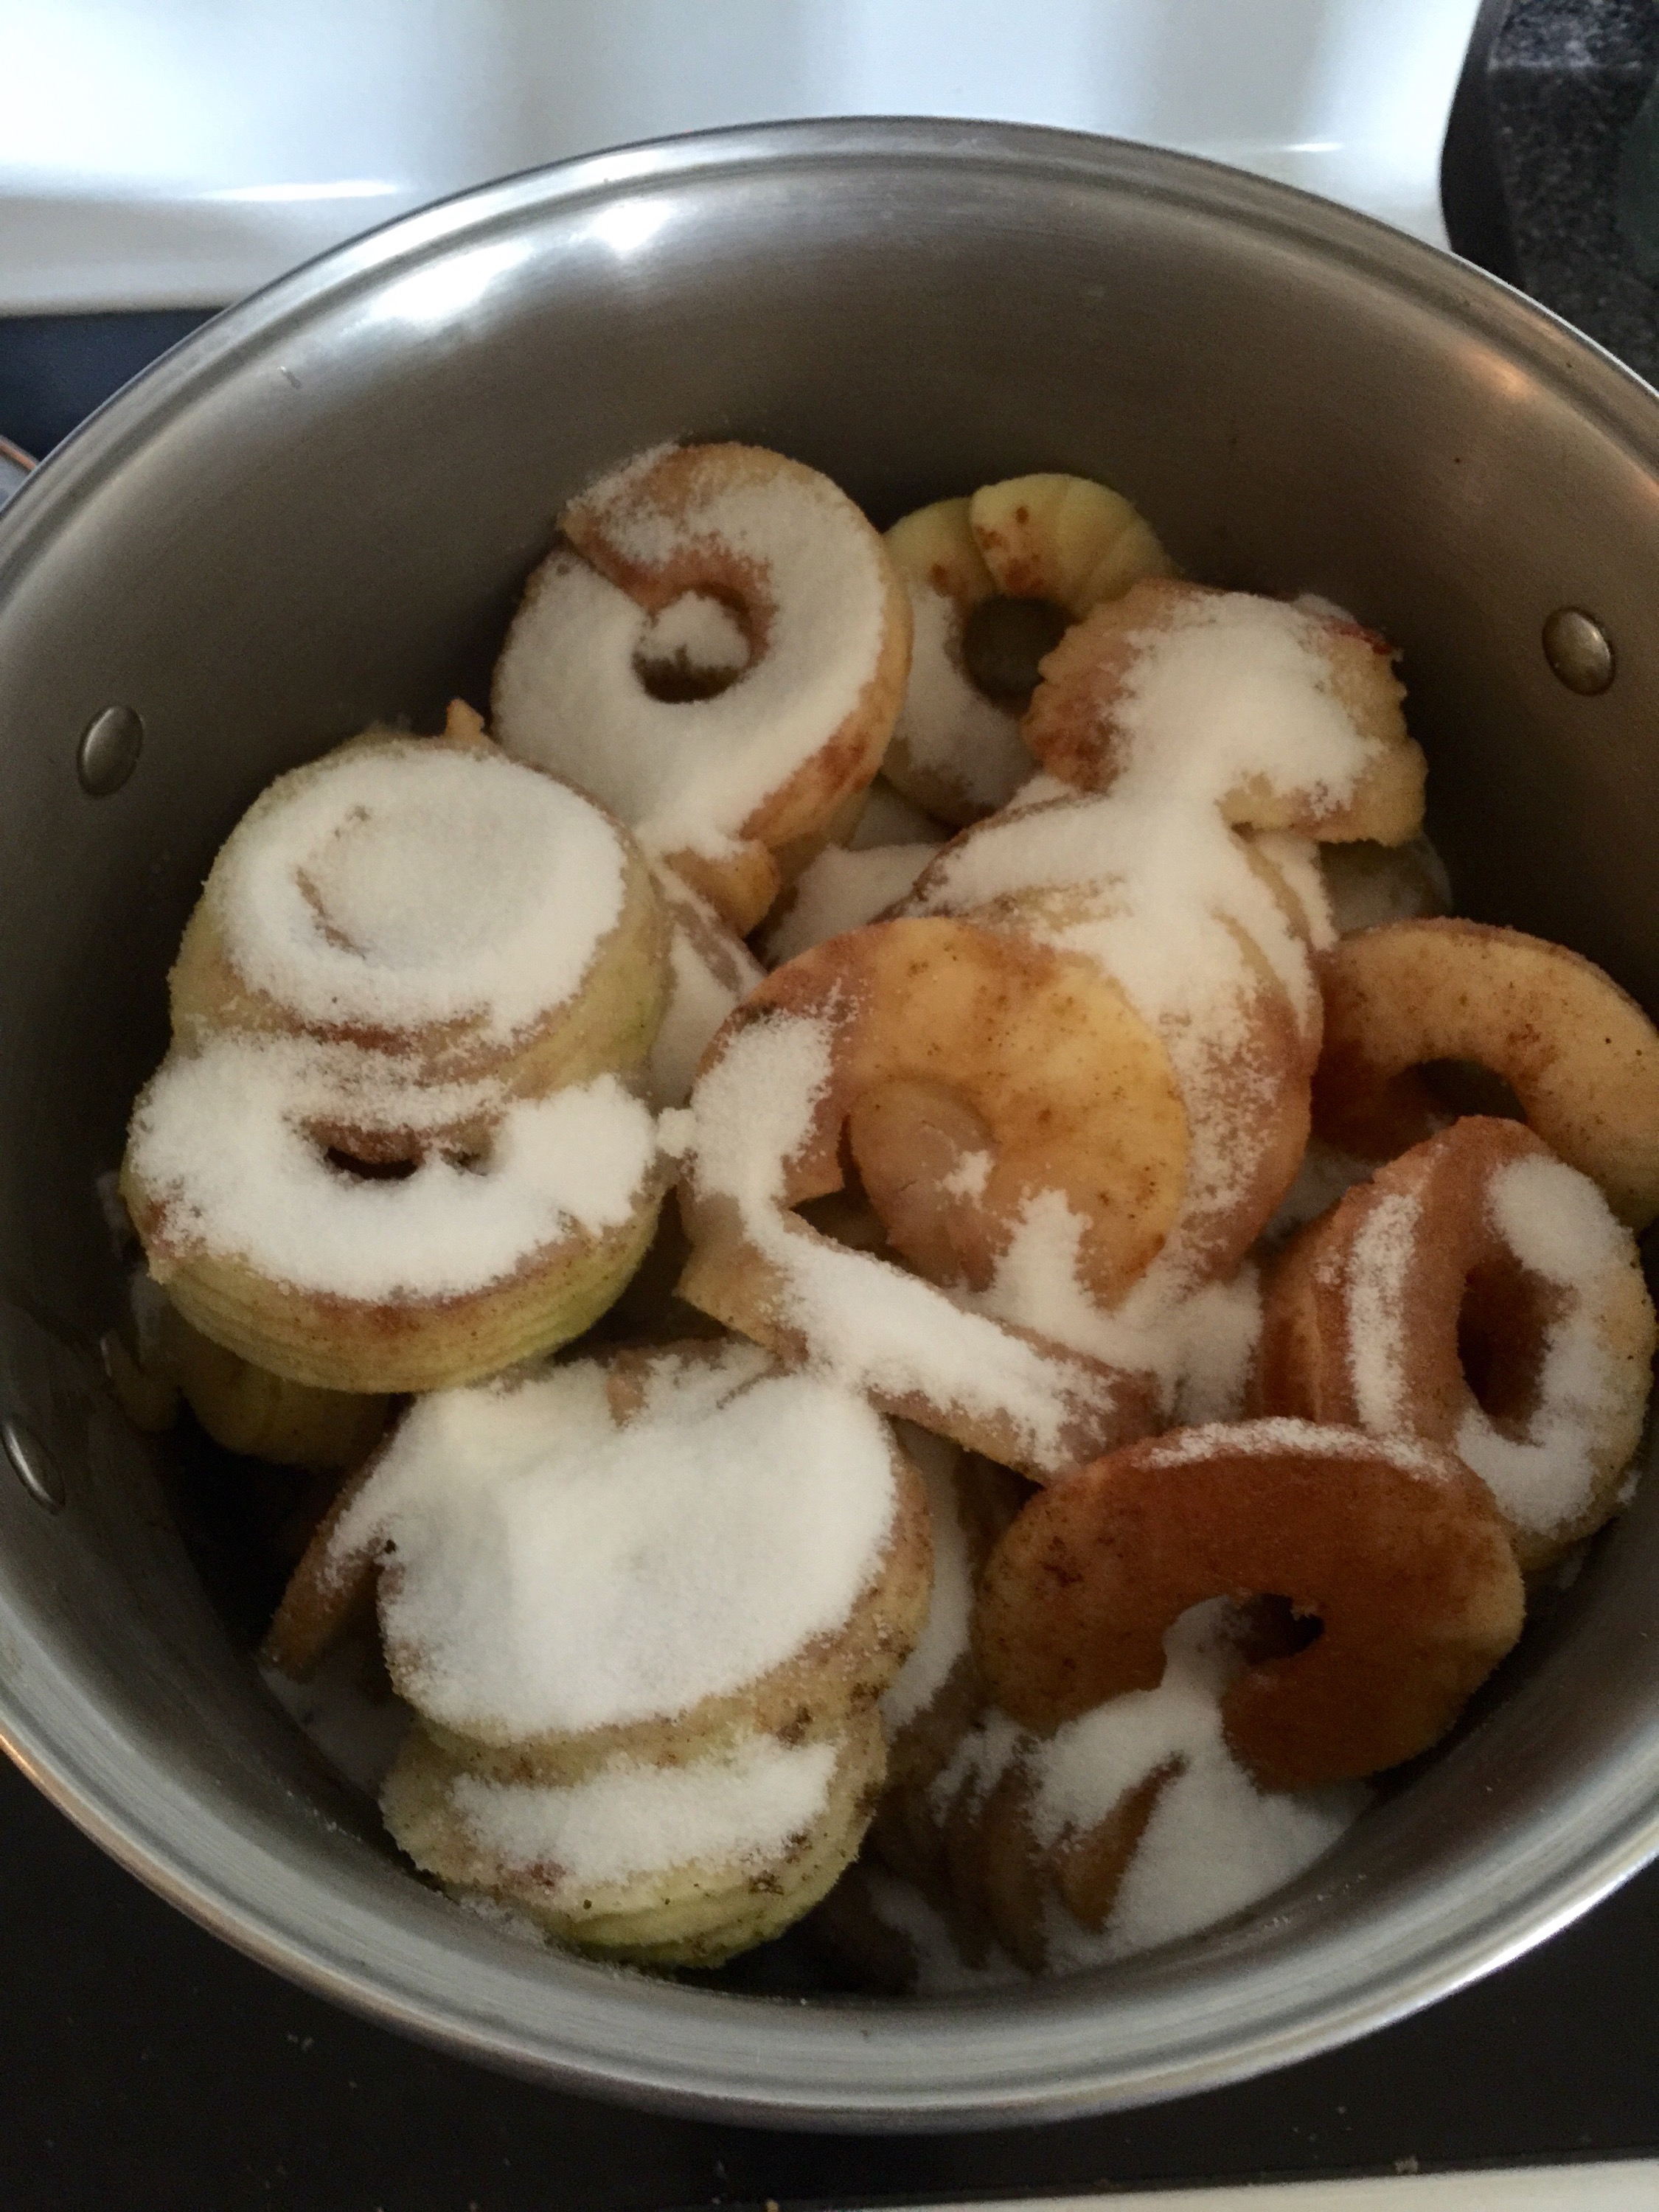
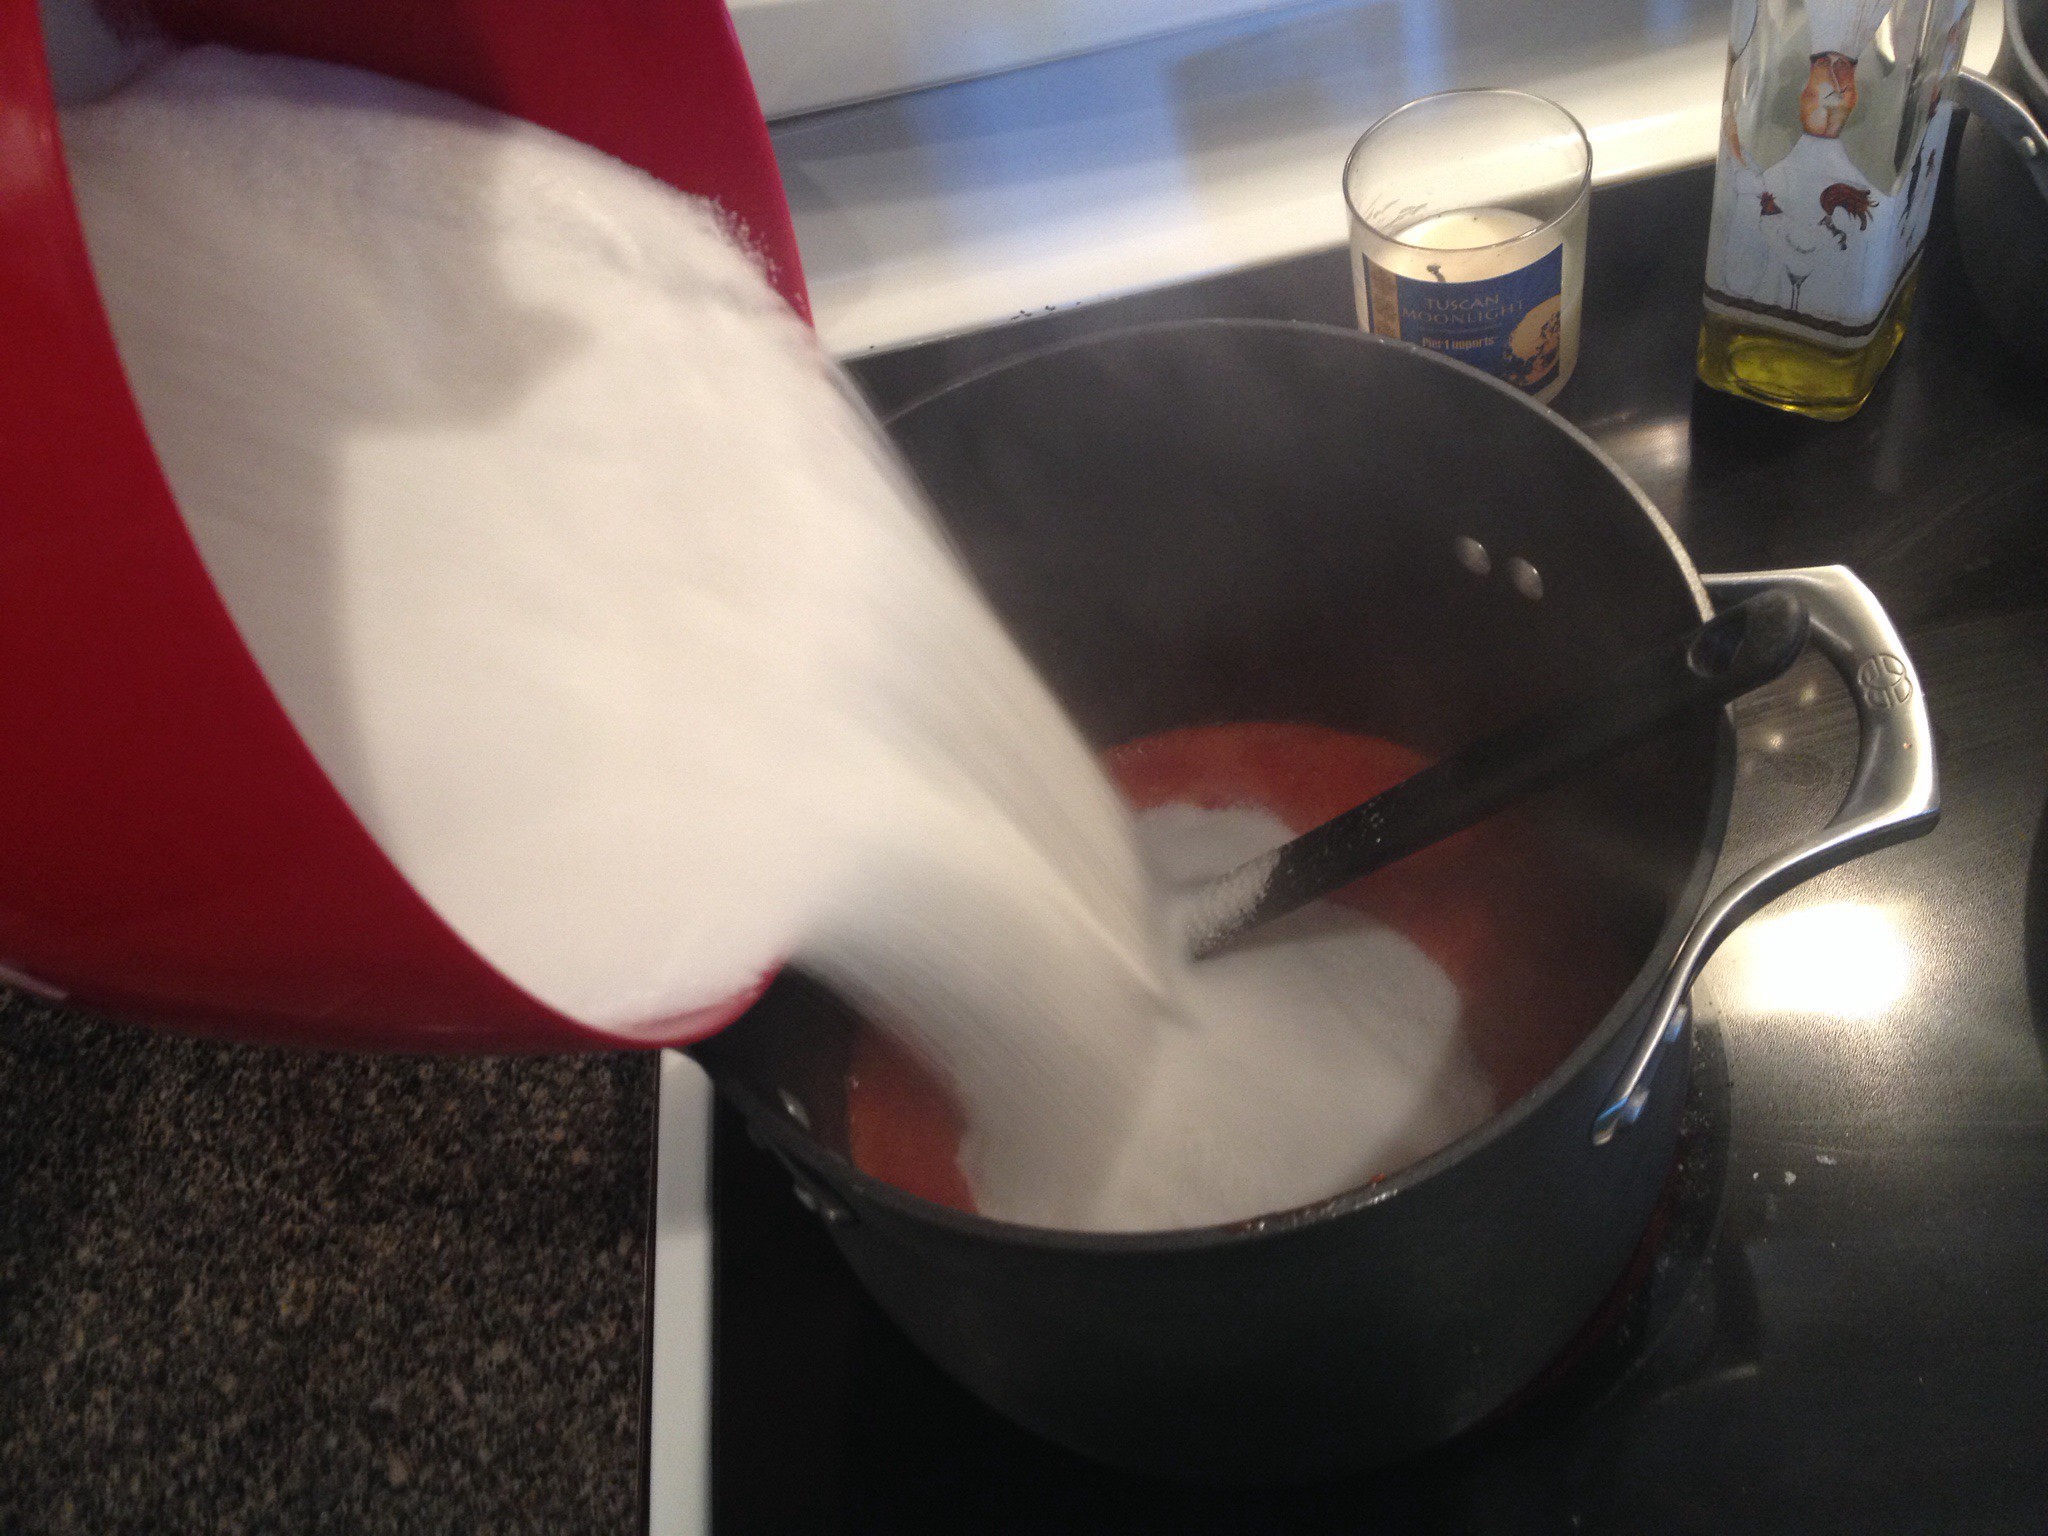
3. Once it’s boiling, pour your bowl of sugar into your jam and stir often. You want it to return to a full rolling boil (a boil that doesn’t stop when you stir it) for exactly 1 minute, then remove your pot from the heat. This is where you use your pot holders to grab the pot and bring over to the counter top where your other pot holder is ready to go next to your dishtowel.

image

4. Now grab your heated jars from your dishwasher and place them on your dishtowel near your jam pot so they can get filled up. Also, use your small metal dinner spoon and skim the top of the jam off and discard (I usually keep a small coffee cup next to me at this point in the process so I don’t have to reach all the way over to the sink to discard this, but you do whatever works for you). It’s not 100% necessary you do this, but it makes the jam look a lot prettier when it doesn’t have weird white foam in it. That’s why you added the tiny pat of butter earlier, because without it the foam would be 10x worse.

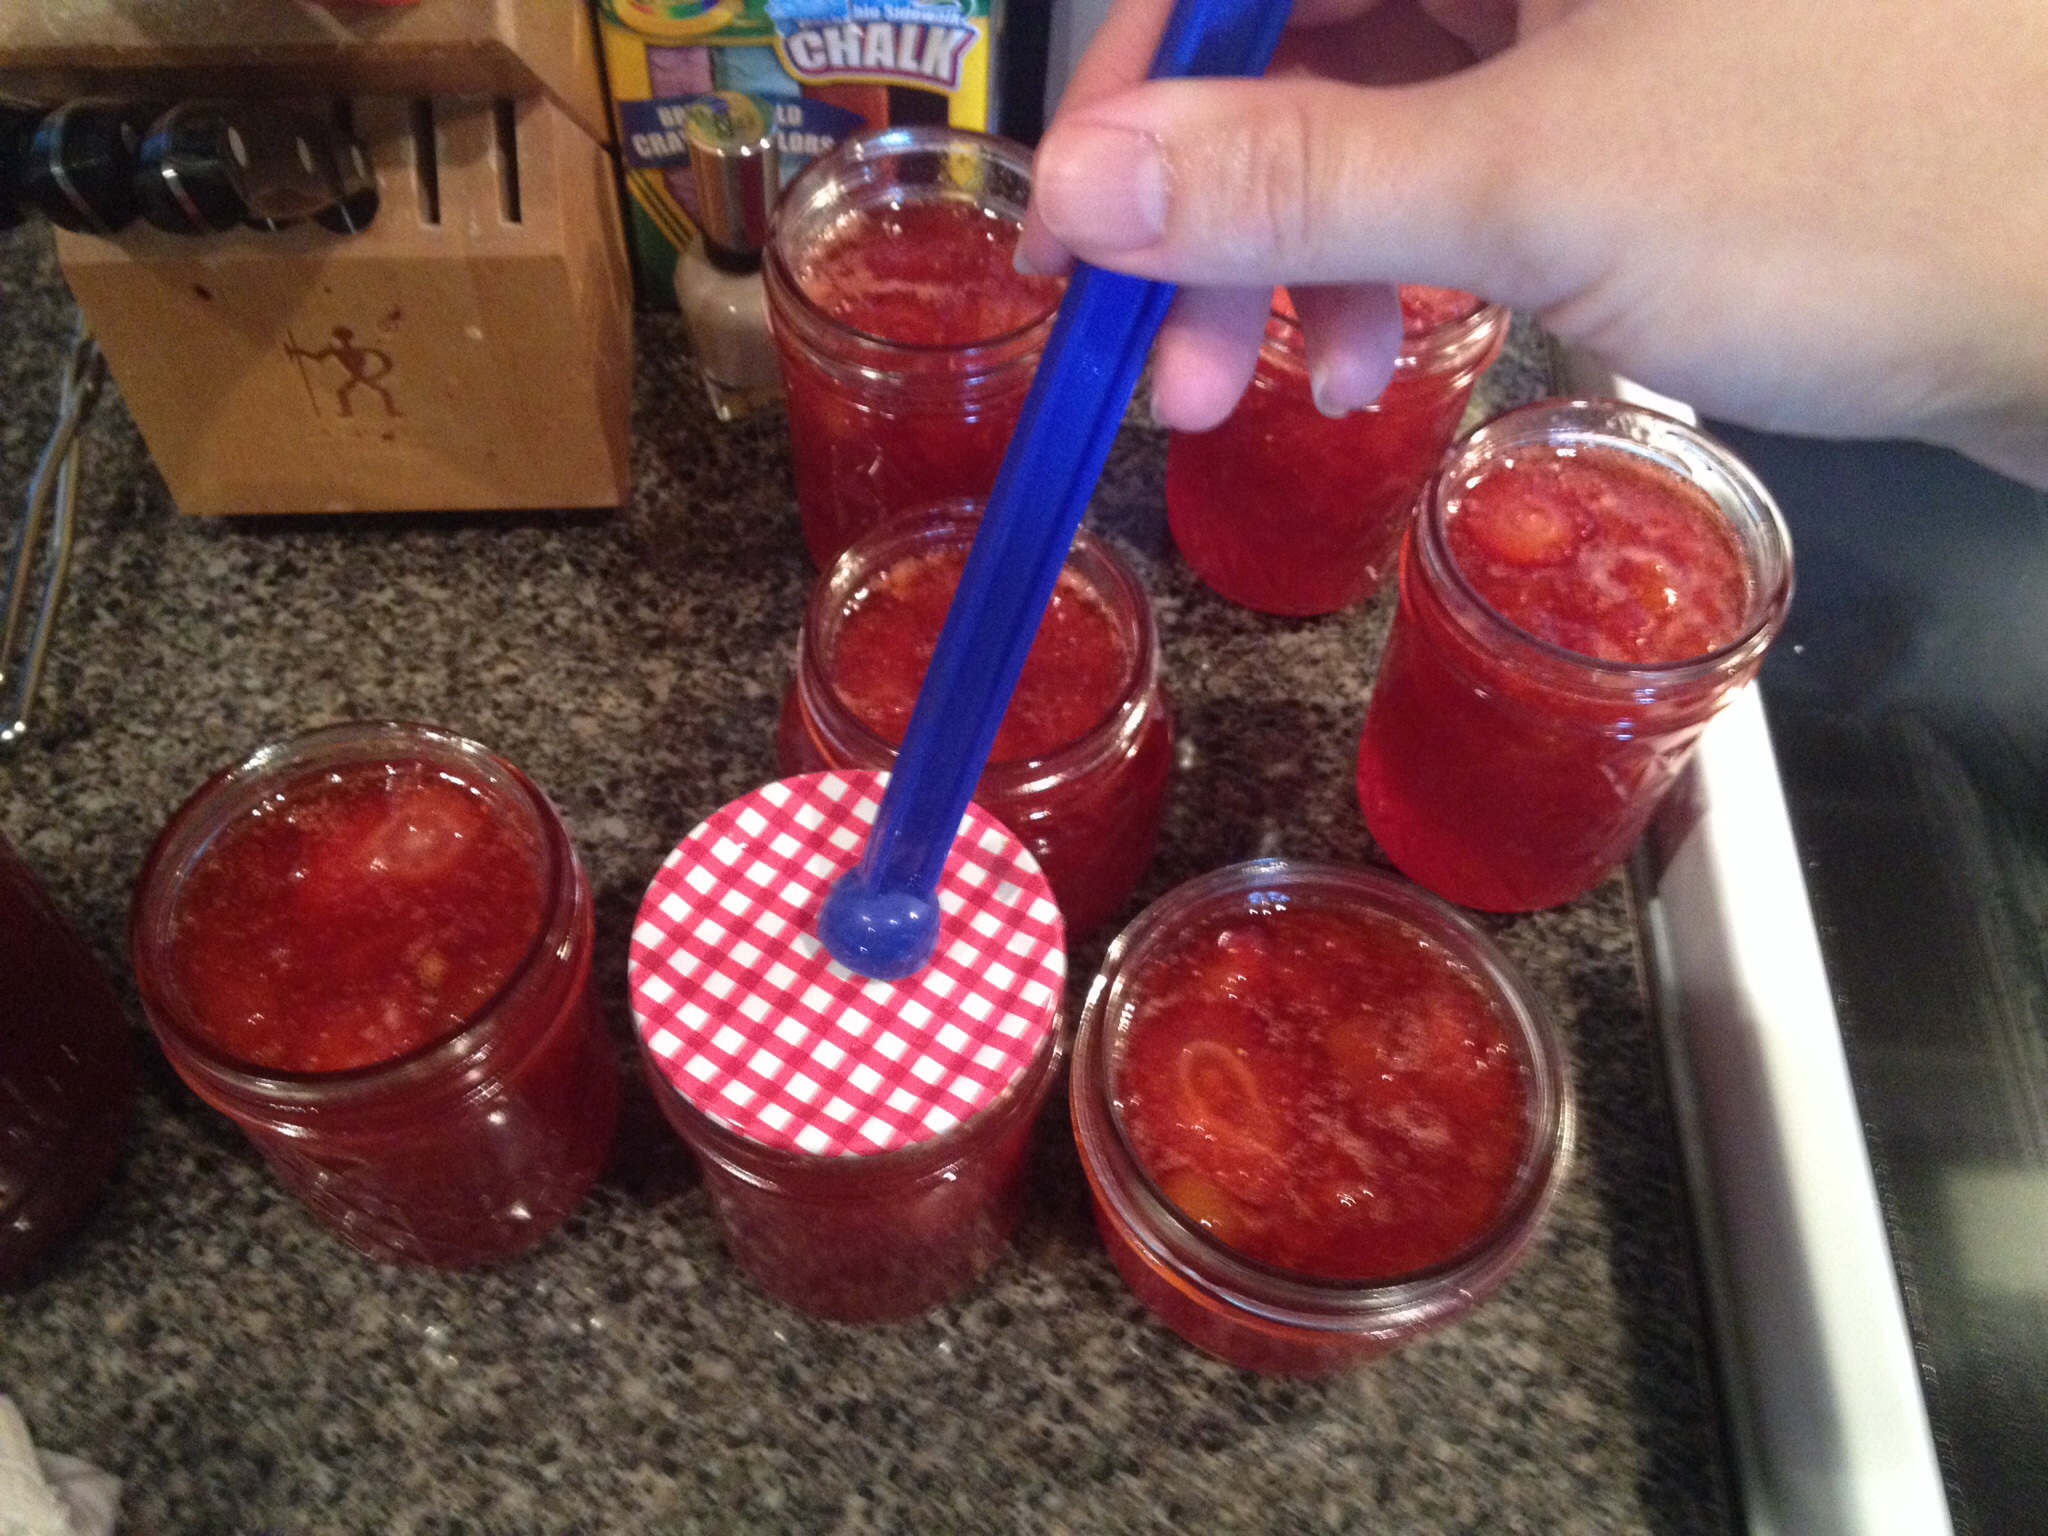
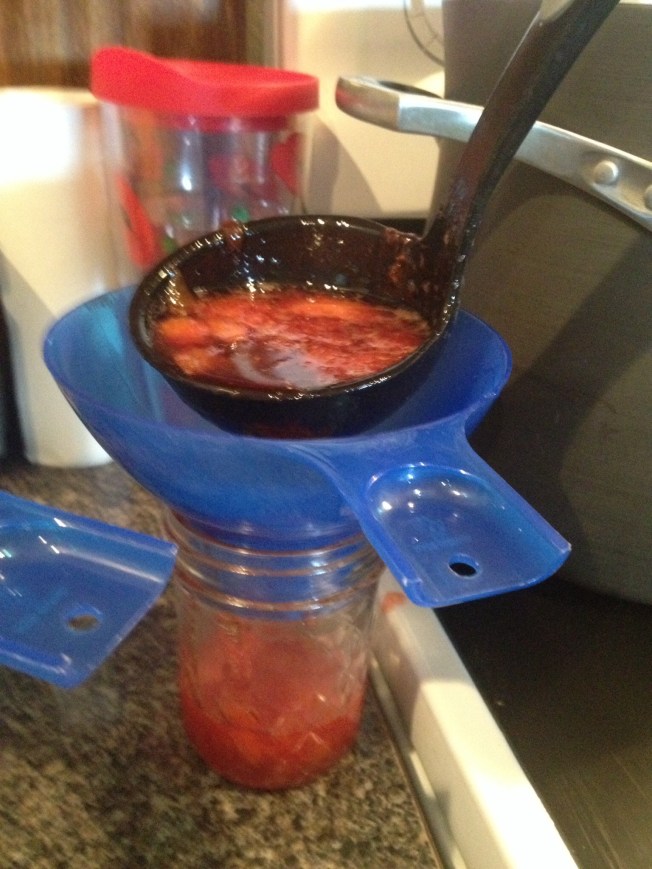
Now, using your ladle or liquid measuring cup and also your funnel from the canning kit, begin to fill the jars with your jam mixture and fill to 1/4 inch to the top. This is called your “head space” and it’s important you fill it to the correct line as it is important for the expansion of food during the canning process and for creating a vacuum in the cooled jars. Different things need different amounts of head space, and jam just so happens to be 1/4 inch. There are two ways you can measure this; the top clear line on the Ball jars are marked at the 1/4″ place, or you can use the ruler that comes in the canning kit.

**I ended up with 8 full jars and a little leftover, so I put that into a Pyrex small dish with a lid and will put that one in my fridge for immediate eating since it’s only a couple of tablespoons full.**

image

5. Now, using a damp paper towel wipe off any jam that might’ve spilled on the tops of the jars before placing your seals on there. Then, using your magnet from your canning kit, get out your seals in the hot water you’ve kept them in on the stove top and being to place them on the jars.

image

image

6. Now you will place the rings on your jam jars by using the “fingertip tight” method. That means, only tighten them using your fingertips as to not over tighten them. When your process your jars, air will need to escape to create a vacuum in the jars, so you don’t want the lids on too tight. Once your jars are ready, place your jam into the basket and lower into the boiling water in your stockpot. The water might stop boiling at that point since it will cool it down, so you will not start your processing timer until it is boiling again. Also, there needs to be enough water that the jars are covered with at least 2 inches of water. So, once it’s all boiling again, cover your pot with a lid and set your timer!

Altitude Chart/Timing Instructions:

1,001 – 3,000 ft – 5 minutes processing time

3,001 – 6,000 ft – 10 minutes processing time (most places in Texas)

6,001 – 8,000 ft – 15 minutes processing time

8,001 – 10,000 ft – 20 minutes processing time

If you’re unsure of the altitude where you live, click here to type in your city and find the altitude where you live.

image

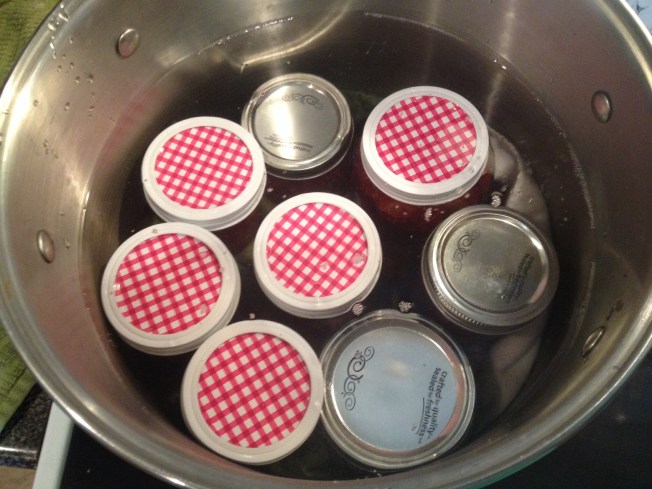
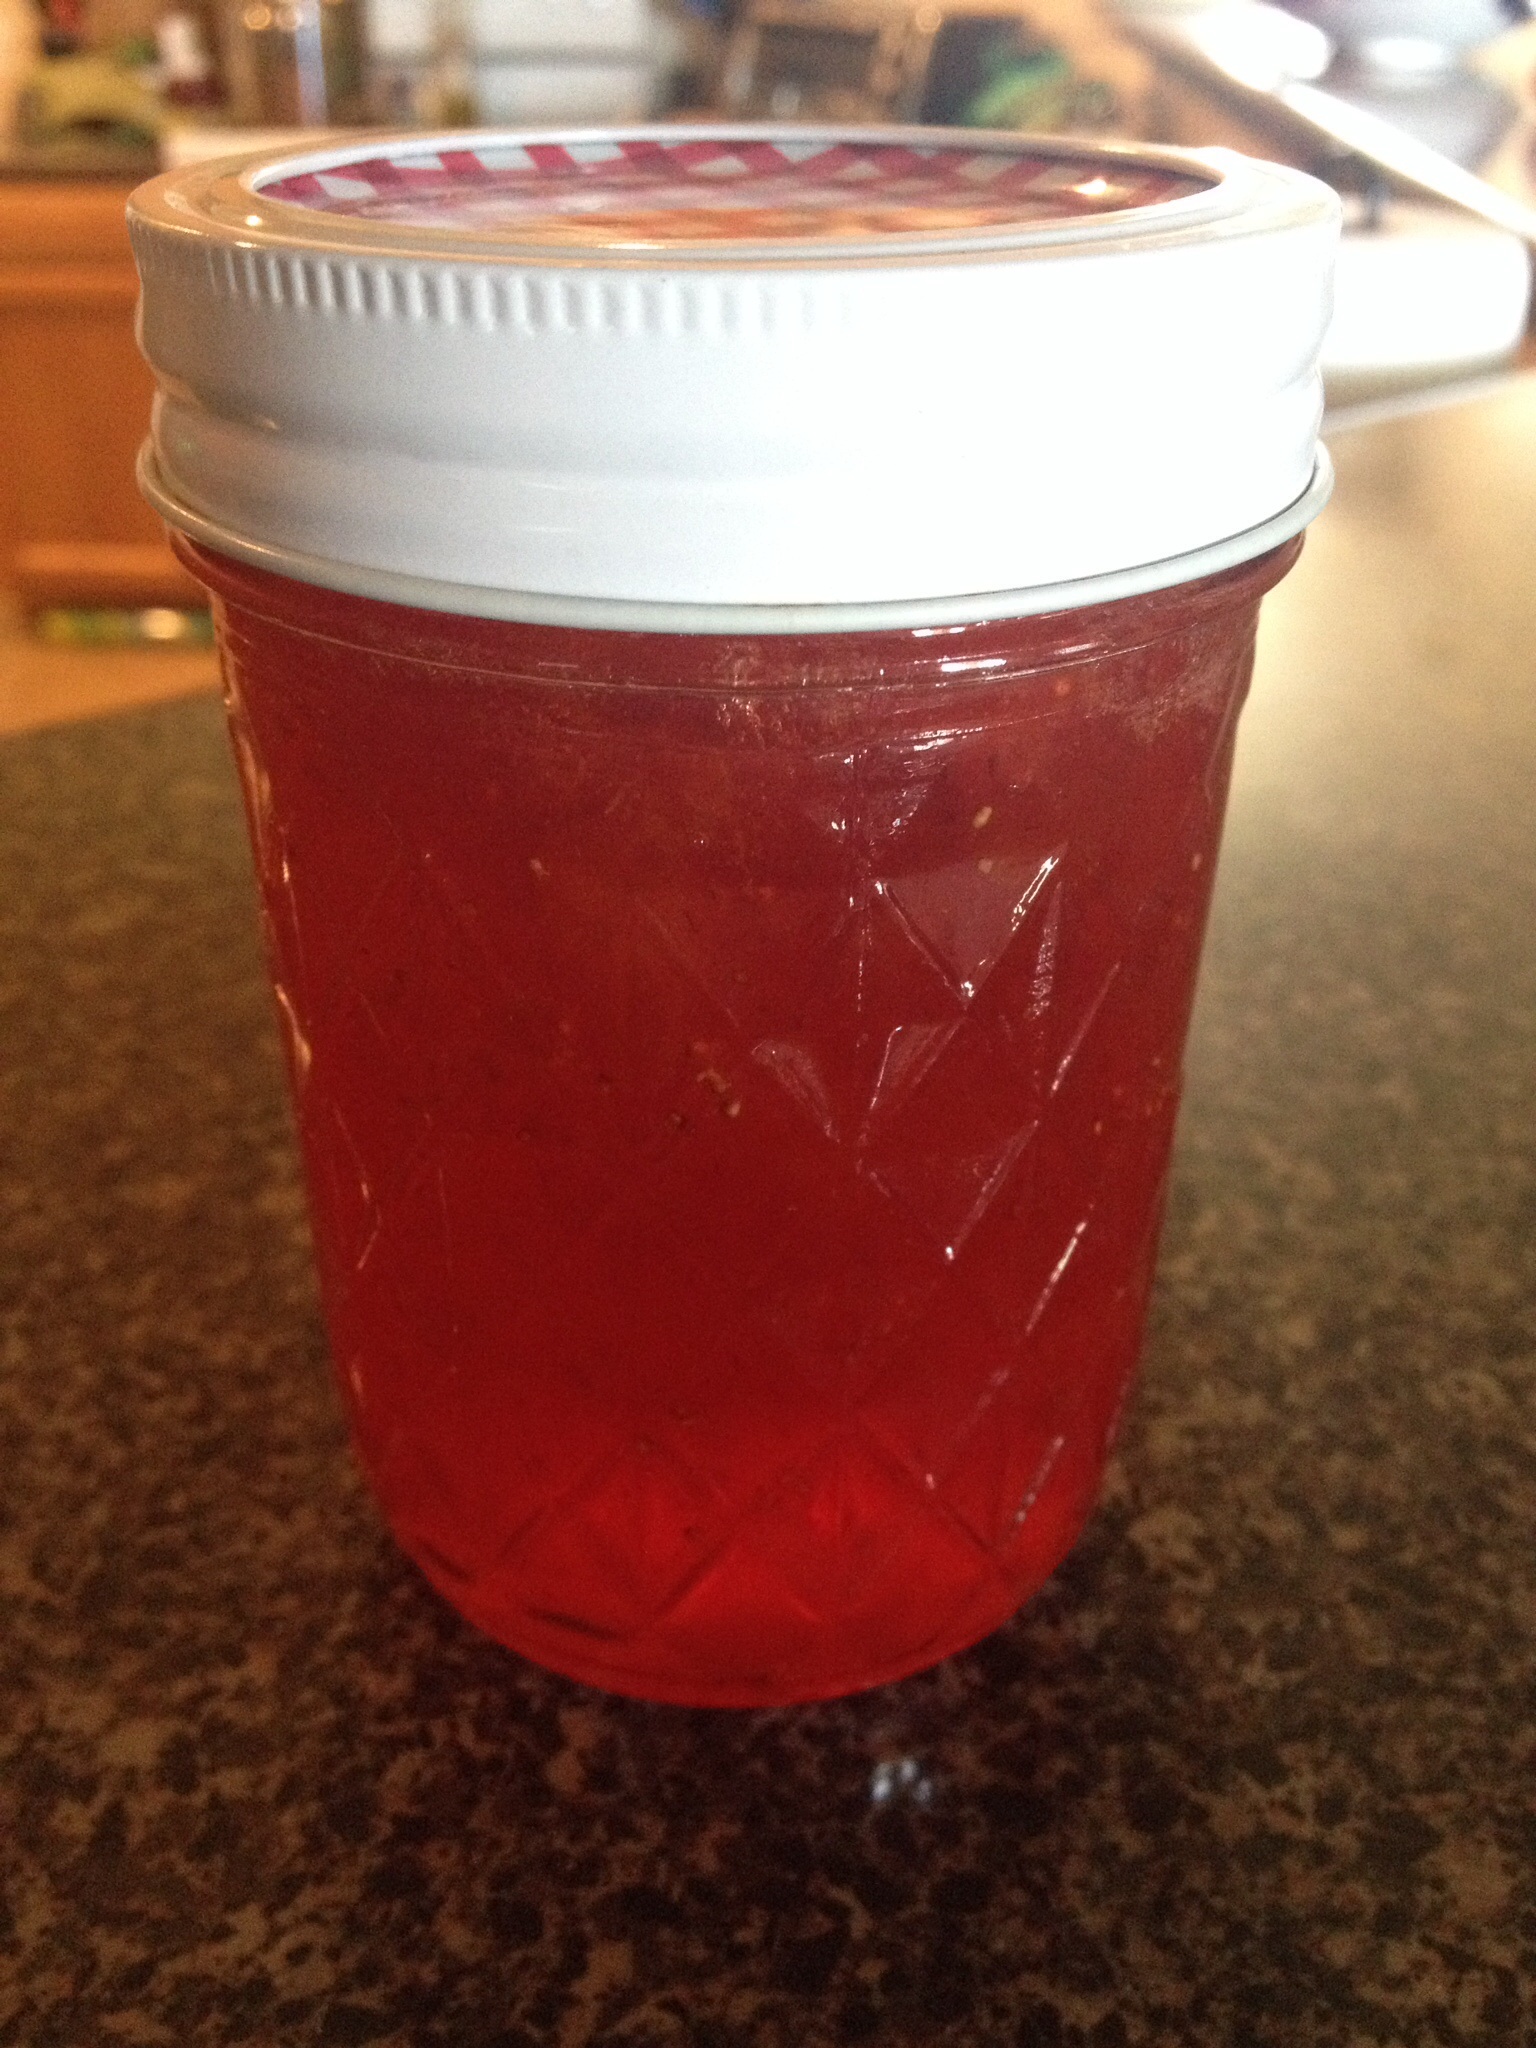
7. Once your jars are finished processing, you will remove them from the pot and set aside for 24 hours to cool and be left alone before putting up and storing away. You will hear the “PLOP!” of lids sealing as you take them out and set them down on your counter. You may need to process your jars in two cycles if you pot was not big enough to accommodate all your jars the first time (mine wasn’t).

image

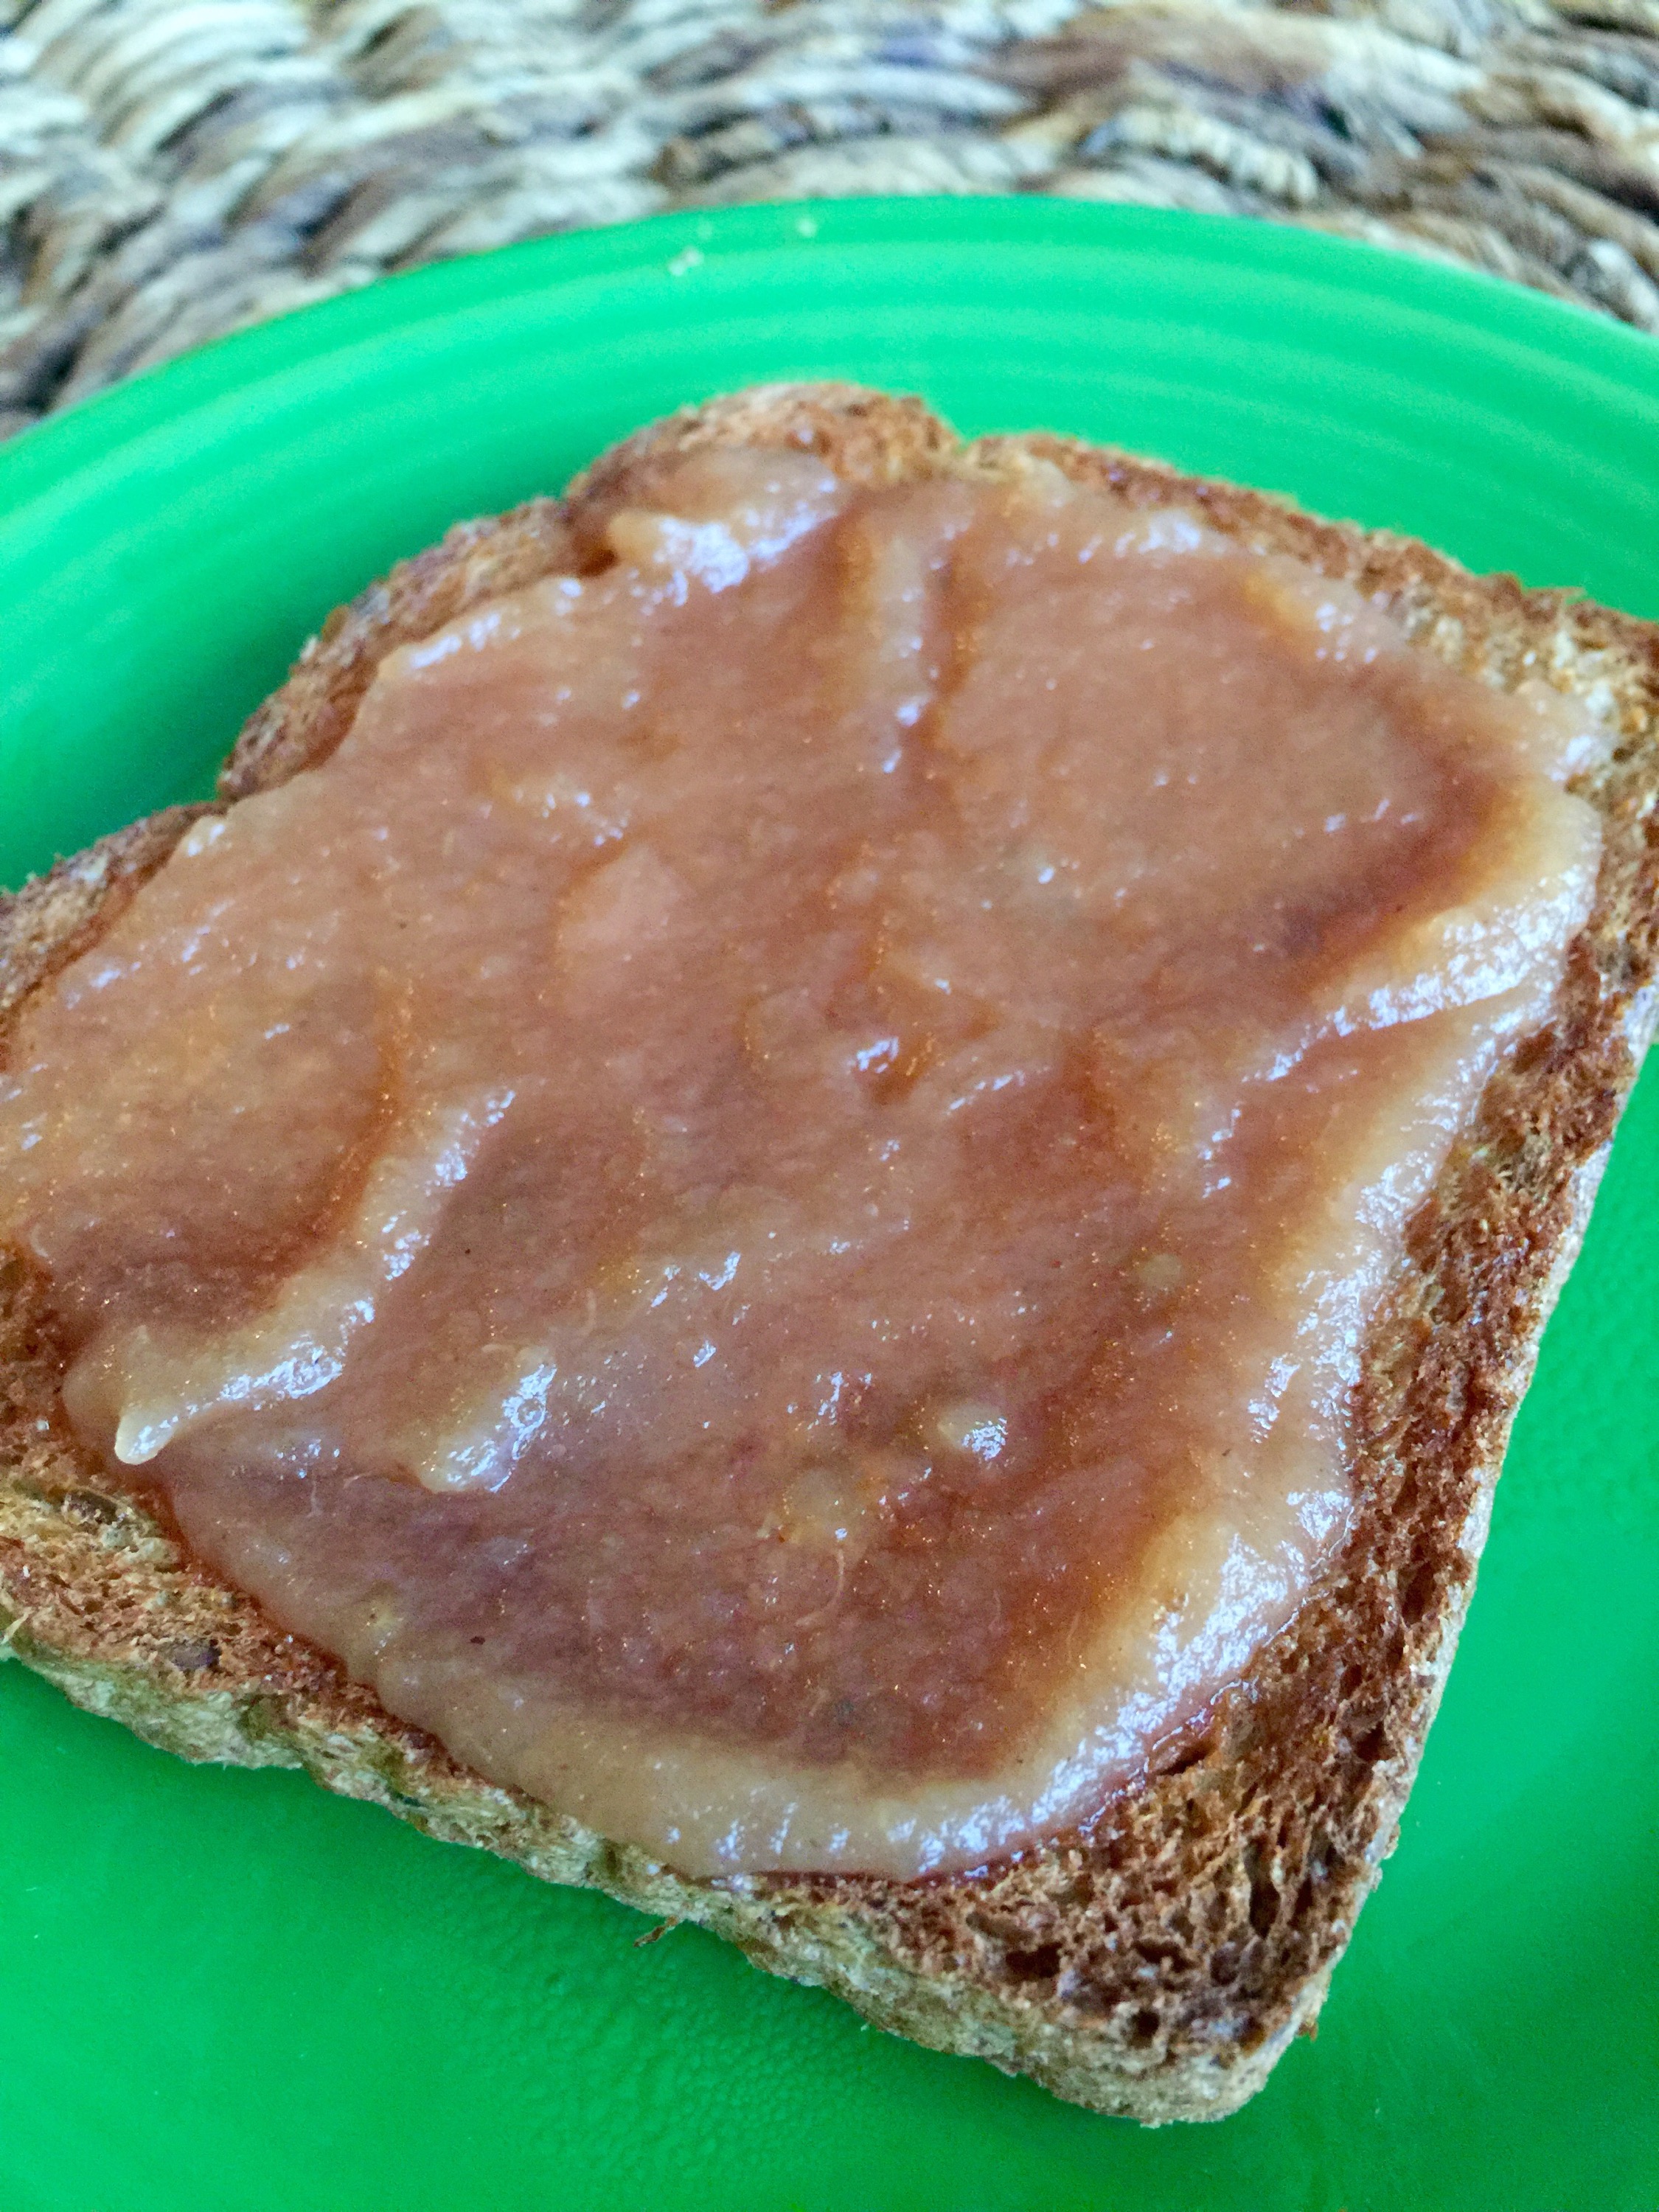
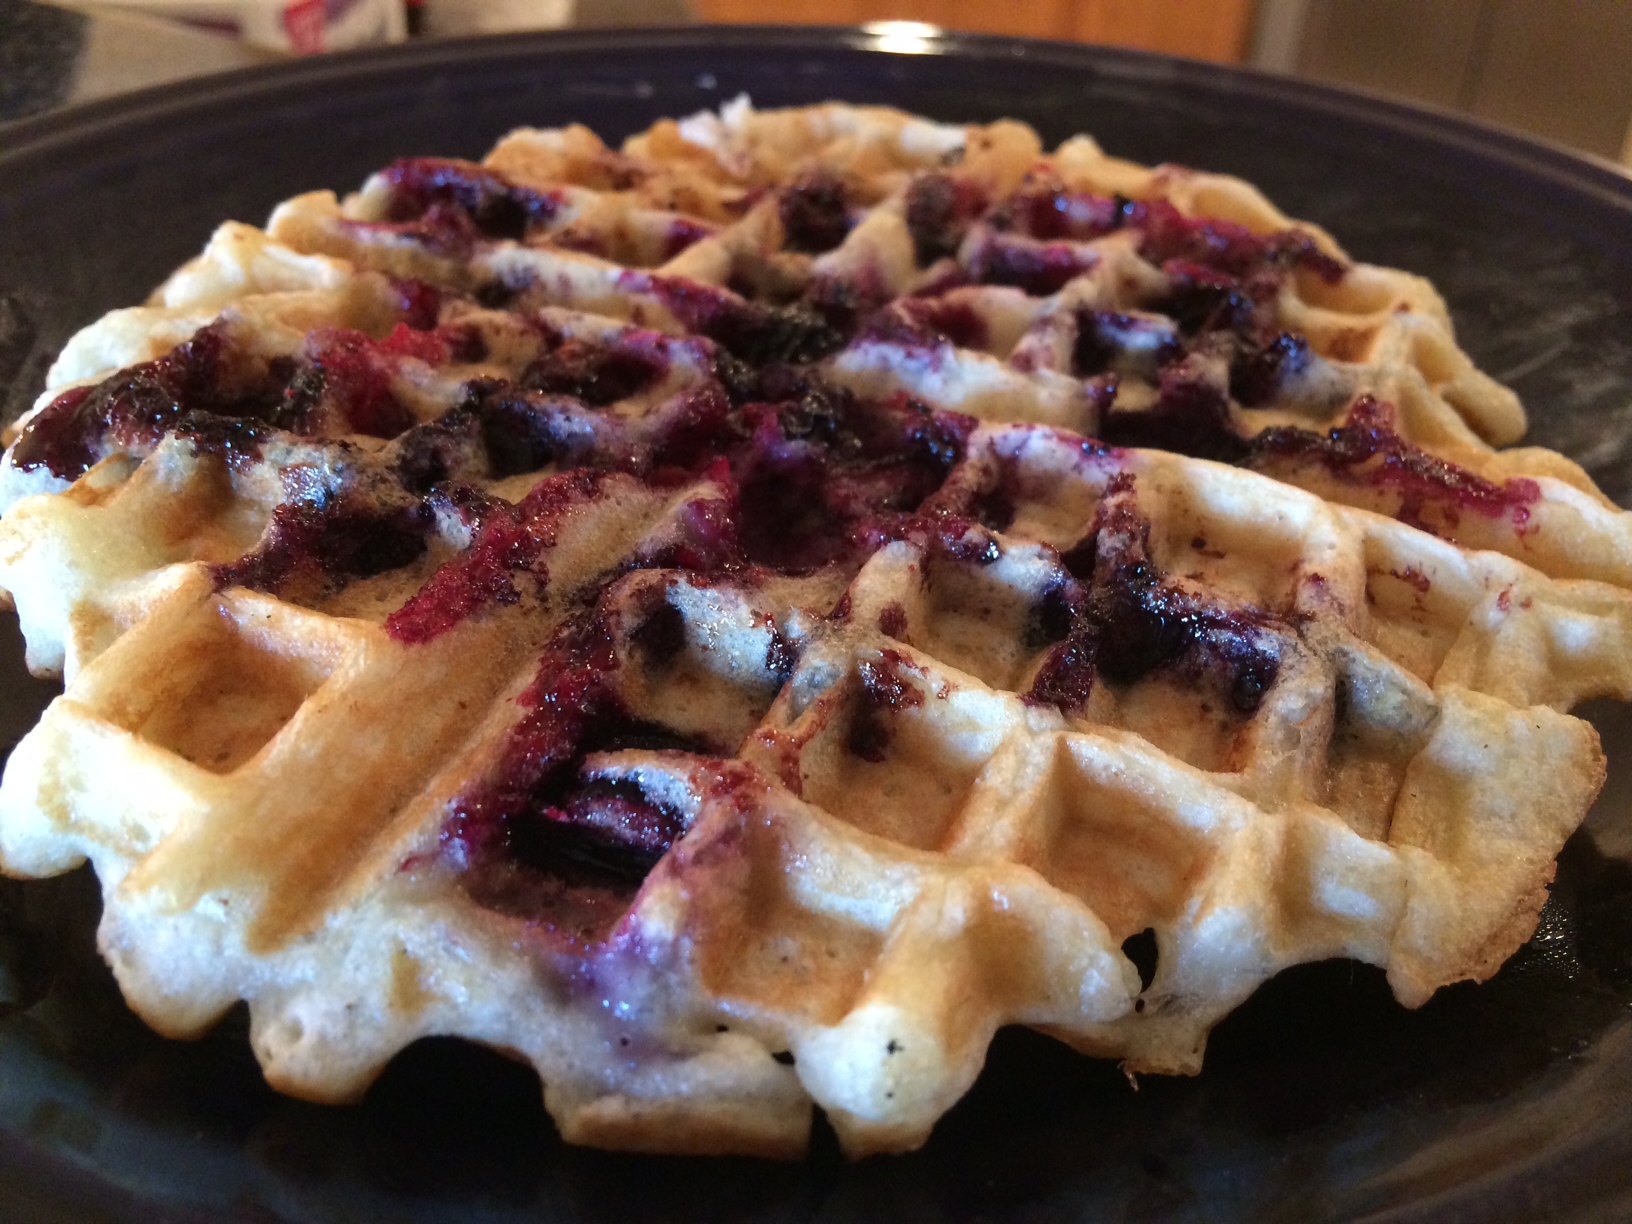
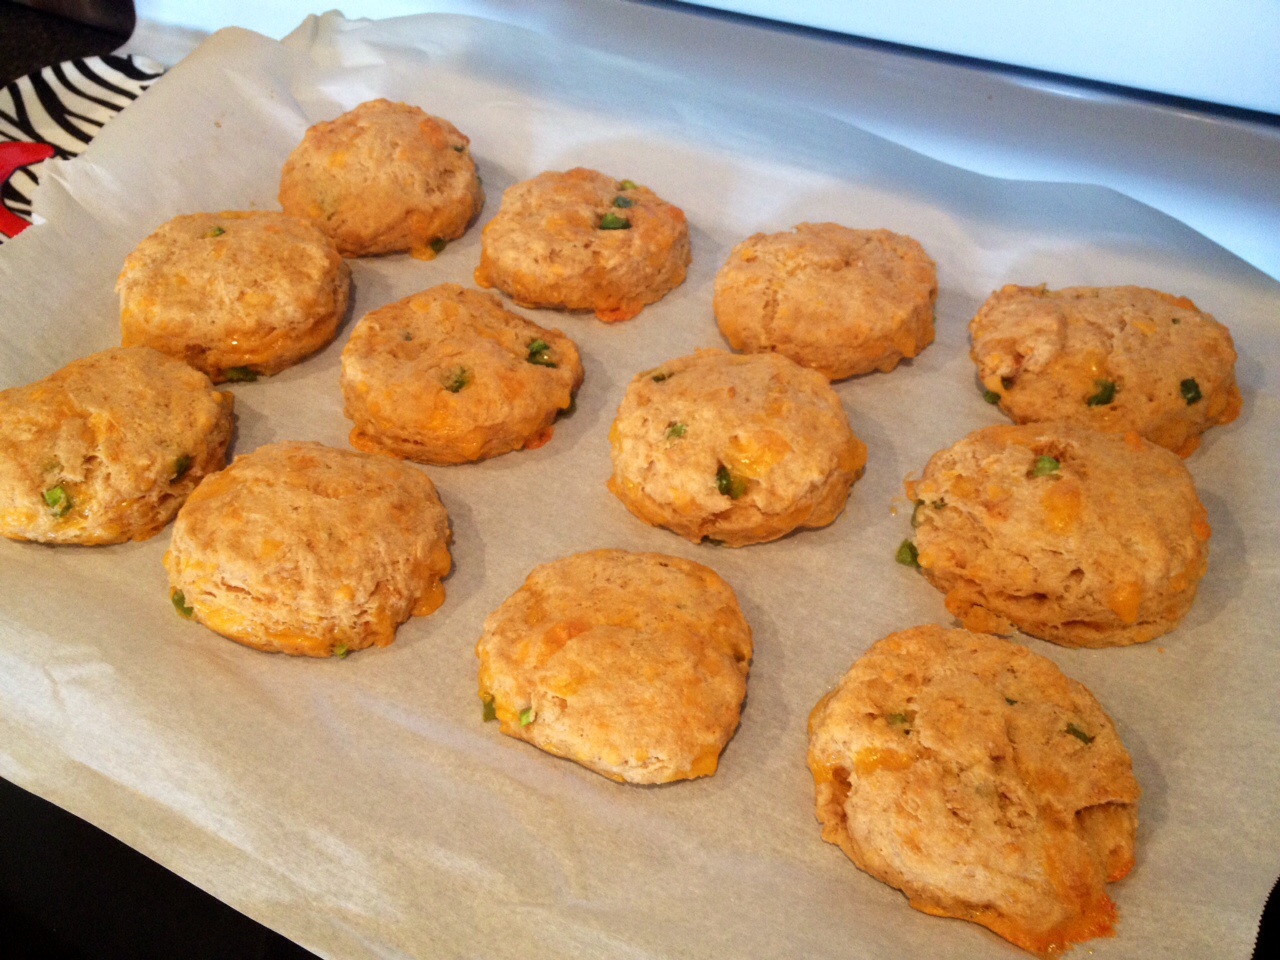
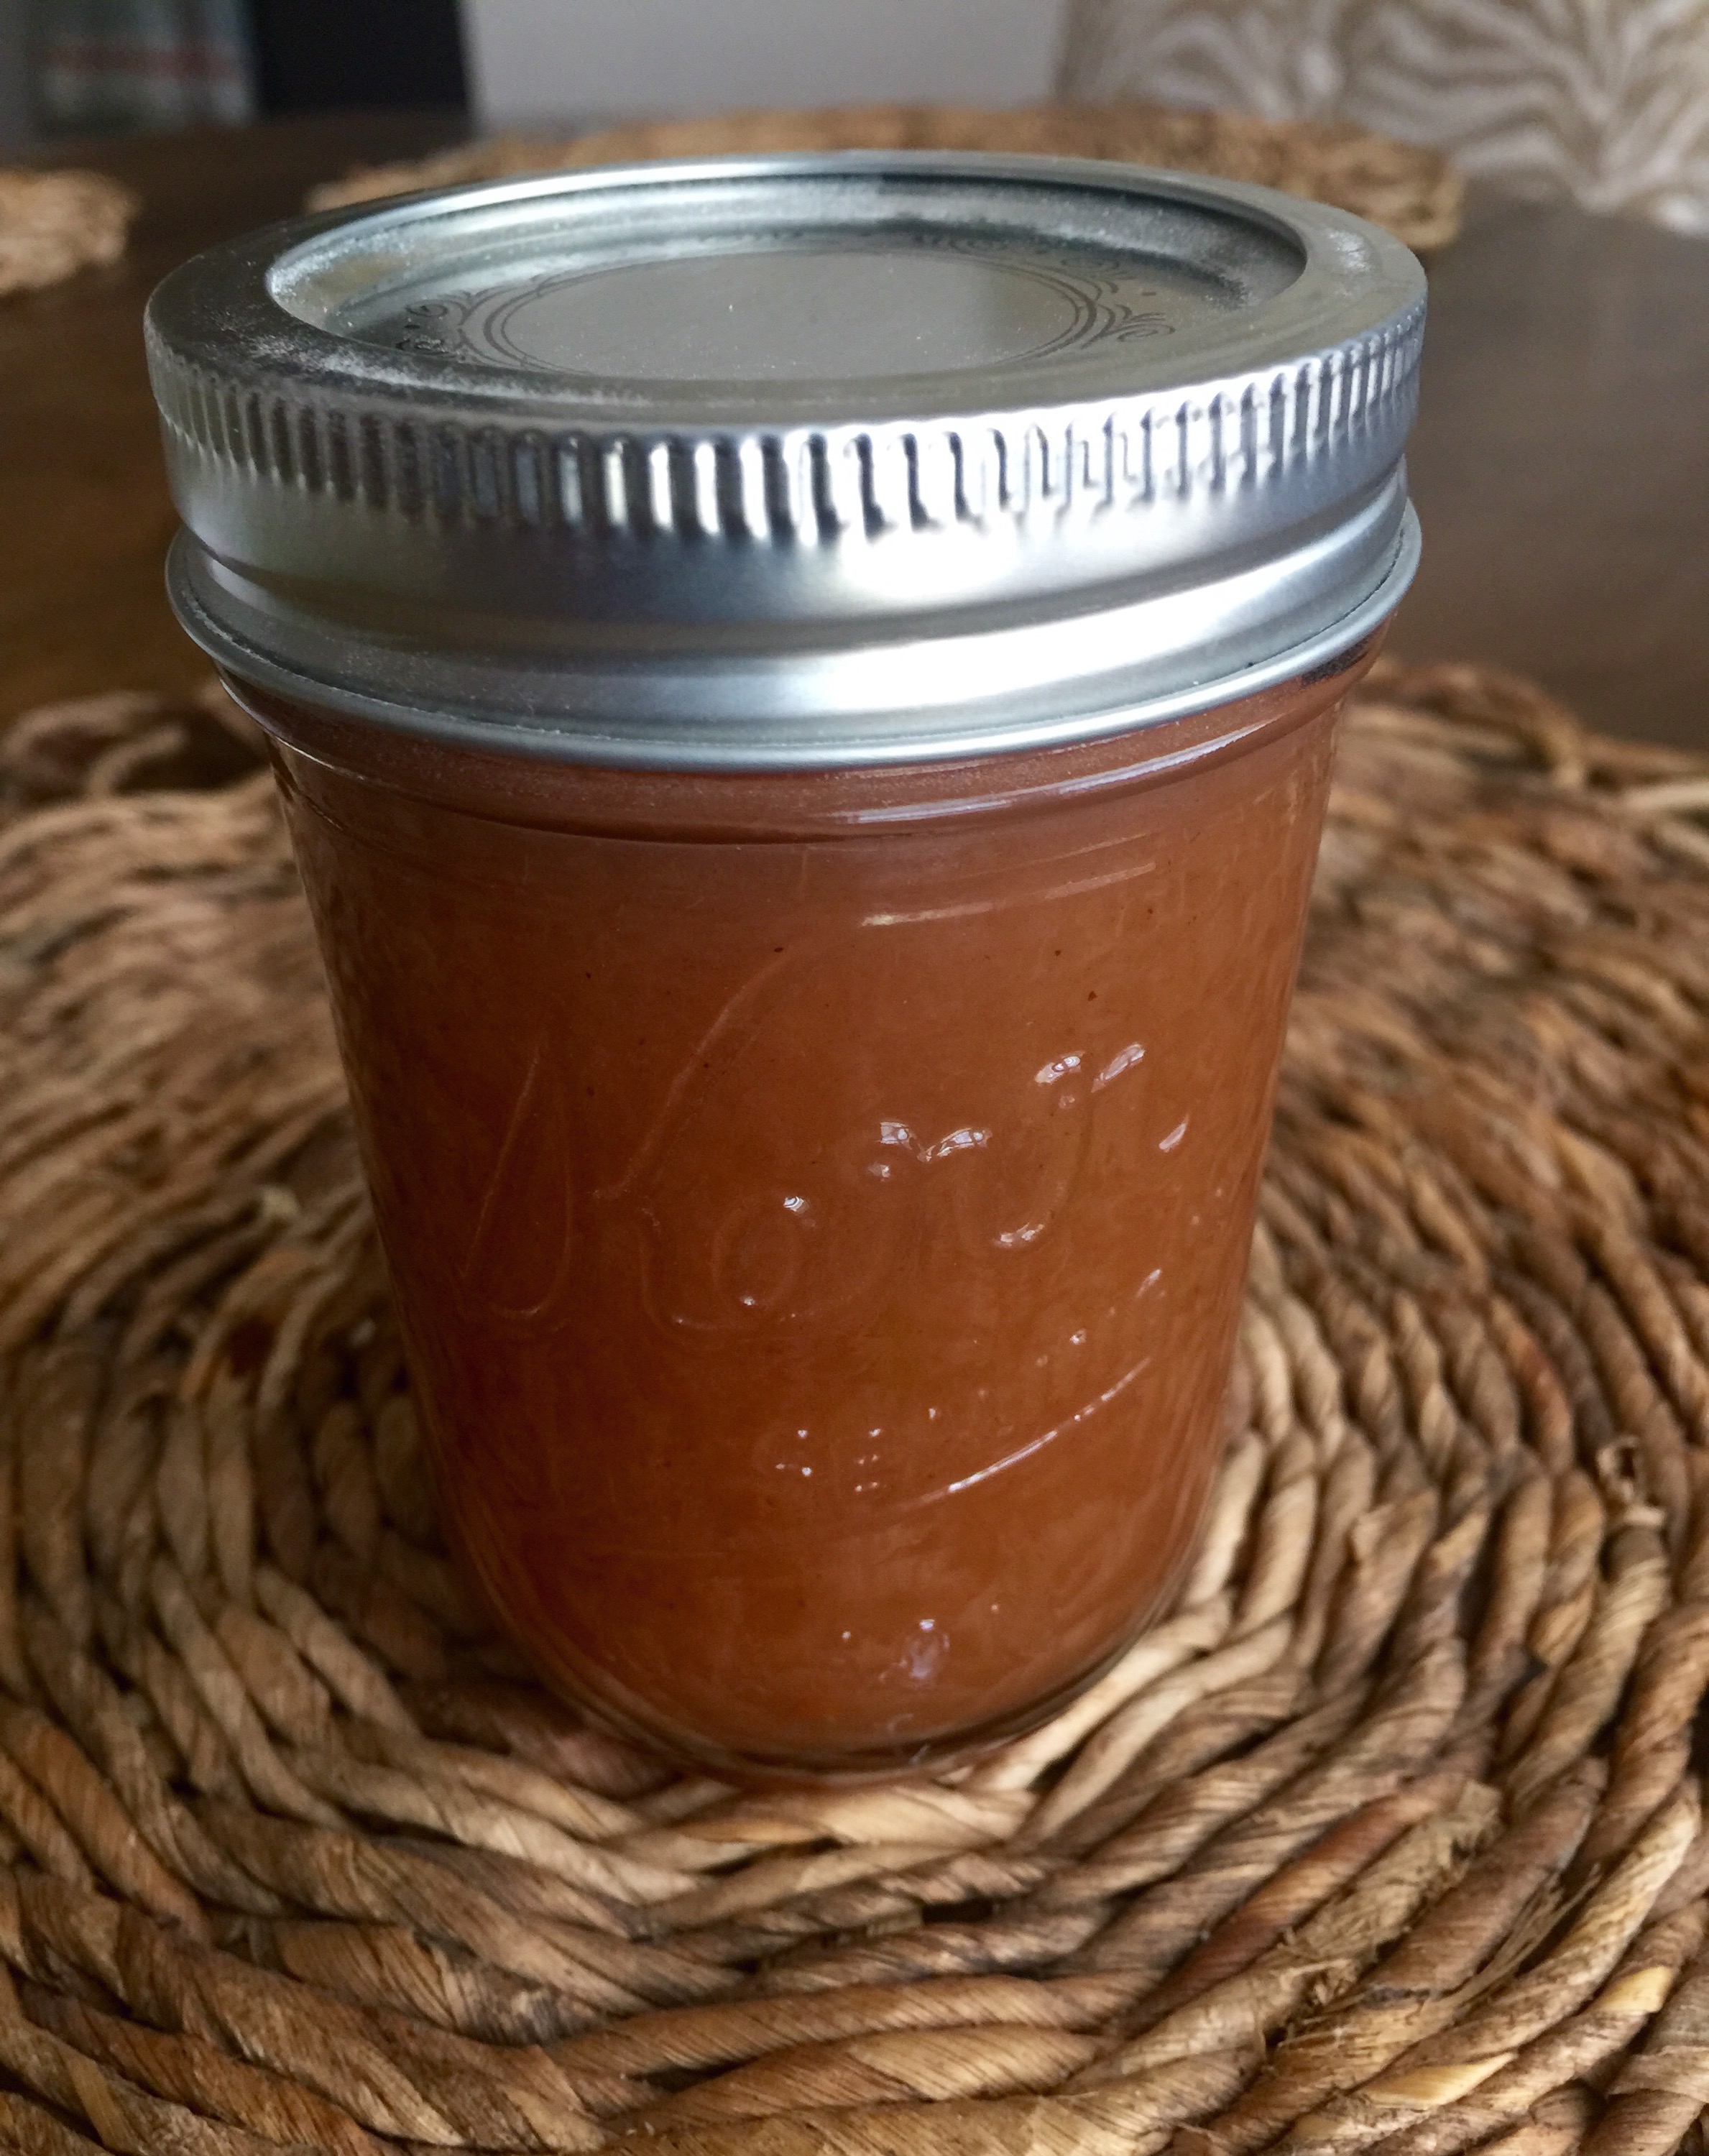
Is this not the most beautiful thing you’ve ever seen?! I mean, come on!!!

Strawberry Apricot Jam

Winning Mexican Breakfast Casserole

Standard
Winning Mexican Breakfast Casserole


This is my winning recipe for breakfast casserole from a contest through the United Supermarket grocery stores. 😊

This is my go-to breakfast casserole for when I’m feeding a small crowd or have company coming over. It’s perfect to make the day before and let it sit in the fridge until the morning of when you pop it in the oven. I’ve made it with chorizo before instead of bacon and that’s pretty good too. But what can I say? Bacon has my heart! 🐷😍

Ingredients:

  • 8 corn tortillas (highly recommend corn, but if you can only find flour that’s ok too)
  • 8 eggs
  • 1 T butter
  • 2 cups half and half  (or you can make your own half and half with 1 c milk and 1 c heavy cream) 
  • 2 cups of your favorite grated cheese (you can mix and match any cheese here)
  • 8 sweet baby bell peppers chopped or if you can’t find those 2 regular bell peppers any color chopped
  • 1 small sweet onion chopped
  • 1 chopped jalapeño (optional but adds a nice heat)
  • 1.5 pounds of bacon cooked crispy and crumbled 
  • Salt and pepper
  • Pico de Gallo for topping 

1. In a 9×13 baking dish that’s either been sprayed with non-stick cooking spray or buttered line your corn tortillas on the bottom.

 
2. In a large skillet dump your bacon and cook until crispy. Drain off most of the fat and reserve about a tablespoon in the skillet for the next round of cooking. Set bacon aside on paper towels to drain and cool.


3. Dump your chopped onion and peppers into your skillet and add 1 T butter and season with salt and pepper. Sauté on medium high heat for about 15 minutes or until all soft and starting to caramelize. 


3. Now that your bacon has cooled, crumble the bacon all over your tortillas. It would probably look nicer if I cut the bacon all uniform with a knife, but if I use my hands it’ll give me an excuse to eat the little pieces stuck to my hands later. No regrets.

  
4. Now sprinkle your cooked vegetables all over your bacon.

 
5. Whisk together 8 eggs and your cream and milk and season liberally with salt and pepper.


6. Pour egg mixture over your bacon and veggies.


7. Take two cups of your favorite grated cheeses and sprinkle on top. 


8. This is where I cover with plastic wrap and put in the fridge overnight until I need it in the morning. Once ready to cook, place in a 350 degree oven for 45 minutes or until egg is cooked through and the sides start to turn golden.


9. After it’s cooled down a bit out of the oven, top with Pico de Gallo and pour yourself a delicious mimosa! 

  B

Budget Friendly Crab Cakes

Standard
Budget Friendly Crab Cakes


Crab cakes are sooooo yummy! But when you’re watching your pocketbook, they aren’t the first thing you think of for affordable meals. This recipe blends mild white fish and crab claw meat to help stretch the crab meat to where you won’t even notice it’s not 100% crab in there. Real crab meat has a strong flavor and will overpower the white fish you use and allow you to have real crab cakes (not that yucky imitation stuff) while not breaking the bank! I used flounder in this recipe because it’s what was on clearance in the meat market at our grocery store, but any mild white fish would work like cod, sole, etc… I’ve made this recipe with all halibut fish (not budget friendly but incredibly good) and it’s amazing too. 

Ingredients:

  • 10 oz flounder or other white fish cooked and unseasoned (just steam it on your stovetop) 
  • 6 oz claw meat (it’s cheaper than lump crab meat and just as yummy)
  • 1/2 c Italian or plain breadcrumbs
  • 1/4 c mayo
  • 1 beaten egg
  • Dash worchestishire 
  • 1 green onion thinly sliced 
  • 1/4 tsp garlic salt
  • 1/4 tsp Tony’s Creole Seasoning
  • 1 tsp parsley flakes
  • Pinch cayenne 
  • Zest 1 lemon
  • Juice 1/2 lemon 
  • 2 T butter (for cooking crab cakes in)

1. Flake your fish apart with two forks and combine fish, crab meat, and the rest of the ingredients together in a mixing bowl.


2. Stir it all together and spray a sheet pan covered in foil with non-stick spray. 


3. Form little crab cakes with your hands whatever size you like.


4. I like to cover my cakes with plastic wrap and chill for at least 20-30 minutes to let them firm up because they’ll cook easier and stay together better. It’s not 100% necessary, but I recommend it. Once they’ve been chilled, melt 1 T butter in a large skillet and add your crab cakes. Don’t overcrowd the pan! 


5. Cook on medium high heat about five minutes a side. 


6. Do in batches and you can keep them warm in a 200 degree oven while you’re waiting for your next batch to finish. Serve with the other lemon half or a remoulade sauce! 


Applesauce

Standard
Applesauce

IMG_1892

Every week at the grocery store I find myself buying two boxes of those applesauce squeeze things for my son. Only four come in a box, and they’re freakin expensive for what they are! So today I decided enough is enough – I can start making my own applesauce! My son loves it and I just bought a homemade baby food kit that lets you put baby food into squeeze pouches. This recipe made 16 pouches for me (roughly 8 cups of applesauce).

Ingredients:
8 apples (I used honeycrisp)
1 c apple juice (if you don’t have this, you can use water)
2 lemons
1/2 tsp cinnamon
1/4 c white sugar
1/4 c brown sugar

1. Peel your apples. I like to use an actual peeler instead of a knife because you keep more apple that way.

IMG_1879

2. Dump your apple juice into a pot or Dutch oven. I used a juice box!

IMG_1880

3. Slice your apples into the same size so they’ll cook evenly and at the same time. Then dump into your pot.

IMG_1881

4. Squeeze your two lemons in there.

IMG_1882

5. Bring to a boil for one minute, put the lid on, and reduce to a simmer for 20 minutes. Stir halfway through.

IMG_1883

6. Once it’s done cooking, add both sugars, cinnamon, and stir together.

IMG_1885

7. Now take your pot over to your food processor or blender and work in batches to purée into a perfectly delicious consistency. It took me two batches.

IMG_1888

8. Now you’re done! You can put it into these squeeze thingies like I did, or save in a container with a top. I’m freezing my squeeze packs and pulling out a few each week so they’ll be defrosted and ready to eat in the fridge whenever!

IMG_1890

Make Ahead Breakfast Burritos

Standard
Make Ahead Breakfast Burritos

2015/01/img_1734.jpg

My husband loves breakfast burritos, and these are a great make ahead breakfast thing for him to grab on his way out the door every morning. Just keep them in the freezer and reheat one whenever you want it. This recipe makes a dozen burritos.

Ingredients:

8 eggs
1/2 c milk or half and half
Grated cheese
12 tortillas
3 Yukon gold potatoes
1 jalapeño
1 sweet onion
1 garlic clove
1 1lb package of bacon
3 T butter
Salt and pepper
Salsa (optional)

1. First, dump your package of bacon into a large skillet. I’ll be using Old Faithful AKA my cast iron.

2015/01/img_1720.jpg

2. Once your bacon is cooked, set it aside on a paper towel to drain and crisp up. Then pour off 90% of your grease into your bacon grease bowl (I know every good Southern cook knows what I’m talkin’ bout here). Keep the rest of the grease in your skillet to help the veggies along.

2015/01/img_1721.jpg

3. Add your chopped onion and jalapeño and 1 T butter. Sauté for 10 minutes or so.

2015/01/img_1722.jpg

4. Once your onions start turning golden brown, add your diced potatoes and garlic, plus another T of butter. Season it all with salt and pepper.

2015/01/img_1723.jpg

5. This is when I started making the eggs. I make them separate because I like to control the amount of egg in each burrito. I don’t like it when it’s all mixed together. The rule of thumb is 1 T of liquid per egg, so that’s 1/2 c (8 T) milk or half and half whipped into the eggs. Also salt and pepper these as well. Add to a skillet that has your last T of butter melted in it. Stir with a soft spatula and watch it all come together.

2015/01/img_1724.jpg

2015/01/img_1725.jpg

2015/01/img_1727.jpg

2015/01/img_1728.jpg

2015/01/img_1731.jpg

6. Once your potatoes are done cooking in the onion and pepper mix (about ten minutes), crumble up your bacon back into the skillet.

2015/01/img_1730.jpg

7. Now get yourself a little burrito assembly line going. I pre-cut 12 pieces of foil and had them ready to put my tortilla on, add skillet stuff, eggs, grated cheese, salsa, wrap up, repeat! Yum! Also, you can use any salsa you want, but if you like homemade salsa you can find my recipe here.

2015/01/img_1732.jpg

2015/01/img_1735.jpg

The Best Hot Chocolate Mix Ever

Standard
The Best Hot Chocolate Mix Ever

/home/wpcom/public_html/wp-content/blogs.dir/991/58902680/files/2015/01/img_1132.jpg

I know that’s a pretty ballsy claim, but it’s true! My husband likes to put a scoop of hot chocolate in his coffee every morning and we were going through Swiss Miss like no one’s business! Then I took a look at the ingredients and things like “corn syrup solids” and “hydrogenated oil” weren’t making me feel too great about him drinking it daily. So I tried a few recipes online and still wasn’t too happy with the taste of the mixes. I found plenty of delicious recipes for stovetop hot chocolate, but I needed something in a dry mix for his coffee, so I came up with my own recipe and to me, it’s absolutely perfect. Also, I’m sorry I don’t have any awesome pictures of my hot chocolate in a neat mug with marshmallows on top, so I’ll let you feast your eyes on this “mug shot” instead.

/home/wpcom/public_html/wp-content/blogs.dir/991/58902680/files/2015/01/img_0782.jpg

My sister got this for me for Christmas and it’s absolutely perfect! Ok, let’s get down to business.

Ingredients:
1 c MILK CHOCOLATE chips (notice I said milk chocolate, not semi-sweet)
1 c powdered sugar
1/4 c cocoa powder (I used Hershey’s)
3 c powdered milk (instant non-fat)

1. Put the chocolate chips in a food processor and pulse until fine crumbs. Then add the rest of your ingredients and blend until it’s a smooth powder. That’s it! You can store in a Tupperware with a snap top for delicious hot chocolate anytime!

/home/wpcom/public_html/wp-content/blogs.dir/991/58902680/files/2015/01/img_1133.jpg

Two ways to enjoy this hot chocolate mix:
1. Add 1/3 c to 1 c hot water or milk, stir, and enjoy.
2. This is the best way and definitely decadent… Add 1/3 c to 1 c hot half and half with a splash of vanilla. Omg it’s out of this world!

Waffles

Standard
Waffles

Blueberry Waffles
Jalapeno Bacon Waffles

I love love love waffles! Love them! This recipe is great for classic waffles, or add your favorite mixins! I love blueberries in mine, and my husband loves jalapenos and bacon. So weird, but he loves it.

Ingredients:
2 cups self-rising flour (This is one of those time savers I love because you don’t have to add salt and baking powder. If you don’t have self-rising flour, just add 1 tsp salt and 4 tsp baking powder to the recipe.)
2 T white sugar
1 T honey
2 eggs
1 1/2 c milk (we use coconut milk at our house, but any milk will do)
1/3 c melted butter
1 tsp vanilla extract
1/4 c mixins per waffle if you want them and keep separate from the mixing bowl (blueberries, strawberries, jalapenos and bacon, whatever… frozen fruit works best)

Combine all your ingredients and add 1/3 c at a time to your waffle iron that you’ve sprayed with non-stick cooking spray between each waffle. Right after you pour the mixture onto the iron, sprinkle your 1/4 c of mixins on top of the batter and close the lid. Cook according to the instructions on your waffle iron. Makes about 10 waffles.

Jalapeño Cheddar Biscuit Sandwiches

Standard
Jalapeño Cheddar Biscuit Sandwiches

Jalapeño Cheddar Biscuit Sandwiches

Have y’all seen that Whataburger commercial with the jalapeño cheddar biscuit? That’s what I’ve been dreaming about for weeks now, and being pregnant hasn’t done anything to help distract my cravings. However, in the spirit of being quasi-healthy and definitely easier on the pocketbook than daily stops to Whataburger, I decided to make these from scratch and with whole wheat flour. Also, I made a bunch of these and wrapped them in plastic wrap once they cooled and put them in a big ziplock in the freezer so I can take them out one at a time for my husband’s breakfast on the go. Go me! This recipe makes about 2 dozen biscuit sandwiches.

Ingredients:
4 cups of flour
1 T plus 2 tsps baking powder
1 tsp salt
3/4 c cold butter
1/2 tsp cayenne pepper
1 tsp paprika
2 jalapeños seeds and stems removed
10 oz shredded sharp cheddar cheese
2 c buttermilk
2 packages of your favorite breakfast sausage cut into patties

1. First, let’s talk about your flour. If you want to use good ‘ole white bleached flour because it’s delicious, go ahead. Also, it looks prettier than whole wheat flour. I like this kind because it’s less whole wheat more normal looking. The King Arthur Brand is what I recommend whatever flour you end up using.
image

2. Start fryin up your sausage. If you’re brand new to cooking breakfast sausage, you should know it’s much easier to slice the colder it is, and also use the tick marks on the plastic packaging to help cut uniform slices.
image

3. Combine your cold butter into the flour and other dry seasonings using a pastry blender. Now, if you’re like me and misplaced your pastry cutter along with other important things you rarely need but can never seem to find when you need them, dice up your butter with a knife into pea sized pieces before cutting it into the butter with a fork. Also, add pastry cutter to your shopping list. Then add your cheese, jalapeños, and buttermilk. Combine it all together.
image

4. You’re going to have a fairly wet loose dough, but that’s ok because you’re going to knead it on a slightly floured surface. Once you’re happy with the dough, roll (or use your hands – seriously does anyone still have rolling pins?) your dough into about a 3/4 – 1 inch thickness.
image

5. Next, get your handy dandy biscuit cutter (or top of a drinking glass if you don’t have one) and start cuttin’ them biscuits!
image

6. Have you been keeping an eye on your sausage patties? I hope so! Don’t forget to drain them on a paper towel. Also, keep that oil at the bottom of your pan to make a delicious gravy for these biscuits if you really want to be bad. (Does my hypocrisy know no bounds?)
image

7. Pop these puppies into a 400 degree oven for 15-18 minutes depending on how hot your oven gets and how evenly it cooks. Every oven is different, so just be sure to keep an eye on them towards the end.
image

8. Your biscuits are done! Now just add your sausage patties to them to complete the sandwiches. If you like extra cheese (who doesn’t?) slap on a slice of American or add a fried egg on top of your patty. The possibilities are endless!
image

Breakfast Hash

Standard
Breakfast Hash

-8

What else can I say about this breakfast that doesn’t tell you it for itself after seeing this picture? It’s delicious and has no calories whatsoever! Ok, so that’s a lie, but come on, who cares once you taste this delicious concoction!

Ingredients:
3 medium red potatoes chopped
1 sweet onion chopped
A few sweet peppers chopped (optional – you can leave out or use a bell pepper if you don’t have sweet peppers)
6-8 slices of bacon chopped (I just used what I had leftover in my package of bacon. Feel free to use an entire package for this!)
1 jalapeno chopped (if you don’t like the heat, remove the stems and seeds, or just use half)
1 garlic clove chopped
2 T butter
Olive oil
Salt and pepper
1-2 fried eggs per person (this made enough for 2 of us to have large servings)
Shredded cheese and Louisiana hot sauce for garnish

1. Saute onion and peppers in butter and olive oil for about 15 minutes on medium to high heat.
-9

2. Add bacon and chopped potatoes, and saute another 5 minutes before adding chopped garlic. Season with salt and pepper.
-10

3. Fry up your eggs in a separate skillet (1-2 per person). As a good southern girl, I keep a bowl of bacon grease on hand by my stove top for occasions such as this where I need to fry an egg in bacon grease. Don’t you dare try to tell me an egg “fried” in a skillet with Pam is fried. That’s blasphemous and may God have mercy on your soul! However, should you like your eggs sunny side up, you can add them later and cook on your skillet under the broiler later if you’d like.
-11

4. Put several healthy spoonfuls of your delicious hash into a bowl and top with your friend egg. Then garnish with cheese, Louisiana hot sauce, or whatever else you like. -6
-7