Tag Archives: Salsa

Easy No Peel Salsa For Canning

Standard
Easy No Peel Salsa For Canning


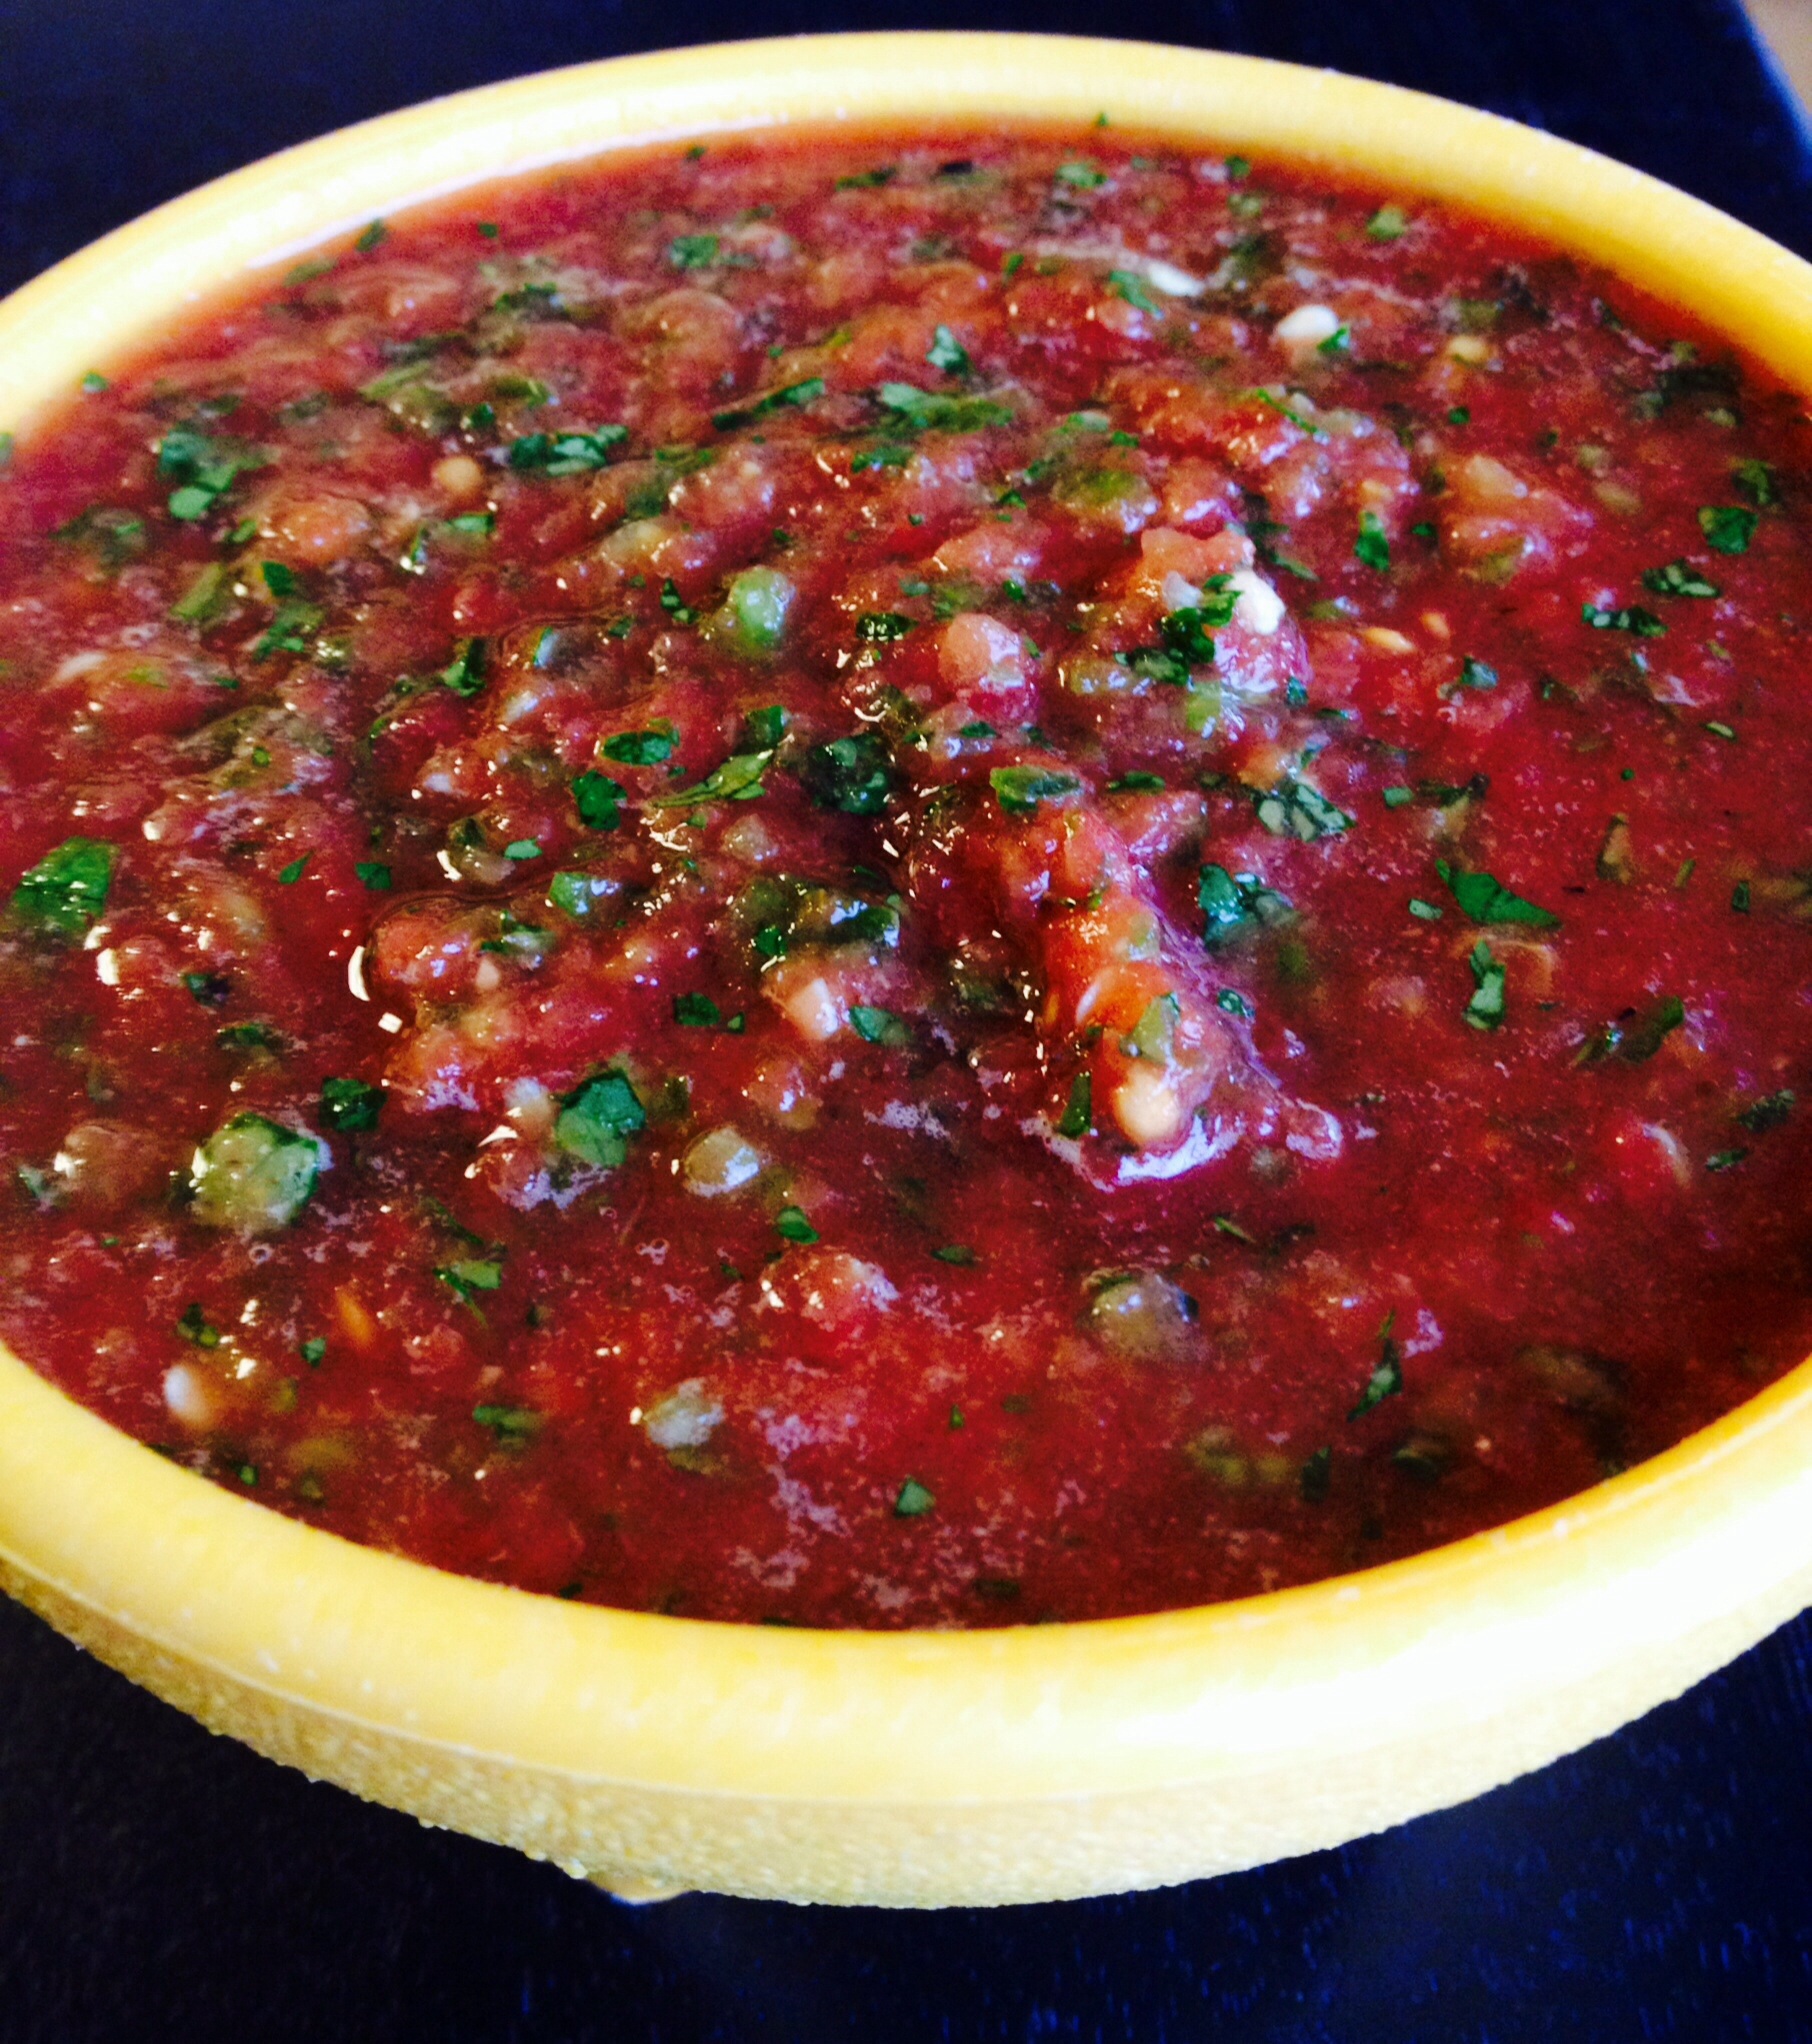
I finally had enough tomatoes between my garden and my friends’ to make some salsa this year. It was a terrible year for my tomatoes, but everything else seems to be doing great in the garden. Better luck next year I hope. 

Anyway, I couldn’t wait to make some yummy salsa to put away in my pantry for my last minute canning before harvest season is over. This recipe does not require you to boil, peel, and core your tomatoes. That’s why I’m calling it easy! Does it alter the taste of your salsa? Not in the slightest way (in my opinion)! It’s delicious and is also a fantastic way to throw in those cherry tomatoes from your garden! They have such a delicious flavor and add just the right amount of sweetness. If you don’t have them, don’t worry; just use whatever tomatoes you’ve got on hand.

Ingredients:

  • 1 gallon of washed tomatoes chopped in half or in quarters to go into your food processor (if using cherry tomatoes, just leave them whole) 
  • 3 medium sweet onions 
  • 5 bell peppers any color
  • 4-5 jalapeño peppers with seeds (or without if you don’t like salsa with a kick)
  • 3 tablespoons salt (I love to use pickling salt when preserving food)
  • 1/2 c bottled lemon juice & 1/2 c bottled lime juice (you MUST use bottled juice and not fresh when canning)
  • 1 bunch of cilantro
  • 2 cloves of garlic 

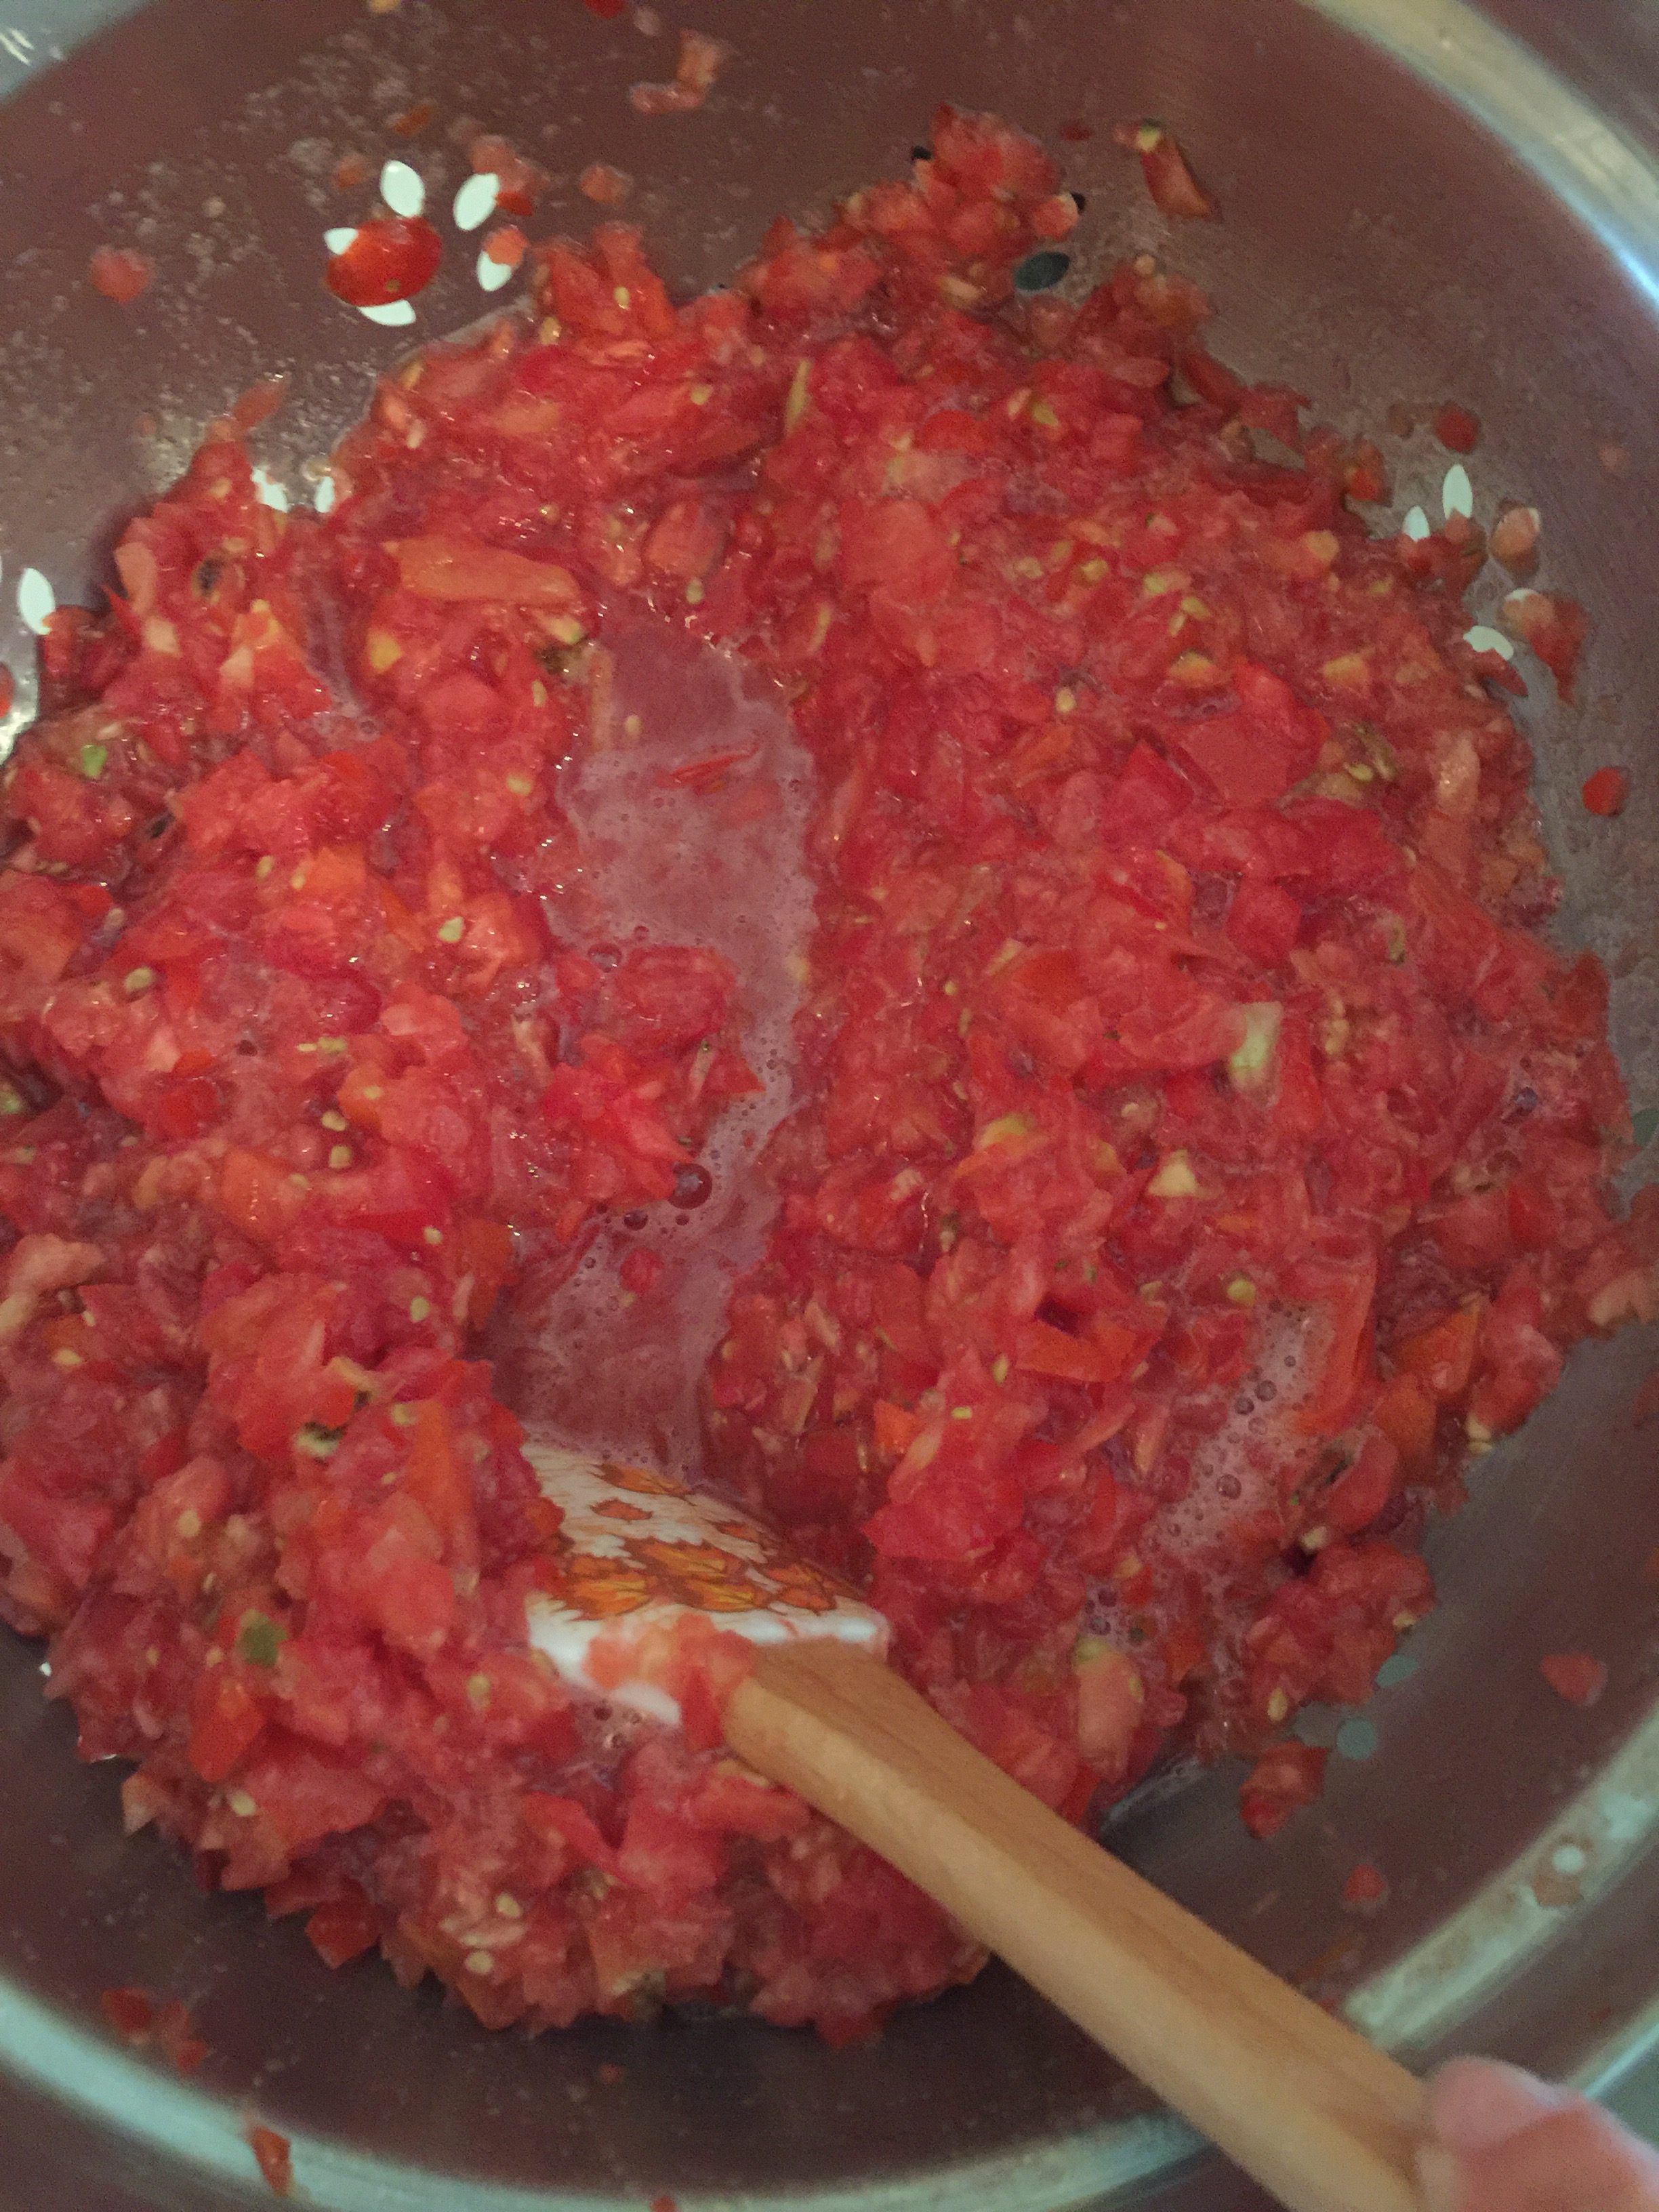
1. How in the heck do you measure a gallon of tomatoes? My favorite way is to throw them into my gallon size Tupperware that clearly has a “1 G” printed on it. Don’t have one? Maybe you have a quart size Tupperware or measuring cup laying around. Remember, four quarts in a gallon 😊 Wash your tomatoes and process them in batches in your food processor. I found 5 pulses worked for me on the cherry tomatoes, and 6 pulses for the regular tomatoes. 


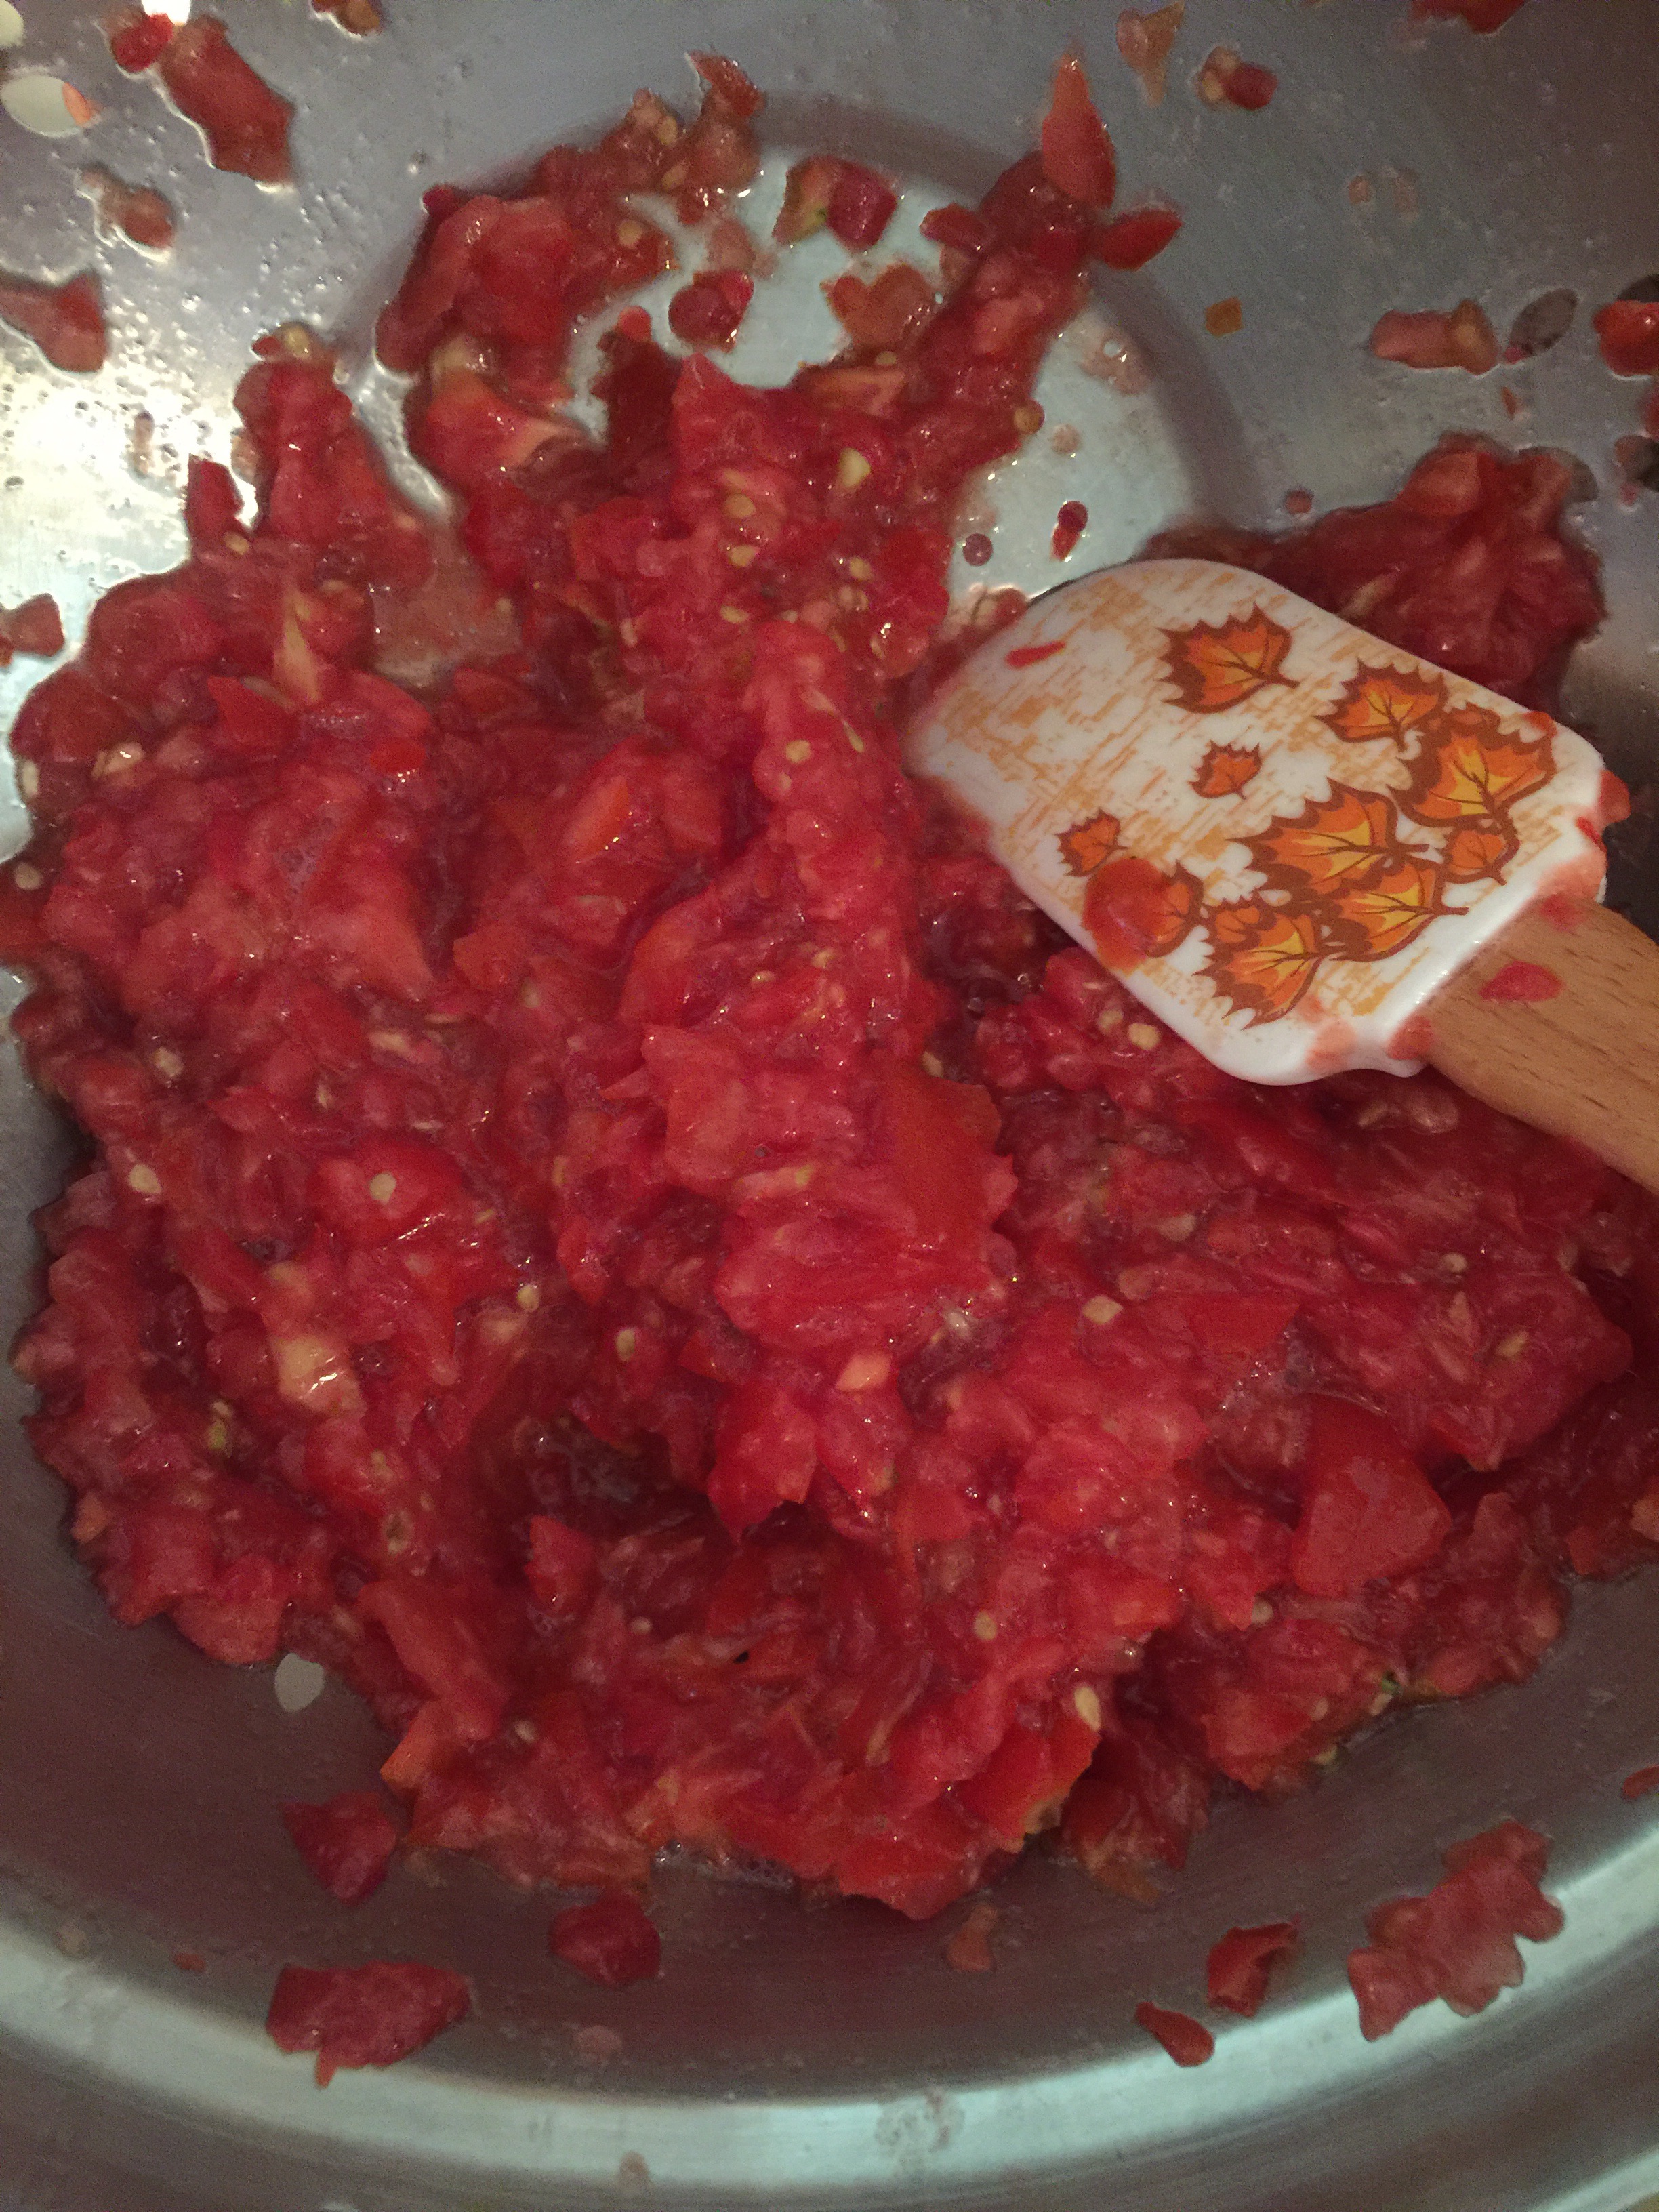
2. Here is where you’re going to drain each batch of tomatoes through your strainer before putting into your pot. I used a silicone spatchula to press the juice out of the tomatoes. You can see how much juice is in there in the beginning vs the end after the spatchula/strainer. 


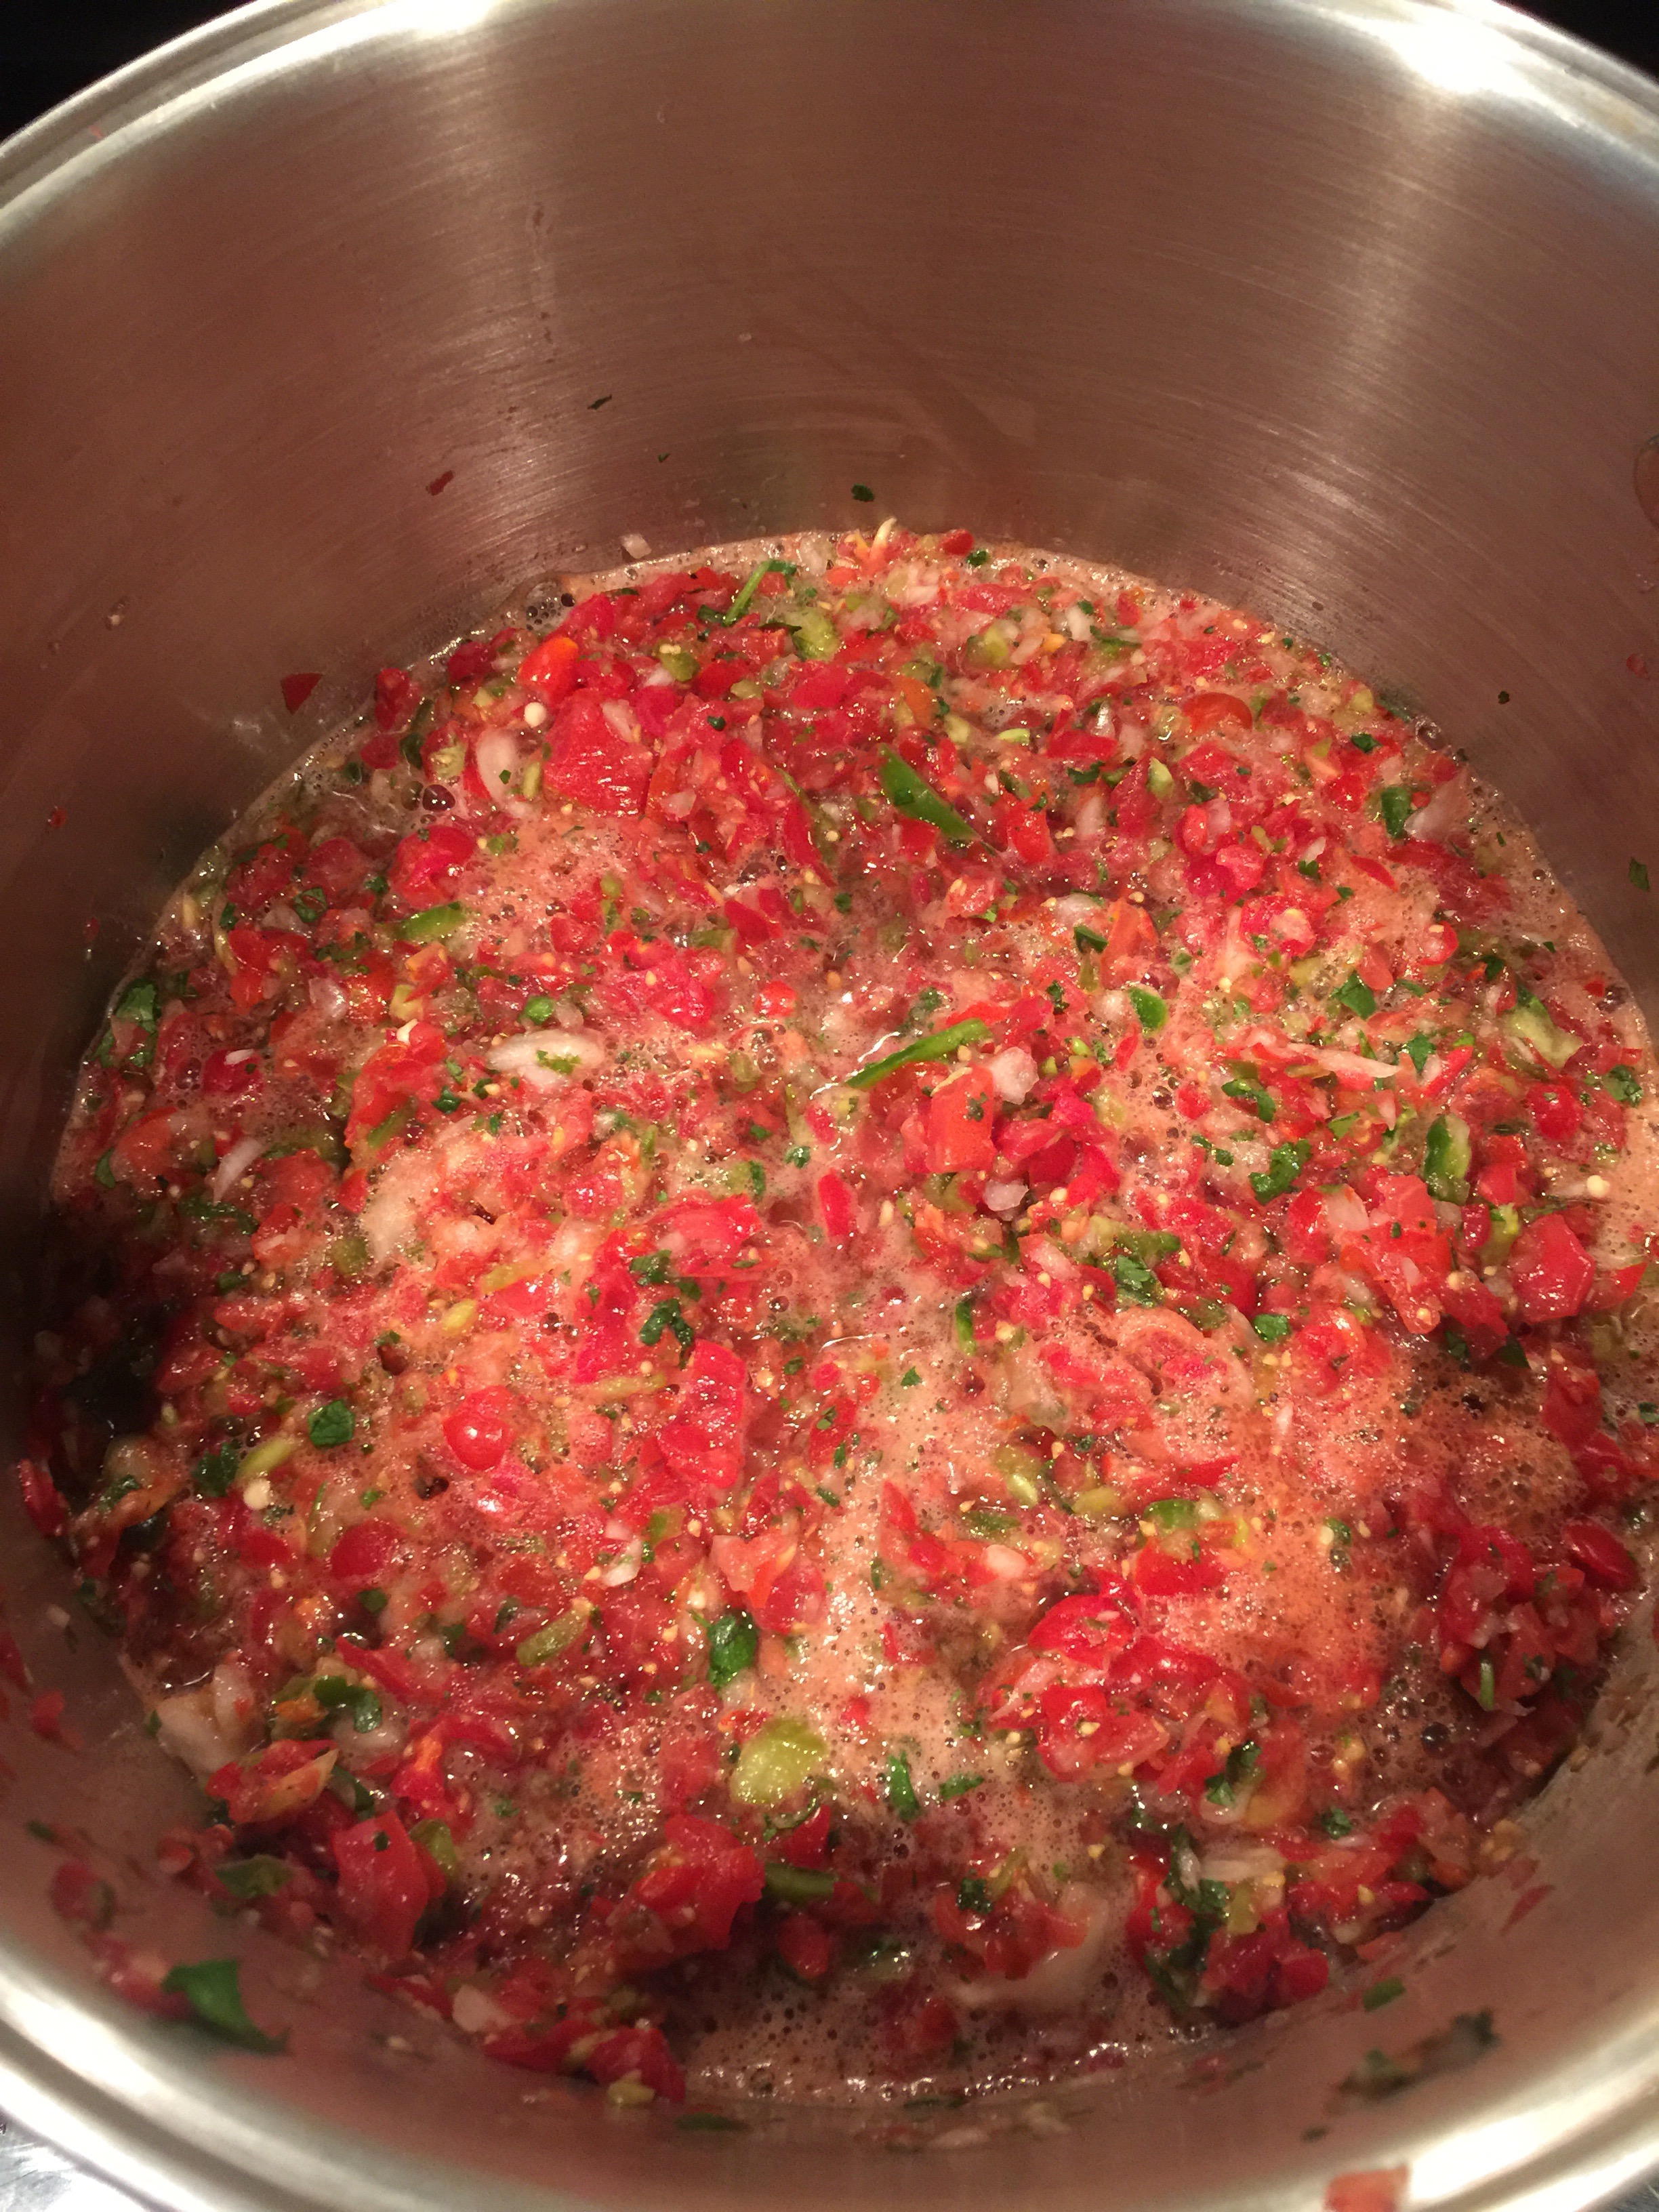
3. Continue to run your peppers, onions, garlic, and cilantro through the food processor and add to your tomatoes. There’s no need to drain any of them, and you should pulse to the consistency you like. Personally, I like my salsa chunky.


4. Now add your salt and bottled lemon and lime juice. These babies are exactly 1/2 a cup each. You can choose to do all lemon or all lime if you like. I just like the flavor the mix gives them. ***IMPORTANT: You must never alter the amount of acidity in a recipe for tomatoes. They do not contain the acid they once did, and canning with incorrect acidity leads to botulism. You cannot smell or detect botulism on your own, so do not risk it. Also, the acidity of lemons and limes can change daily and are not reliable, so that is why it’s important to use canned juice only. It is cooked and maintains a certain ph that is safe for preserving food.***


5. Bring to a boil and then summer for 15 minutes, stirring often to prevent sticking on the bottom.


6. Pour into your prepared jars. This recipe makes about 10 pint sized jars.


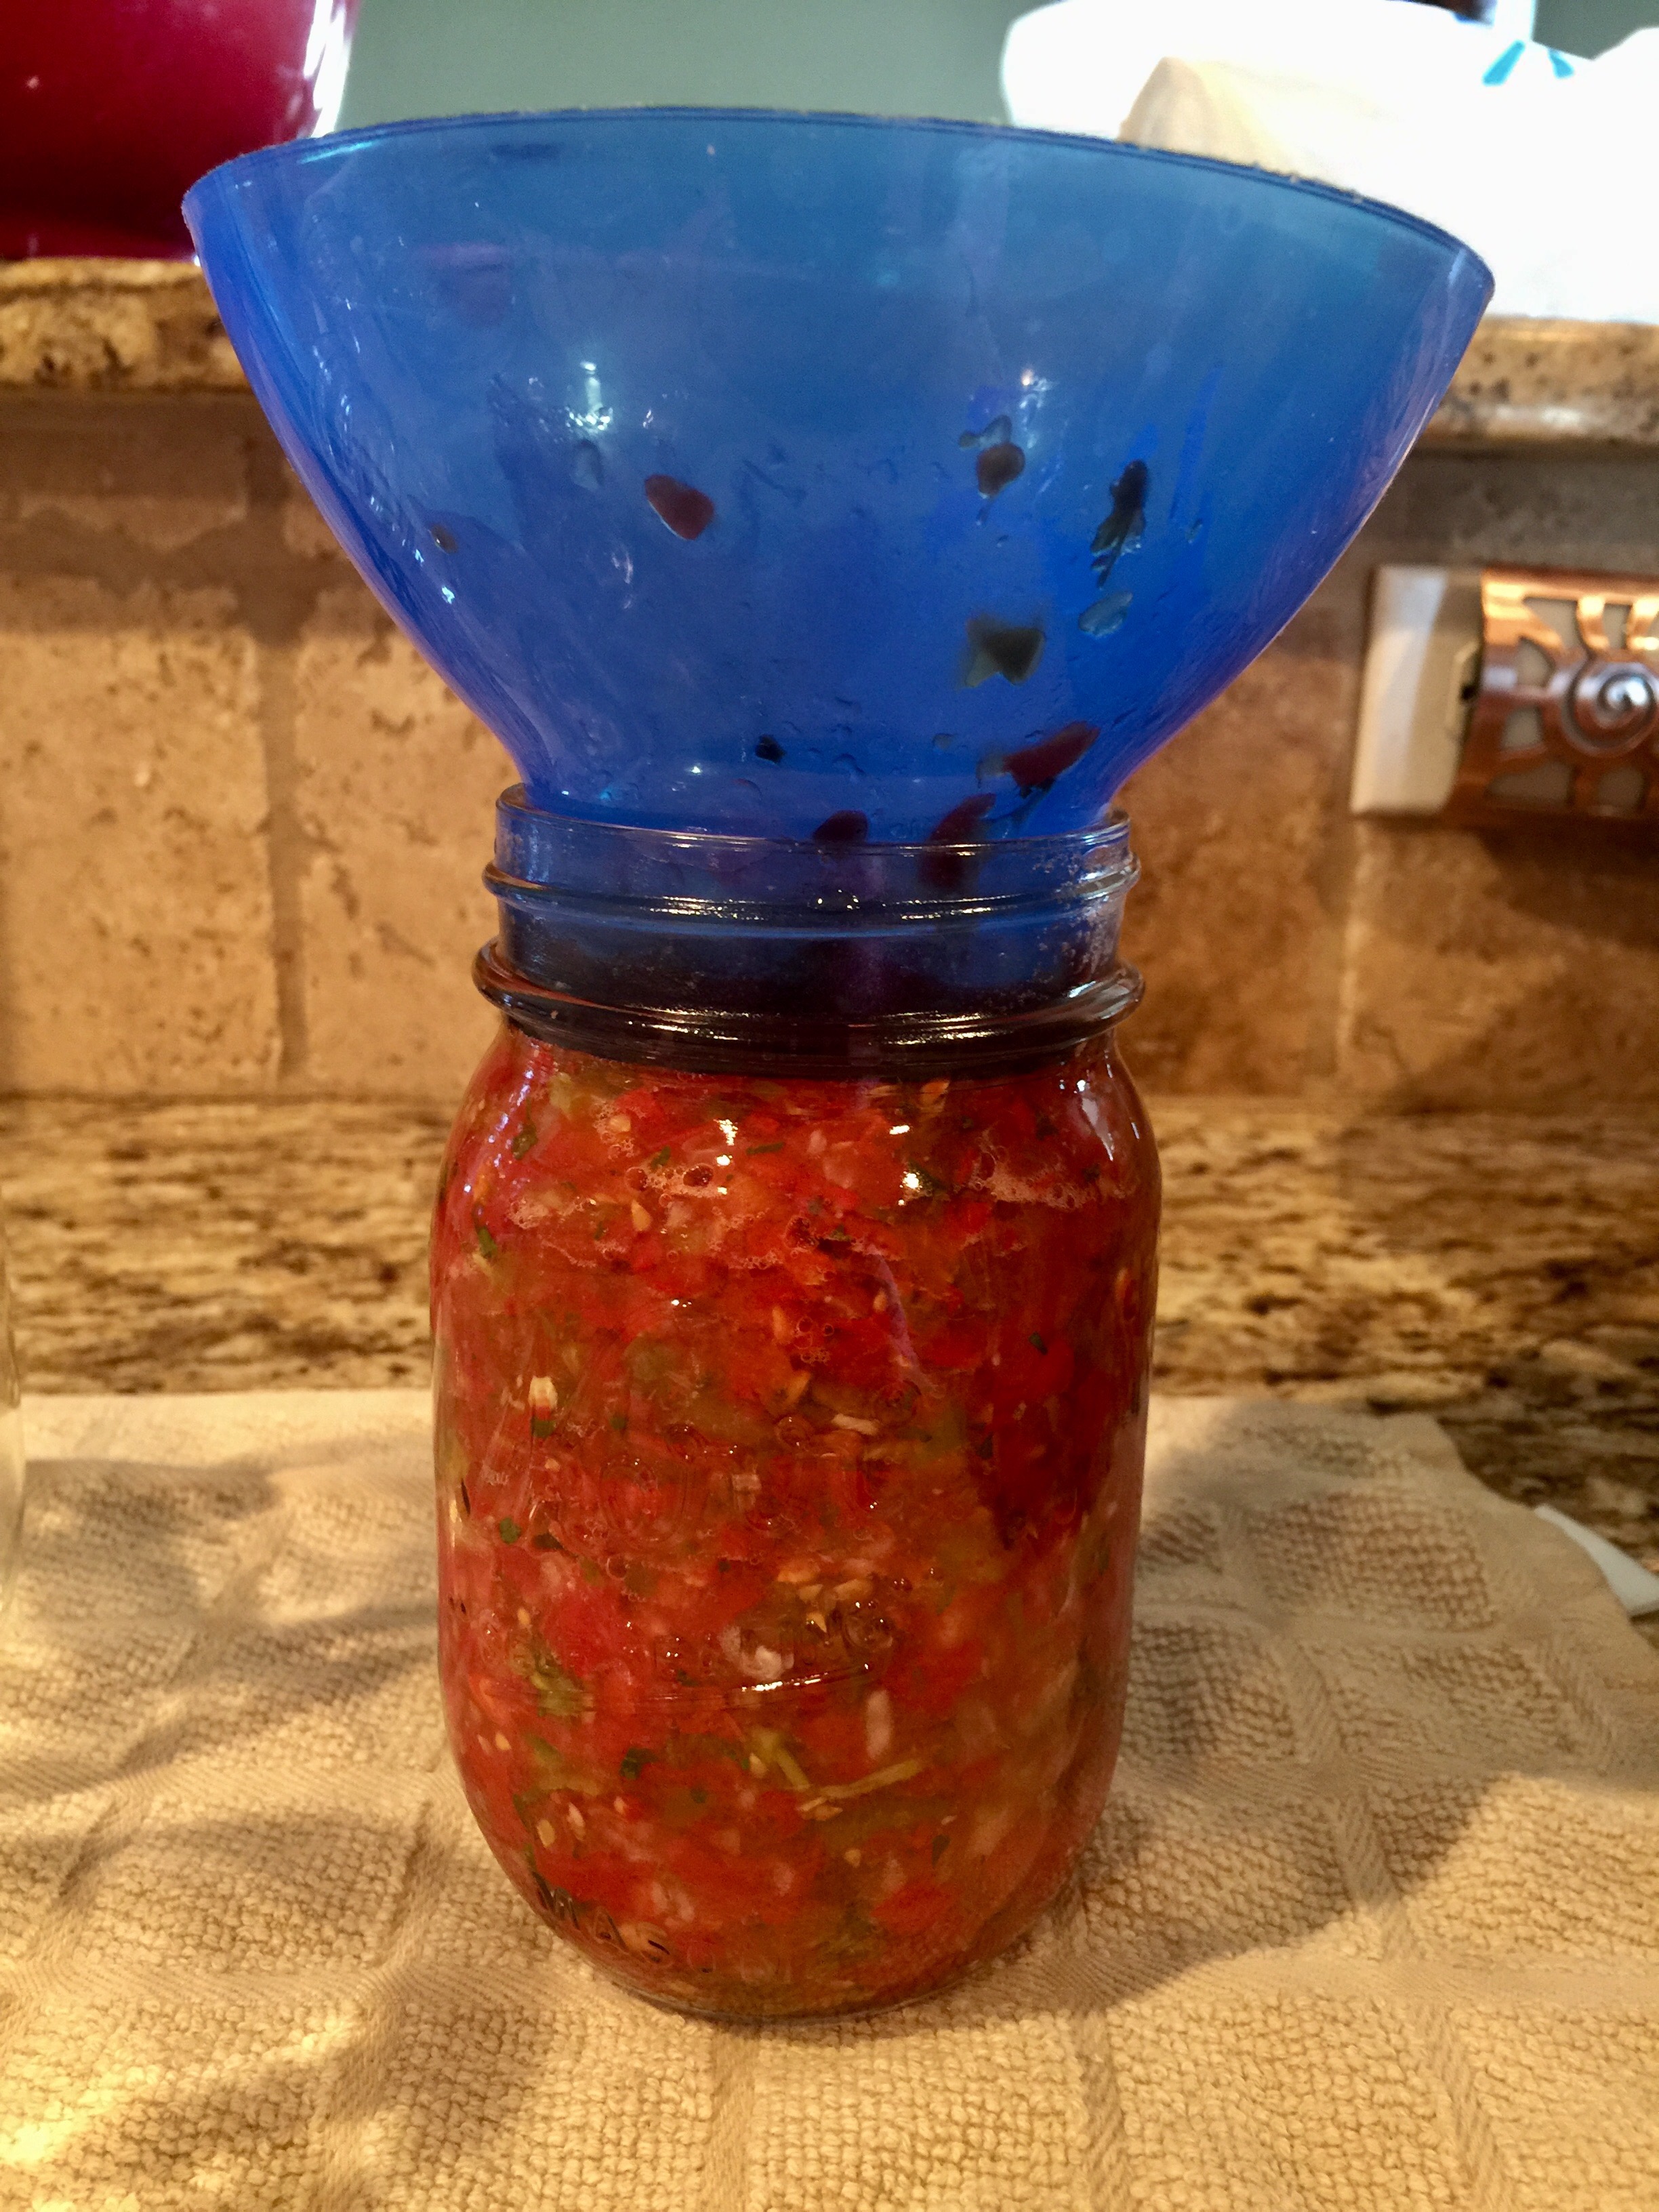
7. Wipe your rims before sealing and give them a 15 minute water bath (or more depending on your elevation). Voila! You have delicious salsa that is shelf stable and ready to eat all through the winter months 🙌🏻

Advertisement

Cream Cheese Chicken Enchiladas

Standard
Cream Cheese Chicken Enchiladas

Chicken Enchiladas With Cream Cheese Sauce

So, once again I had leftover grilled chicken and needed to do something with it, plus I had a request for a chicken enchilada recipe, so naturally I made my delicious cream cheese chicken enchiladas. Back in college, my friend Jill used to make her chicken enchiladas very similar to this recipe, and I’ve taken it and done things a little different with it. Actually, many things are different from when I was back in college, like how much I can drink and how late I can stay up, but that’s neither here nor there. I love the cream cheese sauce instead of a sour cream sauce and think these are so yummy! Also, I’ll go ahead and say I ran out of shredded cheese (in our family we call this “sprinkle cheese”) at the end, so I didn’t have nearly as much cheese on top of the enchiladas as I would’ve liked. It was a Great American Tragedy lemme tell ya, but they were still tasty 🙂

Ingredients:
2-3 cups of chicken chopped, sliced, shredded, whatever (Don’t make this part hard on you – use leftover chicken, a store bought rotisserie chicken you picked apart with your hands, or pan sear some chicken and chop it up in your kitchen)
1 1/2 cups salsa (Yes, you can use store bought salsa if you’d like. However, I’d suggest adding some chopped cilantro to it since they never have that fresh taste to them)
2 8 oz packages cream cheese
1 can Rotel
2 cans diced green chiles (I like the Hatch brand hot ones, but mild is fine too)
1/4 tsp garlic salt
Pepper to taste
1 dozen tortillas
At least 1 cup shredded cheese

1. Place your cream cheese in a pot over the stove on low heat. Don’t rush this because it burns easily. Keep stirring it around until it’s smooth and creamy like this.
-12

2. After it’s melted and creamy, add your salsa, Rotel, chiles, garlic salt, and pepper to cream cheese and stir. Taste the now pinkish mixture to see if you want to add more salsa to it or if you like it how it is. Keep on low to medium heat.
-13

3. Take one cup of the cheese sauce and pour over your chopped/sliced/shredded chicken. It will now sort of look like the most delicious chicken salad you’ve ever seen in your life! -14
-1

4. Spray a 9×11 baking dish with non-stick spray and preheat your oven to 350. Start to fill up your tortillas with about two spoonfulls each of chicken mixture.
-2

5. As you’ve heard me say before, I like corn tortillas and my husband likes flour, so I had him come in and help hold down the corn ones because they’re a little tricky sometimes.
-3

6. Pour the cheese sauce all over the enchiladas and make sure to spread it out so it covers the entire baking dish and there aren’t any “naked” tortillas.
-4-5

7. Sprinkle as much shredded cheese as you like all over the enchiladas.
-6

8. Bake in a 350F oven for 20-30 minutes or until cheese is melted and sauce is bubbly 🙂-7

Mexican Rice

Standard
Mexican Rice

Mexican Rice

Wow! I feel like it’s been 100 years since I’ve posted anything here! I had a wonderful holiday break with my family, and am now sitting here with the men of the family trapped by endless football. The BCS Championship is apparently an important game 😉 Anyway, an endless football evening routine isn’t complete without delicious food, and this Mexican rice went fantastic with our Mexican themed dinner!

Ingredients:
1/2 sweet onion diced
1/2 stick of butter
Drizzle of olive oil
1 T cumin seeds
1/2 cup homemade salsa
1 1/2 c rice (I use Uncle Ben’s Converted Rice)
2 3/4 c water
1 garlic clove diced
1 tsp tomato bouillon (note: if you can only find in the cubes just chop up finely a little less than 1 cube)
Salt and pepper

1. Toss onion, butter, olive oil, salt, and pepper in sauté pan on medium high heat. Sauté for five minutes. image

2. Add cumin seeds, garlic, and rice to pan. Sauté another 5-7 minutes and watch carefully as to not burn the rice or garlic. Add more olive oil if needed. image

3. Add tomato bouillon, salsa & water, then bring to a boil for one minute. Then place lid on, turn heat to low/simmer, and cover for 20 minutes.
image
image
image

4. Voila! Mexican rice 🙂
image

Homemade Salsa

Standard
Homemade Salsa

image

My Uncle Dale first made this homemade salsa years ago and each member of my family has tweaked it to their own tastes. This happens to be how I like it best, plain and simple, but feel free to change the ingredients by adding fresh garlic, fresh onion, serrano peppers instead of jalapeños, etc.

Ingredients:
1 10 oz can of Rotel
1 14.5 oz can diced tomatoes
1 handful of fresh cilantro
2 jalapeños with stems/seeds
1 teaspoon garlic salt
1/2 teaspoon black pepper

1. Place peppers, cilantro, Rotel/tomatoes (do not drain), lime twist, and seasonings in blender with peppers on the bottom to ensure the blend correctly. Pulse only until you can see peppers have blended. You want it to be chunky, not runny.

2. Serve with chips or whatever you like. I keep mine in a Tupperware dish with a lid up to a week.