Tag Archives: easy to freeze

Chicken Noodle Soup

Standard
Chicken Noodle Soup

Chicken Noodle Soup

There’s nothing better than homemade chicken noodle soup on a cool weather day, or when you’re recovering from an illness. Mmmm 🙂 This is only about a million times better than the canned version! I think the trick to making the chicken extra tasty is letting it marinade overnight in your favorite all purpose seasoning (something salt-free like a garlic herb seasoning) in the fridge (or at least for four hours if you can’t do it overnight). Let’s get started…

Ingredients:
1 package chicken thighs with bone and skin on
4 carrots
4 celery sticks (with leafy tops)
2 onions (I love sweet onions)
Chicken bouillon cube (as always, I use the Knorr brand)
6 oz egg noodles
1 stick butter
1/4 c flour
2-3 small garlic cloves chopped
Your favorite all purpose seasoning, salt, and pepper

1. Chop 1 onion, 3 carrots, garlic, and celery and place in saute pan. You’re going to reserve the celery leafy tops and bottoms, 1 carrot, and 1 onion sliced in half and place all of that in a pot to make your broth.
-6
-7

2. Add your marinated chicken to the pot with the veggies and add your chicken bouillon cube and enough water to completely cover the veggies and chicken. Set to a boil and let this go for about an hour.
-8

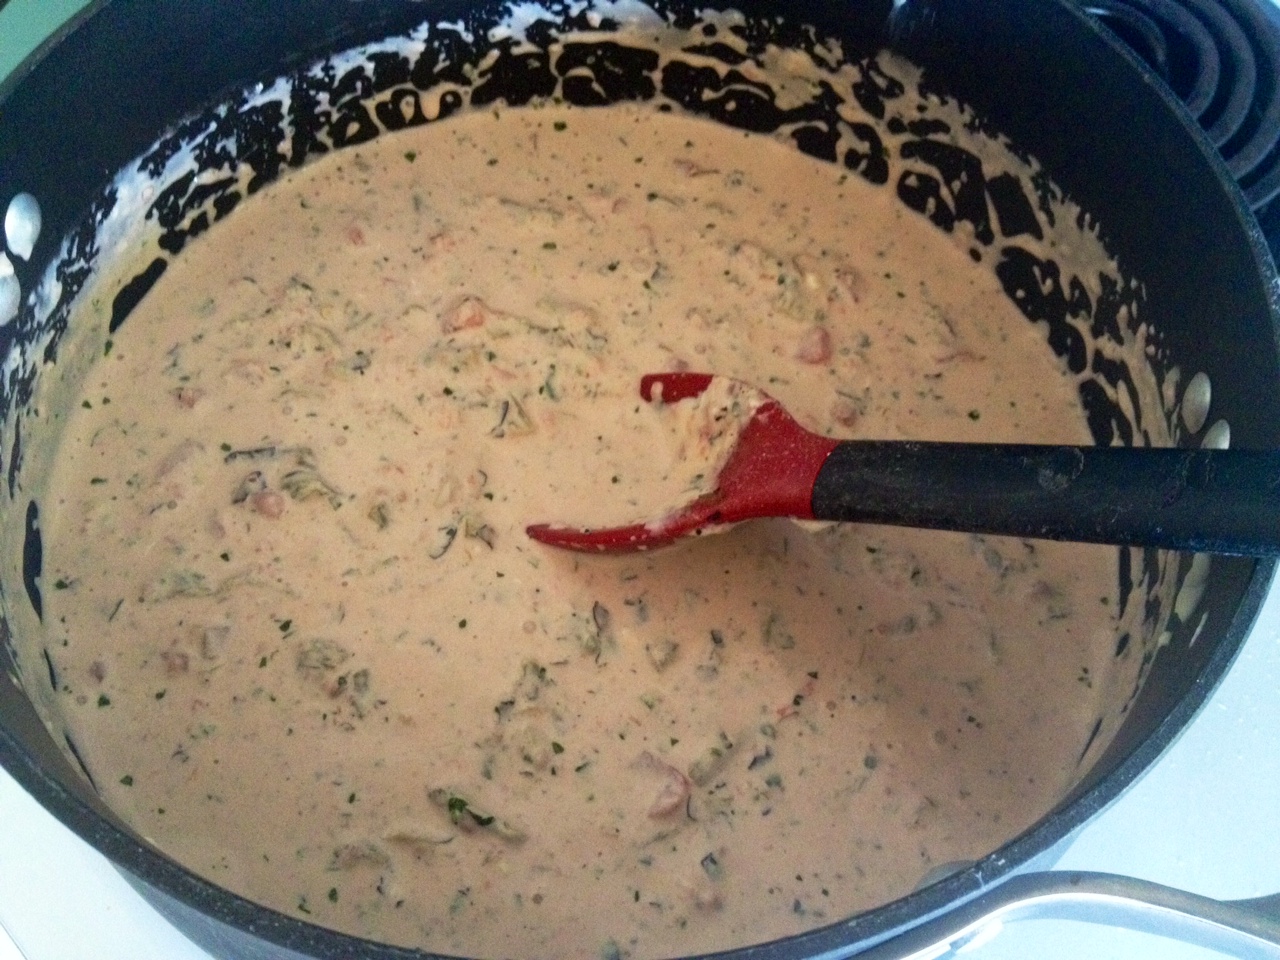
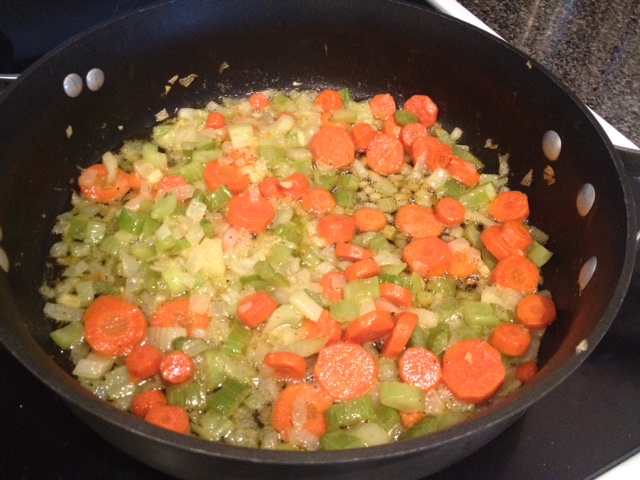
3. Meanwhile, add your butter, salt, and pepper to your veggies in your saute skillet and set that on about medium heat. You don’t want to brown these – you want to sweat them out and cook until they’re soft and the onions are transparent. This should take about 20-25 minutes. You’ll notice in this picture there is only 1/2 stick of butter present. I decided halfway through cooking these they needed more butter. I think the lesson here is clear: When it doubt, add more butter! Amen.
-6

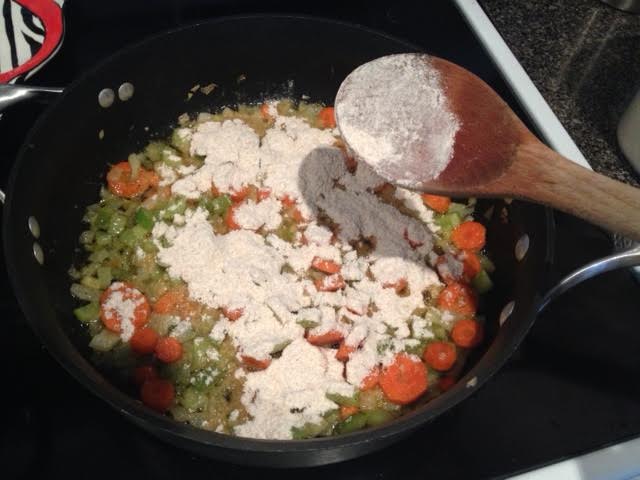
4. After your veggies are done cooking, add your flour and stir the veggies around for 3-4 minutes while the flour cooks through and it will thicken up the veggies. Then turn the heat off and set aside.
-9-10-11

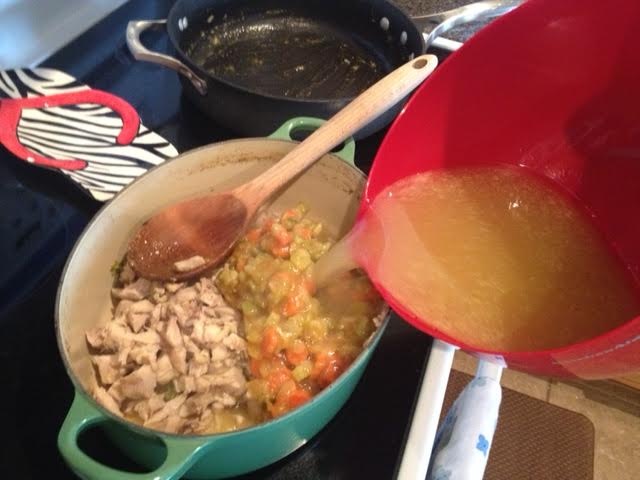
5. At this point your kitchen smells delicious! Don’t worry, you’re almost done… Now you’ll get out a strainer and dump your broth and chicken pot into it, allowing the broth to go into a bowl under the strainer and then pick out the chicken to cut into bite sized pieces on your cutting board (discard skin and bones).
-12-13-14

6. Discard the stuff in the strainer and pour the veggies, chicken, and broth mix all back into the pot and bring to a boil. Also, I added about 2 cups of water after dumping the broth in to thin it out a bit, but you can use your own judgement here. Then add 6 oz or so of your favorite noodles (I love egg noodles here) and allow to boil until the noodles are cooked. That’s it! Now the most delicious homemade chicken noodle soup is ready to eat 🙂
-15

Advertisement

Jalapeño Cheddar Biscuit Sandwiches

Standard
Jalapeño Cheddar Biscuit Sandwiches

Jalapeño Cheddar Biscuit Sandwiches

Have y’all seen that Whataburger commercial with the jalapeño cheddar biscuit? That’s what I’ve been dreaming about for weeks now, and being pregnant hasn’t done anything to help distract my cravings. However, in the spirit of being quasi-healthy and definitely easier on the pocketbook than daily stops to Whataburger, I decided to make these from scratch and with whole wheat flour. Also, I made a bunch of these and wrapped them in plastic wrap once they cooled and put them in a big ziplock in the freezer so I can take them out one at a time for my husband’s breakfast on the go. Go me! This recipe makes about 2 dozen biscuit sandwiches.

Ingredients:
4 cups of flour
1 T plus 2 tsps baking powder
1 tsp salt
3/4 c cold butter
1/2 tsp cayenne pepper
1 tsp paprika
2 jalapeños seeds and stems removed
10 oz shredded sharp cheddar cheese
2 c buttermilk
2 packages of your favorite breakfast sausage cut into patties

1. First, let’s talk about your flour. If you want to use good ‘ole white bleached flour because it’s delicious, go ahead. Also, it looks prettier than whole wheat flour. I like this kind because it’s less whole wheat more normal looking. The King Arthur Brand is what I recommend whatever flour you end up using.
image

2. Start fryin up your sausage. If you’re brand new to cooking breakfast sausage, you should know it’s much easier to slice the colder it is, and also use the tick marks on the plastic packaging to help cut uniform slices.
image

3. Combine your cold butter into the flour and other dry seasonings using a pastry blender. Now, if you’re like me and misplaced your pastry cutter along with other important things you rarely need but can never seem to find when you need them, dice up your butter with a knife into pea sized pieces before cutting it into the butter with a fork. Also, add pastry cutter to your shopping list. Then add your cheese, jalapeños, and buttermilk. Combine it all together.
image

4. You’re going to have a fairly wet loose dough, but that’s ok because you’re going to knead it on a slightly floured surface. Once you’re happy with the dough, roll (or use your hands – seriously does anyone still have rolling pins?) your dough into about a 3/4 – 1 inch thickness.
image

5. Next, get your handy dandy biscuit cutter (or top of a drinking glass if you don’t have one) and start cuttin’ them biscuits!
image

6. Have you been keeping an eye on your sausage patties? I hope so! Don’t forget to drain them on a paper towel. Also, keep that oil at the bottom of your pan to make a delicious gravy for these biscuits if you really want to be bad. (Does my hypocrisy know no bounds?)
image

7. Pop these puppies into a 400 degree oven for 15-18 minutes depending on how hot your oven gets and how evenly it cooks. Every oven is different, so just be sure to keep an eye on them towards the end.
image

8. Your biscuits are done! Now just add your sausage patties to them to complete the sandwiches. If you like extra cheese (who doesn’t?) slap on a slice of American or add a fried egg on top of your patty. The possibilities are endless!
image

Cream Cheese Chicken Enchiladas

Standard
Cream Cheese Chicken Enchiladas

Chicken Enchiladas With Cream Cheese Sauce

So, once again I had leftover grilled chicken and needed to do something with it, plus I had a request for a chicken enchilada recipe, so naturally I made my delicious cream cheese chicken enchiladas. Back in college, my friend Jill used to make her chicken enchiladas very similar to this recipe, and I’ve taken it and done things a little different with it. Actually, many things are different from when I was back in college, like how much I can drink and how late I can stay up, but that’s neither here nor there. I love the cream cheese sauce instead of a sour cream sauce and think these are so yummy! Also, I’ll go ahead and say I ran out of shredded cheese (in our family we call this “sprinkle cheese”) at the end, so I didn’t have nearly as much cheese on top of the enchiladas as I would’ve liked. It was a Great American Tragedy lemme tell ya, but they were still tasty 🙂

Ingredients:
2-3 cups of chicken chopped, sliced, shredded, whatever (Don’t make this part hard on you – use leftover chicken, a store bought rotisserie chicken you picked apart with your hands, or pan sear some chicken and chop it up in your kitchen)
1 1/2 cups salsa (Yes, you can use store bought salsa if you’d like. However, I’d suggest adding some chopped cilantro to it since they never have that fresh taste to them)
2 8 oz packages cream cheese
1 can Rotel
2 cans diced green chiles (I like the Hatch brand hot ones, but mild is fine too)
1/4 tsp garlic salt
Pepper to taste
1 dozen tortillas
At least 1 cup shredded cheese

1. Place your cream cheese in a pot over the stove on low heat. Don’t rush this because it burns easily. Keep stirring it around until it’s smooth and creamy like this.
-12

2. After it’s melted and creamy, add your salsa, Rotel, chiles, garlic salt, and pepper to cream cheese and stir. Taste the now pinkish mixture to see if you want to add more salsa to it or if you like it how it is. Keep on low to medium heat.
-13

3. Take one cup of the cheese sauce and pour over your chopped/sliced/shredded chicken. It will now sort of look like the most delicious chicken salad you’ve ever seen in your life! -14
-1

4. Spray a 9×11 baking dish with non-stick spray and preheat your oven to 350. Start to fill up your tortillas with about two spoonfulls each of chicken mixture.
-2

5. As you’ve heard me say before, I like corn tortillas and my husband likes flour, so I had him come in and help hold down the corn ones because they’re a little tricky sometimes.
-3

6. Pour the cheese sauce all over the enchiladas and make sure to spread it out so it covers the entire baking dish and there aren’t any “naked” tortillas.
-4-5

7. Sprinkle as much shredded cheese as you like all over the enchiladas.
-6

8. Bake in a 350F oven for 20-30 minutes or until cheese is melted and sauce is bubbly 🙂-7