Tag Archives: Onion

Make Ahead Breakfast Burritos

Standard
Make Ahead Breakfast Burritos

2015/01/img_1734.jpg

My husband loves breakfast burritos, and these are a great make ahead breakfast thing for him to grab on his way out the door every morning. Just keep them in the freezer and reheat one whenever you want it. This recipe makes a dozen burritos.

Ingredients:

8 eggs
1/2 c milk or half and half
Grated cheese
12 tortillas
3 Yukon gold potatoes
1 jalapeño
1 sweet onion
1 garlic clove
1 1lb package of bacon
3 T butter
Salt and pepper
Salsa (optional)

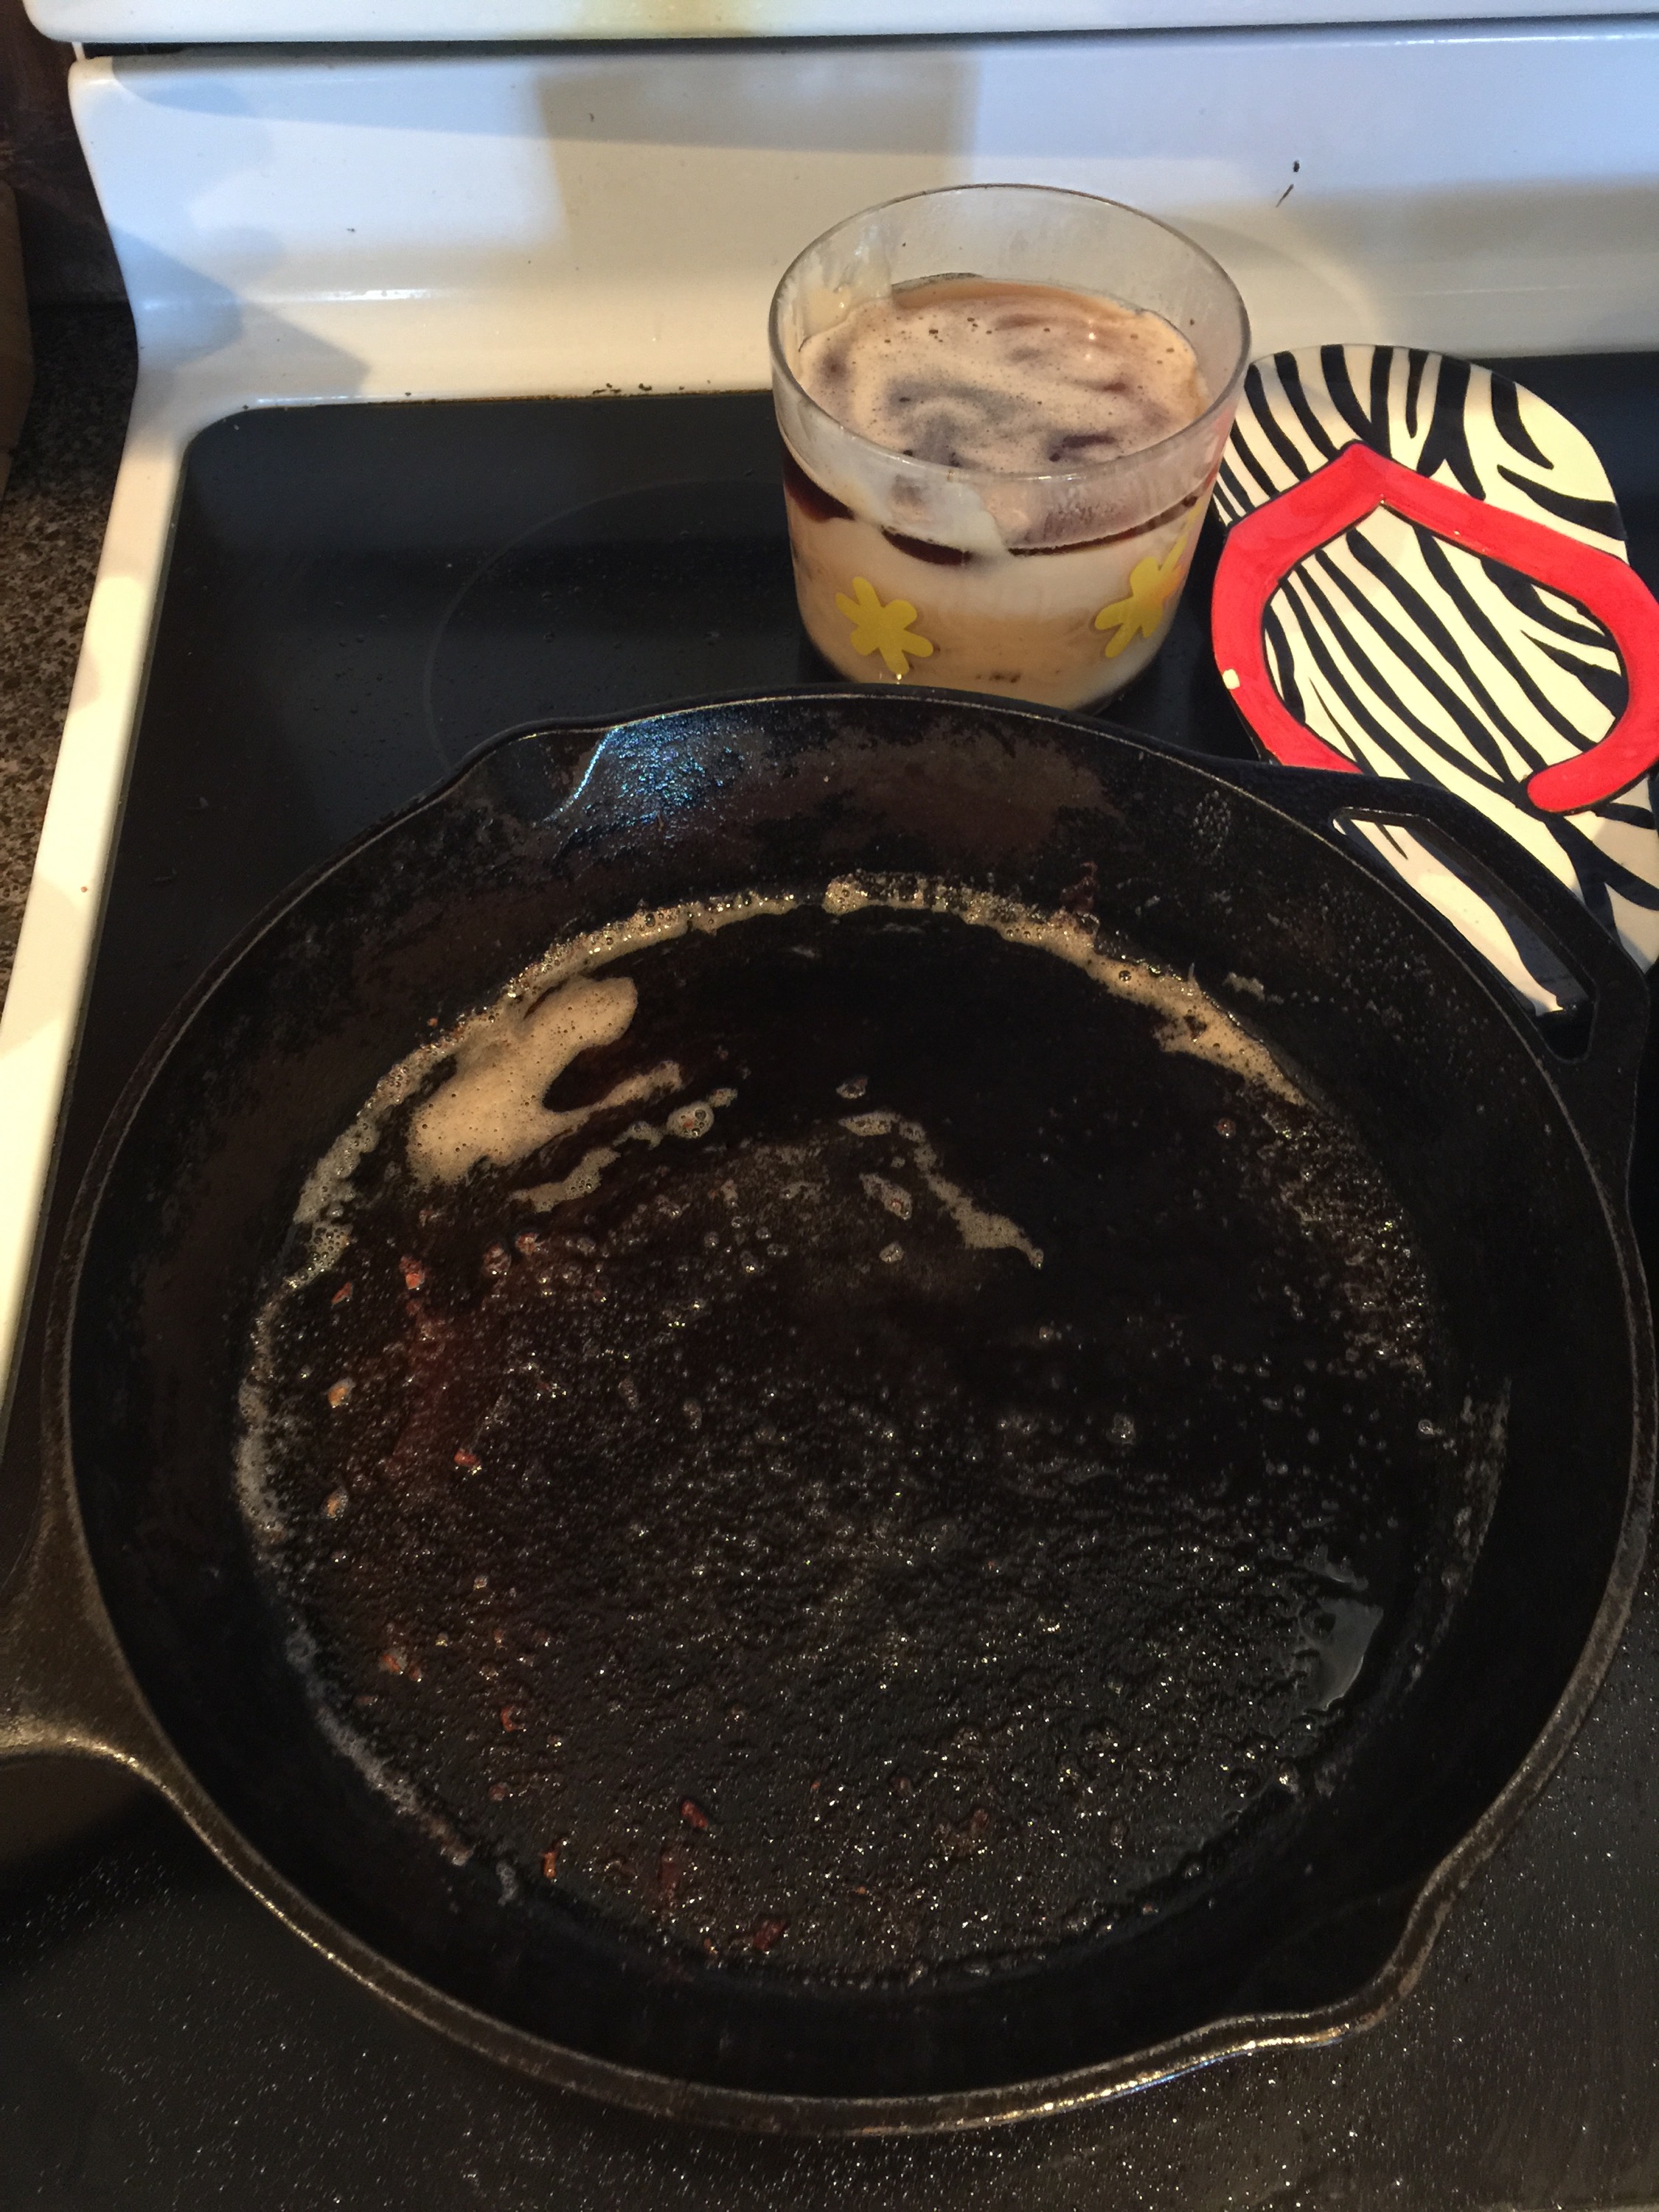
1. First, dump your package of bacon into a large skillet. I’ll be using Old Faithful AKA my cast iron.

2015/01/img_1720.jpg

2. Once your bacon is cooked, set it aside on a paper towel to drain and crisp up. Then pour off 90% of your grease into your bacon grease bowl (I know every good Southern cook knows what I’m talkin’ bout here). Keep the rest of the grease in your skillet to help the veggies along.

2015/01/img_1721.jpg

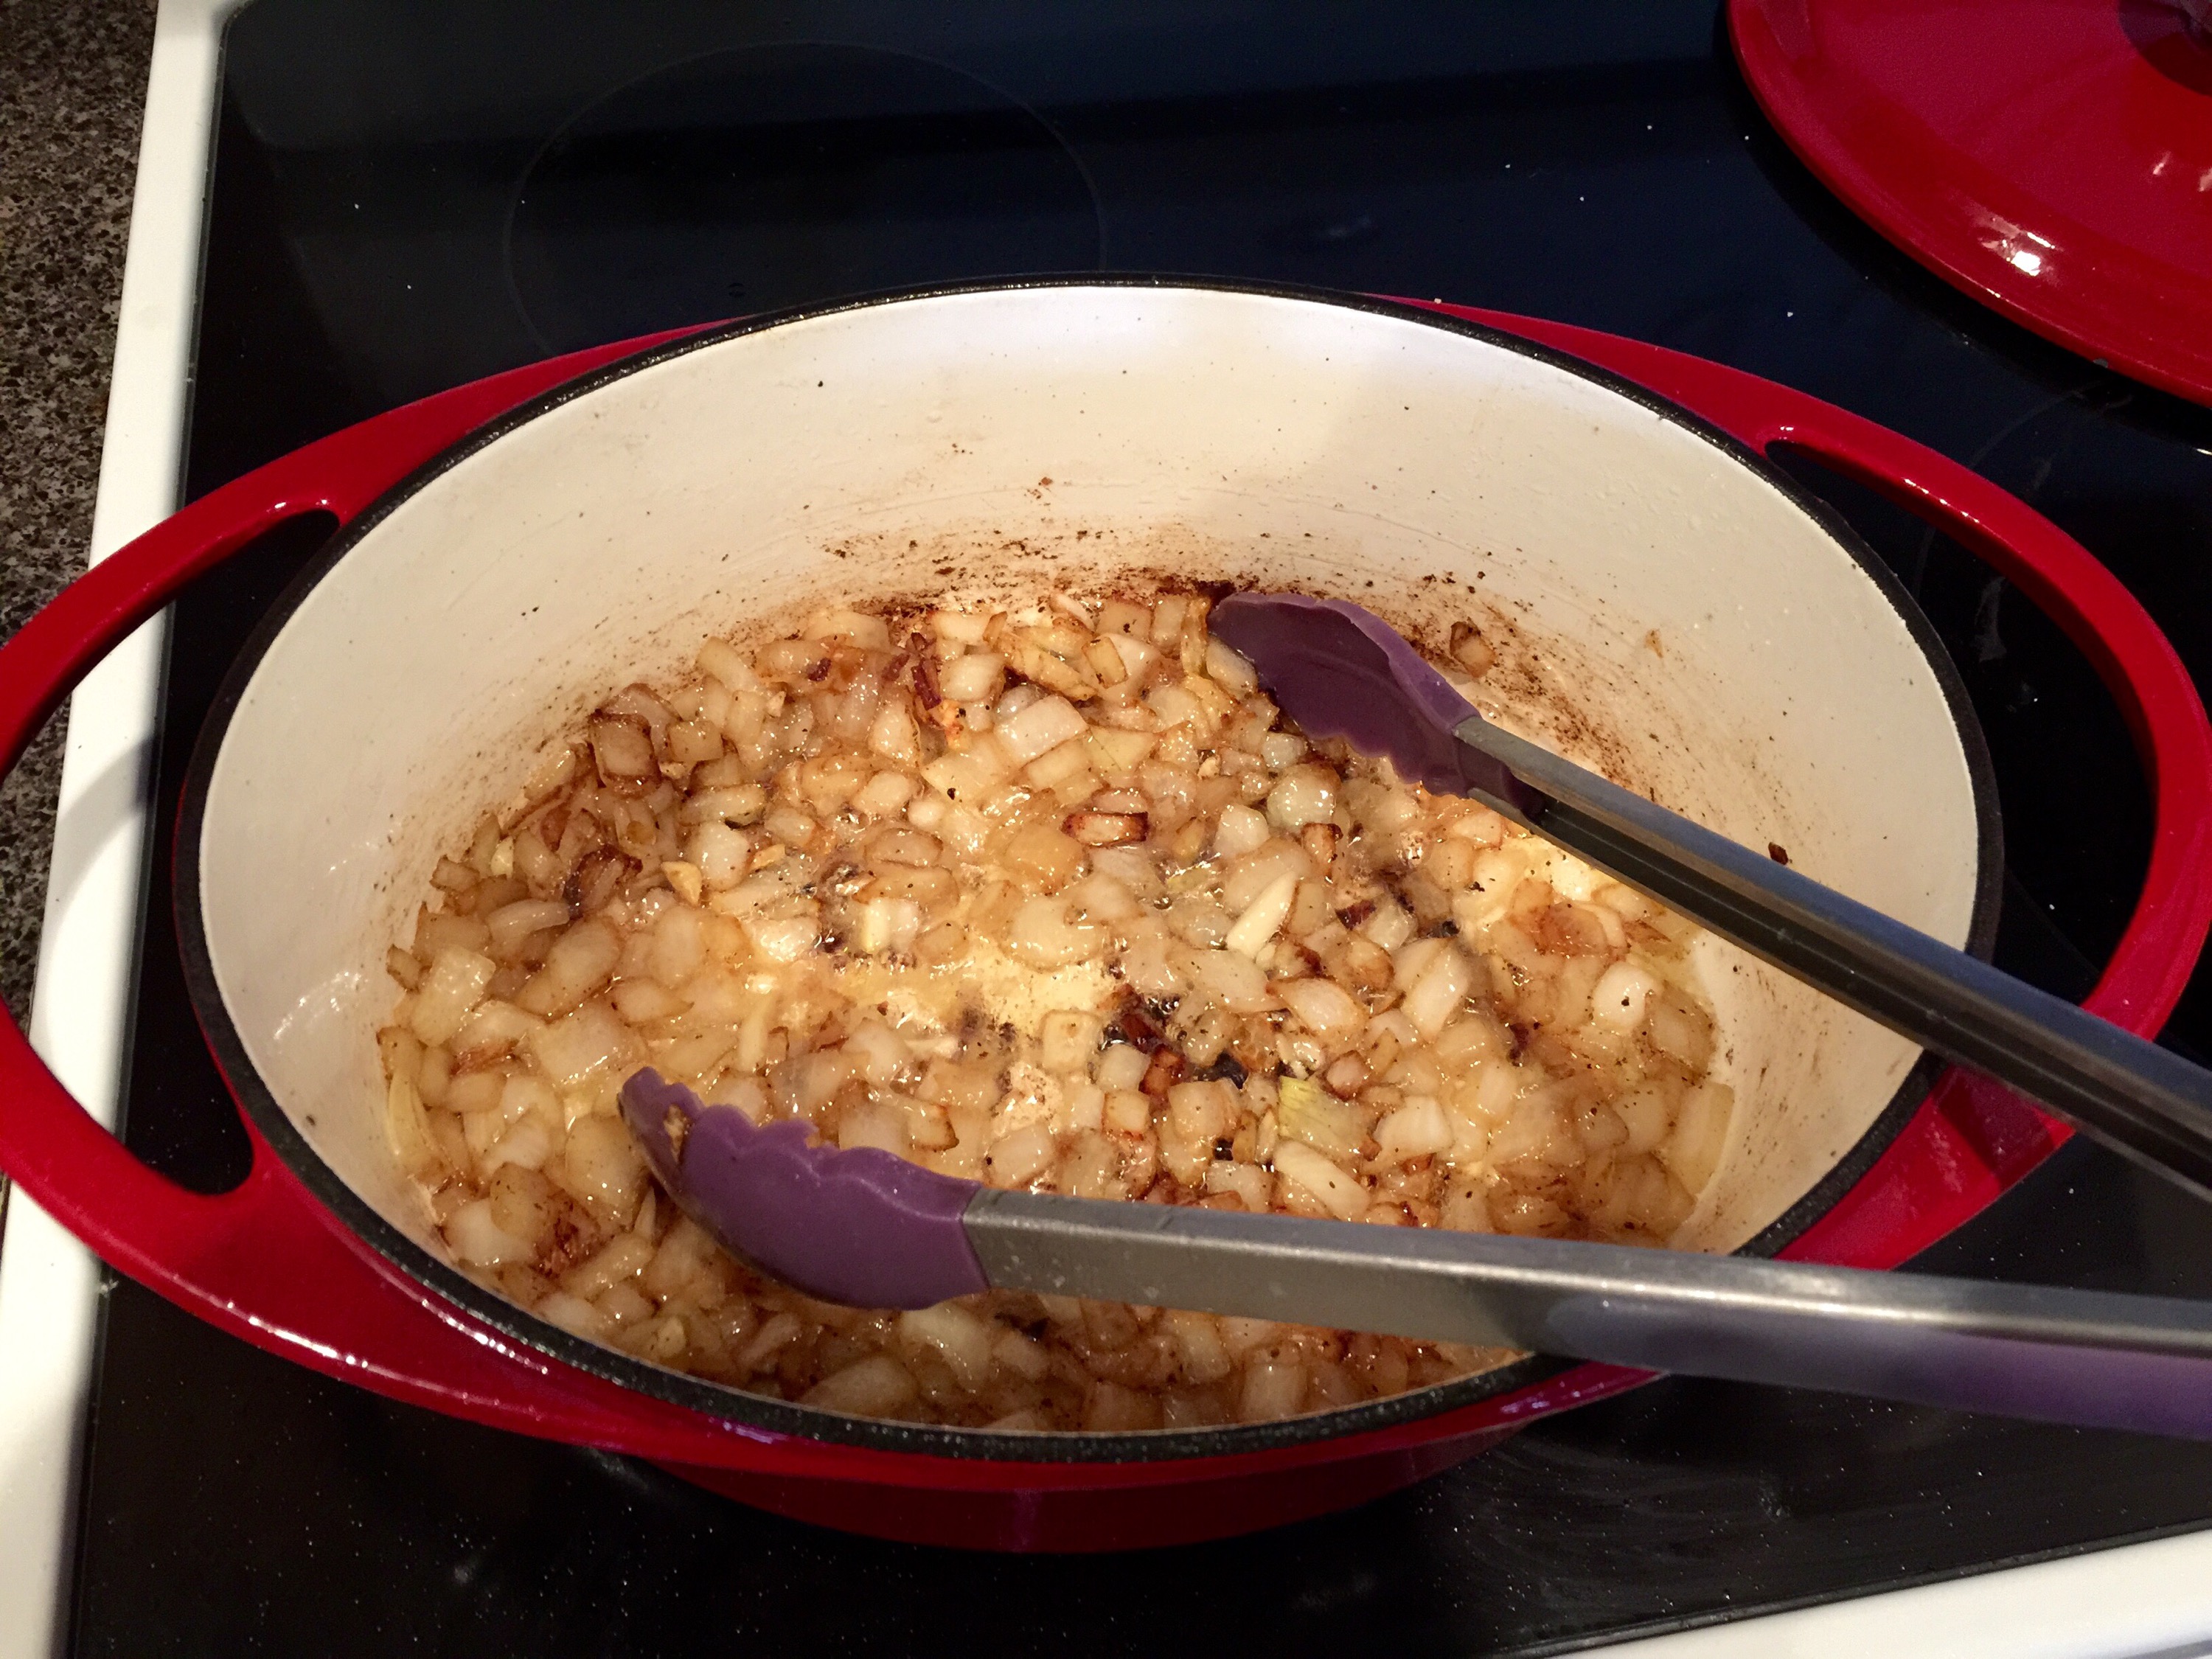
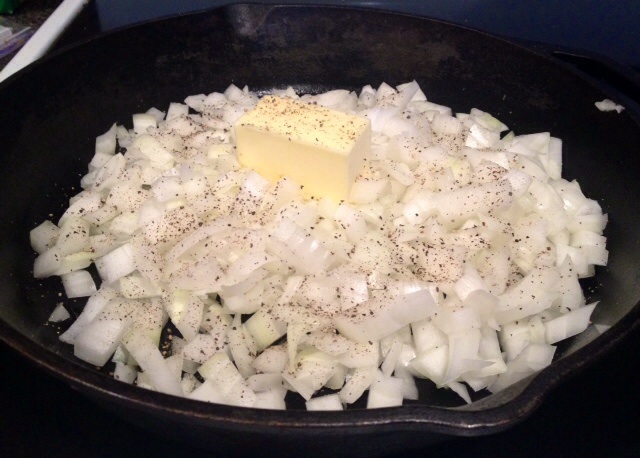
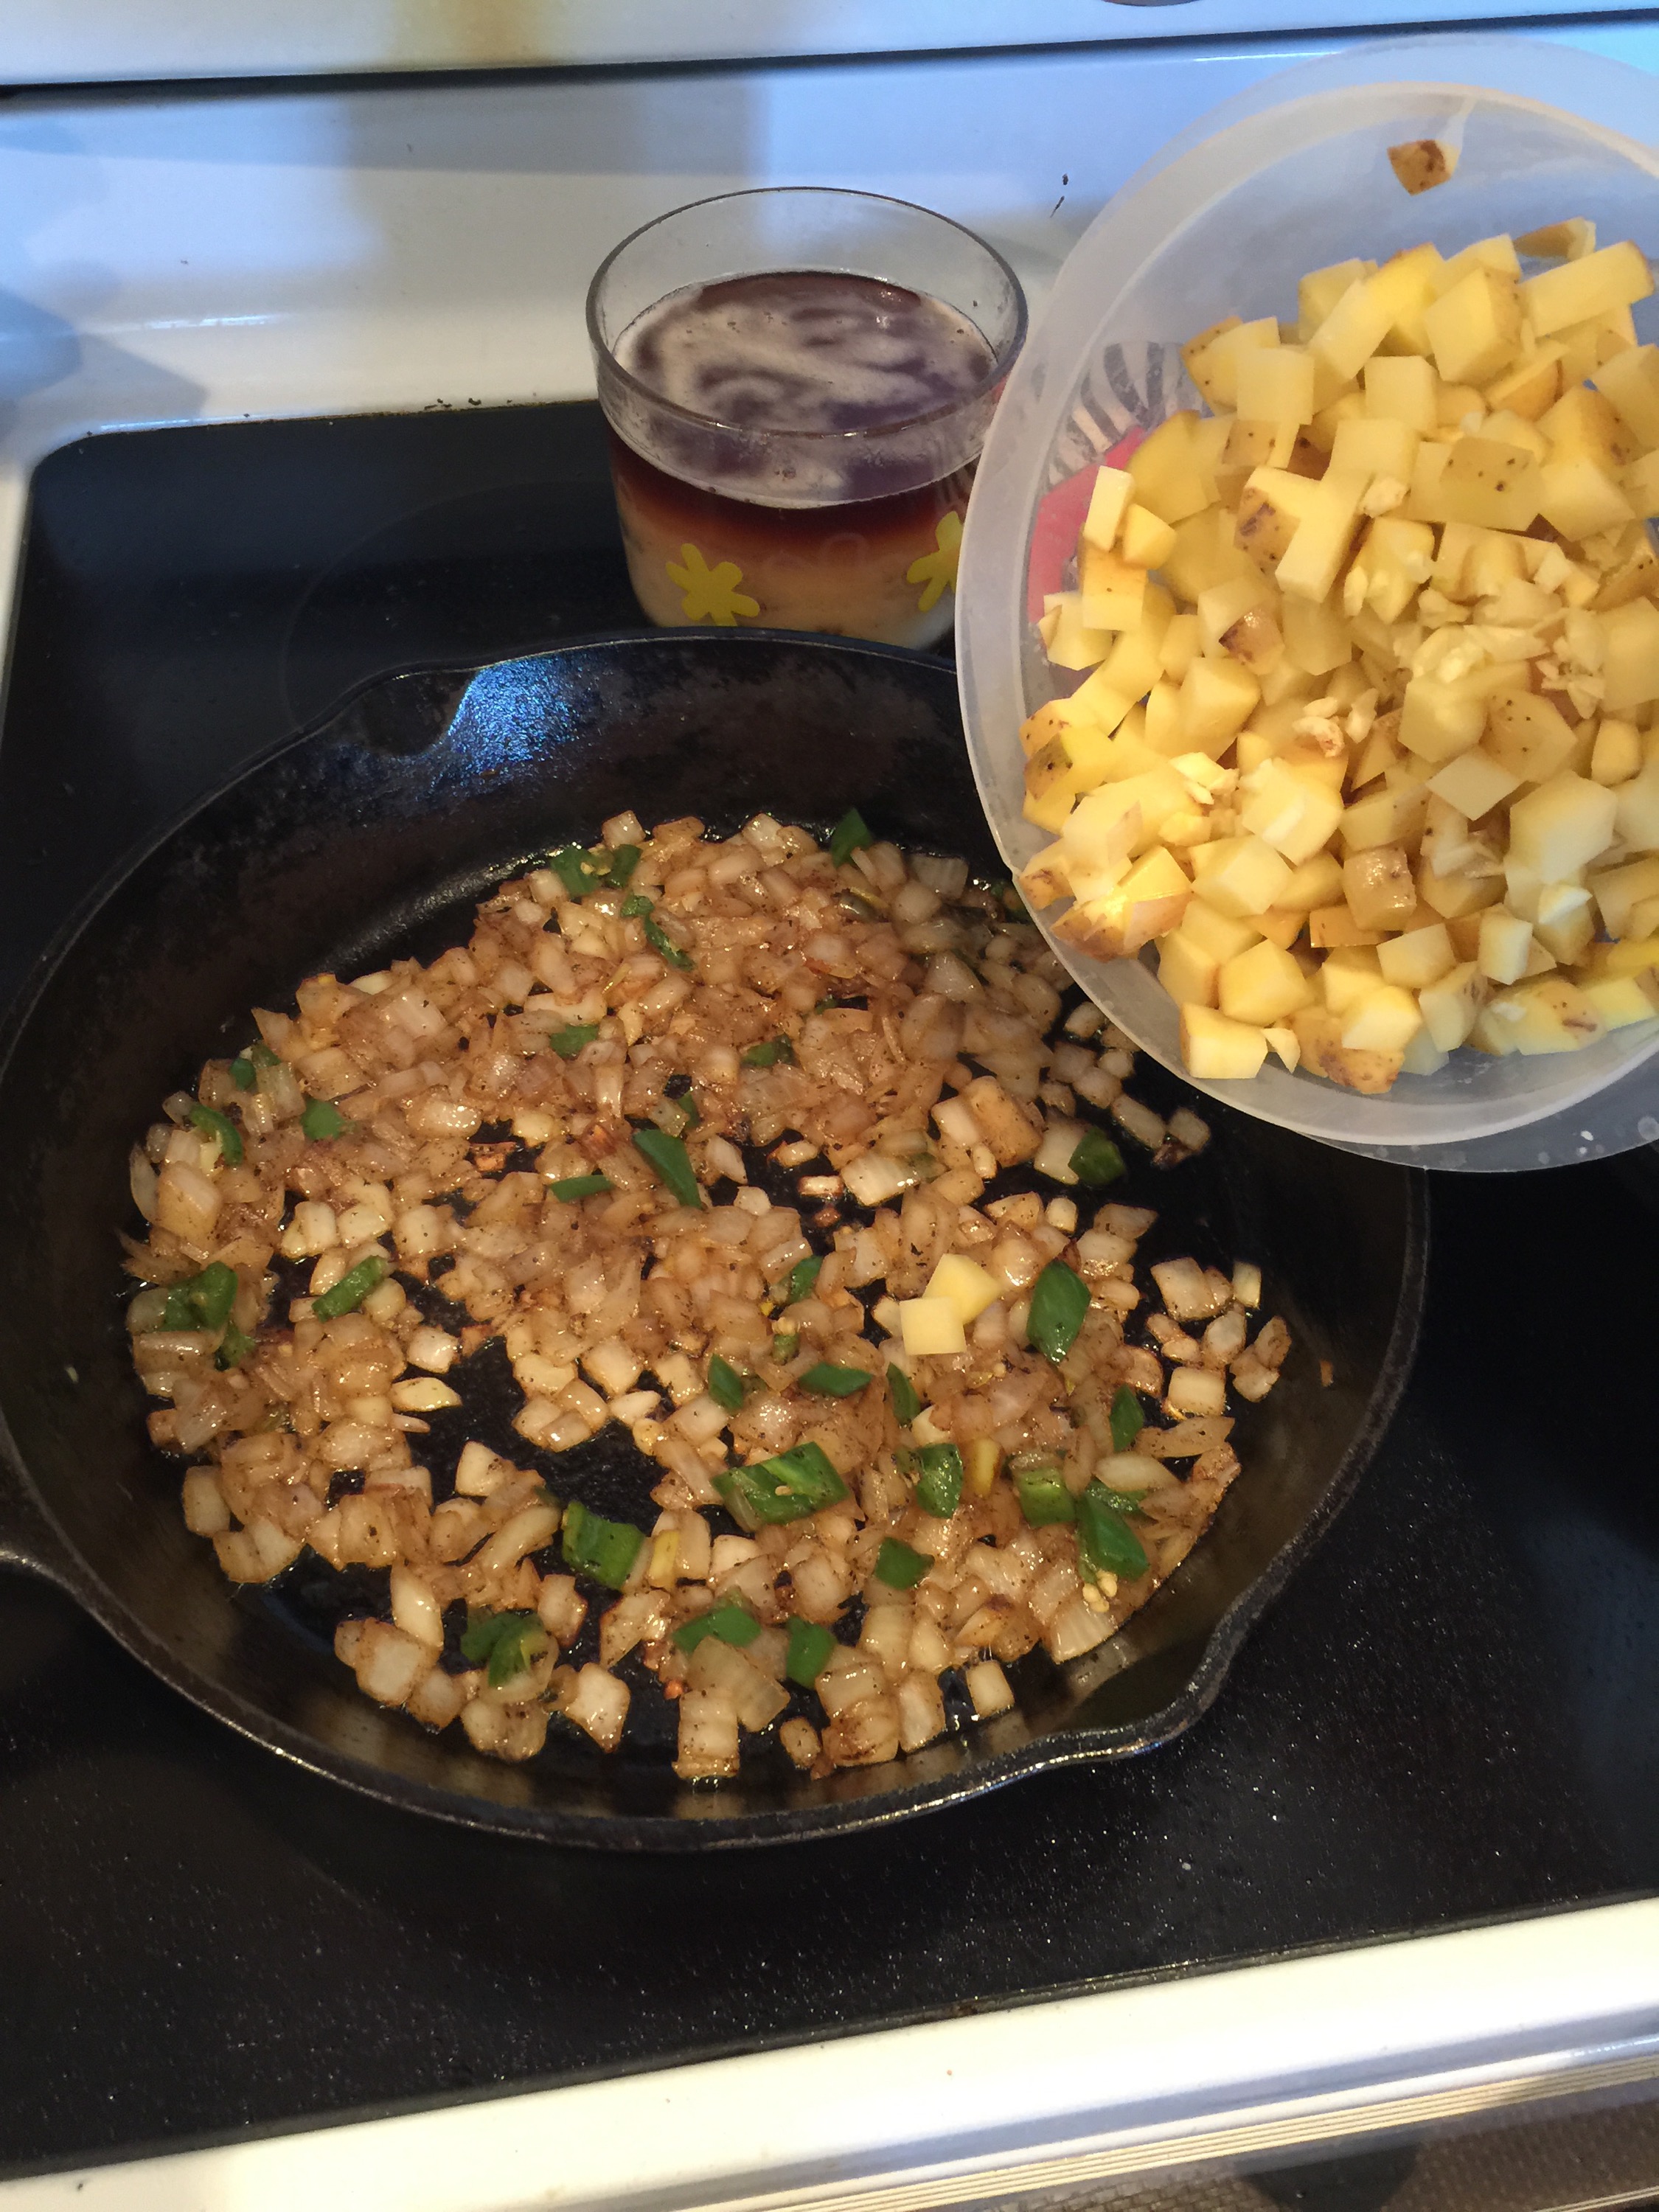
3. Add your chopped onion and jalapeño and 1 T butter. Sauté for 10 minutes or so.

2015/01/img_1722.jpg

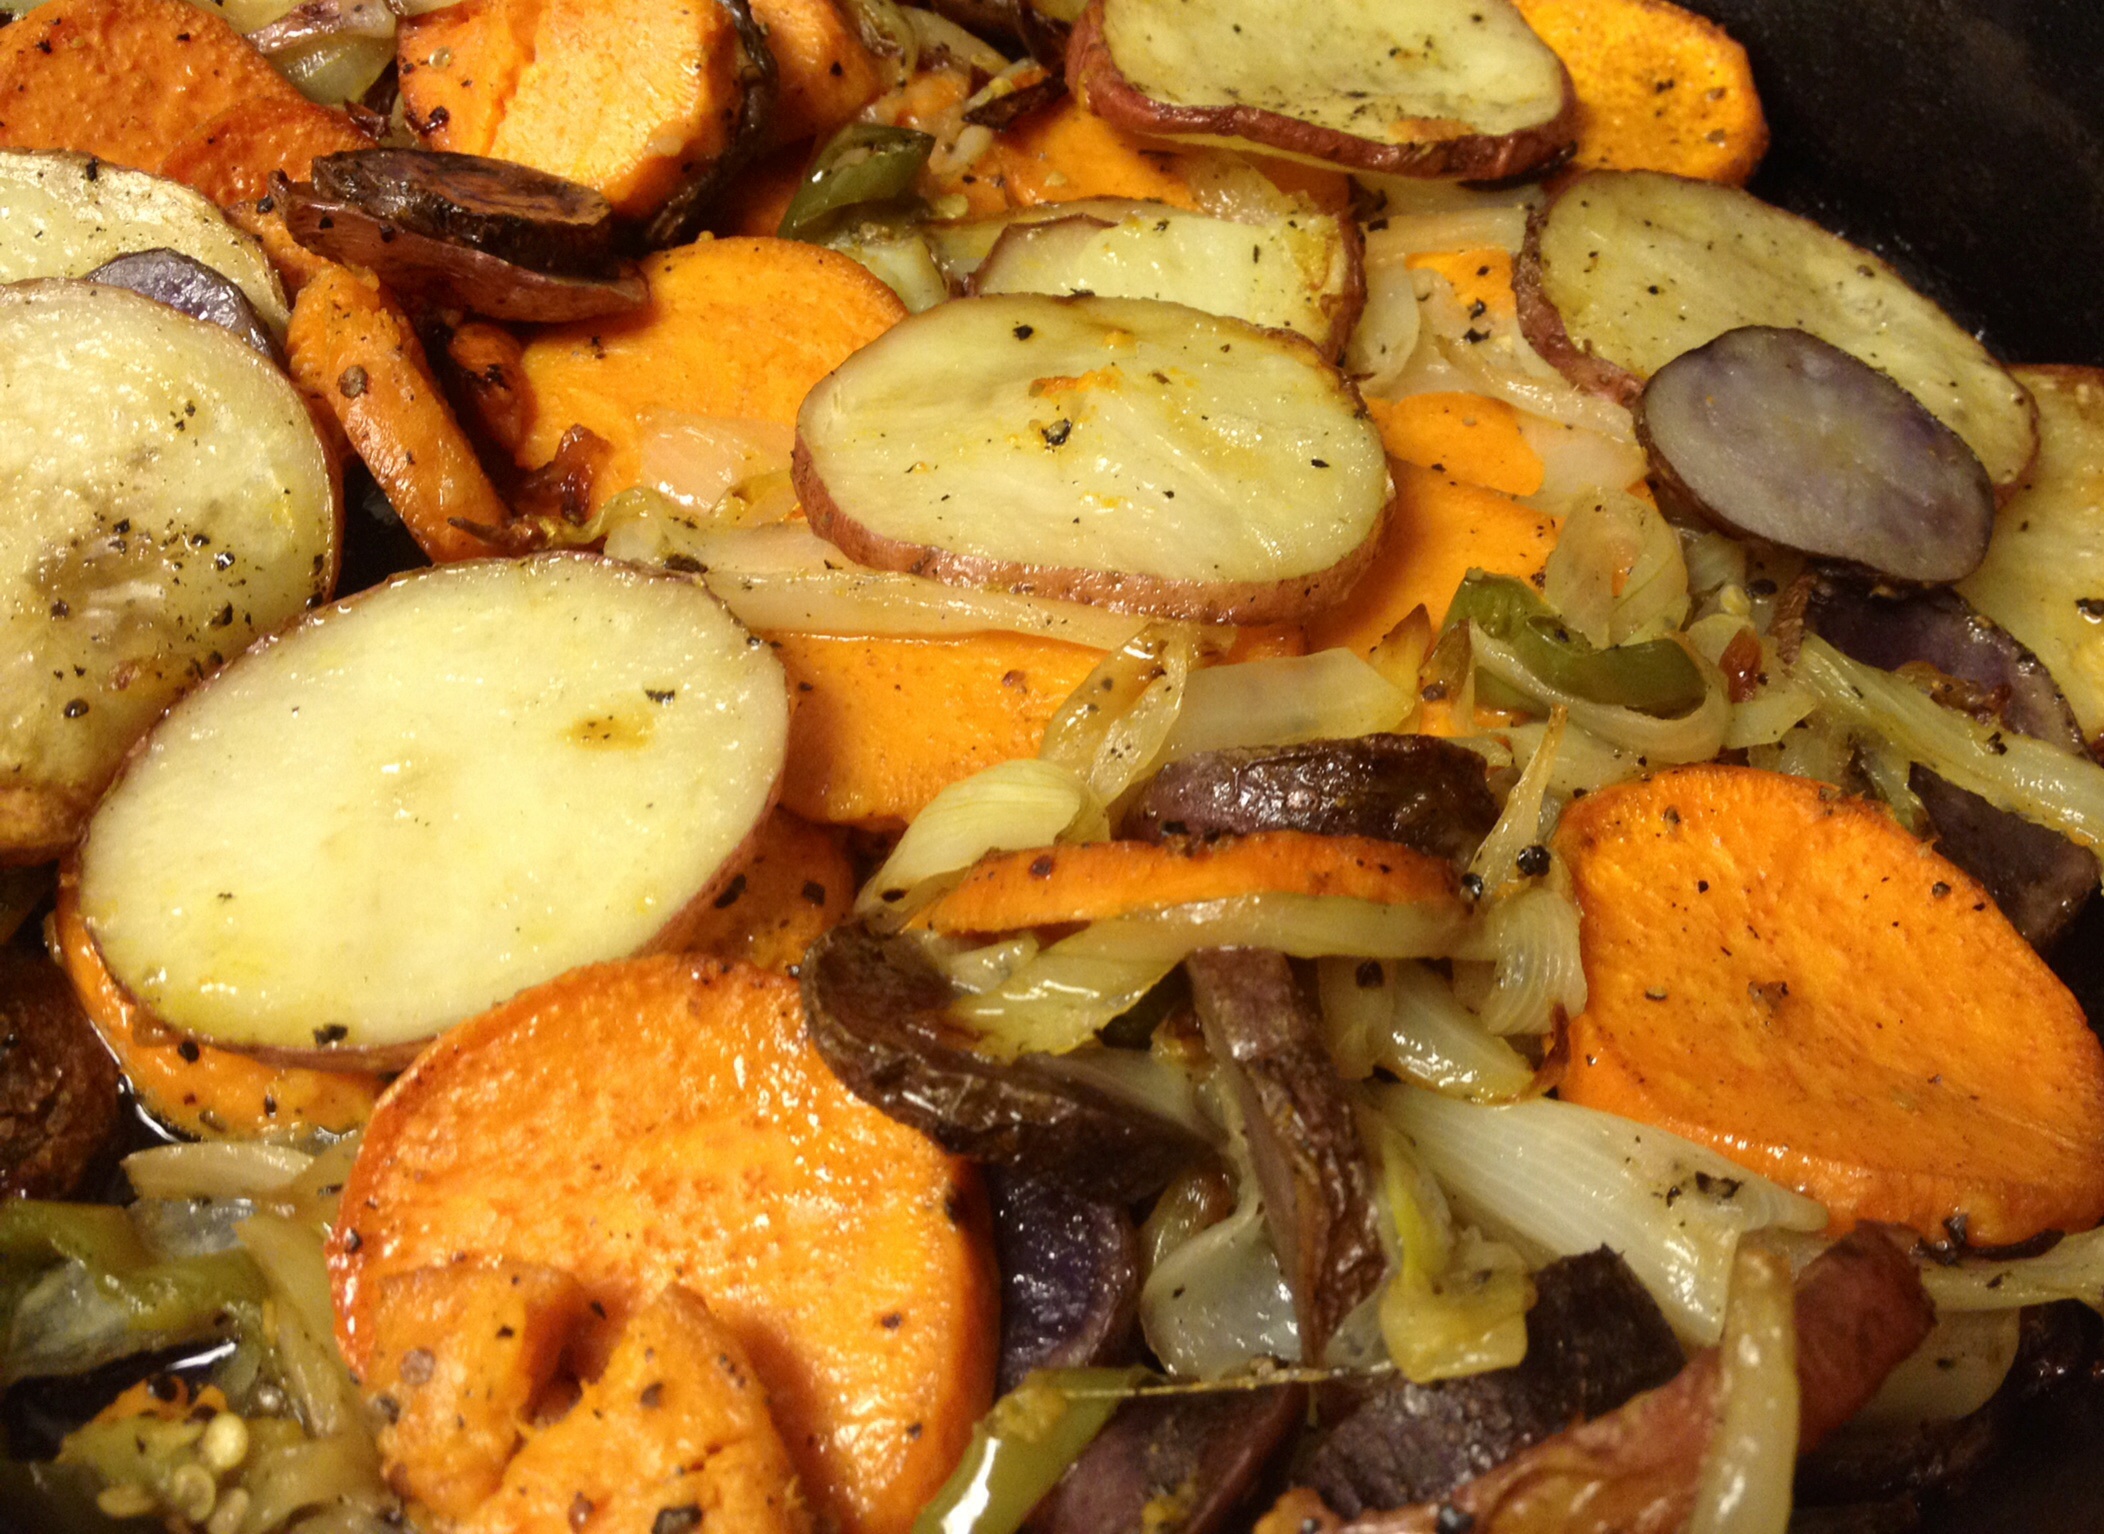
4. Once your onions start turning golden brown, add your diced potatoes and garlic, plus another T of butter. Season it all with salt and pepper.

2015/01/img_1723.jpg

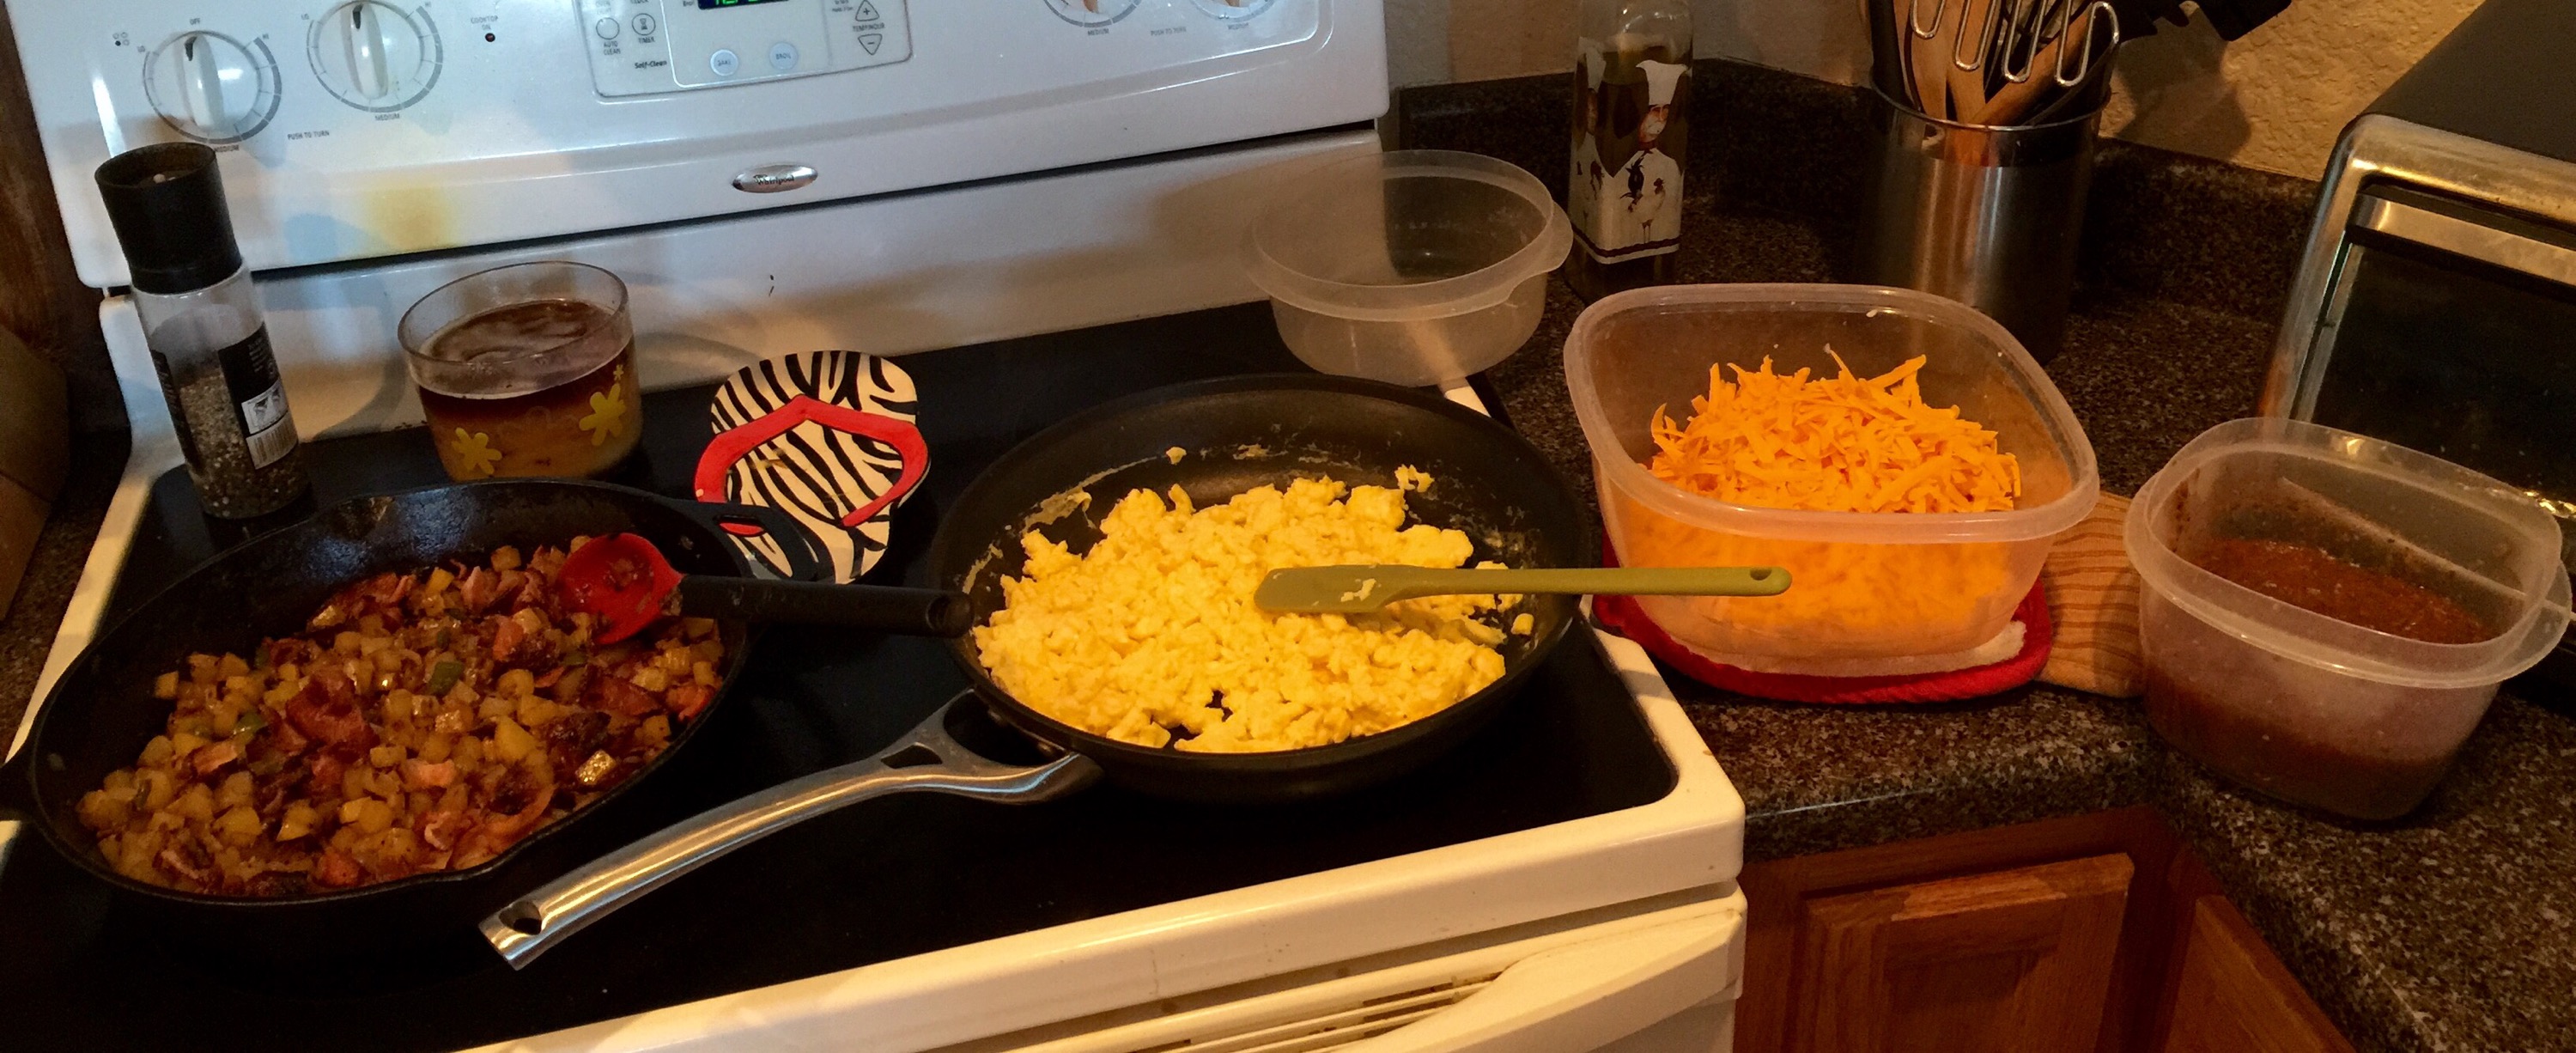
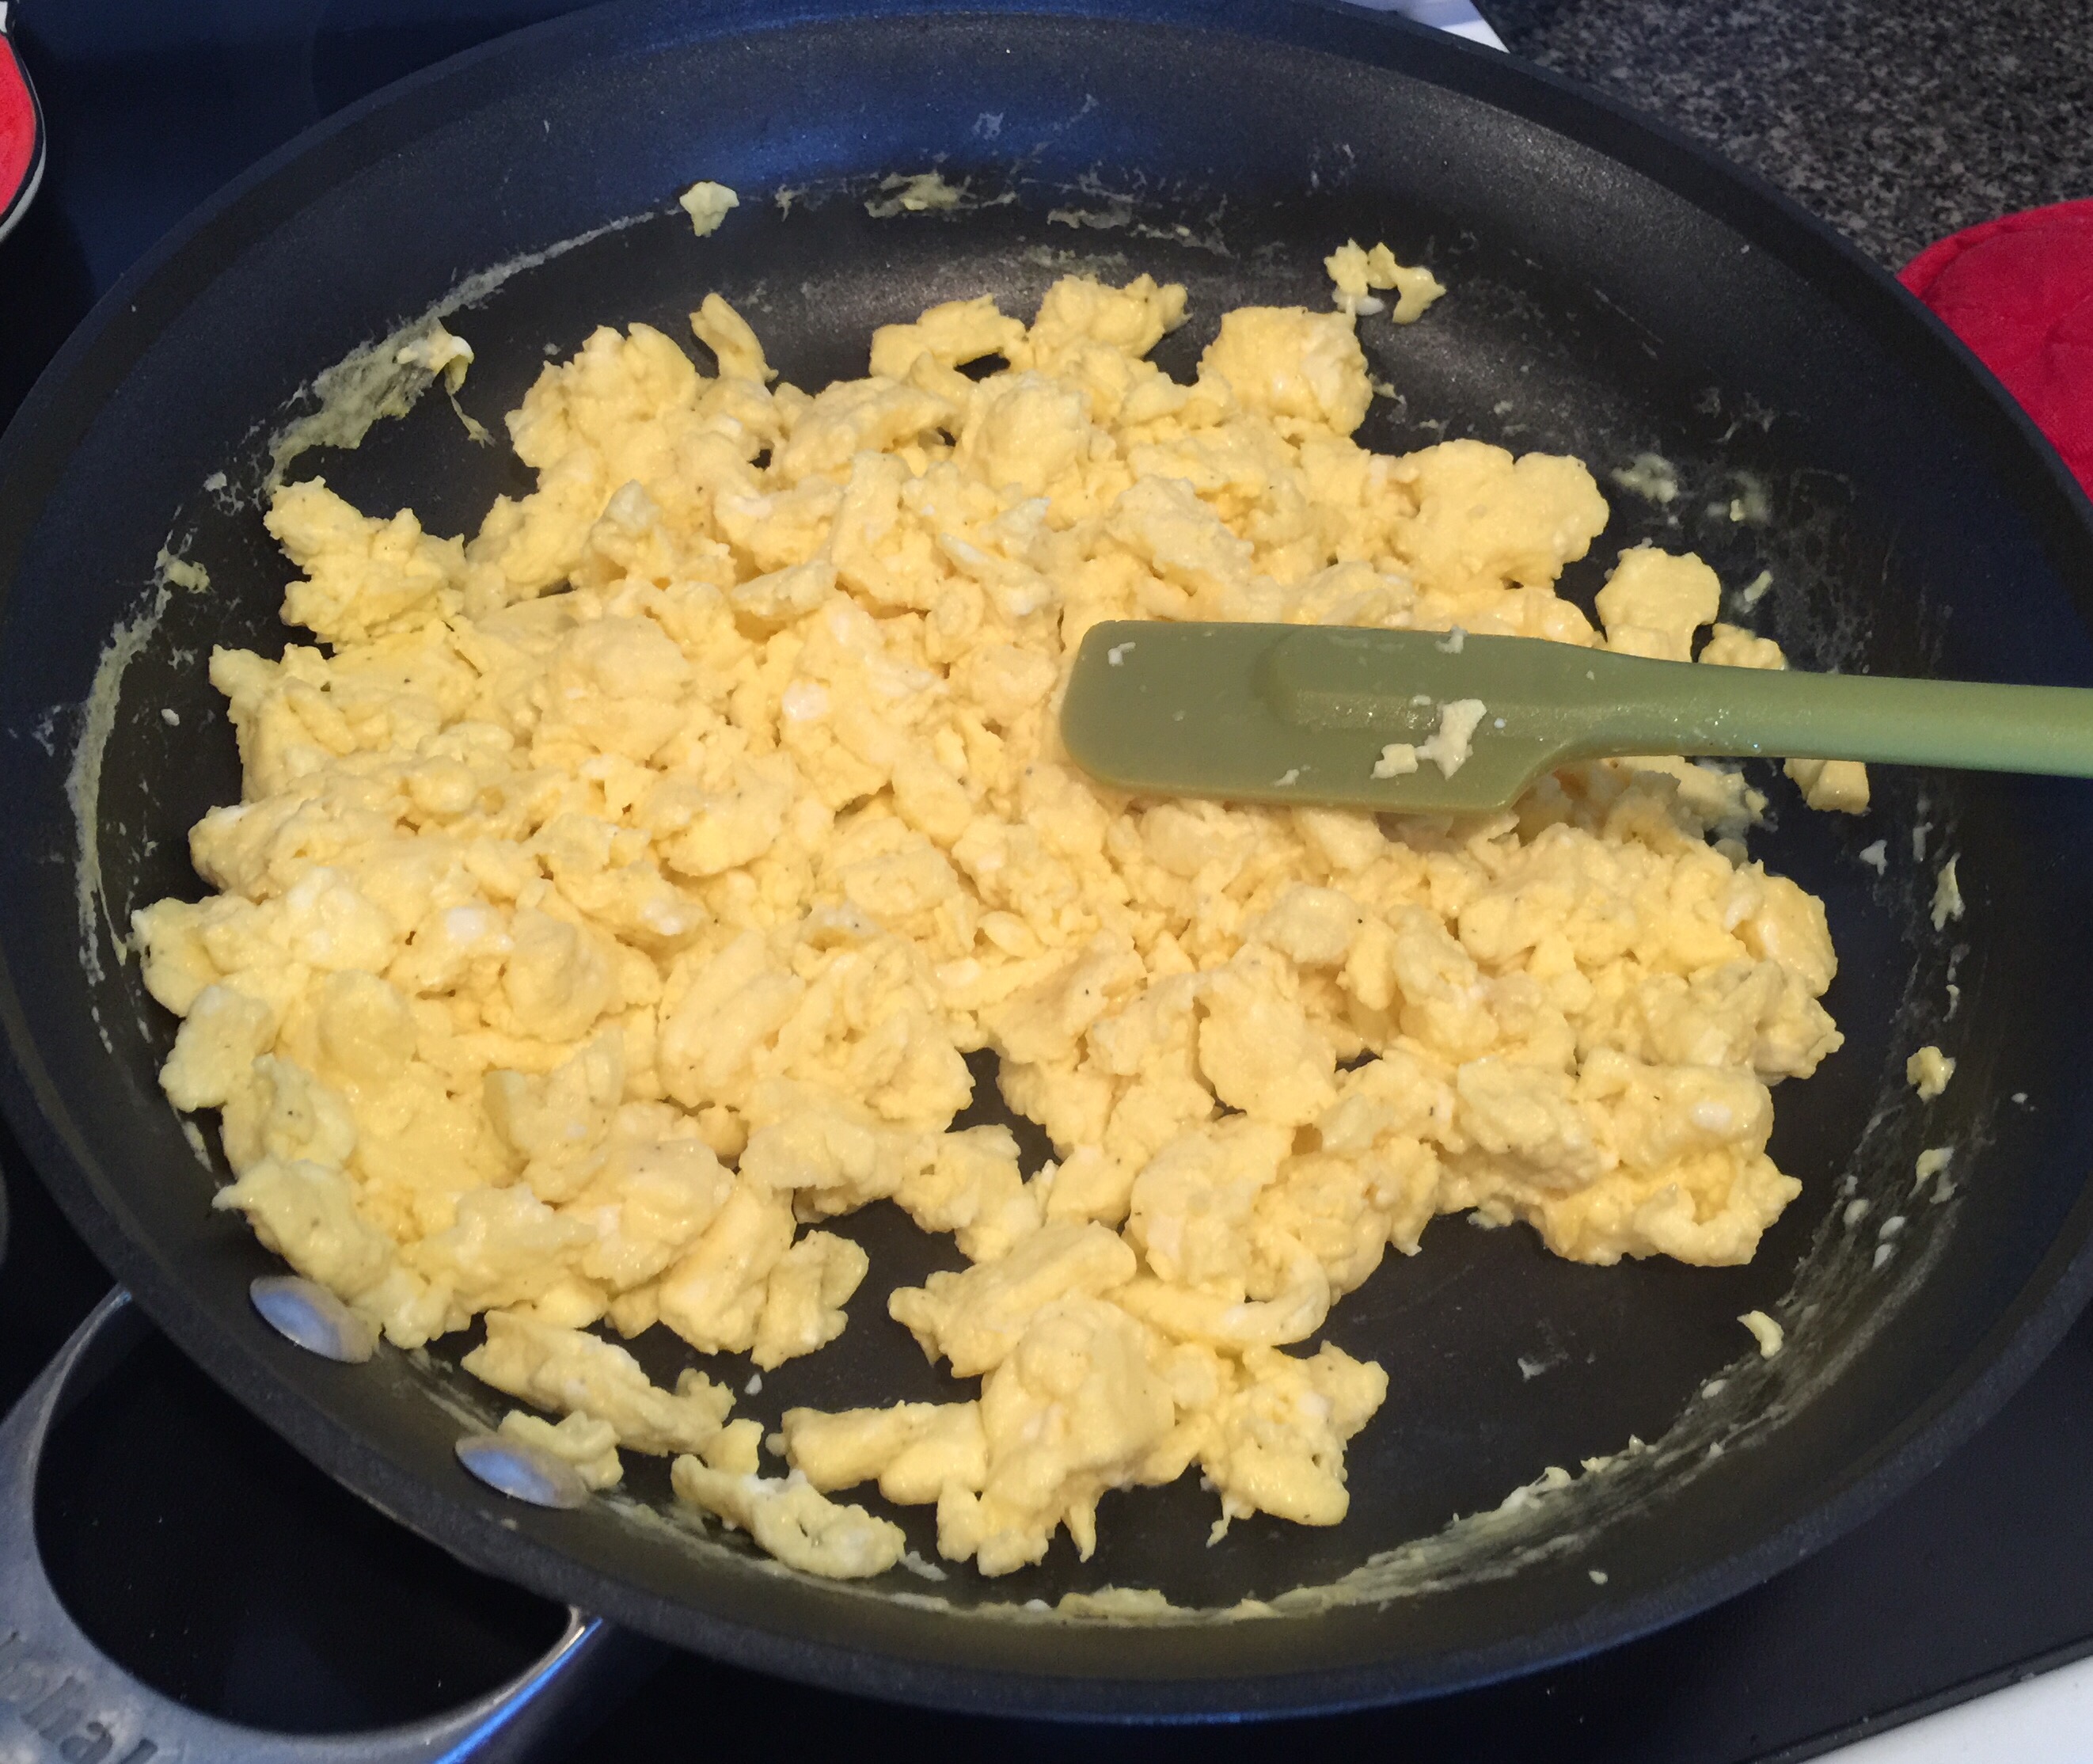
5. This is when I started making the eggs. I make them separate because I like to control the amount of egg in each burrito. I don’t like it when it’s all mixed together. The rule of thumb is 1 T of liquid per egg, so that’s 1/2 c (8 T) milk or half and half whipped into the eggs. Also salt and pepper these as well. Add to a skillet that has your last T of butter melted in it. Stir with a soft spatula and watch it all come together.

2015/01/img_1724.jpg

2015/01/img_1725.jpg

2015/01/img_1727.jpg

2015/01/img_1728.jpg

2015/01/img_1731.jpg

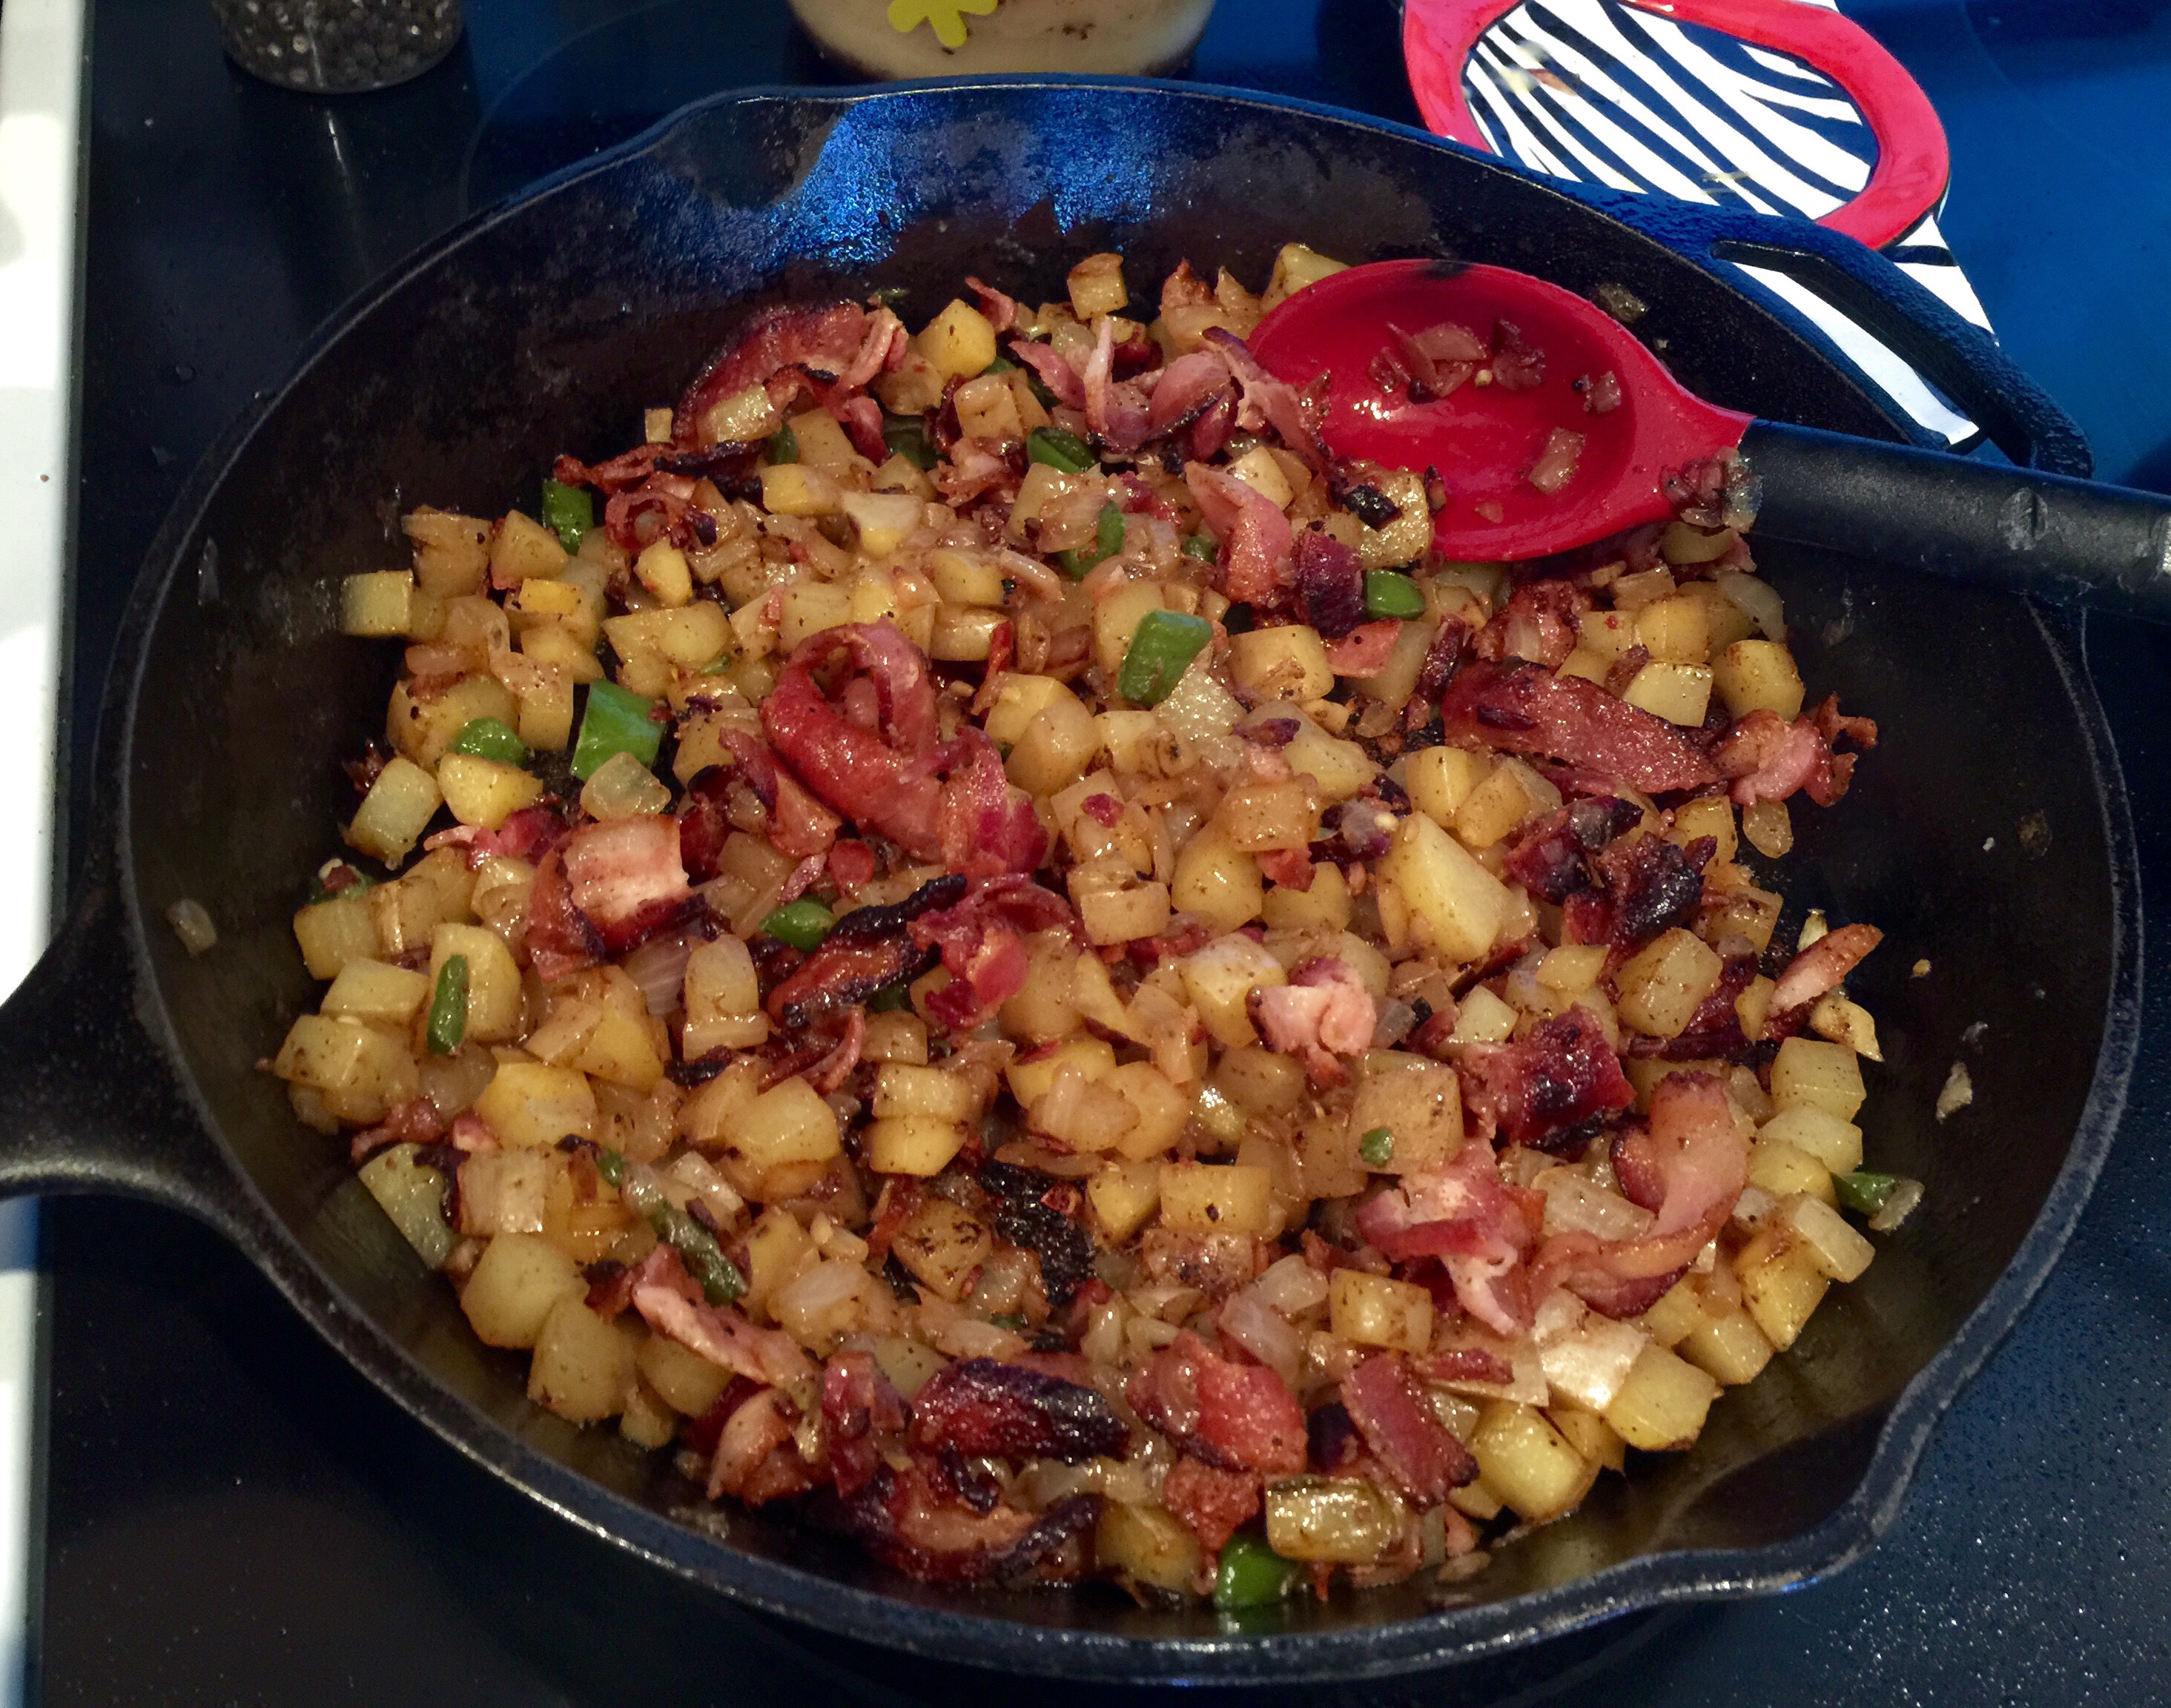
6. Once your potatoes are done cooking in the onion and pepper mix (about ten minutes), crumble up your bacon back into the skillet.

2015/01/img_1730.jpg

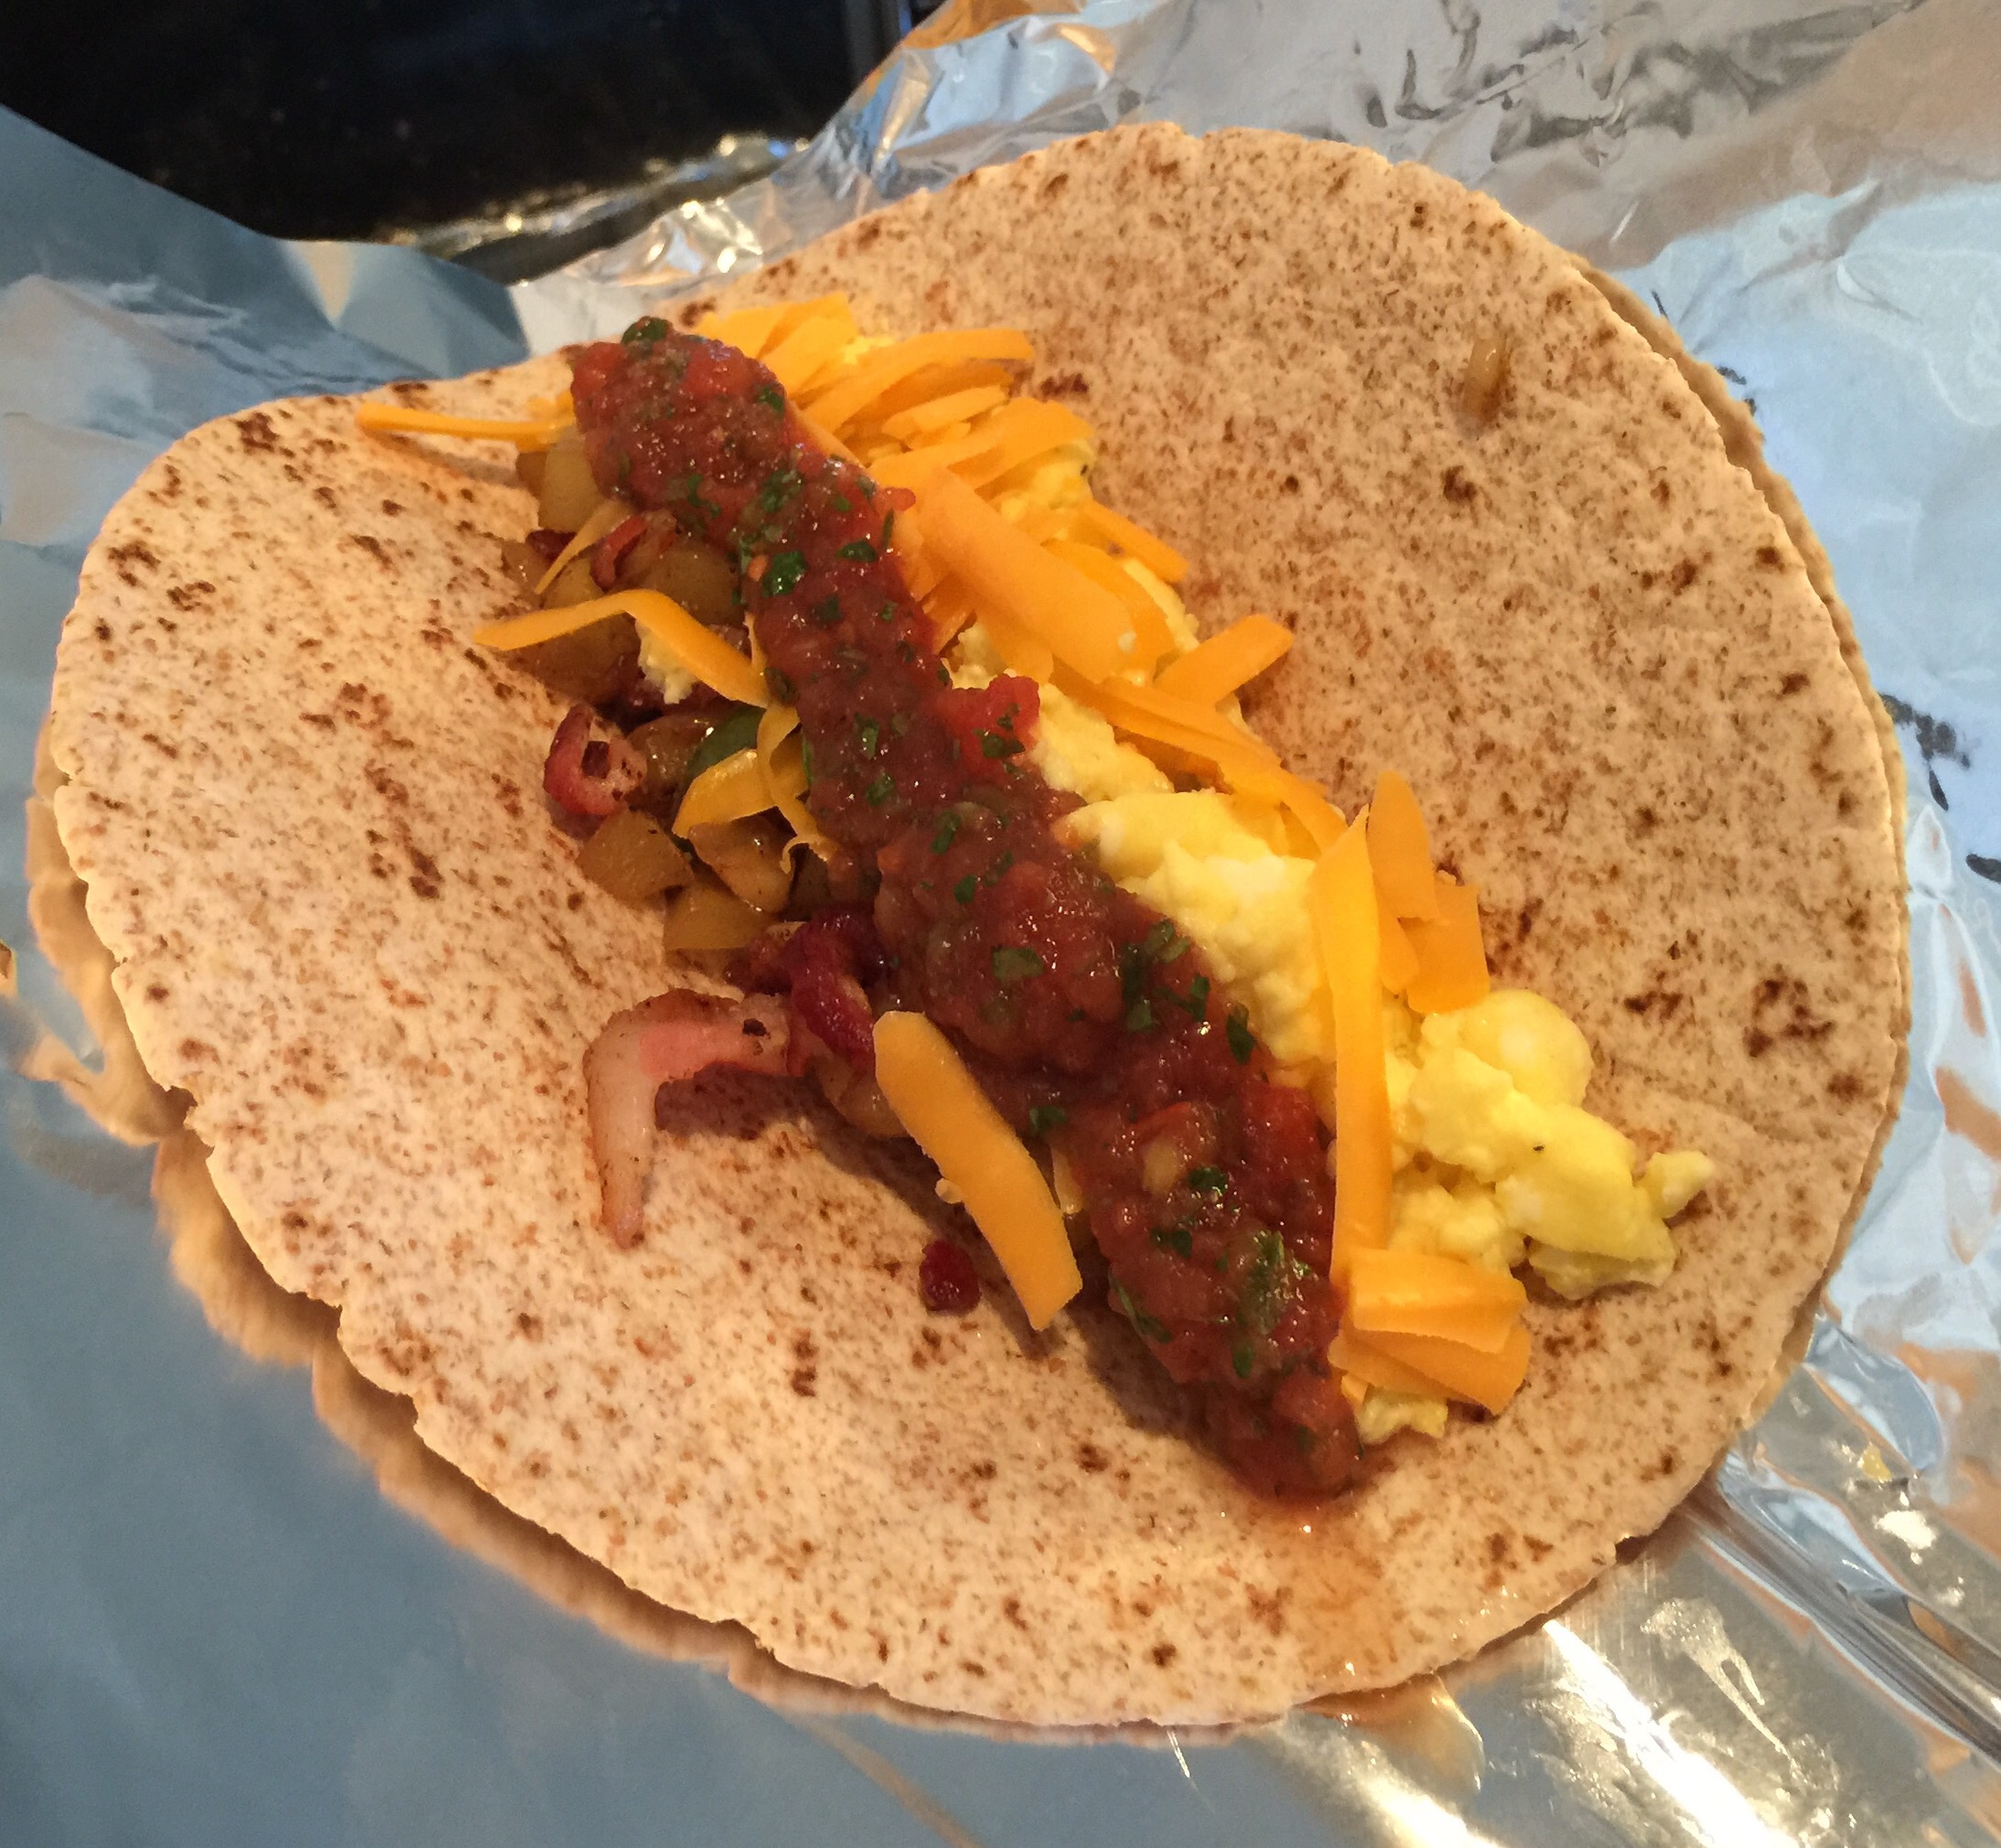
7. Now get yourself a little burrito assembly line going. I pre-cut 12 pieces of foil and had them ready to put my tortilla on, add skillet stuff, eggs, grated cheese, salsa, wrap up, repeat! Yum! Also, you can use any salsa you want, but if you like homemade salsa you can find my recipe here.

2015/01/img_1732.jpg

2015/01/img_1735.jpg

Advertisement

Easy Oven BBQ Chicken

Standard
Easy Oven BBQ Chicken

2015/01/img_1417.jpg

Do yall ever just feel so exhausted you feel like making dinner is equivalent to climbing Mt. Everest? That’s how I felt yesterday after doing 4,573 piles of laundry. I was actually buried alive there for a little bit and things got iffy, by I made it out ok. I was craving my other BBQ Chicken, but as I said before, I had no energy and no ability to baste my chicken because I knew my arms would fall off. So I did it this way instead, and it was just as delicious and very easy to do!

Ingredients:
3 lbs chicken thighs bone in skin on (the cheap chicken thigh pack)
2 garlic cloves chopped
1 sweet onion
1 c BBQ sauce (Head Country is the best)
6-8 oz apricot jam (Mine was an 8 oz jar I had eaten some out of already, but you get the drift 😄)
1/2 stick butter
Salt and pepper

1. Melt your butter in a heavy duty Dutch oven and once it’s hot, place your chicken skin side down to get a nice sear on it. Make sure to season it with salt and pepper. Flip it over after a few minutes and then set it aside. It’s far from cooked, but we just want to get the skin crispy for later.

2015/01/img_1406-0.jpg

2015/01/img_1407-0.jpg

2015/01/img_1408-0.jpg

2. Now toss in your onion and turn the heat down a bit if you need to. Again, season it with salt and pepper and cook it 15-20 minutes or until they’re golden and cooked through. Toss your garlic in there during the last five minutes.

2015/01/img_1409.jpg

2015/01/img_1410.jpg

3. After that’s all cooked, add your cup of BBQ sauce and apricot jam into it and stir all together. Turn off the heat.

2015/01/img_1411.jpg

4. Now lay your chicken in there with the skin side up, put the lid on it, and set in your oven at 325 for one hour.

2015/01/img_1412.jpg

5. Now it’s done! If you don’t have a Dutch oven, but you do have a slow cooker, you could do all the cooking on your stovetop in a skillet (preferably cast iron) and dump it into your slow cooker on high for 4 hours or low for 8. We had ours with baked potatoes and it was perfection!

2015/01/img_1415.jpg

Broccoli Rice Casserole

Standard
Broccoli Rice Casserole

2015/01/img_1344-1.jpg
We’ve all had broccoli rice casserole at one time or another, and this isn’t too far off from the original recipe from Cambell’s. It’s just got a few tweaks to give it some extra dimension and flavor!

Ingredients:
1 lb (16 oz) frozen cut broccoli
8 oz Velveeta
1 onion
1/2 stick butter
1 1/2 c rice
2 oz cream cheese
2 cloves of garlic chopped
Roasted red peppers
1 can cream of chicken and mushroom soup (the blend is really good!)
1/3 c milk
Salt, pepper, cayenne pepper

1. Sauté your chopped onion in your butter for about 15 minutes until they start to turn golden. Meanwhile, cook your 1 1/2 c rice according to the package instructions.

2015/01/img_1330.jpg

2. Put your broccoli in a microwaveable safe container and fill halfway with water. Pop it in your microwave for five minutes to steam them so they’re cooked but still crunchy.

2015/01/img_1329.jpg

3. After your onion is mostly cooked, add your chopped garlic and sauté another few minutes. Season it all with salt, pepper, and a pinch of cayenne pepper. I also added chopped up roasted red peppers. I only had a half a jar, but would’ve done a full jar if I had it.

2015/01/img_1331.jpg

4. Add your cheeses and cream of mushroom & chicken and cook on low until it’s melted.

2015/01/img_1332.jpg

5. Add your milk and it will thin out the sauce a bit.

2015/01/img_1333.jpg

6. Now add your broccoli…

2015/01/img_1341.jpg

7. …then add your cooked rice 😄

2015/01/img_1342.jpg

8. Now pour this into a buttered casserole dish and bake at 350 for 20-30 minutes. So good!

2015/01/img_1344-1.jpg

Homemade Chicken Broth

Standard
Homemade Chicken Broth

Homemade Chicken Broth

Chicken broth made at home is so much tastier than the boxed/canned stuff you get at the store, not to mention much cheaper when you compare how much this makes! This broth is great for any recipe, like Chicken Noodle Soup, Texas Cornbread Dressing, or any other recipe that calls for broth or stock. What’s the difference between broth and stock? Stock is really more about the carcass of the animal (chicken bones, beef bones, etc.) and broth boils the meat. They’re both delicious, but broth is a bit quicker to make and doesn’t take all day boiling away, plus it leaves you with leftover meat you can chop up and make just about anything with (soup, chicken salad, enchiladas, the possibilities are endless!). Also, I should note I used chicken thighs for this broth recipe because that’s what I had in my freezer and not a whole chicken. Either one will work perfectly. The key is you want your chicken to have skin and bones, because it’s going to deliver the most flavor.

Ingredients:
1 bunch of celery with leaves
3 carrots
1 large onion skin on
2 bay leaves
2 Knorr chicken bouillon cubes
1 T garlic herb seasoning
1.5 gallons of water (24 cups of water)
1 large package chicken thighs or 1 whole chicken between 2.5-3.5 pounds (my chicken thighs were 3 pounds)

1. Don’t even bother peeling or skinning your veggies, just give them a rough chop and throw them all in your stock pot.
IMG_4030

2. Add your chicken and seasonings into the pot.
IMG_4031

3. Cover with water and bring to a boil, then lower to a simmer and leave uncovered.
IMG_4032
Homemade Chicken Broth

4. After about an hour and a half your broth is done cooking! Take out a strainer and place over another large pot or bowl in your sink and pour everything out of your stock pot into it. I suggest pulling your chicken out first before trying this move, because if your strainer is like mine, it’s probably not big enough to hold all of that.
IMG_4035

5. Now you have lots of delicious broth left in your bowl and you can use it now or freeze in containers and use whenever you want. So good!
-14

Roasted Red Snapper With Veggies

Standard
Roasted Red Snapper With Veggies

Roasted Red Snapper With Veggies

I love fish! There are so many people that tell me they love fish but that they’re scared to cook it or all they know how to do is fry it. Don’t get me wrong, I love fried fish, but there are so many healthier and just as delicious ways to enjoy our friends from the salty sea. This red snapper is a very mild white fish, and if you can’t find snapper where you are, a similar tasting fish would be grouper, flounder, or another mild white flaky fish. Halibut is delicious too, but it’s usually an arm and a leg, and I like to stick with the affordable stuff! Normally I do sort of a cooked pico de gallo recipe with this fish, but I had some bell peppers in my garden that were ready to pick, so those got incorporated into this dish and I was so happy I put them in there!

Ingredients:
1 fish filet per person
1 large tomato or a few handfuls of cherry tomatoes cut in half
1 handful chopped cilantro
As many chopped jalapenos as you can handle 🙂
2 bell peppers any color
2 chopped onions (I did one sweet and one purple because I had them both, but if you’re just picking one, go with sweet)
butter
2 chopped garlic cloves
Salt and pepper
Olive oil
Your favorite fish seasoning (I like to use the GOYA brands I normally use on chicken which are the Seasoning Total and GOYA con pepper in addition to a few cracks of fresh black pepper from the grinder)

1. Using an oven safe skillet (hello cast iron!), saute with about 3 T of butter and a drizzle of oil your onions and peppers and season with salt and pepper. This will take about 10 minutes or so on medium high heat. Then add your garlic and saute for a few more minutes.
-8

2. Turn the heat off and add your chopped tomatoes and cilantro and add additional salt if needed. Stir that around until everything is incorporated.
-9

3. Place your seasoned fish filets on top of the veggies and place into a 425 degree oven for about 12 minutes. You’ll need to vary your time based on how many filets you have, the thickness, etc, but you get the idea that they’re going in and coming out pretty quickly. Also, I find it helps roast the fish and hold in the moisture if you drizzle the tops with a little olive oil as well as the seasoning you put on them.
-10

4. I started checking my fish at 10 minutes and I could tell when it was done when the meat bounced back firmly and poked a fork in there and it was opaque. Remember, when you take it out it will continue to carry over cook, so there’s no need for you to cook the blazes out of it.
-11

5. Plate that puppy up and serve with a twist of lime or a side of rice for a delicious and healthy meal! -13

Chicken Spaghetti

Standard
Chicken Spaghetti

Chicken Spaghetti

Who loves cheese? Well then this chicken spaghetti recipe is for you! It has an ooey gooey cheesy sauce that is absolutely delicious! Also, this is a great recipe to chop up veggies into tiny pieces and hide them in the sauce so your kids eat them. I’ve got lots of squash and parsley in my garden right now and my son had no idea either were in this dish. I think you could easily substitute zucchini, peas, chopped asparagus, finely chopped broccoli, finely chopped spinach, or any combination of those veggies into this dish easily!

Ingredients:

1 sweet onion finely chopped

1/4 c roasted red peppers chopped (or two jars pimentos)

Additional chopped veggies of your choice (I used one yellow squash and a few sprigs of chopped parsley)

1/2 lb linguine pasta (I used whole wheat)

4 oz Velveeta

1 can cream of mushroom

2 T cream cheese

1 cup shredded mozzarella cheese

1 package boneless skinless chicken thighs (about 2 lbs)

Chicken bouillon cube

Salt and pepper

2 chopped garlic cloves

3 T butter

1 T garlic and herb seasoning

Additional mozzarella or other Italian cheese for topping

Italian breadcrumbs

1. First we’re going to season the water you’ll be using to cook the chicken (and later the noodles). Bring a pot of water with chicken bouillon and garlic herb seasoning to a boil and add chicken to pot. This will need to boil about 20-25 minutes.

image

2. Add chopped onion, chopped veggies of your choice, butter, salt, and pepper to a sauté pan. Cook until veggies become tender and add chopped garlic and roasted red peppers and cook a few more minutes on medium high heat.

image

3. Turn heat down to medium low and add cream of mushroom, cream cheese, mozzarella, and Velveeta. Stir and allow mixture to melt and come together.

image

image

4. Pull your chicken out of the boiling seasoned water and cut into bite size pieces.

image

5. Add chicken to sauce mixture.

image

6. Add linguini to the boiling seasoned water and cook using directions on the box. Once it’s done, add the drained pasta to the chicken and cheese mix.

image

7. Pour this into a buttered 9×11 baking dish and top with more cheese and sprinkle top with Italian breadcrumbs.

image

8. Bake in a 375 degree oven for 20 minutes or until top is golden brown.

image

Mmmmmm would you look at that beautiful masterpiece?! It’s delicious with a hunk of crusty garlic bread and large glass of red wine 🙂

BBQ Sliders With Caramelized Onions

Standard
BBQ Sliders With Caramelized Onions

BBQ Sliders With Caramelized Onions

Hello! I am so glad to get to post this yummy recipe just before Memorial Day Weekend! I’ve been so busy lately with our big move to Amarillo I’ve hardly had time to cook anything worth posting a recipe for, but we are settled in now, so hopefully I can get back in the swing of things. Ok, let’s get started!

First, I want to be honest up front and say I bought the patties for these sliders from the butcher in our grocery store. A) I’m tired and need all the help I can get and B) They looked delicious. They’re jalapeño cheddar sliders, but any kind of slider you want to use here would be delicious. Just be sure to sprinkle a little of your own favorite seasoning on both sides before you use them. Also, tell everyone you made them from scratch and throw away the evidence before anyone else eats them. It’ll be our little secret 😉
image

Ingredients:

2 large sweet onions (1015, Honey Sweets, Videlia, whatever…)
1/2 stick of butter
7-8 sliders seasoned with your favorite burger seasoning
Your favorite BBQ sauce (for this recipe I used a spicy one)
Salt and pepper
Water
Slider buns

1. Dice up your onion and throw it into your large cast iron skillet. If you don’t have a cast iron skillet, consider yourself scolded and just use a normal skillet for now, but buy one as soon as possible. Season with salt and pepper and throw your 1/2 butter stick in there. Sauté about 15 minutes on medium to high heat.
image

2. After the onions are mostly Caramelized and smelling delicious, add your patties to the skillet right there on top of the onions and add about 1/2 cup of water. It’s going to steam those yummy patties.
image

3. I like to put a lid on at this point because it helps the steam. Check out my beautiful silicone flower lid! (You can use any lid that doesn’t seal)
image

4. Flip the patties after a few minutes and place the lid back on. After about 8-10 minutes, they’re essentially done with the high heat. Take the patties and set them aside for a minute on a plate.
image

5. Now stir those onions around and give them a give them a few healthy squirts of your favorite BBQ sauce. Turn the heat on low and after the BBQ sauce has been incorporated, add your patties back in and let them simmer in that yummy deliciousness for at least ten minutes before serving.
image

6. Serve these little medallions from heaven on toasted slider buns and top with your onion mixture. Personally, we like to add my Texas Coleslaw recipe on top and serve with a side of
favorite beans.
image Notice I somehow ended up with the two bun bottoms instead of a top and bottom. Typical.

Roasted Vegetables

Standard
Roasted Vegetables

Roasted Vegetables

These roasted veggies are super delicious and very good for you. I’ve done virtually every veggie combo in this recipe, but these were what I had in my fridge: yellow squash, zucchini, asparagus, sweet potato, purple potato, sweet onion, Brussels Sprouts, jalapeño, sweet peppers, and green onion. Other veggies I love in here are cauliflower, broccolini, cherry tomatoes, carrots, whole garlic cloves, and bell peppers. The next day I love to chop any leftovers up and add to seasoned quinoa and add a can of drained black beans for dinner.

Ingredients:
Sliced vegetables
Olive oil
Seasoning
1-2 T of butter (optional)

1. Cut up all your veggies and arrange on a sheet pan lined with foil (helps with cleanup later).
Cut Veggies

2. Drizzle olive oil all over veggies on the pan and add your little pats of butter if you’re using it. Then season liberally with salt and pepper. I also love to use Tone’s Garlic Herb (salt free) seasoning on my veggies, but you can use virtually any seasoning you like, just make sure there isn’t any salt in it, and if there is omit adding additional salt.
Seasoning

3. Place veggies in the oven at 425F for one hour. Be sure to stir veggies around about halfway through to ensure even cooking.
image

4. Veggies will be soft and roasted perfectly at an hour, but you can leave in a little longer if you like them browner. image

Roasted Onions And Potatoes

Standard
Roasted Onions And Potatoes

image

Nothing says caveman (or cave-woman) quite like a meal of meat and potatoes. I like to make these roasted onions and potatoes with a medley of different potatoes, and sometimes with just sweet potatoes. Either way it pairs perfectly with any grilled meat, but my favorite is steak. Trust me when I tell you these are some tasty taters!

Ingredients:
1 large red potato
1 large sweet potato
1 handful of purple potatoes
1 large sweet onion
1/2 stick of butter
1 jalapeno sliced
Olive oil
Salt and pepper

1. Slice all of your potatoes into circle slices, slice onion into slivers (not too thin, don’t want them to burn), and jalapeno into slices. Place these in a cast iron skillet (or baking dish if you don’t have one) and drizzle with olive oil.

2. Season liberally with salt and pepper and stir them all around making sure olive oil and seasoning is well distributed. Top with 1/2 butter cut into slices and bake in 375 oven for approximately 1 hour.