This is a yummy salmon dish with a delicious lemony-buttery-garlicky sauce and a sprinkle of dill. I usually buy my salmon fresh from the seafood market in my grocery store, but our SAMs had a sale on 6 oz frozen salmon fillets and they worked out perfectly for this dish! Just let them defrost of course first if that’s what you decide to use too.
Ingredients:
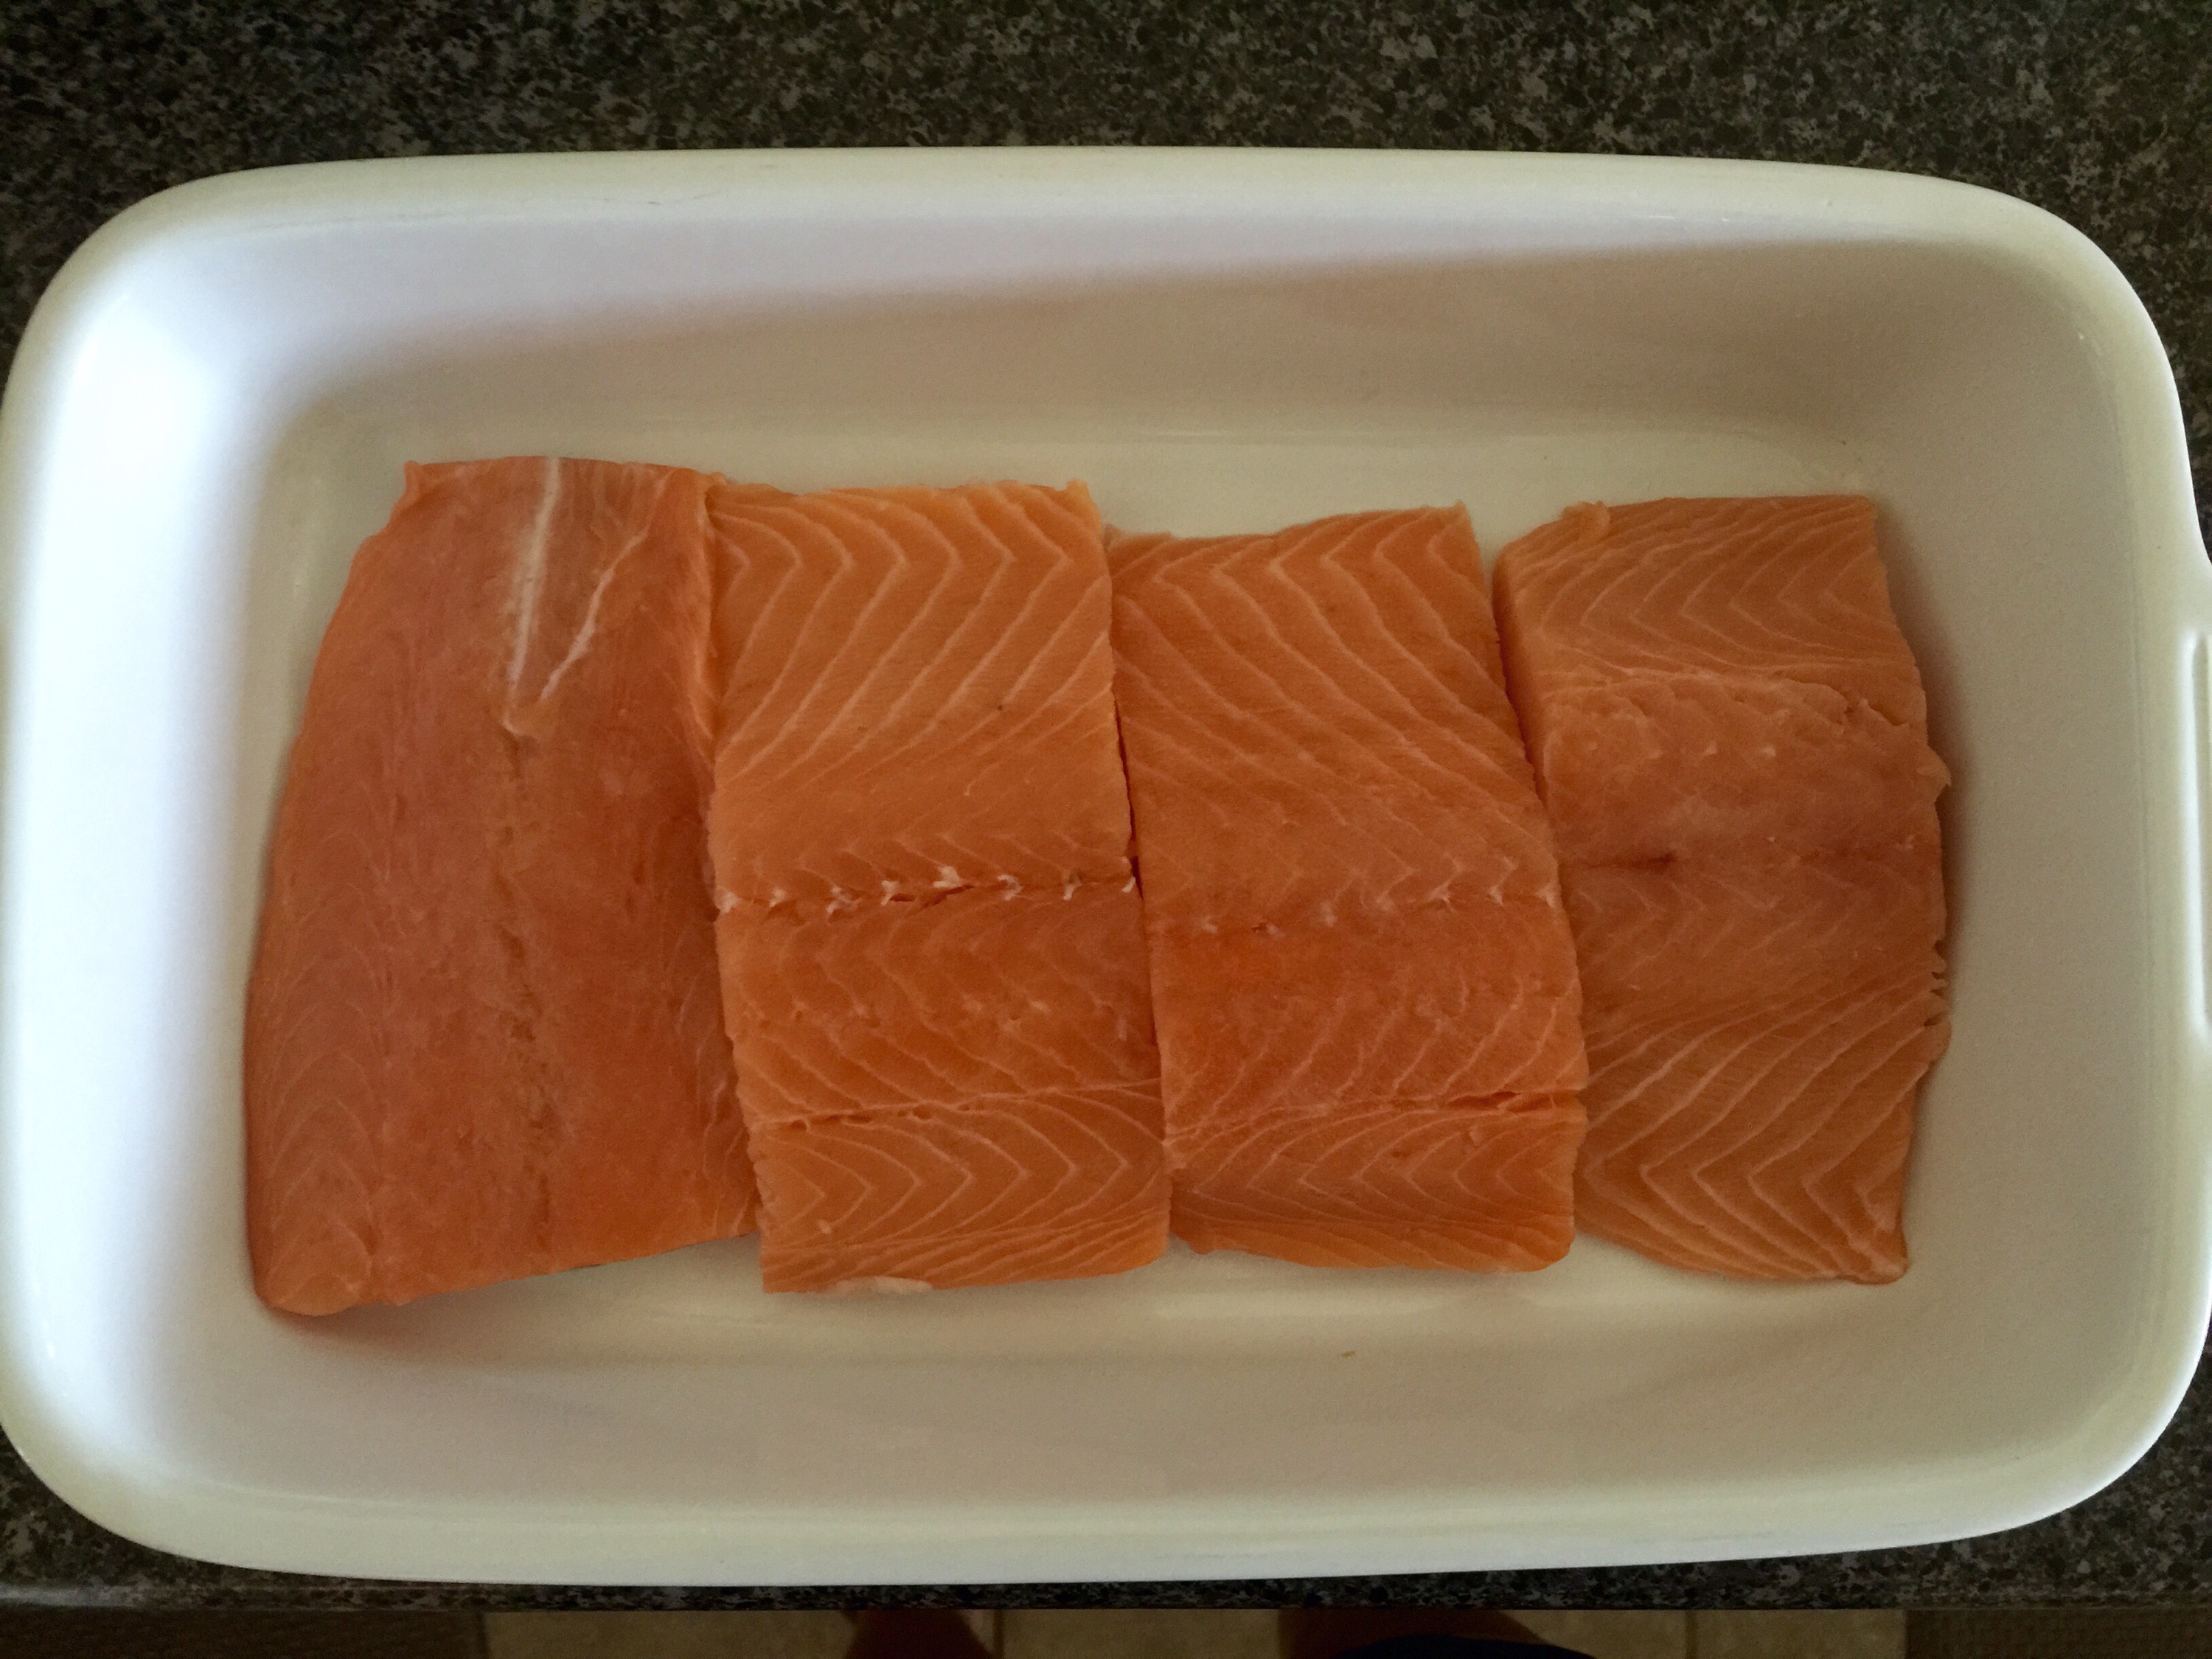
- 4 6oz salmon filets
- 1/2 c unsalted butter (1 stick)
- 1 garlic clove
- 1 lemon
- Salt and pepper
- Fresh or dried dill weed (optional)
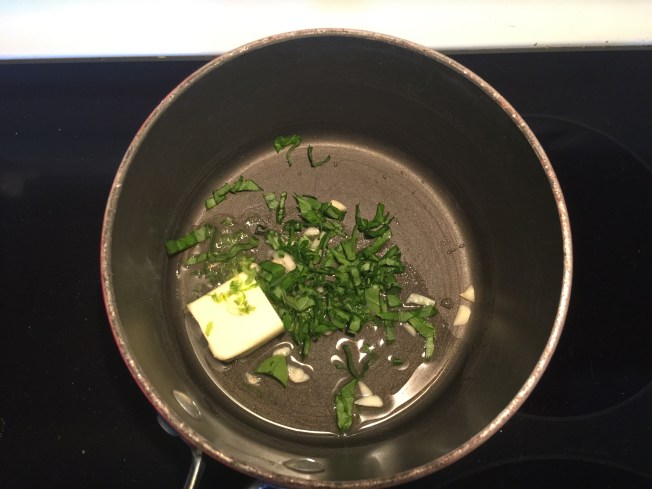
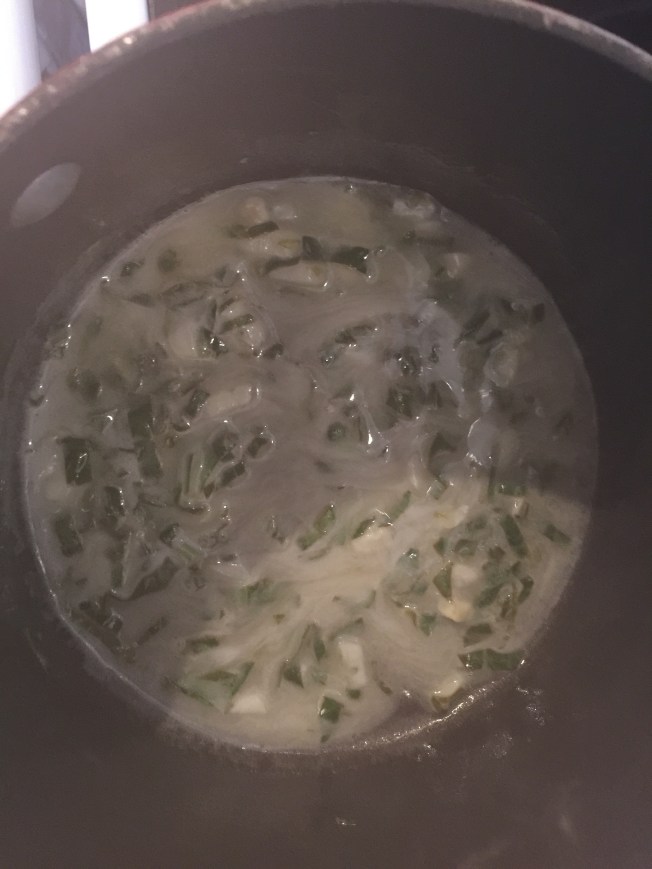
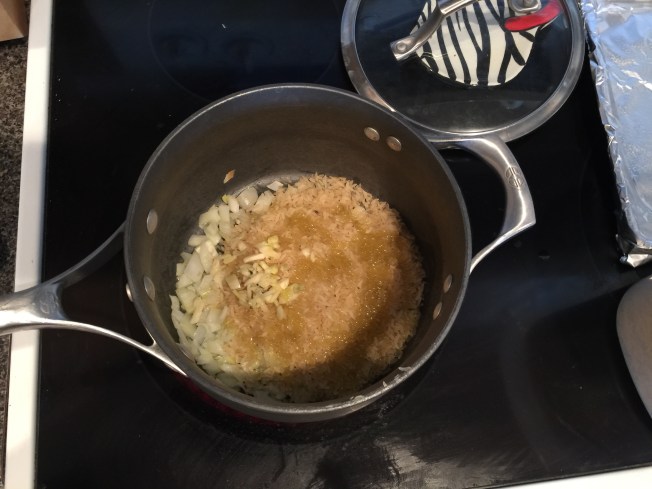
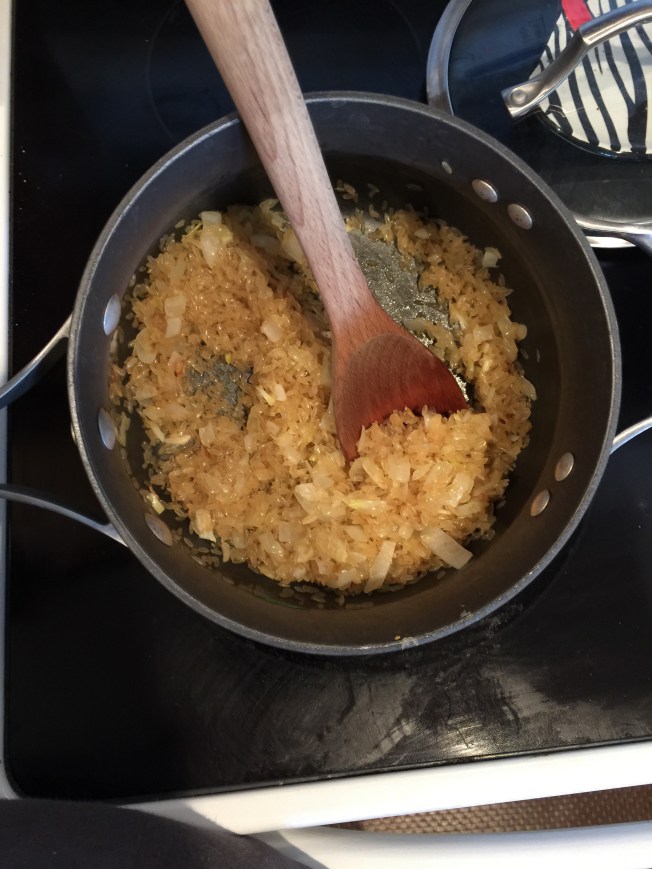
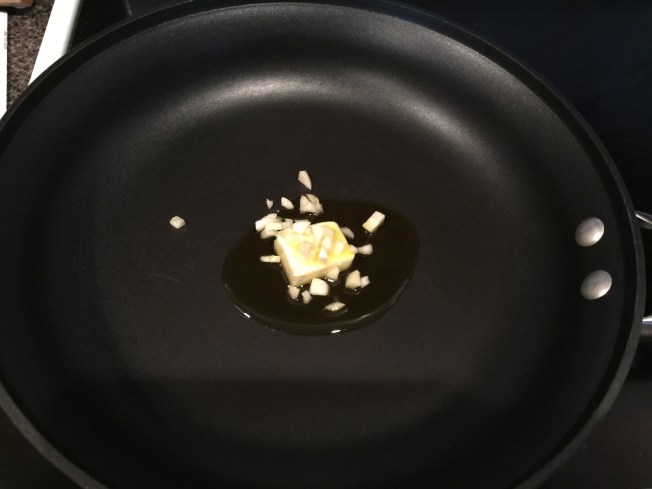
1. In a small sauce pot melt your butter stick on low-ish heat. You’re not cooking the butter, just melting it. Also, pre-heat your oven to 375F.

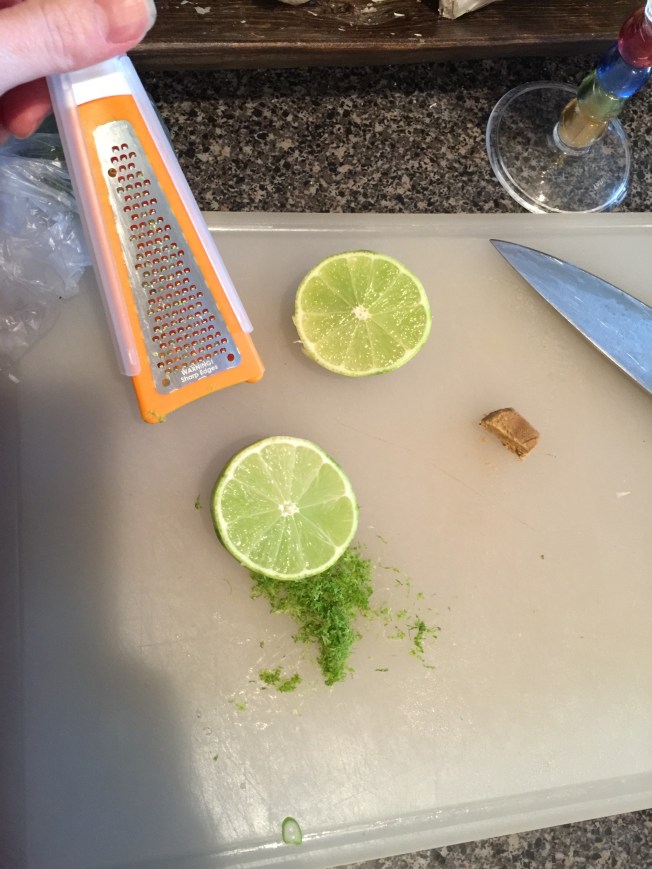
2. Get out your little microplane grater and grate your garlic clove and also zest your lemon. Put it straight into your butter. Then, squeeze the lemon juice into there too. Mmm, starting to smell good in here!


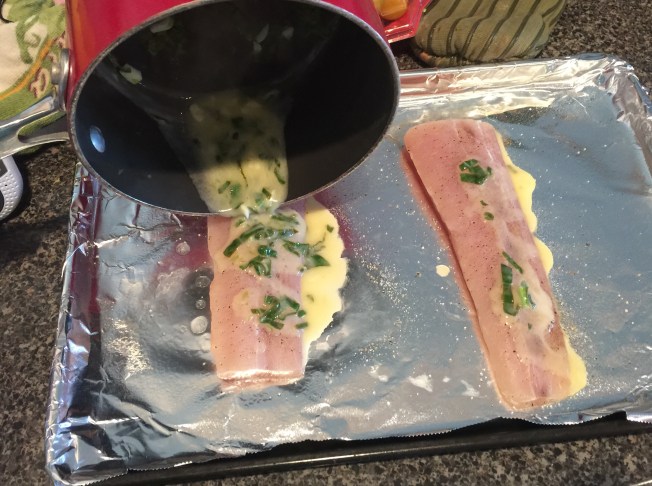
3. Line up your salmon in a baking dish and say to yourself “One fish, two fish, red fish, blue fish!”
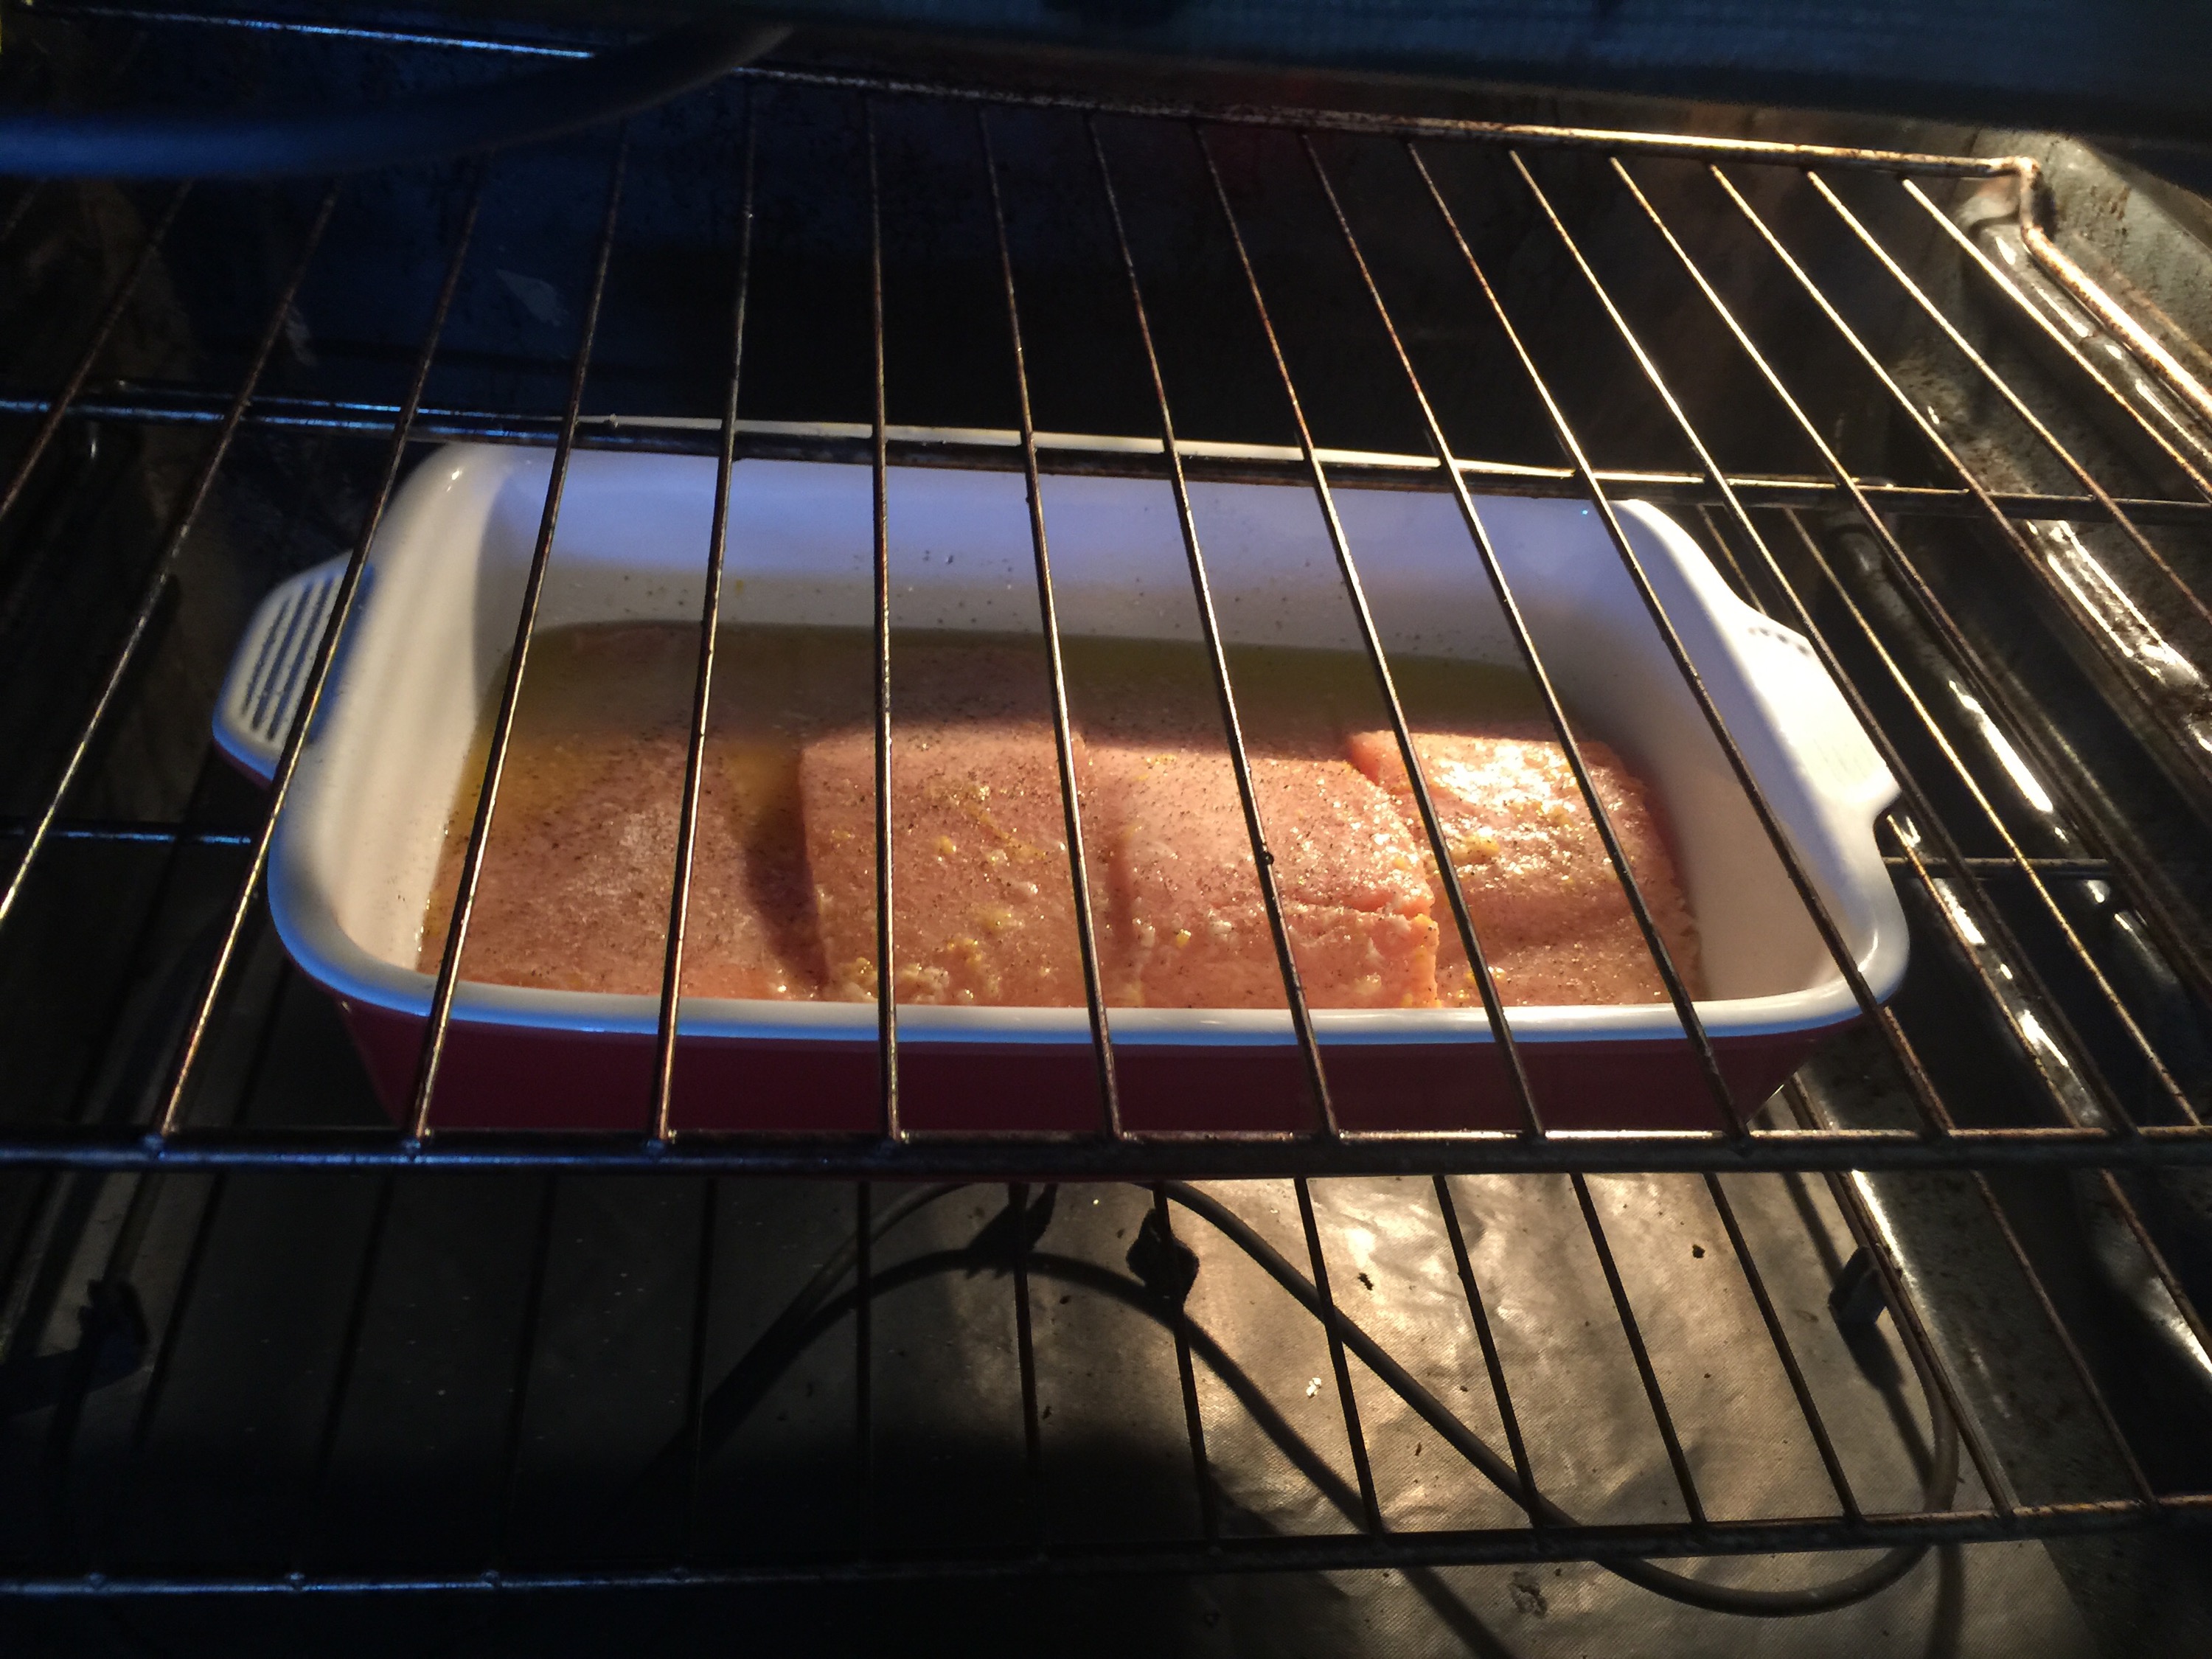
4. Then, pour your yummy sauce all over your fish.

5. Now season your salmon with salt and pepper.

6. Now put it in your oven at 375…
7. I checked it at 15 minutes and it was at this point I remembered I had fresh dill growing in the garden. Yay! So I swished the butter around in the dish to make sure it was flavoring up everything and then threw some dill on it. Basil would be good, parsley, or even chives. Or you could just leave it without the herbs too 😉
Then it’s back in the oven another five minutes.

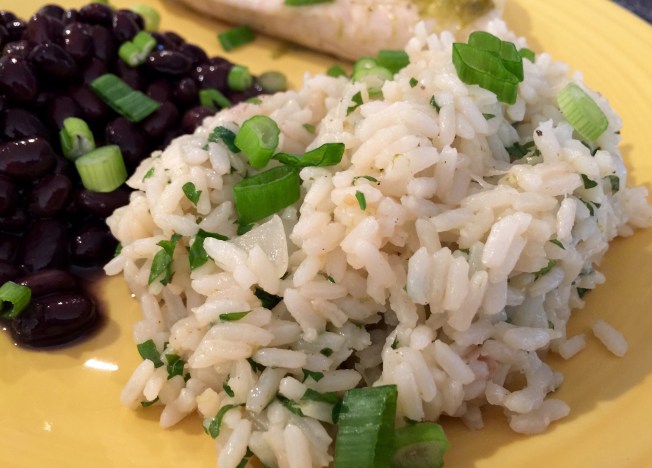
8. After 20 minutes or so it’s done! This calls for a red wine blend! ☺️