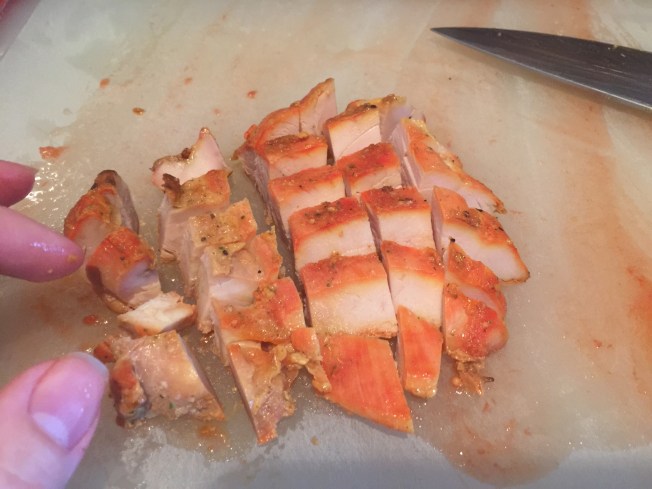
Y’all remember just last week I posted about my new Veggetti Spiral Vegetable Slicer, Makes Veggie Pasta and how much I loved it. Well I made another dish with it very similar to the Seafood Arrabbiata, except this is a quick and easy weeknight meal I made with leftover grilled chicken. If you don’t have any leftover chicken on hand, 1/2 of one of those rotisserie chickens from the grocery store would be perfect!
Ingredients:
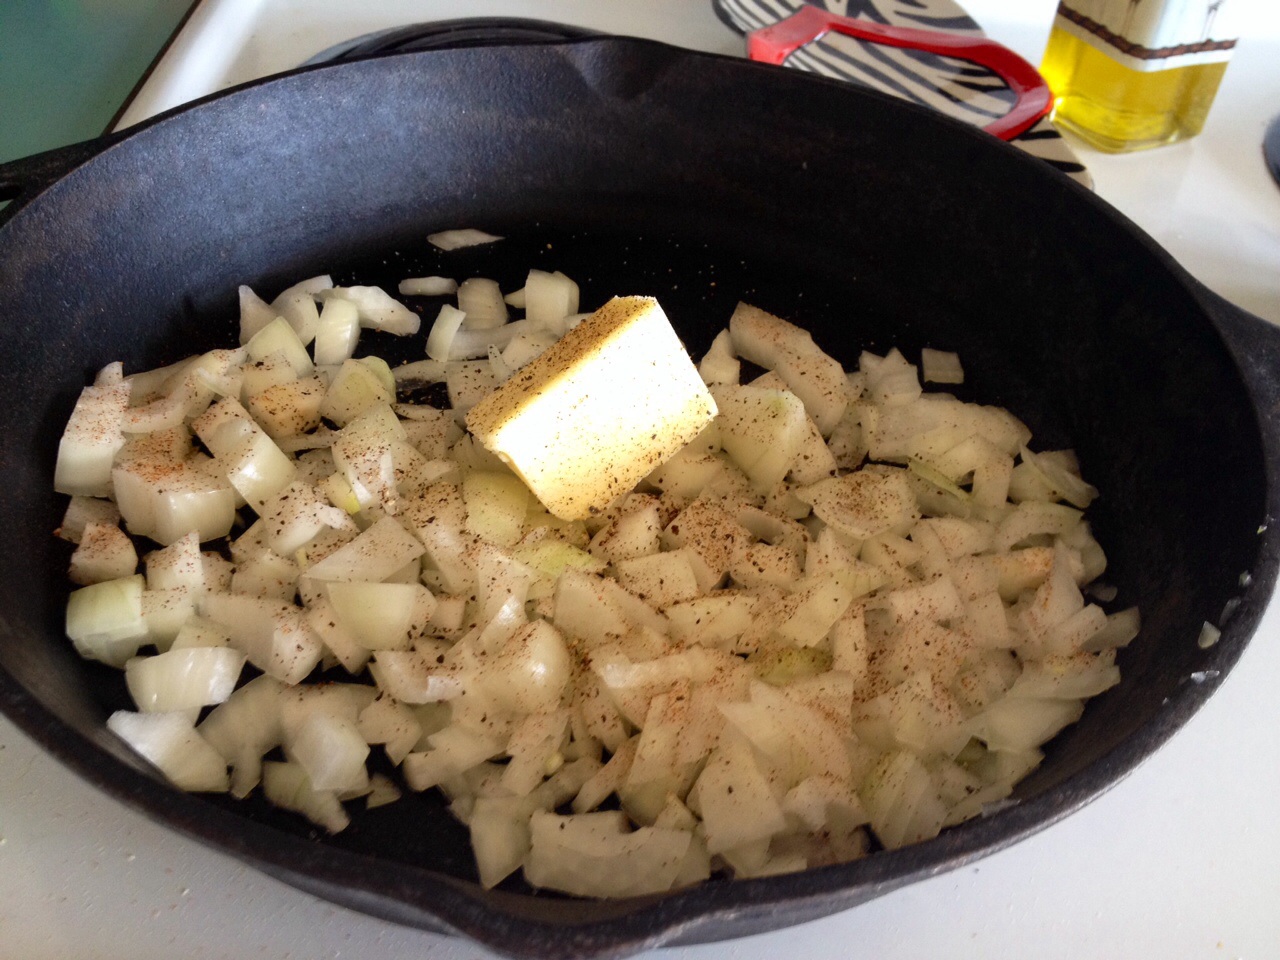
- 1 sweet onion chopped
- 1 28 oz can whole peeled tomatoes
- 1 15 oz can tomato sauce
- 1 lb diced chicken
- 1/4 – 1/2 tsp red pepper flakes (depending on how hot you like it)
- 2-3 cloves chopped garlic
- 4 zucchini or squash for Vegetti noodles
- Olive oil
- Salt and pepper
- Dried parsley flakes
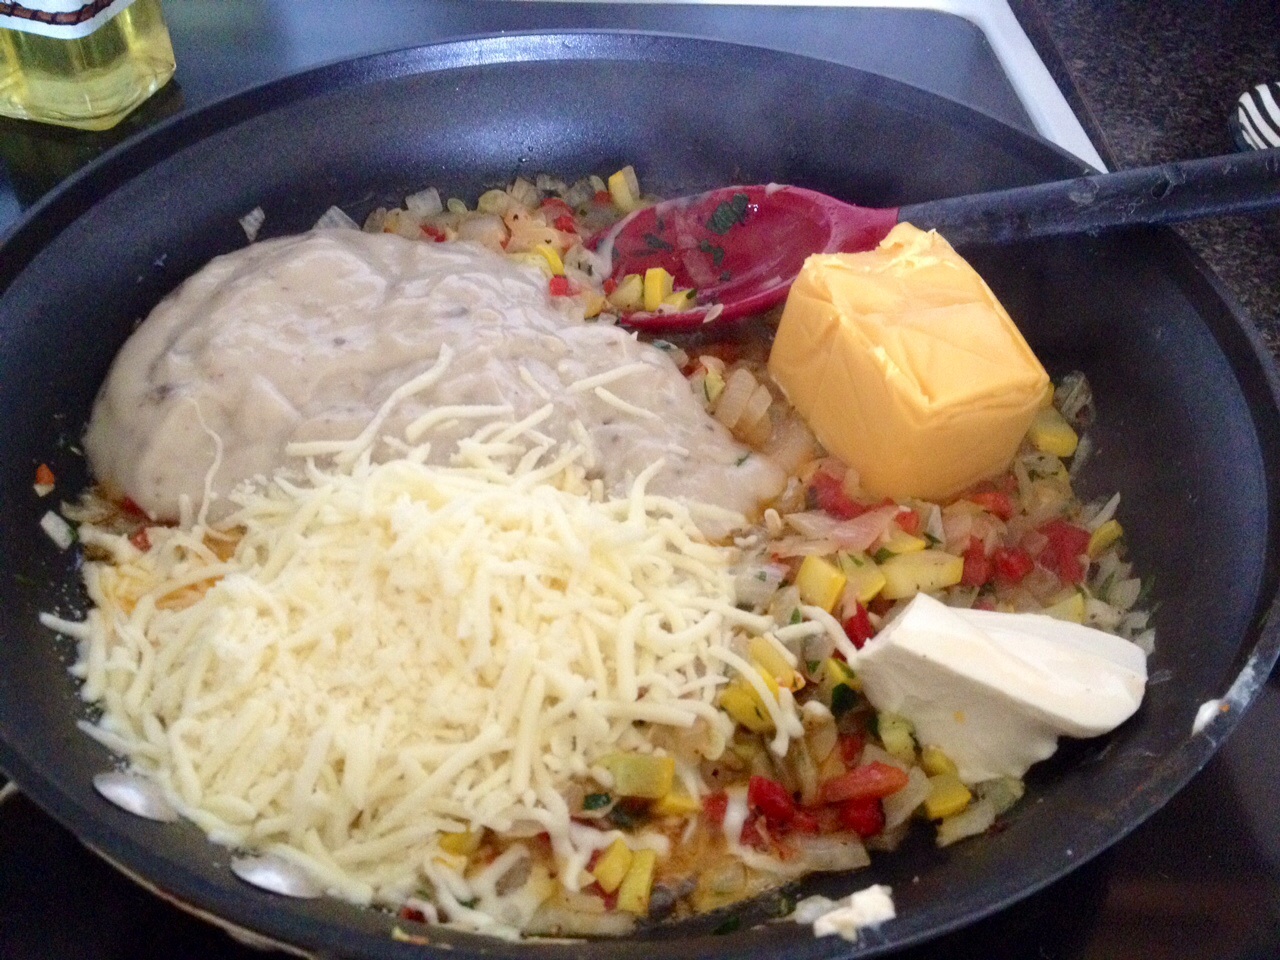
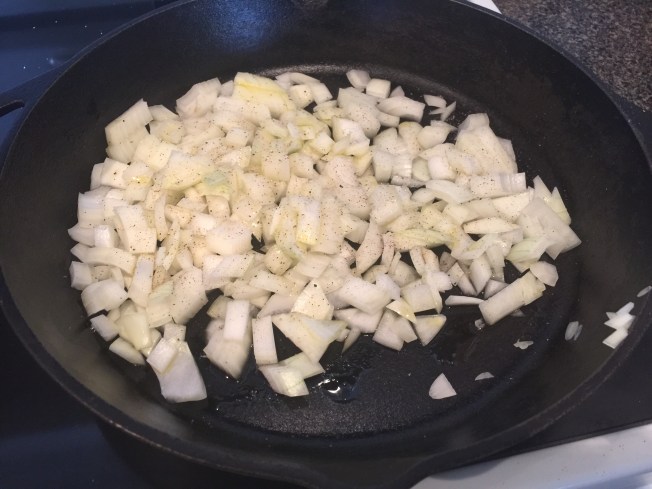
1. Add onion and a drizzle of olive oil to your skillet and season with salt and pepper. Sauté 3-4 minutes on medium high heat.
2. Now add your chopped garlic and red pepper flakes and sauté another minute.

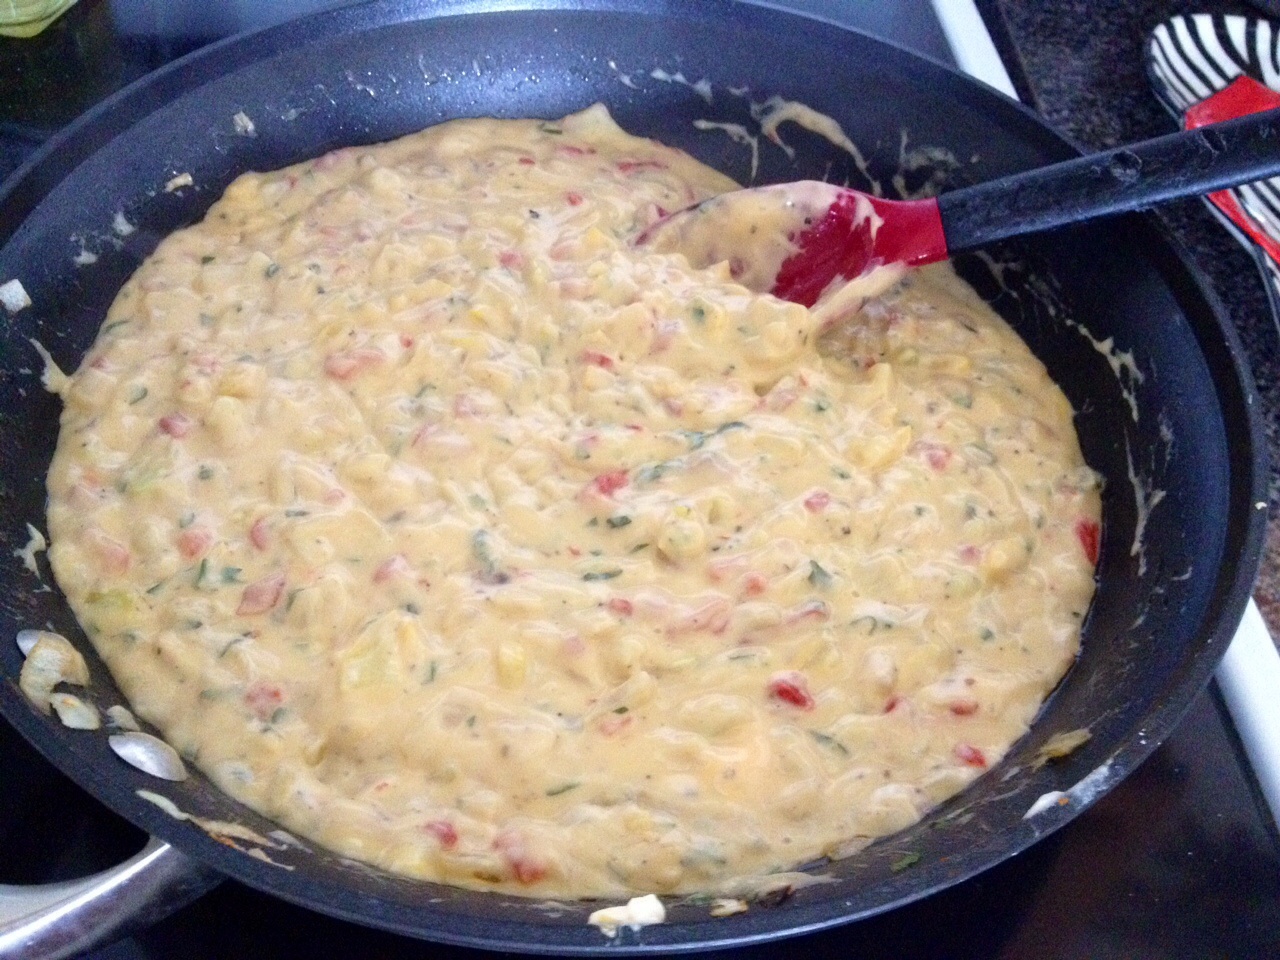
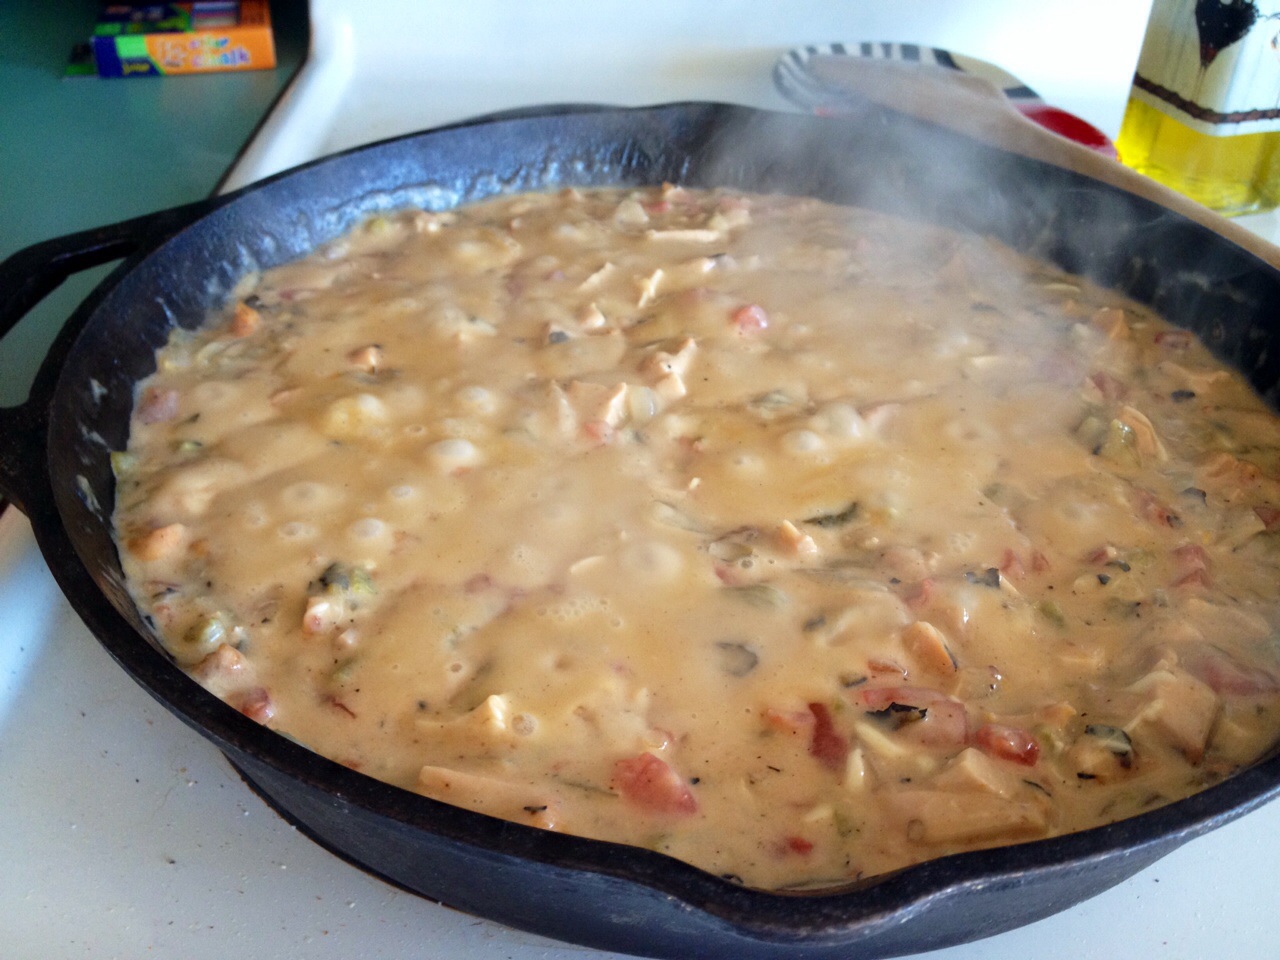
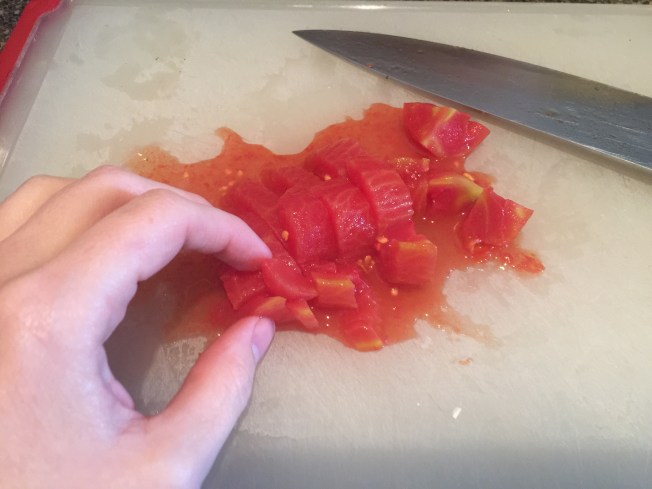
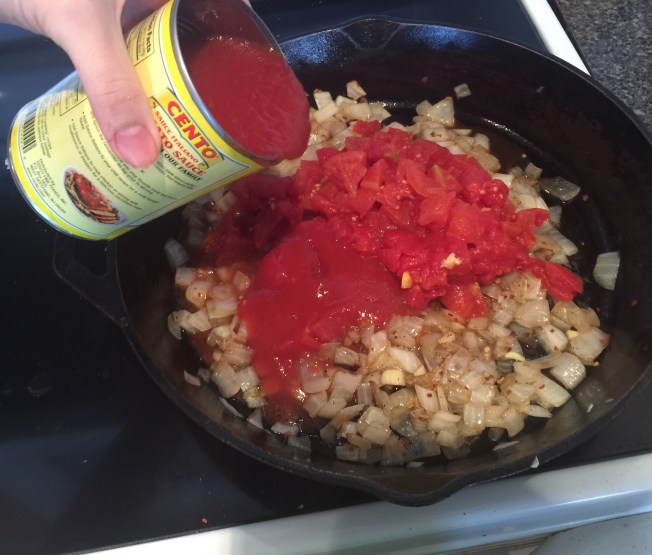
3. As I explained in my Seafood Arrabbiata post, whole peeled tomatoes are the highest quality canned tomato, so I prefer to use them over diced tomatoes. Drain and chop them up and add them to your skillet with tomato sauce as well as your parsley flakes and bring to a boil.
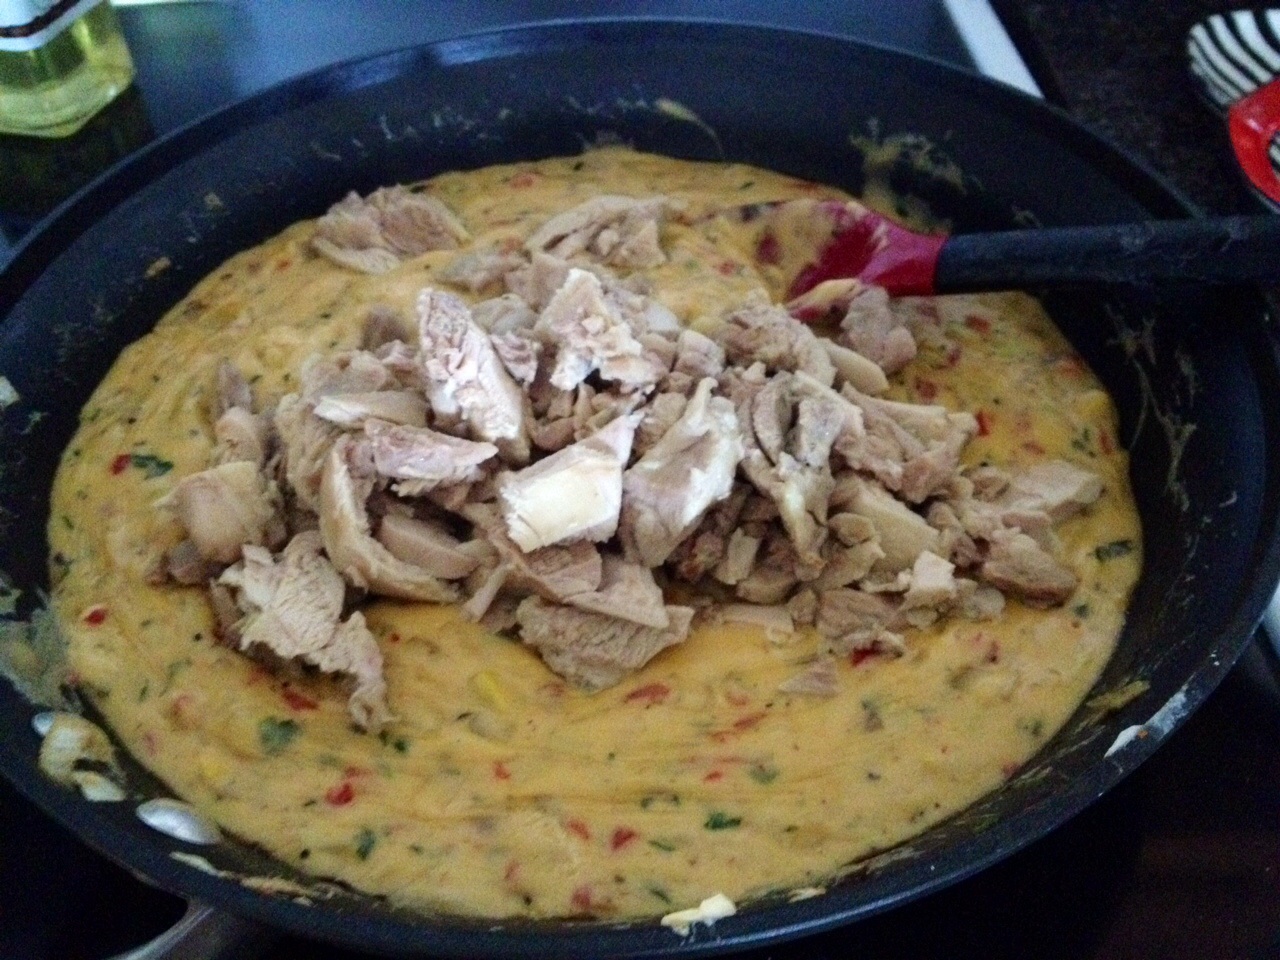
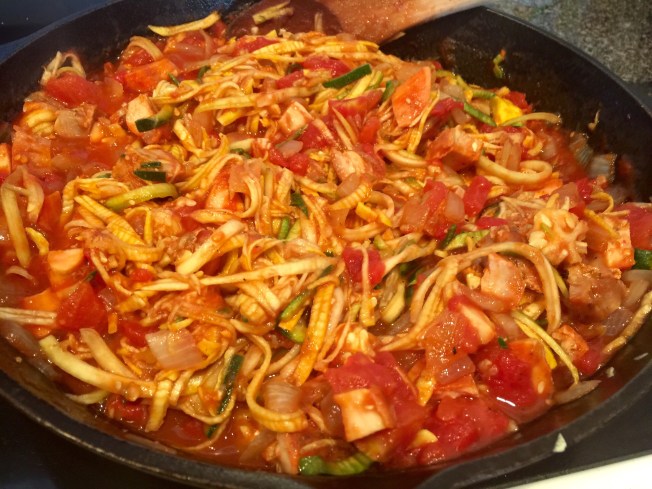
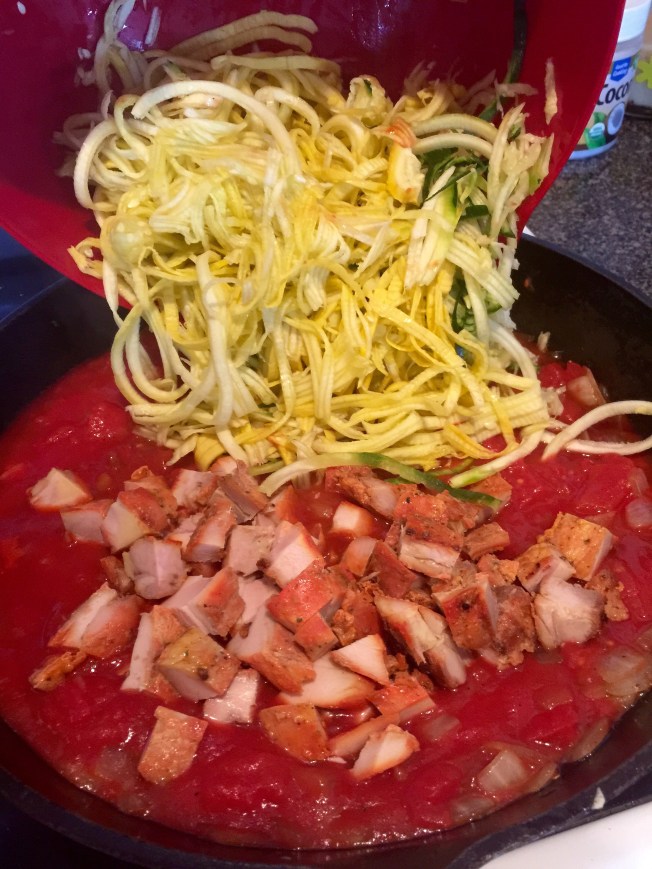
4. Now add your squash and zucchini noodles to your skillet and throw in your diced chicken as well. Turn the heat down to a simmer and allow noodles to soften up a bit in the sauce. Taste to see if you want to add any salt and pepper or any additional heat with more red pepper flakes.

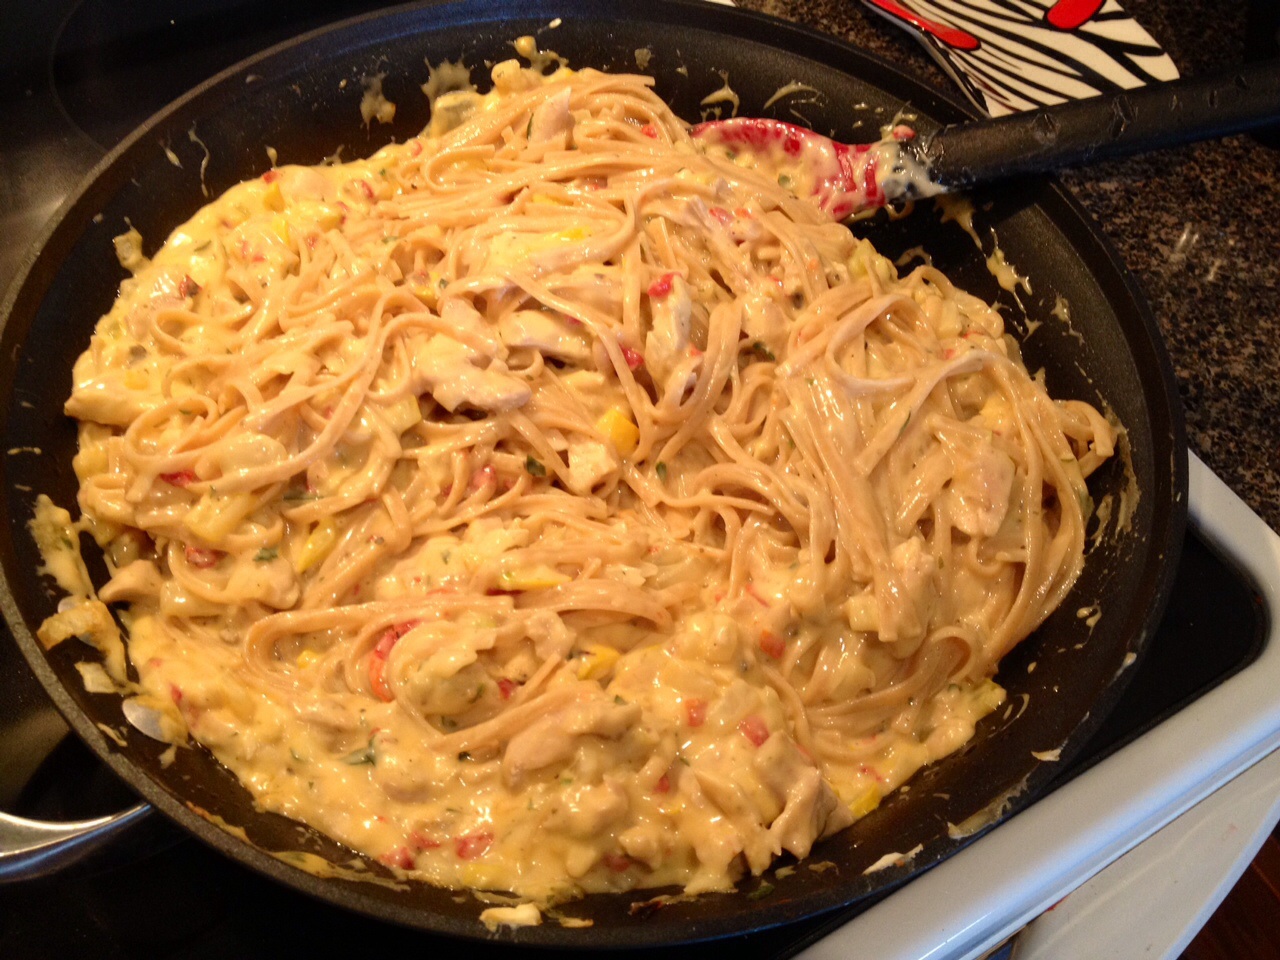
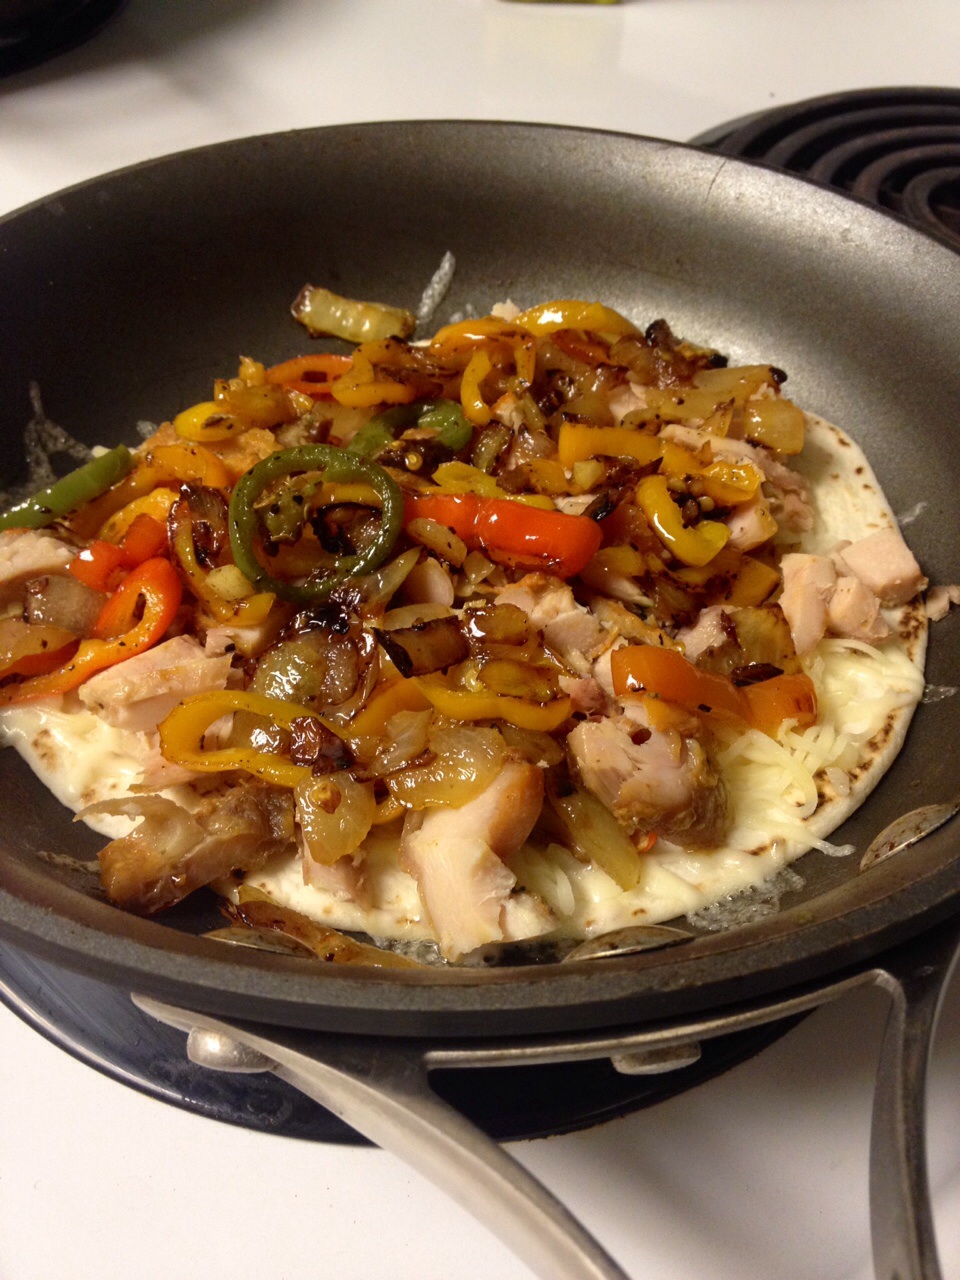
Enjoy your quick and easy meal!