Tag Archives: peppers

Hot Chow Chow

Standard
Hot Chow Chow

How Chow Chow
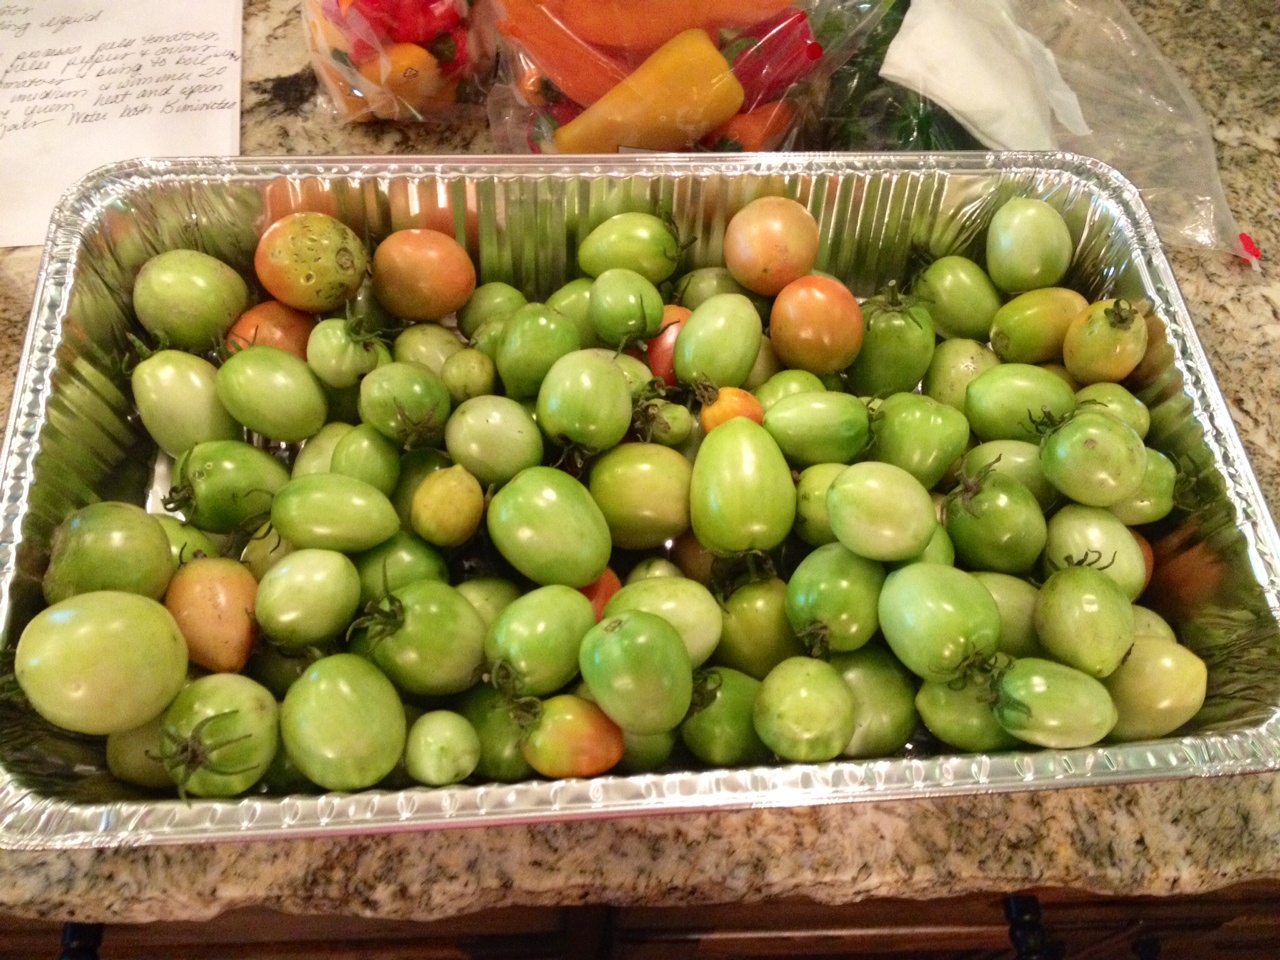
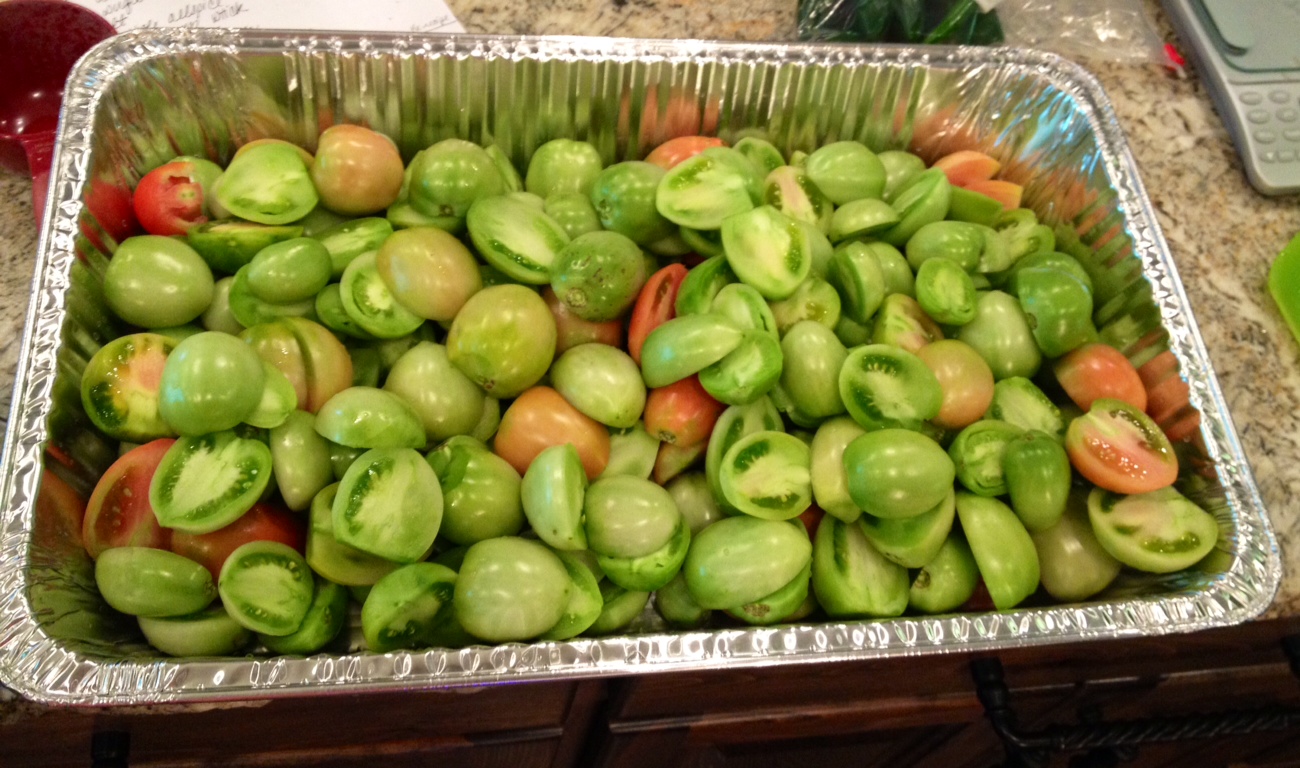
Do yall understand that hot chow chow is one of the best things on earth? I absolutely love it and look forward to eating it every summer on my peas, greens, hot dogs, etc. This recipe was made up this year after my mom’s garden had a huge crop of green tomatoes (10 pounds!) and I am so looking forward to having enough chow chow in my pantry to last me the next couple of years! This recipe is spicy and uses lots of peppers, so if you don’t like it hot, I suggest taking the seeds out of maybe 1/2 of the peppers used. Also, this recipe can easily be cut in half (or more), but I’m going to post the recipe for the 10 lbs of tomatoes I used since that’s what you’ll see in all the pictures. It made 15 pints of chow chow and 5 pints of hot pepper sauce to keep for my greens and other deliciousness! That’s because after the chow chow was drained out of pot we had so much delicious liquid leftover we decided it would’ve been a sin not to keep it! After drizzling it on buttered cornbread last night we decided we were definitely glad we did 🙂

Ingredients:
10 lbs green tomatoes
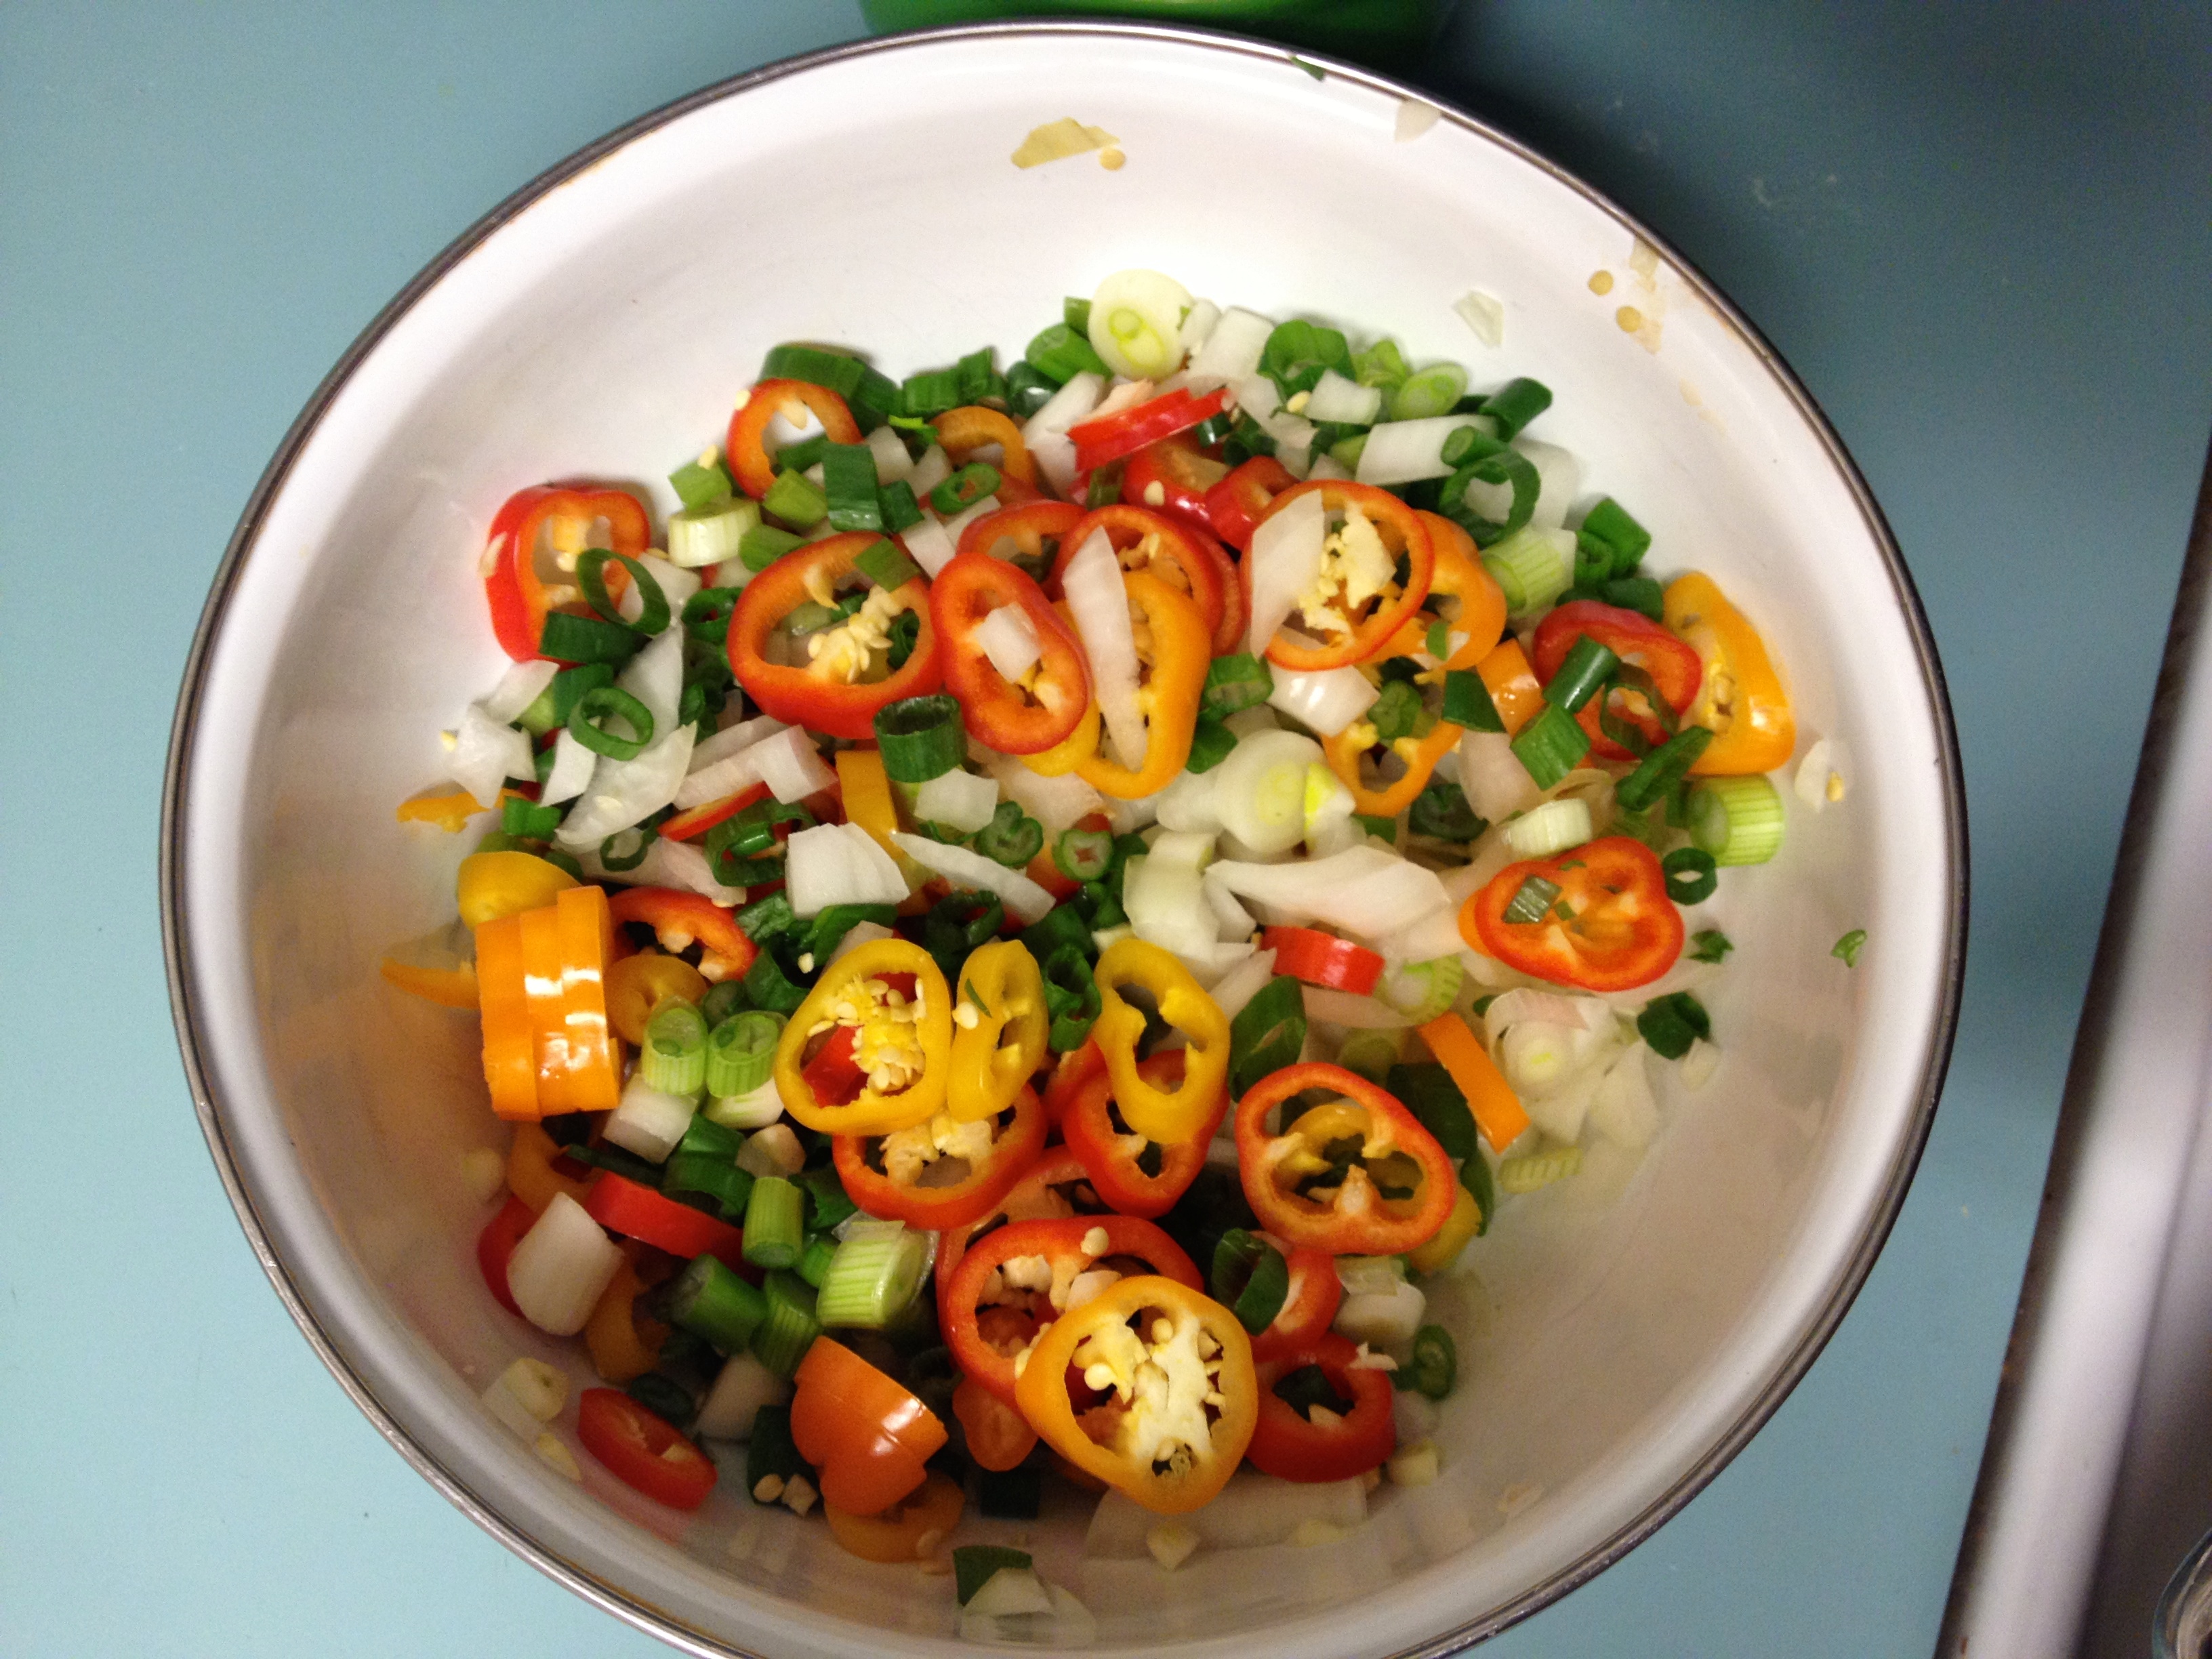
2 bags sweet mini bell peppers (or use 2 each of yellow, orange, and red)
2 cups of hot peppers chopped (we used an assortment from the garden of jalapenos, serranos, and a few banana peppers)
6 onions
4 c white vinegar
2 c apple cider vinegar
2 c water
5 c sugar
1/2 c salt (use pickling salt if you have it)
8 whole cloves
1 T mustard seeds
1 T whole black peppercorns
24 dried cayenne peppers
1 tsp turmeric

1. First you’re going to get your pickling liquid going. In a sauce pot combine vinegars, water, sugar, salt, spices, and dried cayenne peppers. Bring to a boil, then lower heat and allow to simmer for 30 minutes.
-1

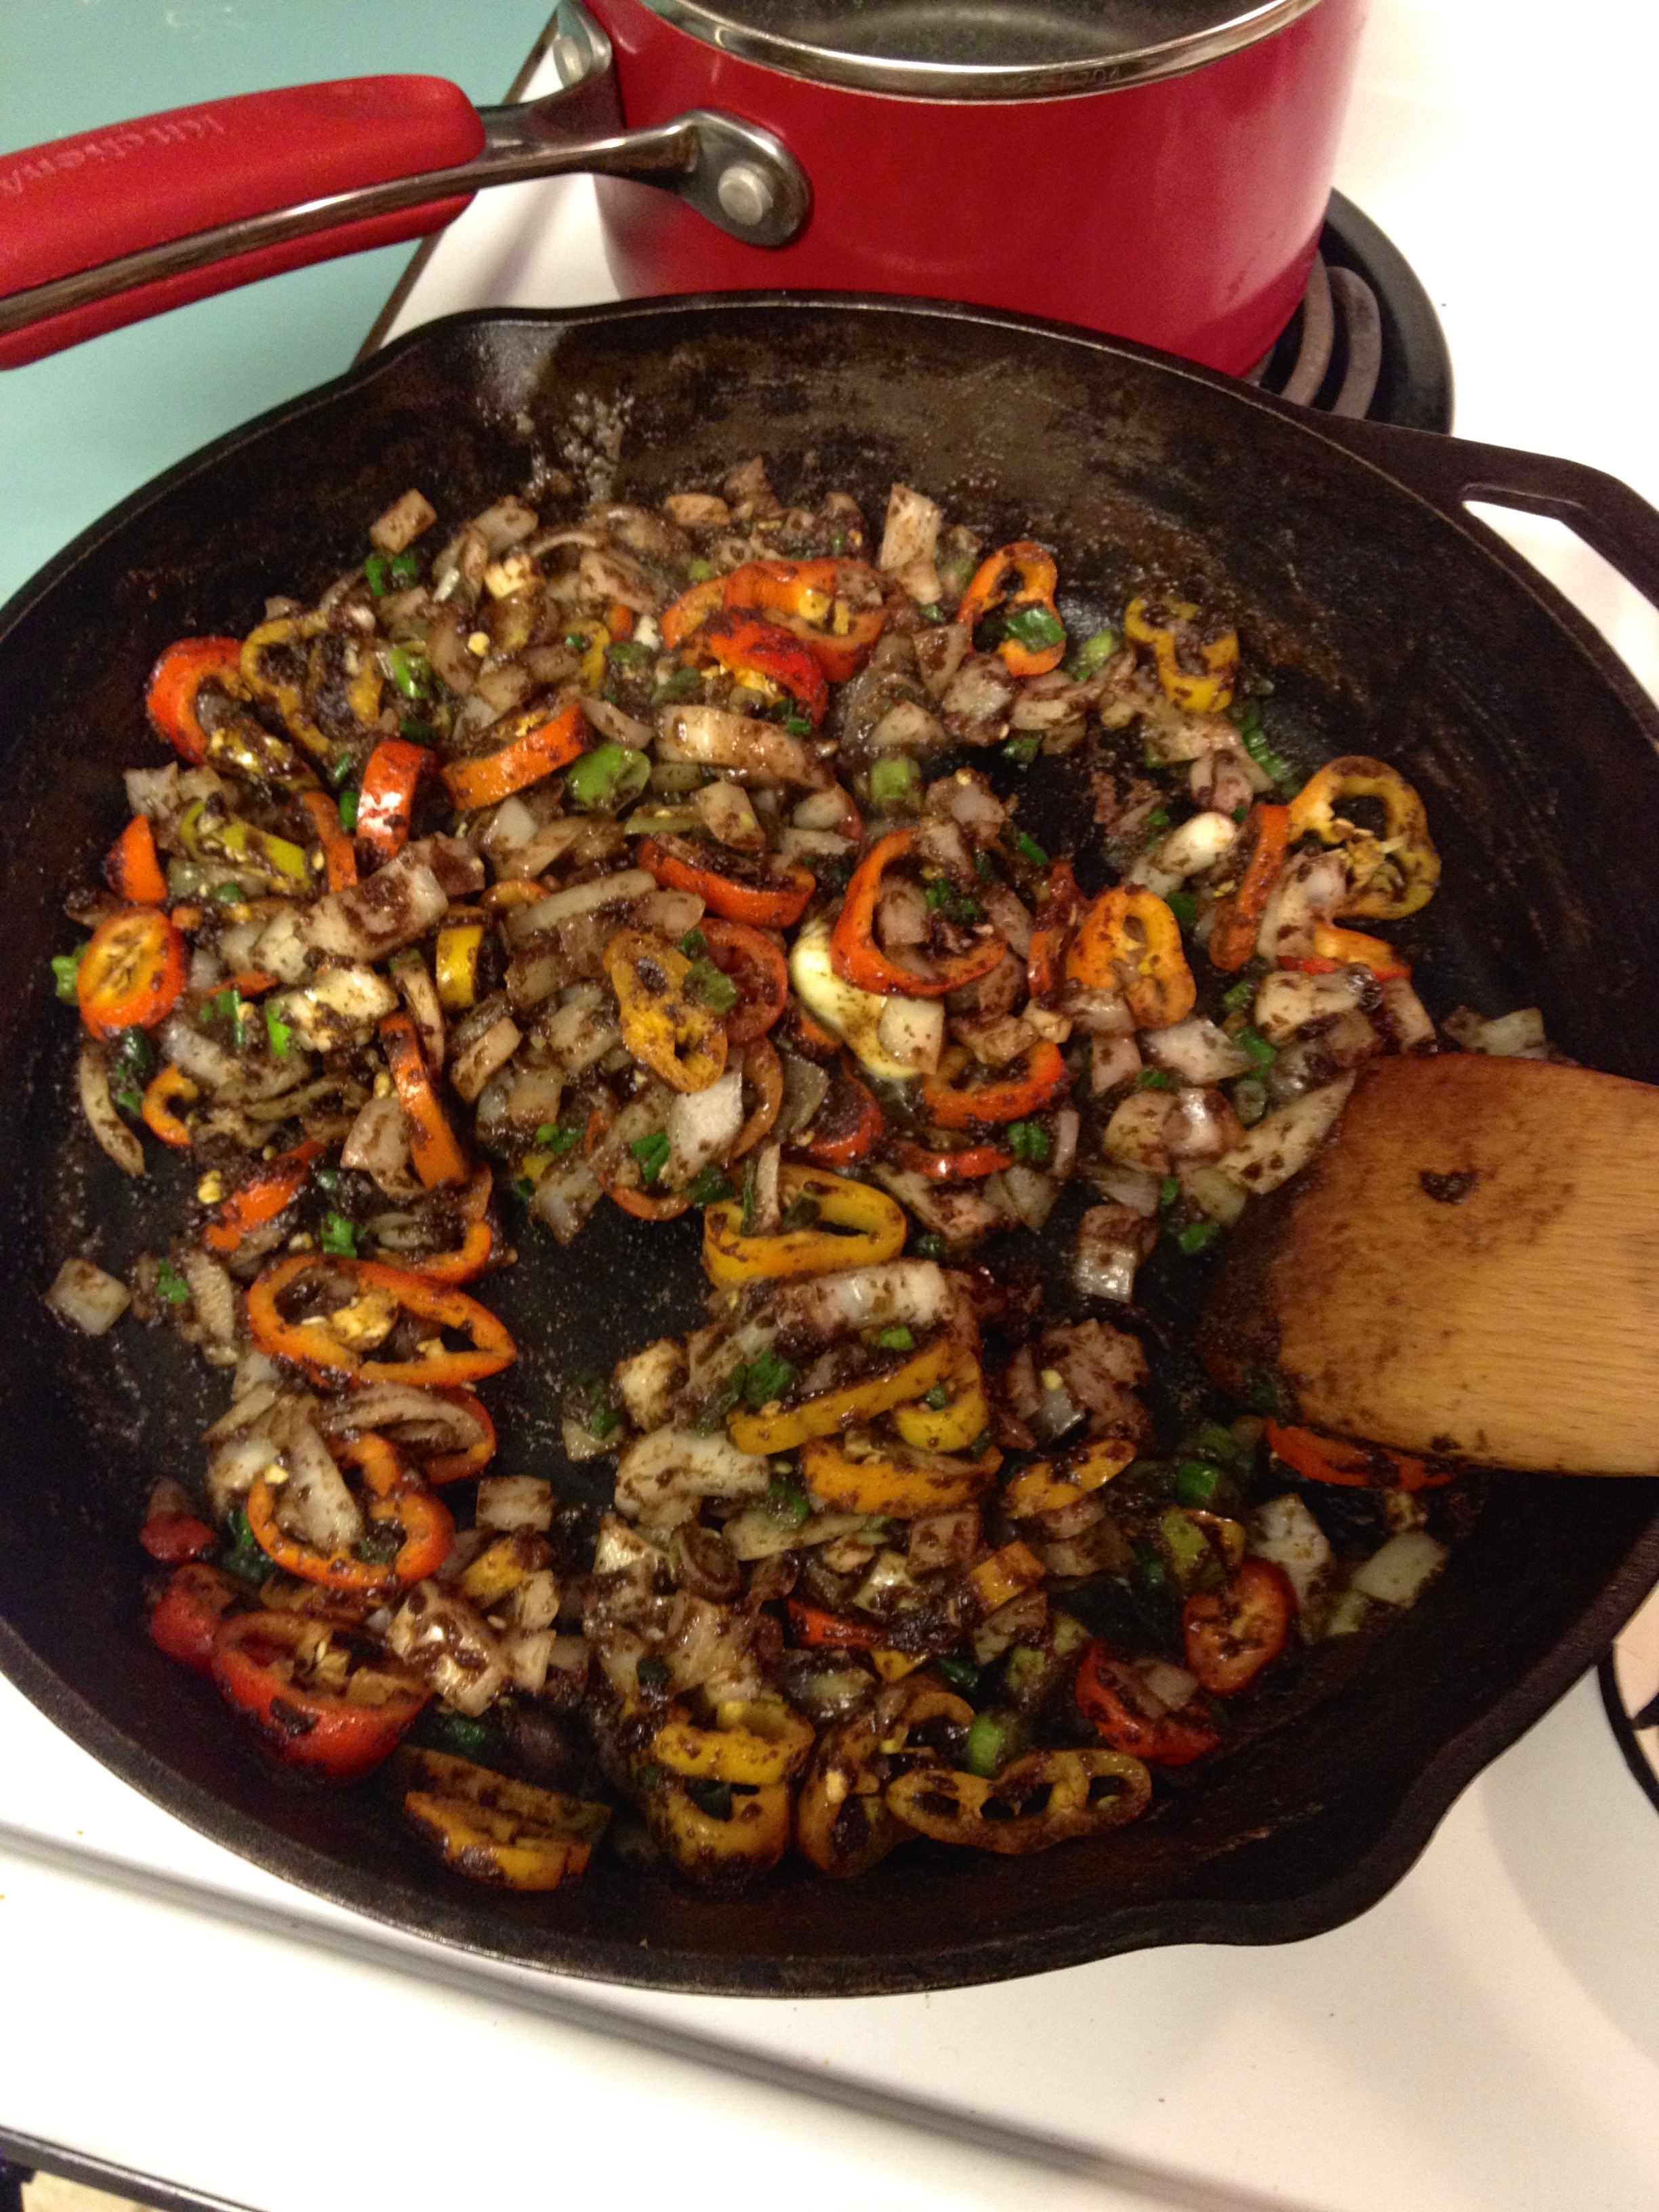
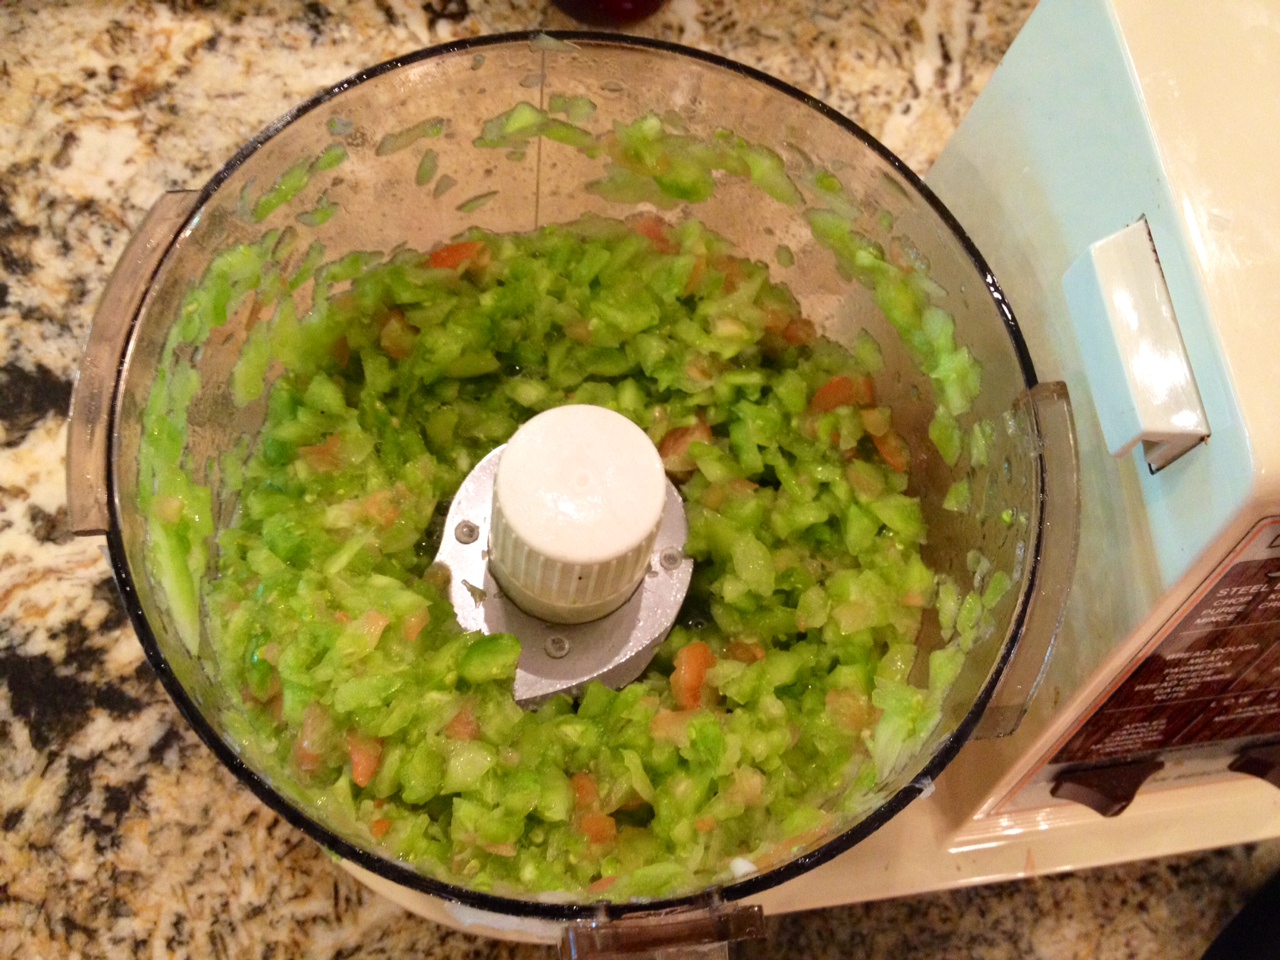
2. Now start prepping all your veggies to go into your food processor (tomatoes, peppers, onions). For tomatoes cut the tops off and cut in half or quarters depending on the size of the tomato. Quarter up your onions and make sure your peppers are small enough for your processor to handle. Start processing in batches and add to a large pot.
-2
-3
-4

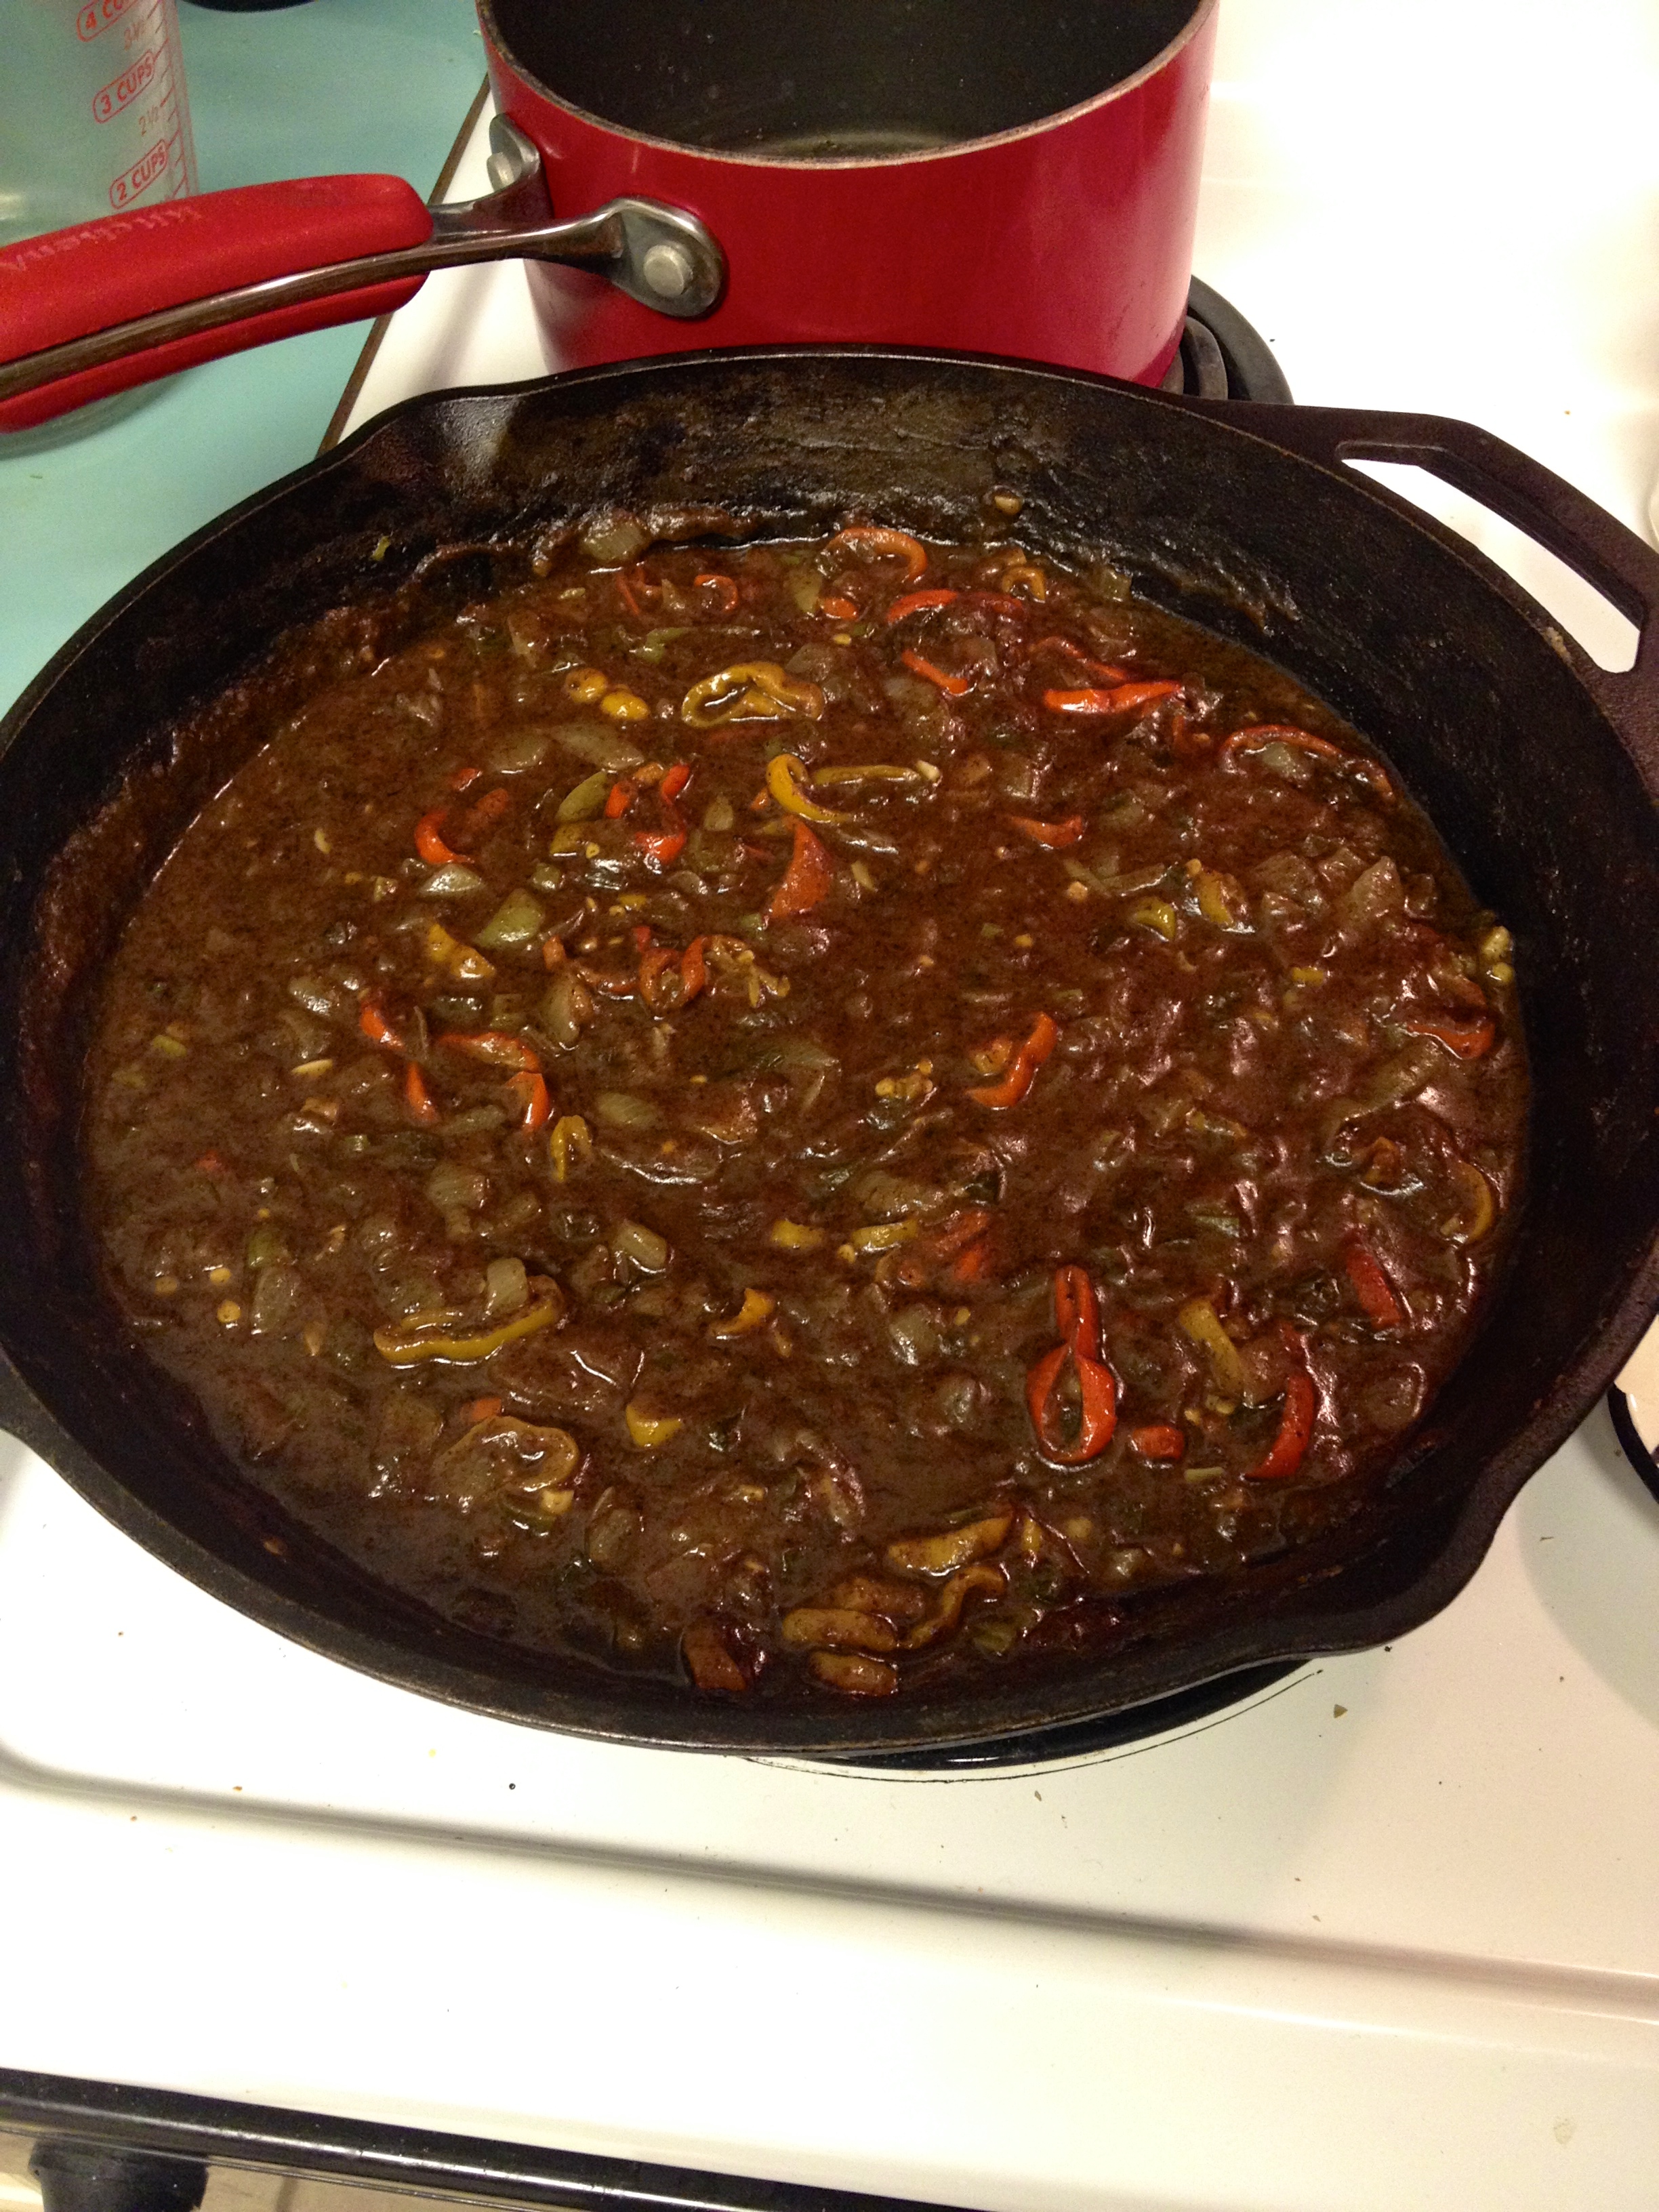
3. Once your pickling liquid is done simmering and all your veggies are processed and combined in the large pot, pour STRAINED pickling liquid over the chow chow mix and bring to a boil. This will take a while and you’ll have a considerable about of liquid in there, so be patient:) After it comes to a boil, bring the heat down and allow it to simmer about 40 minutes or until it looks like this.
-6

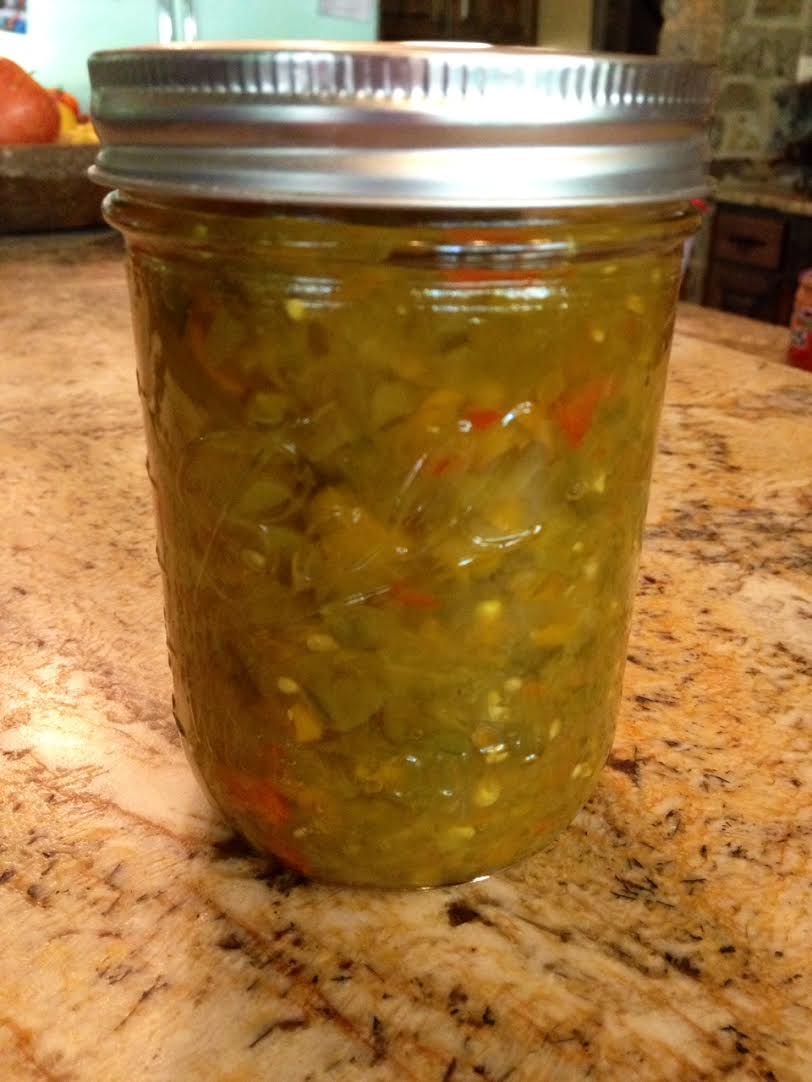
4. Now it’s time to start canning! Start putting chow chow into your hot jars (I’m assuming you’ve prepped your jars) and filling them up to about 1/2 inch from the top. You’ll want to sort of let the juice run out, not quite straining the liquid, but getting mostly the chunky stuff to fill up your jars first, then pour the liquid in at the last. This will give you 15 pint size jars. After you’ve canned your chow chow, you can take liquid that’s leftover at the bottom of the pot and save it for yummy hot pepper sauce. I can’t even tell you how delicious this is!
-7

5. Water bath the jars for 15 minutes, then allow to sit and seal on your counter top.
-8

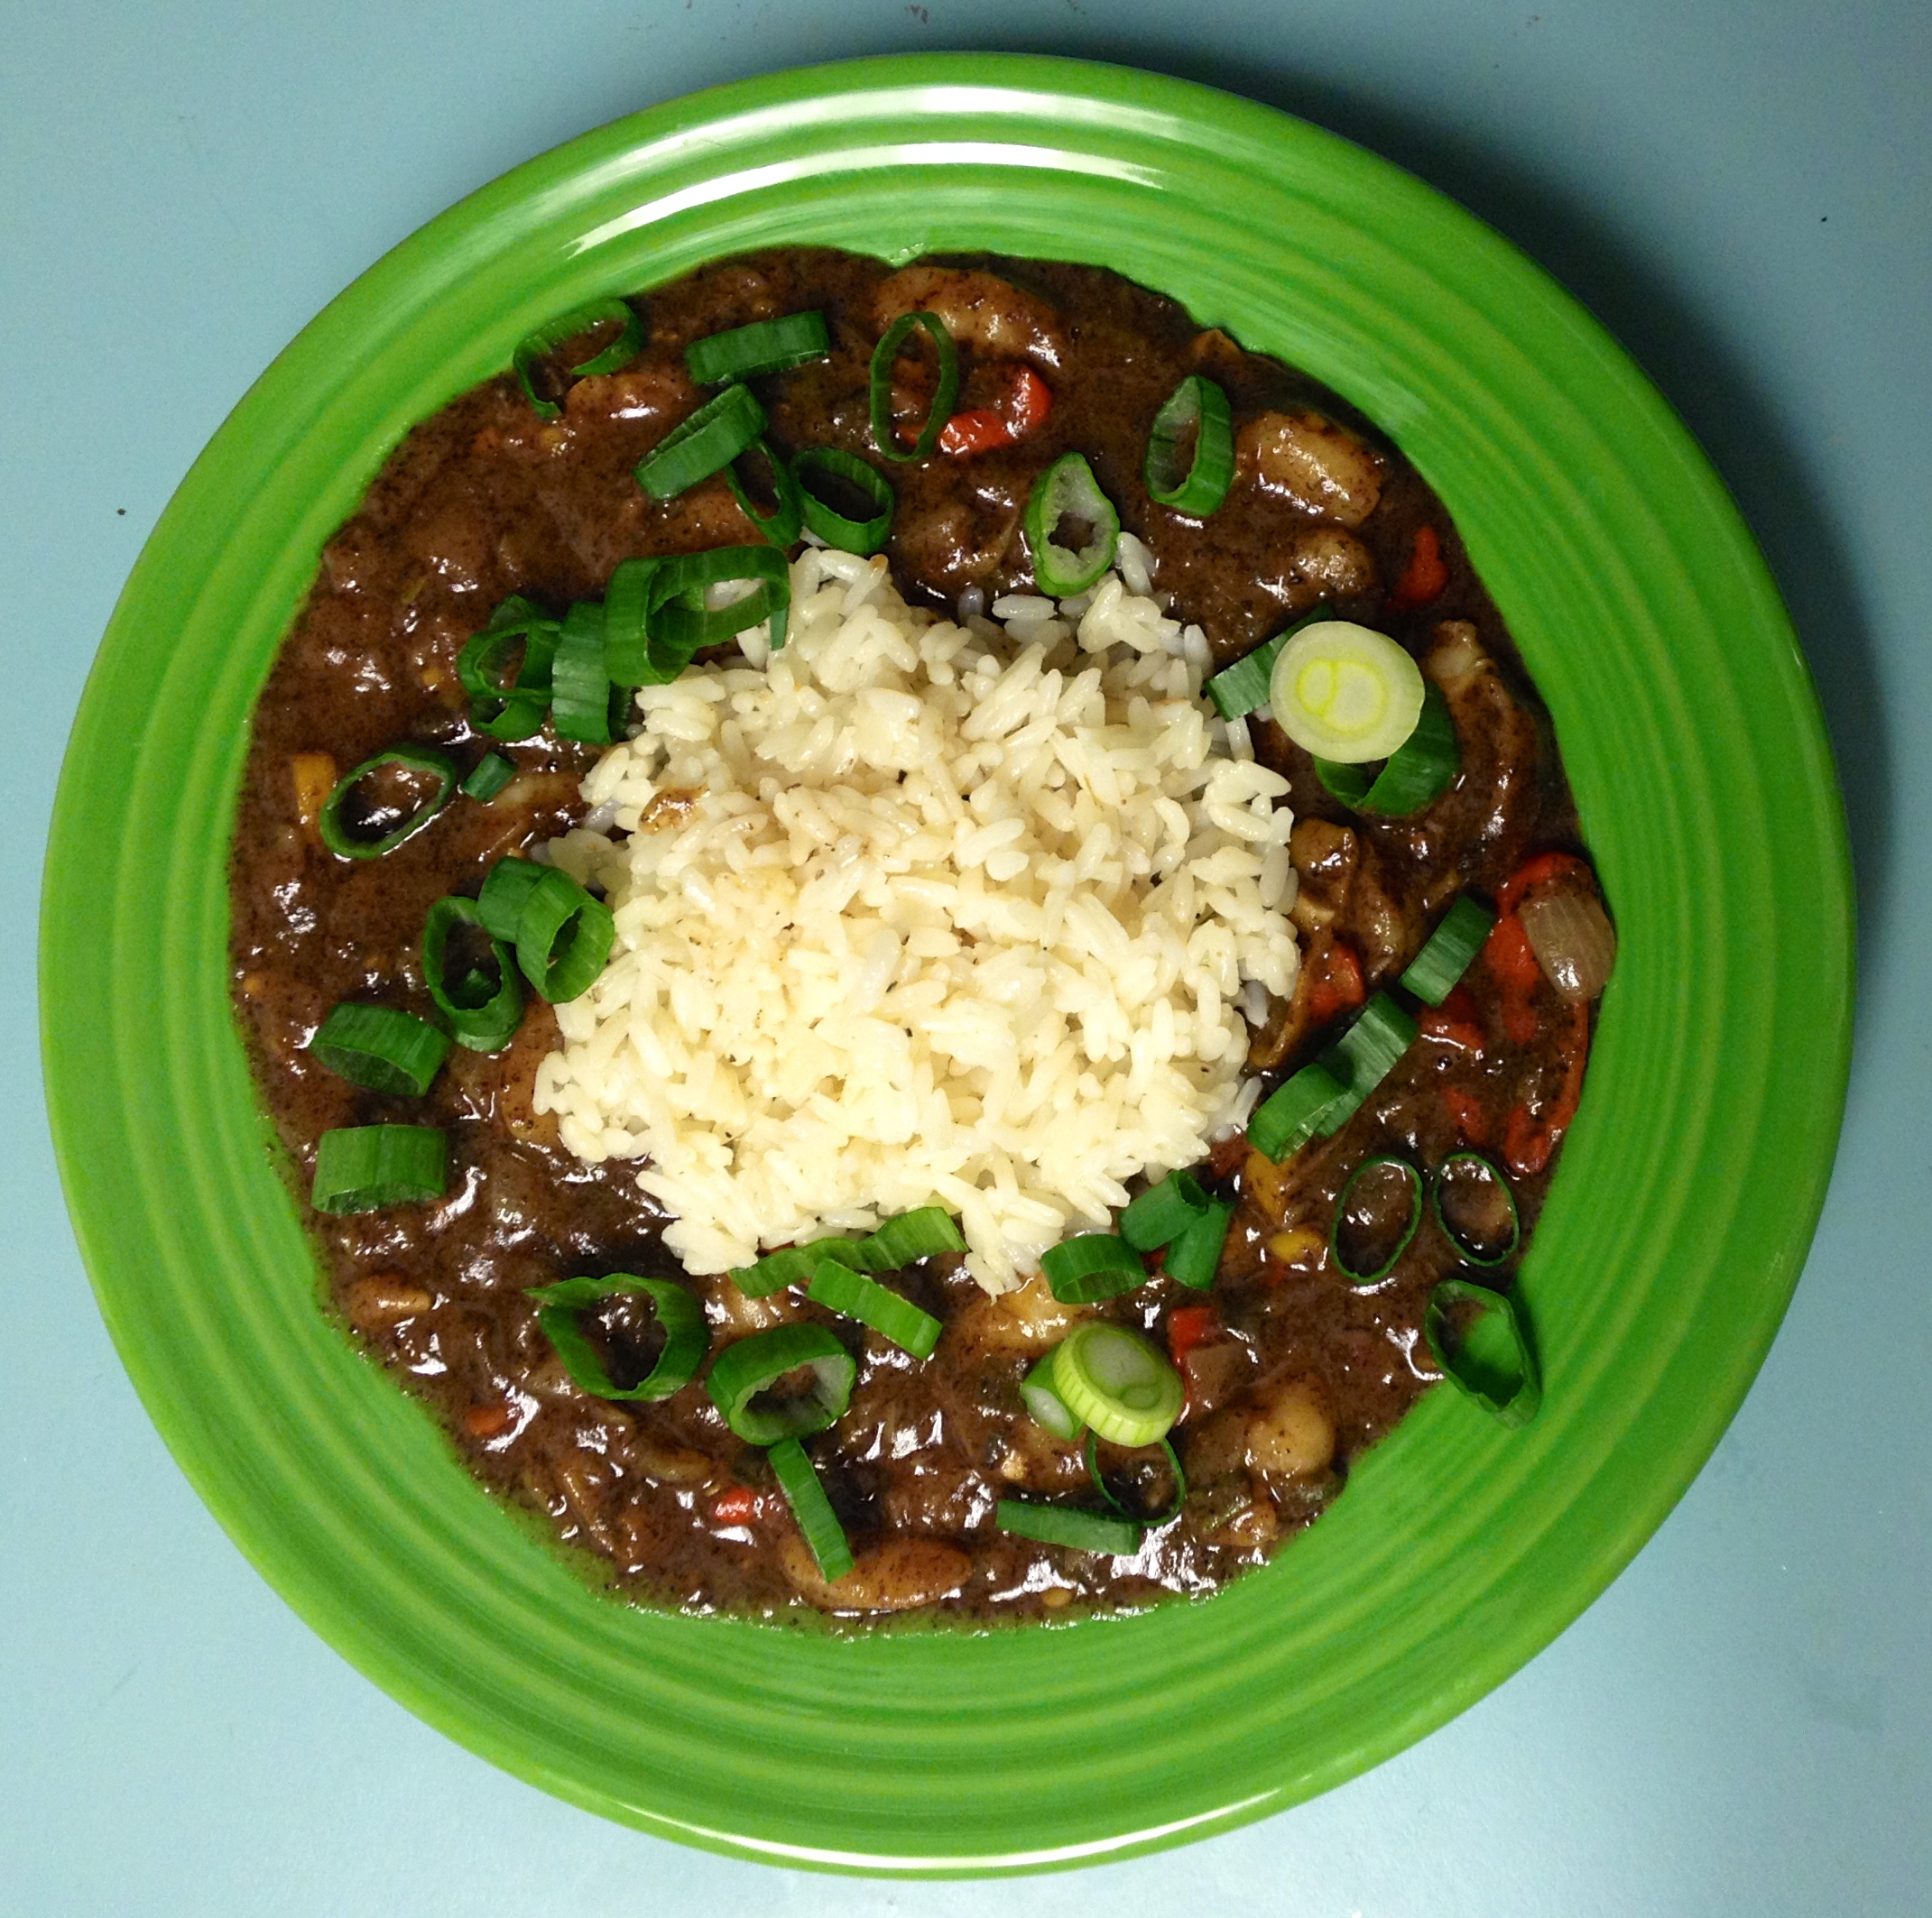
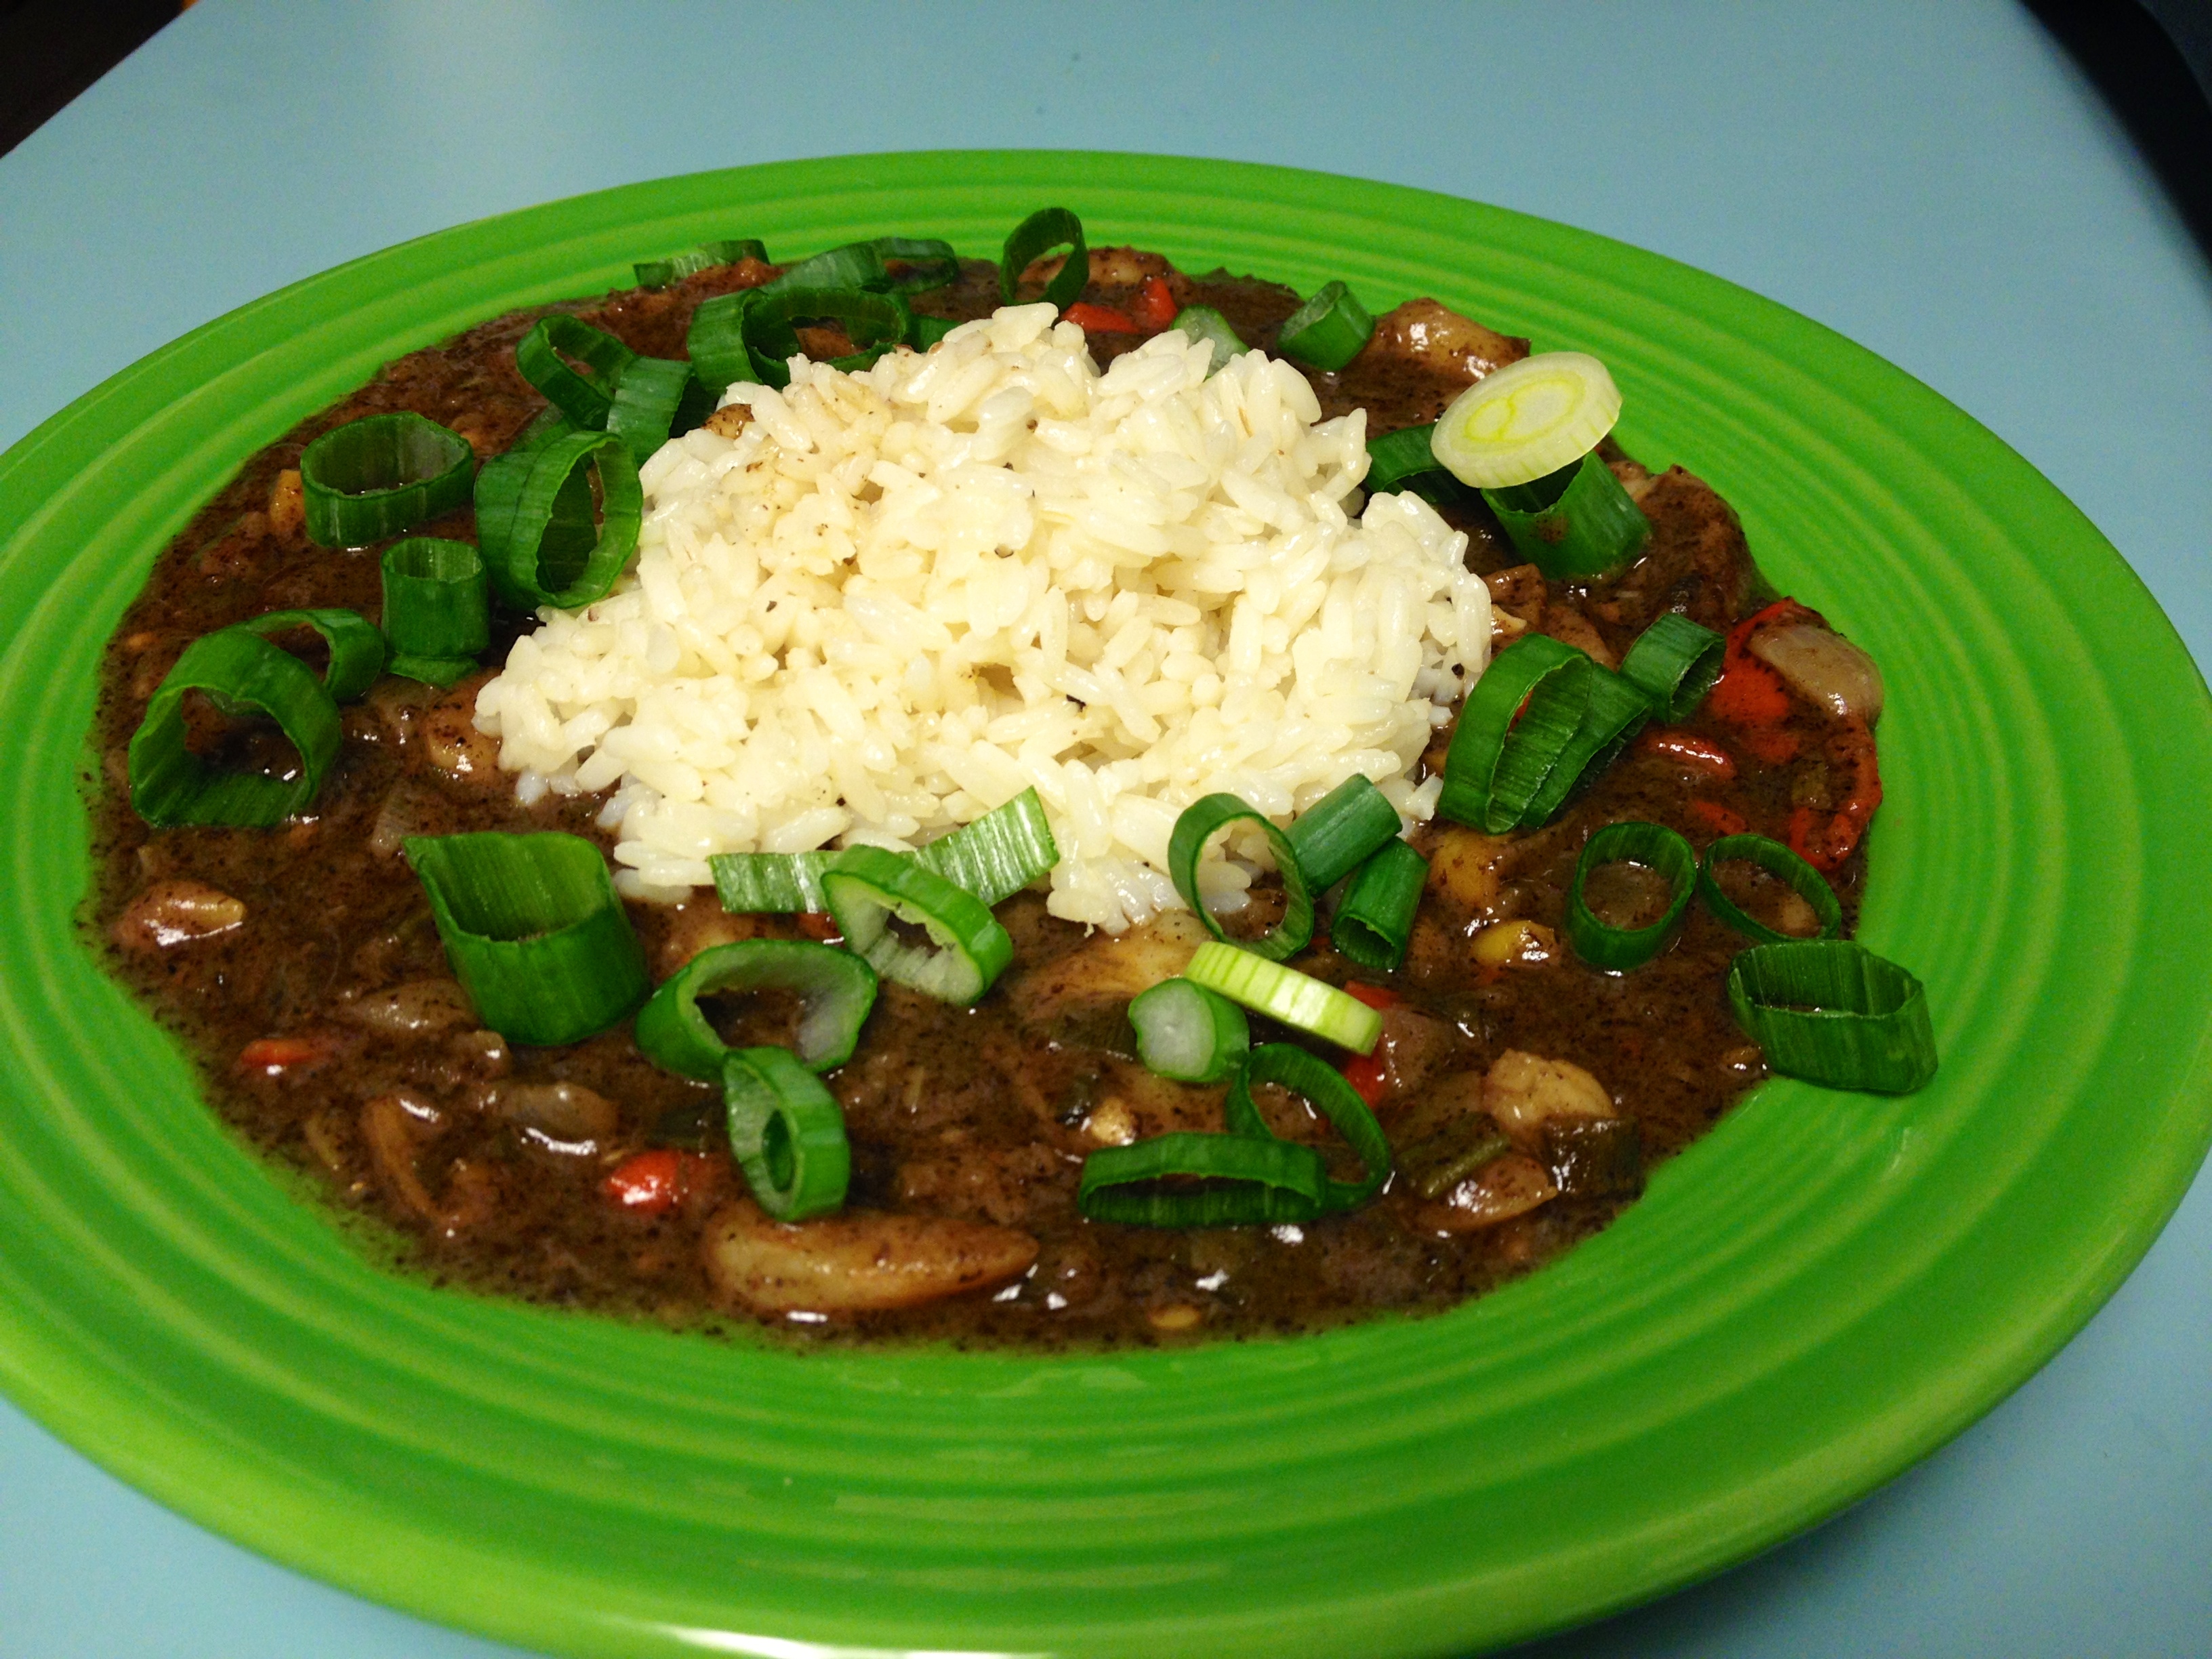
6. Now it’s time to make yourself a southern meal of peas, greens, cornbread, chicken, etc, and sprinkle some hot chow chow all over it and go ahead and sign out for the evening! You’ll be so glad you took the time to make these little green gems into this delicious concoction!
-11
-10

Advertisement

Texas Coleslaw

Standard
Texas Coleslaw

Texas Coleslaw

Y’all this coleslaw is so delicious and so good for you. Unlike creamy recipes, this one is vinegar based and has some heat. This is probably my most asked for recipe of anything I’ve ever made for a crowd. Here is the recipe for a single batch, but you can easily double or triple everything for large parties.

Ingredients:
10 oz bag of coleslaw mix (I’ve used broccoli slaw, original coleslaw mix, and even the new kinds with all kinds of different stuff in it like Brussels Sprouts and cranberries. But my favorite one is the mixed bag with original slaw and broccoli slaw mixed together.)
1/4 c white wine vinegar (No, this is not the same thing as white vinegar. No, you cannot sub other vinegar.)
1/4 c oil (olive, canola, or vegetable)
2 tsp – 4 tsp sugar
Juice of one lime
Salt and pepper
Pinch of cumin powder (optional)
A handful of those sweet baby bell peppers sliced into rings (yellow, orange, and red)
One sliced jalapeño with seeds
2-3 sliced green onions
A handful of chopped cilantro

1. Combine mix and all chopped ingredients into a mixing bowl.image

2. Whisk together white wine vinegar, oil, lime juice, seasonings, and sugar. Give it a taste and see if you like the sugar content in it. It should be sweet and tangy. Start off with 2 tsp and go from there. Once it’s whisked together, add to mixing bowl.
image

3. Allow it to sit in the fridge a while before you serve it. I like to allow at least an hour. It’s delicious by itself or on top of sliders 🙂
image

Shrimp Etouffee

Standard
Shrimp Etouffee

Shrimp Etouffee

“Mama bought a rooster, she thought it was a duck. She put him in the oven with his legs straight up. Along came the children with a cup and the glass, tryin to get the gravy from the yas yas yas.” Whenever I think Cajun, I think of my neighbors Jay and Pokie Dean, and this is something I’ve heard them say at least 1,000 over the years. Don’t ask me what it means, because I have no idea, but I love listening to their Cajun rhymes and sayings. Their Boudreaux and Thibodeaux jokes are great, and I’ve never once left their house without a smile on my face and a full belly! This shrimp etouffee recipe was my attempt to satisfy my New Orleans craving, and I hope you’ll try it to in the spirit of Mardi Gras coming up!

Ingredients:
1 1/2 – 2 lbs raw shrimp with shells on
1 stick of butter OR 8 tablespoons bacon drippings (or you can use a combination of the two, but we’ll get back to that in a minute)
1 sweet onion chopped
1 large red, yellow, or orange bell pepper chopped or approx 8 mini sweet bell peppers chopped
2 cloves of garlic chopped
1 bunch of green onions chopped
8 tablespoons flour
1 1/4 tsp creole seasoning (I use Tony’s)
2 bay leaves (dried)
Pinch of cayenne pepper
3 cups chicken broth
1 T Worcestershire
Louisiana hot sauce to taste

1. Remove the shells from your shrimp and place shells and discarded onion skin and top into a stock pot. Add 3 cups of chicken broth and bring to a boil. Allow to boil for a few minutes, then bring to a simmer for about 10 minutes. Set aside.
IMG_0334

2. Next, we’re going to start the roux for the etouffee. I always use my trusty cast iron skillet for this. Have I told you how much I love cast iron? They last more than one person’s lifetime and in the unlikelihood that your house ever burned to the ground, you would still find your cast iron skillet in the ashes just waiting to be used. If you don’t have one, go out and buy one, I’ll wait………….. Ok, glad you’re back! Let’s get started on the roux! First, use either 1 stick of butter OR 8 tablespoons bacon drippings. Or feel free to use a combination of the two equaling 8 tablespoons. Add your flour to this as well and turn heat to medium.
IMG_0328

3. Now you’re going to stand there over the roux and not leave it for about 20-25 minutes. Yes, I’m serious. It needs to be stirred almost constantly and keep a watchful eye on it so it doesn’t burn! Allow me to take you through the process of cooking the roux:
IMG_0332IMG_0333
IMG_0336
IMG_0339
IMG_0340
IMG_0341
IMG_0342

4. Ok, now it’s done! Notice it sort of looks like you melted a giant Hershey’s chocolate bar in there. That’s how my mom always says you can tell the roux is done. Now, we’re going to mix in all those yummy veggies you chopped up!
IMG_0329

5. Stir them up and let them cook for about 10 minutes or until tender.
IMG_0346

6. Remember that shrimp/chicken broth you made? Strain it and discard the yucky stuff in the trash can. Then pour the juice into the vegetable roux mix. Also add your Worcestershire, Louisiana hot sauce, and seasonings.
IMG_0347
IMG_0348

7. Bring to a simmer for at least 30-45 minutes or until it begins to thicken up.
IMG_0349

8. Now add your shrimp in and cook for another 10 minutes or so.
IMG_0351

9. It will look like this when it’s done:
IMG_0352

10. Congratulations! You’ve crossed the Louisiana border and made etouffee! It was a lot of steps, but 100% worth it once you taste this delicious dish! Don’t forget to remove your bay leaves before eating! Serve with rice and more green onion for garnish 🙂
IMG_0357

Chicken Quesadillas

Standard
Chicken Quesadillas

Chicken Quesadillas

Take a look at this little beauty! That is the delicious inside of my chicken quesadillas before I put the top on. I usually use whatever meat I have leftover in my fridge (steak, chicken, pulled pork, etc), and in this case I used leftover grilled chicken.

Ingredients:
1 sweet onion chopped or sliced, whatever you prefer
Several sweet peppers sliced into rings or 1 bell pepper sliced
1 jalapeño sliced into rings
1 garlic clove chopped
2 T butter
Olive oil
Salt and pepper
Chopped meat of your choice (about 1/2 cup per quesadilla)
Mixed shredded cheese
Tortillas

1. Put your peppers, onions, salt, pepper, drizzle of olive oil, and butter in a skillet. Sauté about 15 minutes on medium to high heat, then add garlic and sauté another five minutes. Peppers and onions

2. In a different skillet you can either drizzle a little olive oil in it or rub with a little butter to get it ready for the tortilla. Place tortilla in, sprinkle with one layer of cheese, and put as much meat and veggies as you want on there.
Chicken Quesadillas

3. Put another layer of cheese on top of the meat and veggies and put another tortilla on top. *Note* I used flour for my husband and corn tortillas for me. I let them cook a little longer in a little extra butter and got it nice and crispy. Let me tell ya, it was delicious!
image

4. Flip that bad boy over and allow both sides to become deliciously golden. That was so easy, I bet you didn’t even have to set your wine glass down!
image

Beef Fajitas

Standard
Beef Fajitas

image

Who doesn’t love a hot and delicious fajita? These are so delicious, and the marinade for the meat is the best I’ve ever tasted. So pour yourself a margarita and let’s get started!

Ingredients:
Skirt steak (you can use flank steak too if you can’t find skirt steak)
1 tablespoon of your favorite fajita seasoning
Juice of 1 lime
1 shot of tequila
1 cup Italian dressing
2 sweet onions sliced
1 bag of sweet peppers sliced into rings
1 jalapeño sliced into rings
2 cloves of garlic chopped
1/2 stick butter
Olive oil
Salt and pepper
Tortillas

1. Combine Italian dressing, lime juice, seasoning, and tequila in ziplock bag. Shake until combined and place your meat in there to marinade at least four hours. I usually do mine the morning of the day I’m cooking them for dinner. Here is a picture of my all-time favorite fajita seasoning:
image
2. Sauté on medium to high heat onions, peppers, butter, olive oil, salt, and pepper in a large skillet until it begins to caramelize. Then add chopped garlic and sauté another 7-10 minutes. It will look like this when it’s ready:
image
3. Throw your fajita meat on the grill and cook until you reach desired doneness. Slice up and serve on warm tortillas and top with sautéed veggies, pico, sour cream, cheese, or whatever else you like on your fajitas. Don’t forget your margarita 🙂