Tag Archives: sides

Pasta Salad

Standard
Pasta Salad

IMG_1443
Hey y’all! I bet you’ve been wondering where I’ve been and why I haven’t posted anything in a while. Well, that’s because I just finished my first trimester of my pregnancy and I am just now able to begin to look at food again. Seriously, looking at or smelling food in any way was a big no no up until now, so slowly but surely I’ll be coming back to post more Blonde Bitchin West Texas Kitchen recipes!

Here is my go-to pasta salad recipe whenever I’m going to a BBQ or even packing a picnic. It’s so yummy and kids love it too because of the string cheese surprise in there! Who puts string cheese in a pasta salad? I do 🙂

Ingredients:
1 box of pasta (spiral or penne works best)
1 cup Italian dressing (my favorite is the original Wishbone kind in the green bottle)
4 sticks of string cheese cut up into slices
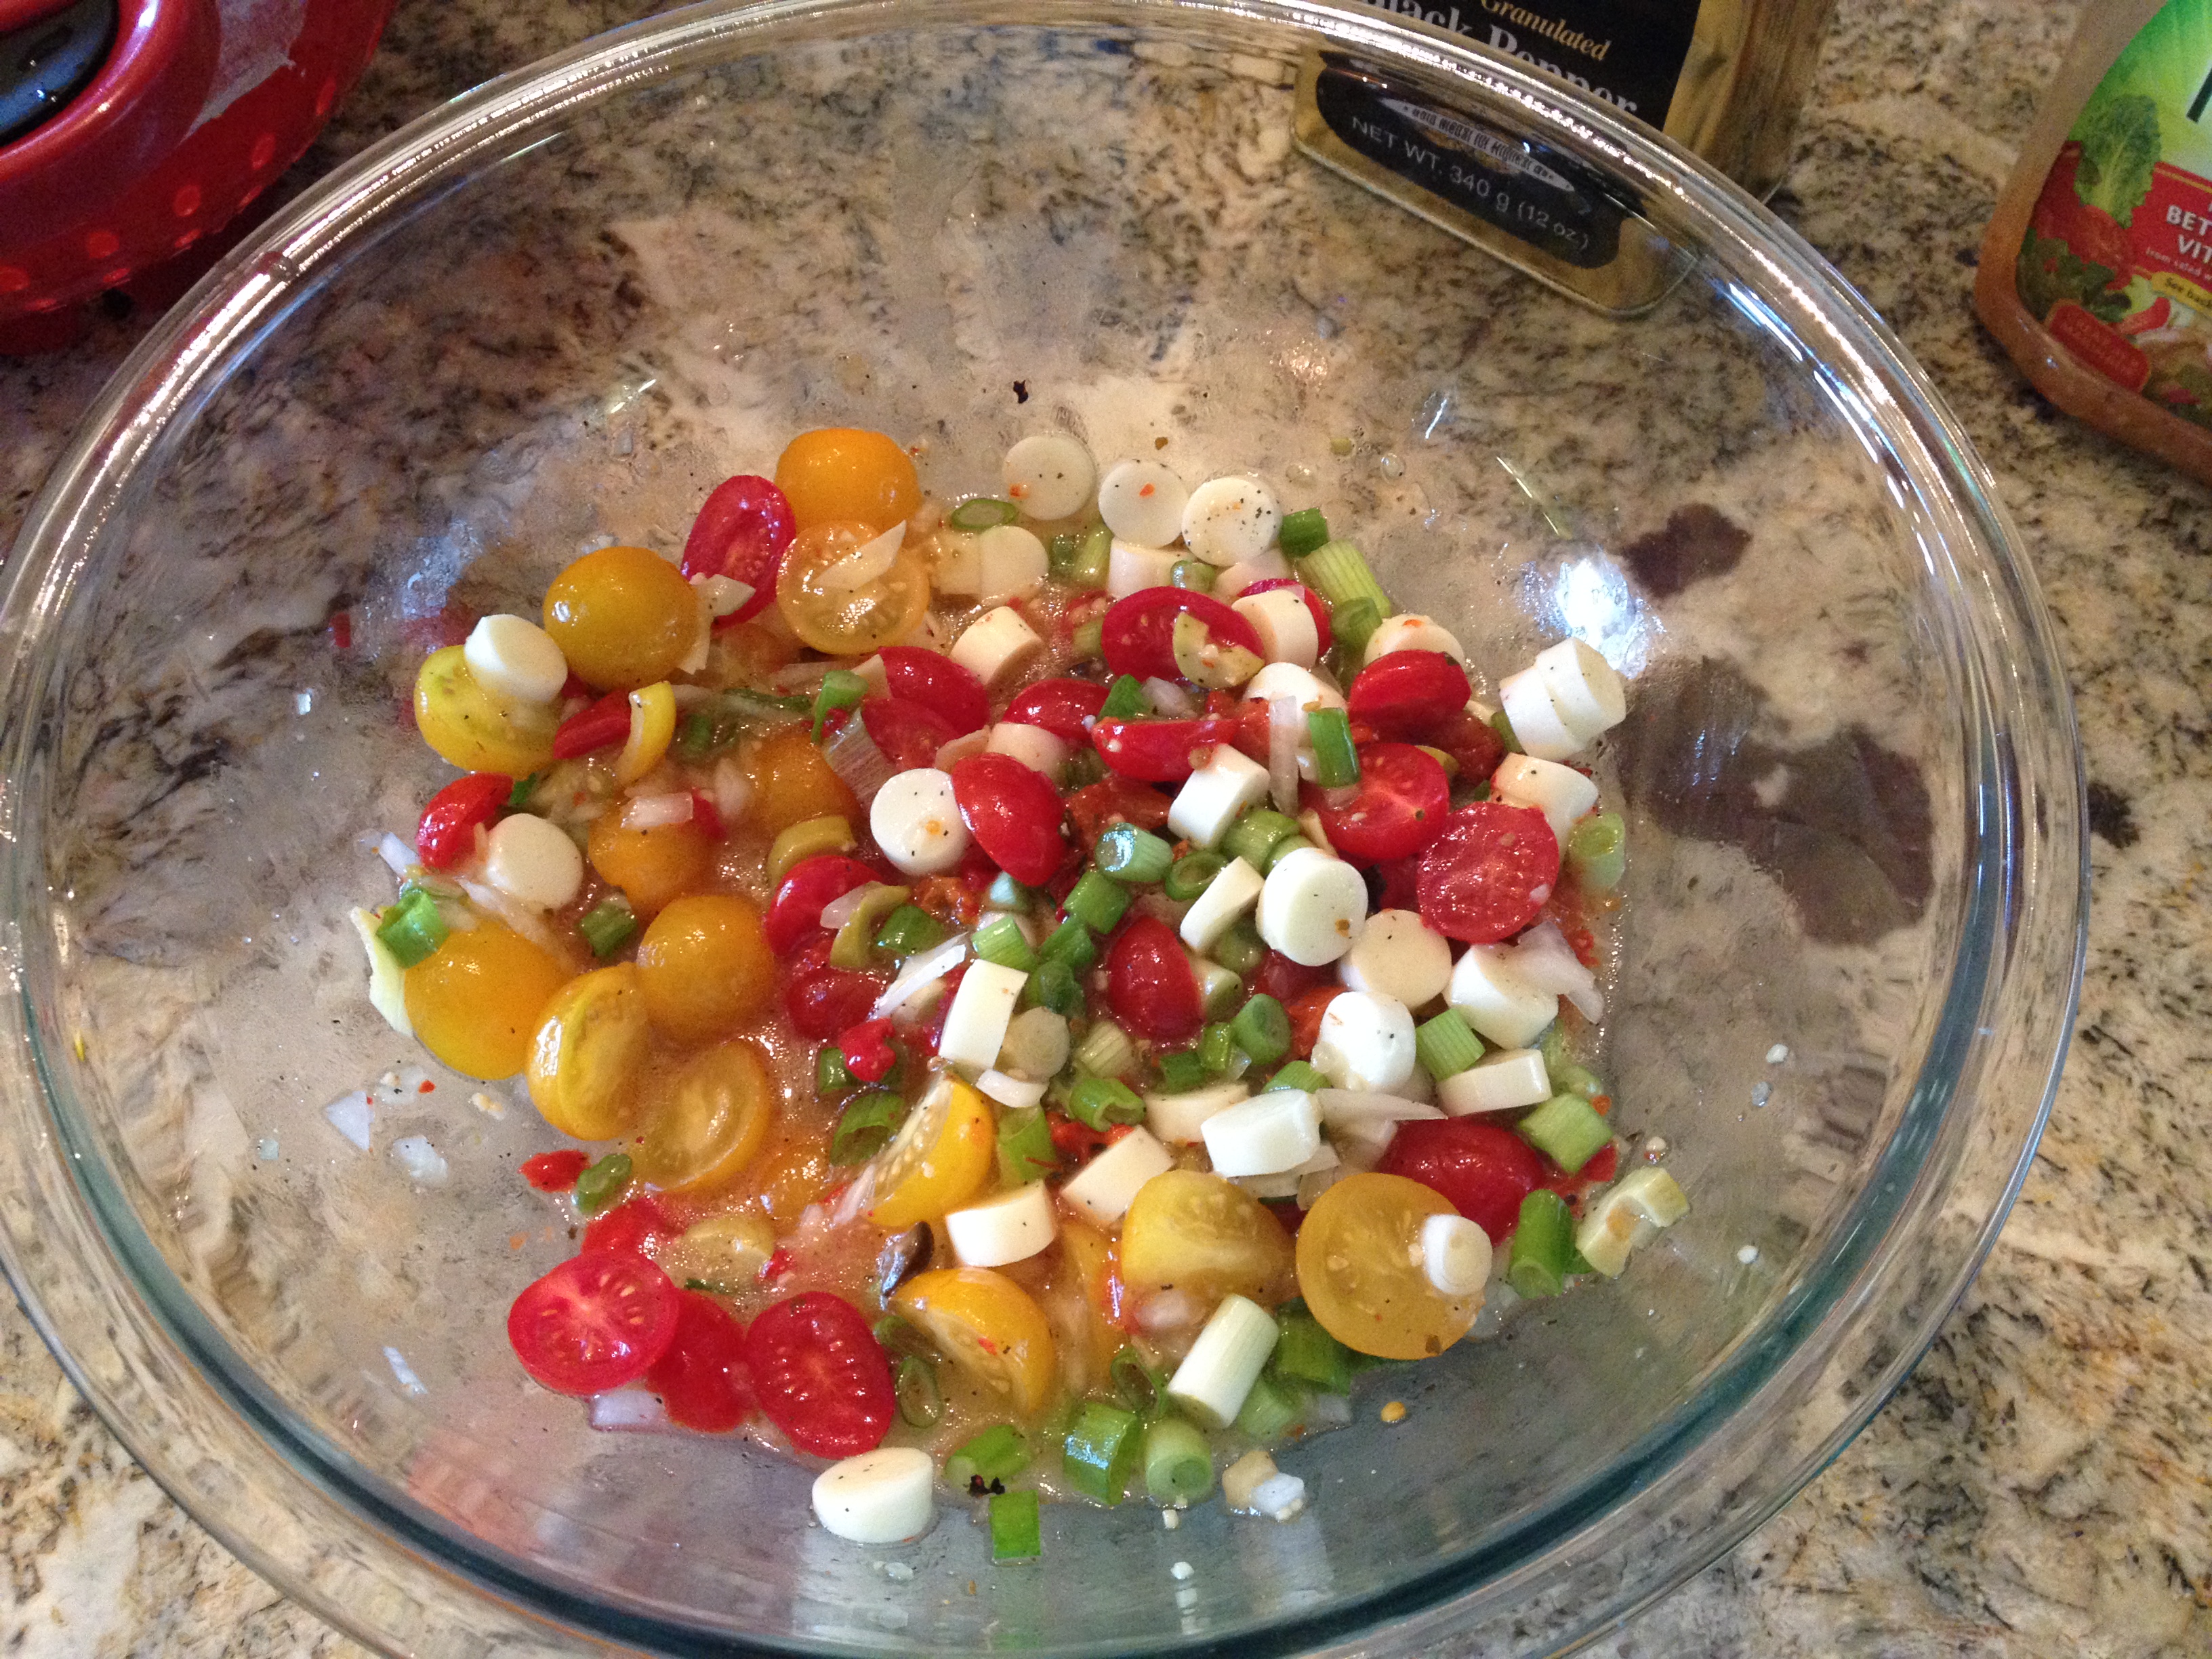
1/2 bunch of green onions chopped
1/4 sweet onion finely chopped
1 cup total red and yellow cherry tomatoes chopped in half
*I also like to add whatever I have in the fridge that looks good and these are optional – chopped marinated artichoke hearts, chopped marinated green olives, sliced roasted red peppers marinated in oil
Salt and pepper to taste

1. First chop up all your ingredients and add them to a large bowl and add your Italian dressing and let that sit in the fridge while your pasta is boiling according to the instructions on the box.
IMG_1439

2. Add your cooked pasta noodles to the yummy mixture you have in your bowl and add salt and pepper all over and stir together.
IMG_1441

3. Place your pasta salad in the fridge and allow it to chill at least 1 hour prior to serving. So good!
IMG_1442

Seasoned Sweet Potato Fries

Standard
Seasoned Sweet Potato Fries

Seasoned Sweet Potato Fries
Y’all, I have a serious obsession with sweet potato fries. They are so delicious and easy to make. And not to mention cheap! Try these out the next time you’re grilling burgers or hot dogs!

Ingredients:
Sweet potato cut into fries (Use a knife – no fry cutter works on a sweet potato, believe me I went through 3 of them!)
Enough oil to cover your fries (Use an oil with a high smoke point like canola or peanut)
Your favorite seasoned fish fry
Your favorite season-all (I used Tony’s)

1. Place your sweet potato fries in a large boil and keep covered in water until ready to use. Once you’re ready, drain them.
image

2. I used a half a bag of this seasoned fish fry. You want all the fries to be covered in the seasoning.

image
image

3. Stir up the fries so they’re evenly coated.
image

4. Fry them in batches in your oil. I always turn mine a little higher than medium heat and test it out by sprinkling a little fish fry on it to see if it starts frying it. If not, I turn the heat up a bit. However, if you’re the scientific type, you’re looking for a temp of 325-350F. Also, don’t overcrowd your frying pan because this will cause the fries to be soggy and also drop the temperature of your oil, thus making your cooking time longer. You’ll cook your fries in batches of 30-40 minutes each and as soon as you take the fries out, place them on a cookie sheet that’s been lined with paper towels and season immediately with your season-all.
image

5. Keep fries in a 200F degree oven to keep them crisp and delicious until you’re ready to serve. Seasoned Sweet Potato Fries

Roasted Vegetables

Standard
Roasted Vegetables

Roasted Vegetables

These roasted veggies are super delicious and very good for you. I’ve done virtually every veggie combo in this recipe, but these were what I had in my fridge: yellow squash, zucchini, asparagus, sweet potato, purple potato, sweet onion, Brussels Sprouts, jalapeño, sweet peppers, and green onion. Other veggies I love in here are cauliflower, broccolini, cherry tomatoes, carrots, whole garlic cloves, and bell peppers. The next day I love to chop any leftovers up and add to seasoned quinoa and add a can of drained black beans for dinner.

Ingredients:
Sliced vegetables
Olive oil
Seasoning
1-2 T of butter (optional)

1. Cut up all your veggies and arrange on a sheet pan lined with foil (helps with cleanup later).
Cut Veggies

2. Drizzle olive oil all over veggies on the pan and add your little pats of butter if you’re using it. Then season liberally with salt and pepper. I also love to use Tone’s Garlic Herb (salt free) seasoning on my veggies, but you can use virtually any seasoning you like, just make sure there isn’t any salt in it, and if there is omit adding additional salt.
Seasoning

3. Place veggies in the oven at 425F for one hour. Be sure to stir veggies around about halfway through to ensure even cooking.
image

4. Veggies will be soft and roasted perfectly at an hour, but you can leave in a little longer if you like them browner. image

Roasted Brussels Sprouts

Standard
Roasted Brussels Sprouts

image

If you’re one of those people that thinks they don’t like Brussels Sprouts, I urge you to try this recipe. It’s delicious and goes great as a side to any main course!

Ingredients:
1 container of Brussels Sprouts halved
1/2 stick of butter
Olive oil
Garlic salt, pepper, cayenne pepper

1. Normally, I use a container of Brussels Sprouts for this recipe. However, my grocery store had this bad boy in stock for a steal! So I cut them off the stalk myself.
image

2. Spread Brussels Sprouts halves over a cookie sheet lined with foil (to help with clean up later). Drizzle with olive oil and 1/2 stick of butter sliced into pats. The thing about butter is it makes everything delicious. I’m not a big stickler for how much to use here, so I try to go by this rule: when I think I’ve added enough butter, I add a little more just to be sure! Then season with garlic salt and pepper liberally and a light dusting with cayenne pepper.
image

3. Pop these puppies into a preheated 375F degree oven for about 45 minutes.
image

4. You’ll know they’re done when some of them begin to caramelize and turn golden.
image

Favorite Beans

Standard
Favorite Beans

Favorite Beans


Ever since my sister and I were little we always asked for these beans as “favorite beans” because as you have probably already figured out, they are our favorite beans. It’s a great side dish to grilled chicken, grilled pork, burgers, or BBQ and is an easy, cheap way to feed a family or small crowd. The best thing about these beans is you can change up the bean ingredients each time and they are still delicious!

Ingredients:
3 different cans of beans (featured here are Bush’s Grillin Beans “Smoke House Tradition” 22 oz can, Bush’s Best Black Beans 15 oz can, and Bush’s Best Pinto Beans 15 oz can) **I will say I always use a can of Grillin Beans and switch up the other two ingredients because I consider these a staple to this recipe**
1 sweet onion
1 jalapeno
2-3 cloves of garlic chopped
3-4 slices of your favorite bacon
1-2 tablespoons of your favorite BBQ sauce (optional)
Salt and Pepper
Olive Oil

1. I like to use my cast iron skillet for this side dish. If you don’t have one you need to get one because every cook should have a cast iron skillet, but if you must use a regular skillet that’s ok for now 🙂

2. Dice up your sweet onion and slice your jalapeno into rings. Place in saute skillet over medium to high heat with a drizzle of olive oil and season with salt and pepper. Saute for 10-12 minutes or until it starts to caramelize and parts of onion appear golden. (Don’t rush caramelizing the onion because you’ll just burn it. This takes time. Sit down, relax, have a glass of wine. Are you a mom? Leave the stove top for a minute and go see what room of the house your child has destroyed. Hint: all of them)

3. Slice bacon into bite size pieces and throw bacon in at this time. Cook for about 5-7 minutes minutes before throwing in your chopped garlic. Cook another 5 minutes or so. Be careful not to burn the garlic and add olive oil as needed throughout saute process to keep moist.

4. Once bacon has been cooked and onion is fully caramelized, add three cans of beans to the mixture (do not drain beforehand). Turn heat down to low and allow beans to mingle with the yummy onion/jalapeno concoction for a few minutes while stirring to help them along. Give it a taste and see what you think. If you like your beans a little sweeter give them a healthy squirt of your favorite BBQ sauce. Personally, I like to add a squirt of Sweet Baby Ray’s Original BBQ sauce in there to take this dish over the top.