Category Archives: Veggies & Sides

Sautéed Greens

Standard
Sautéed Greens


This is a quick and easy recipe for sautéing pretty much any green. This time I had a big bag of mixed greens, but this would’ve been good for any of the greens alone in the mix as well. Serve with a peppery vinegar sauce to take it to the next level of deliciousness!

Ingredients:

  • 1 Lb greens
  • 1 garlic clove chopped
  • 1 T butter
  • 1 T olive oil
  • Salt and pepper

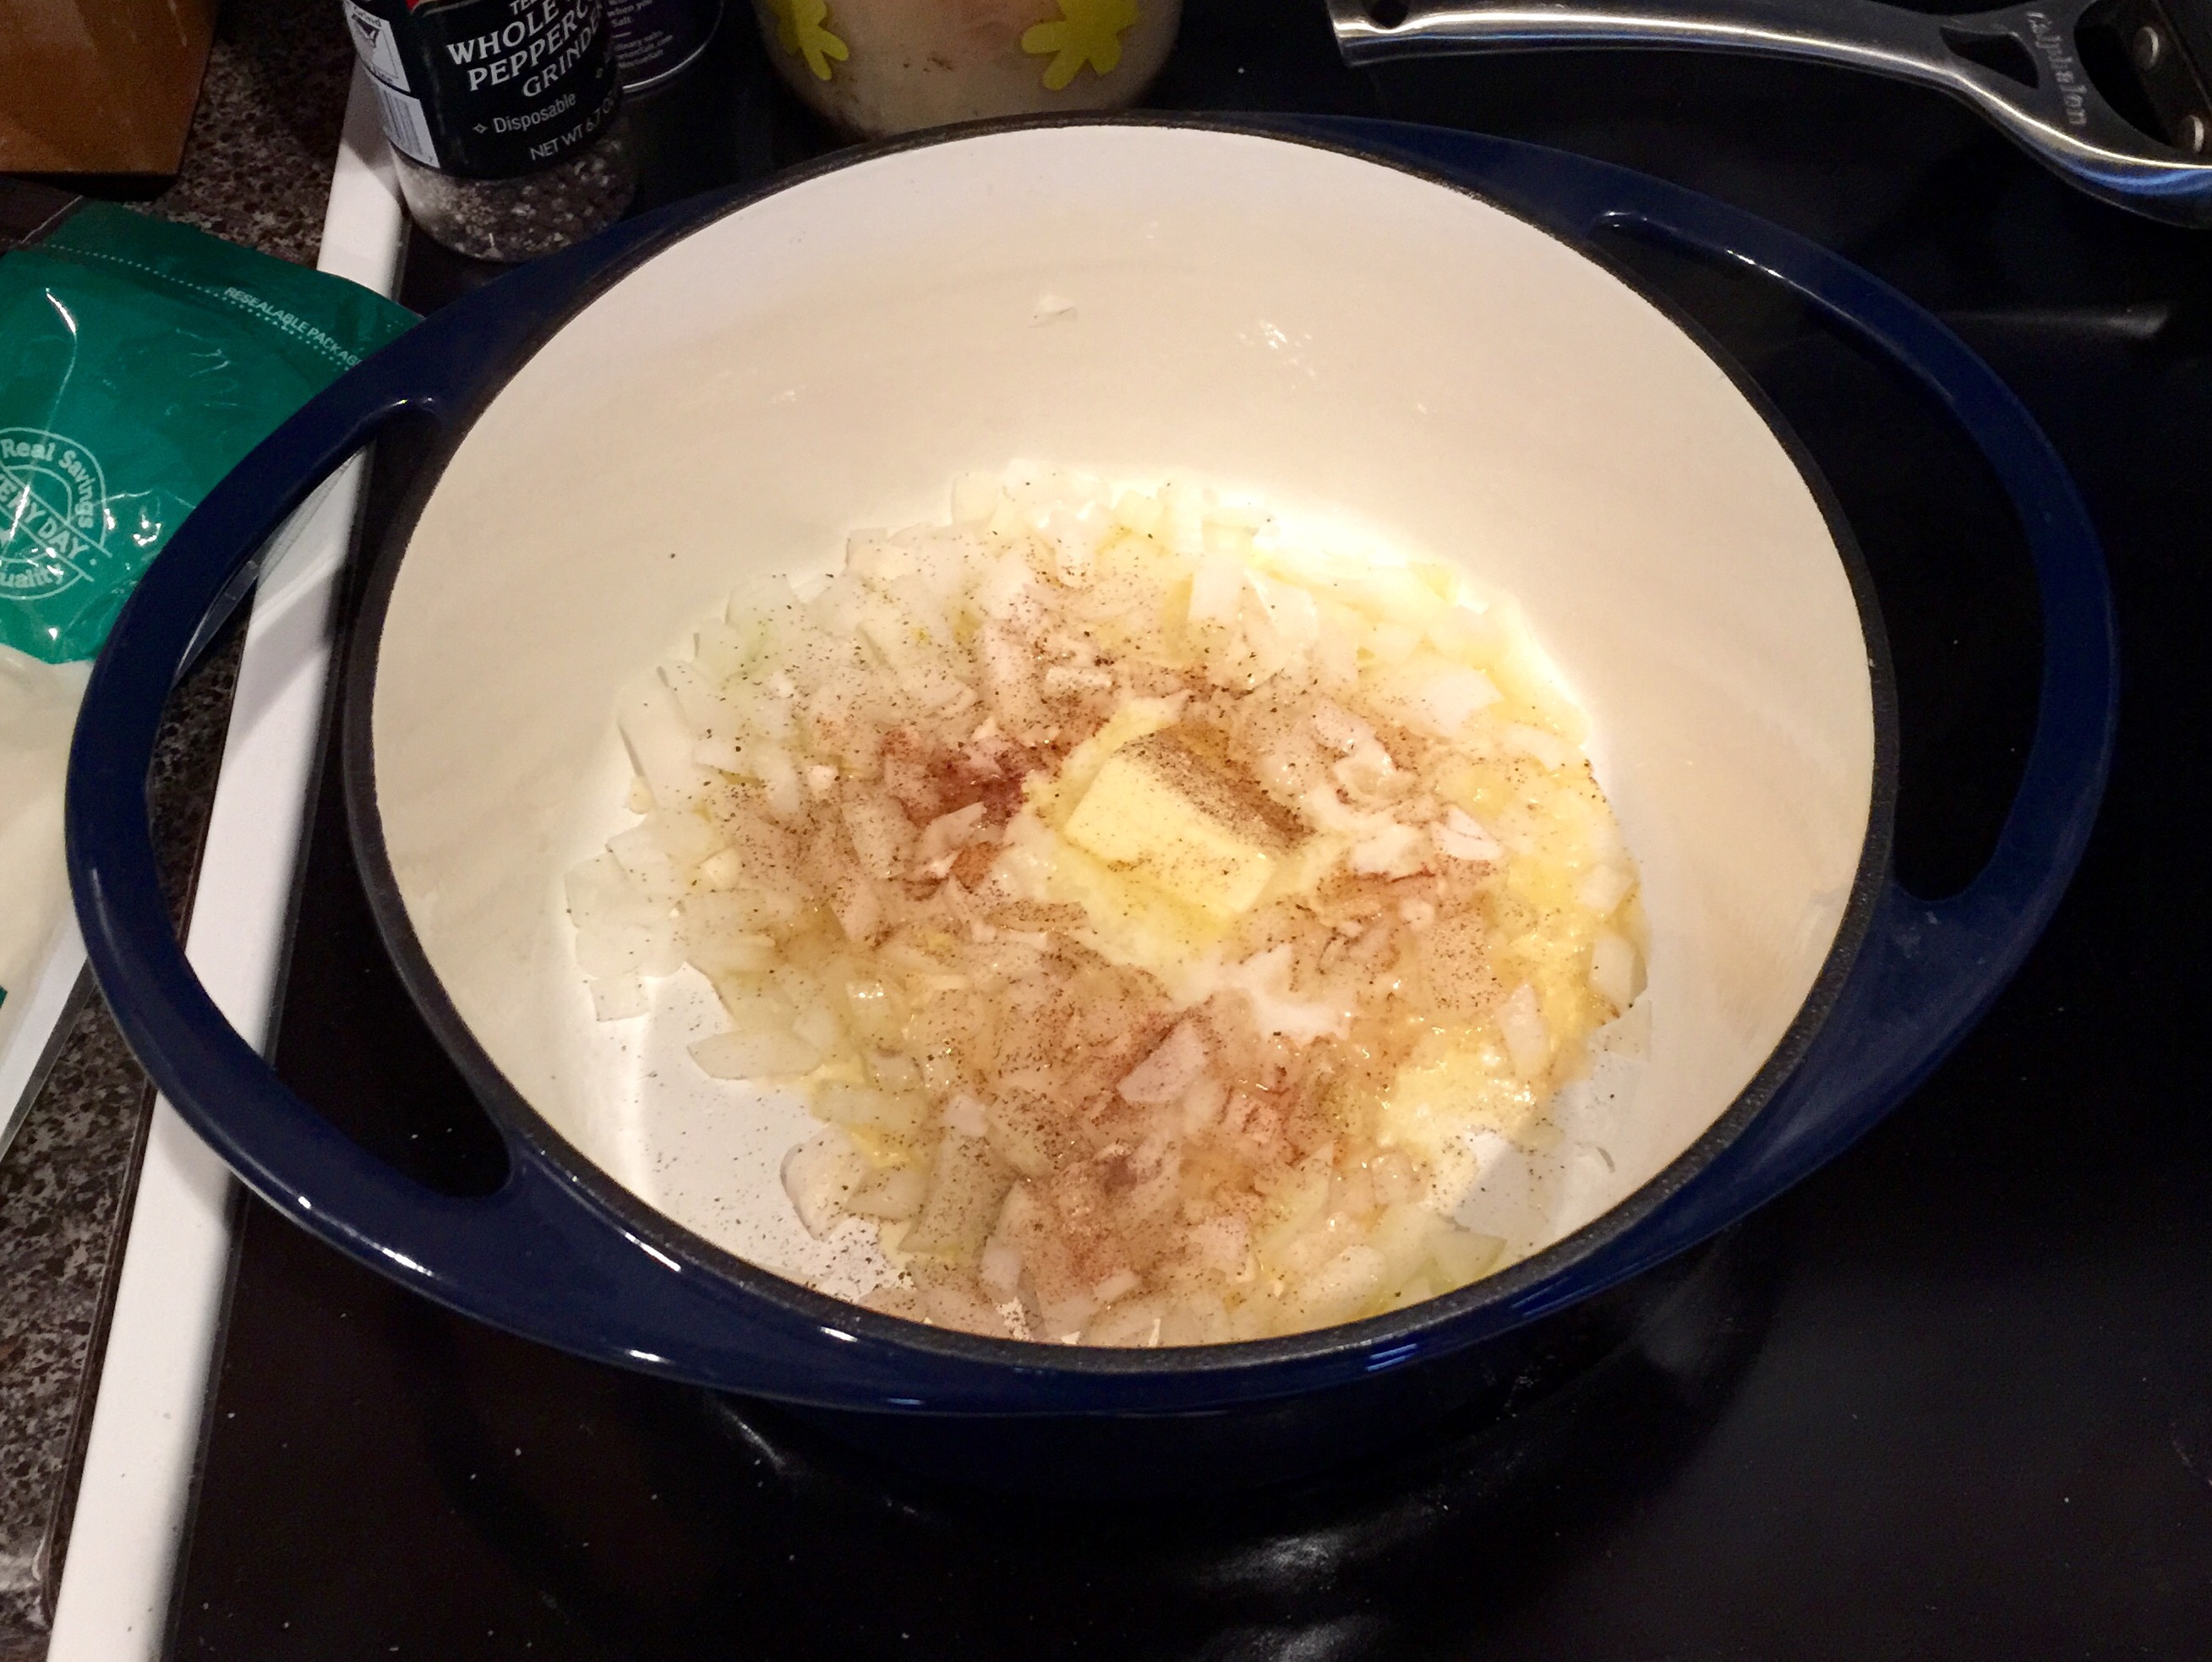
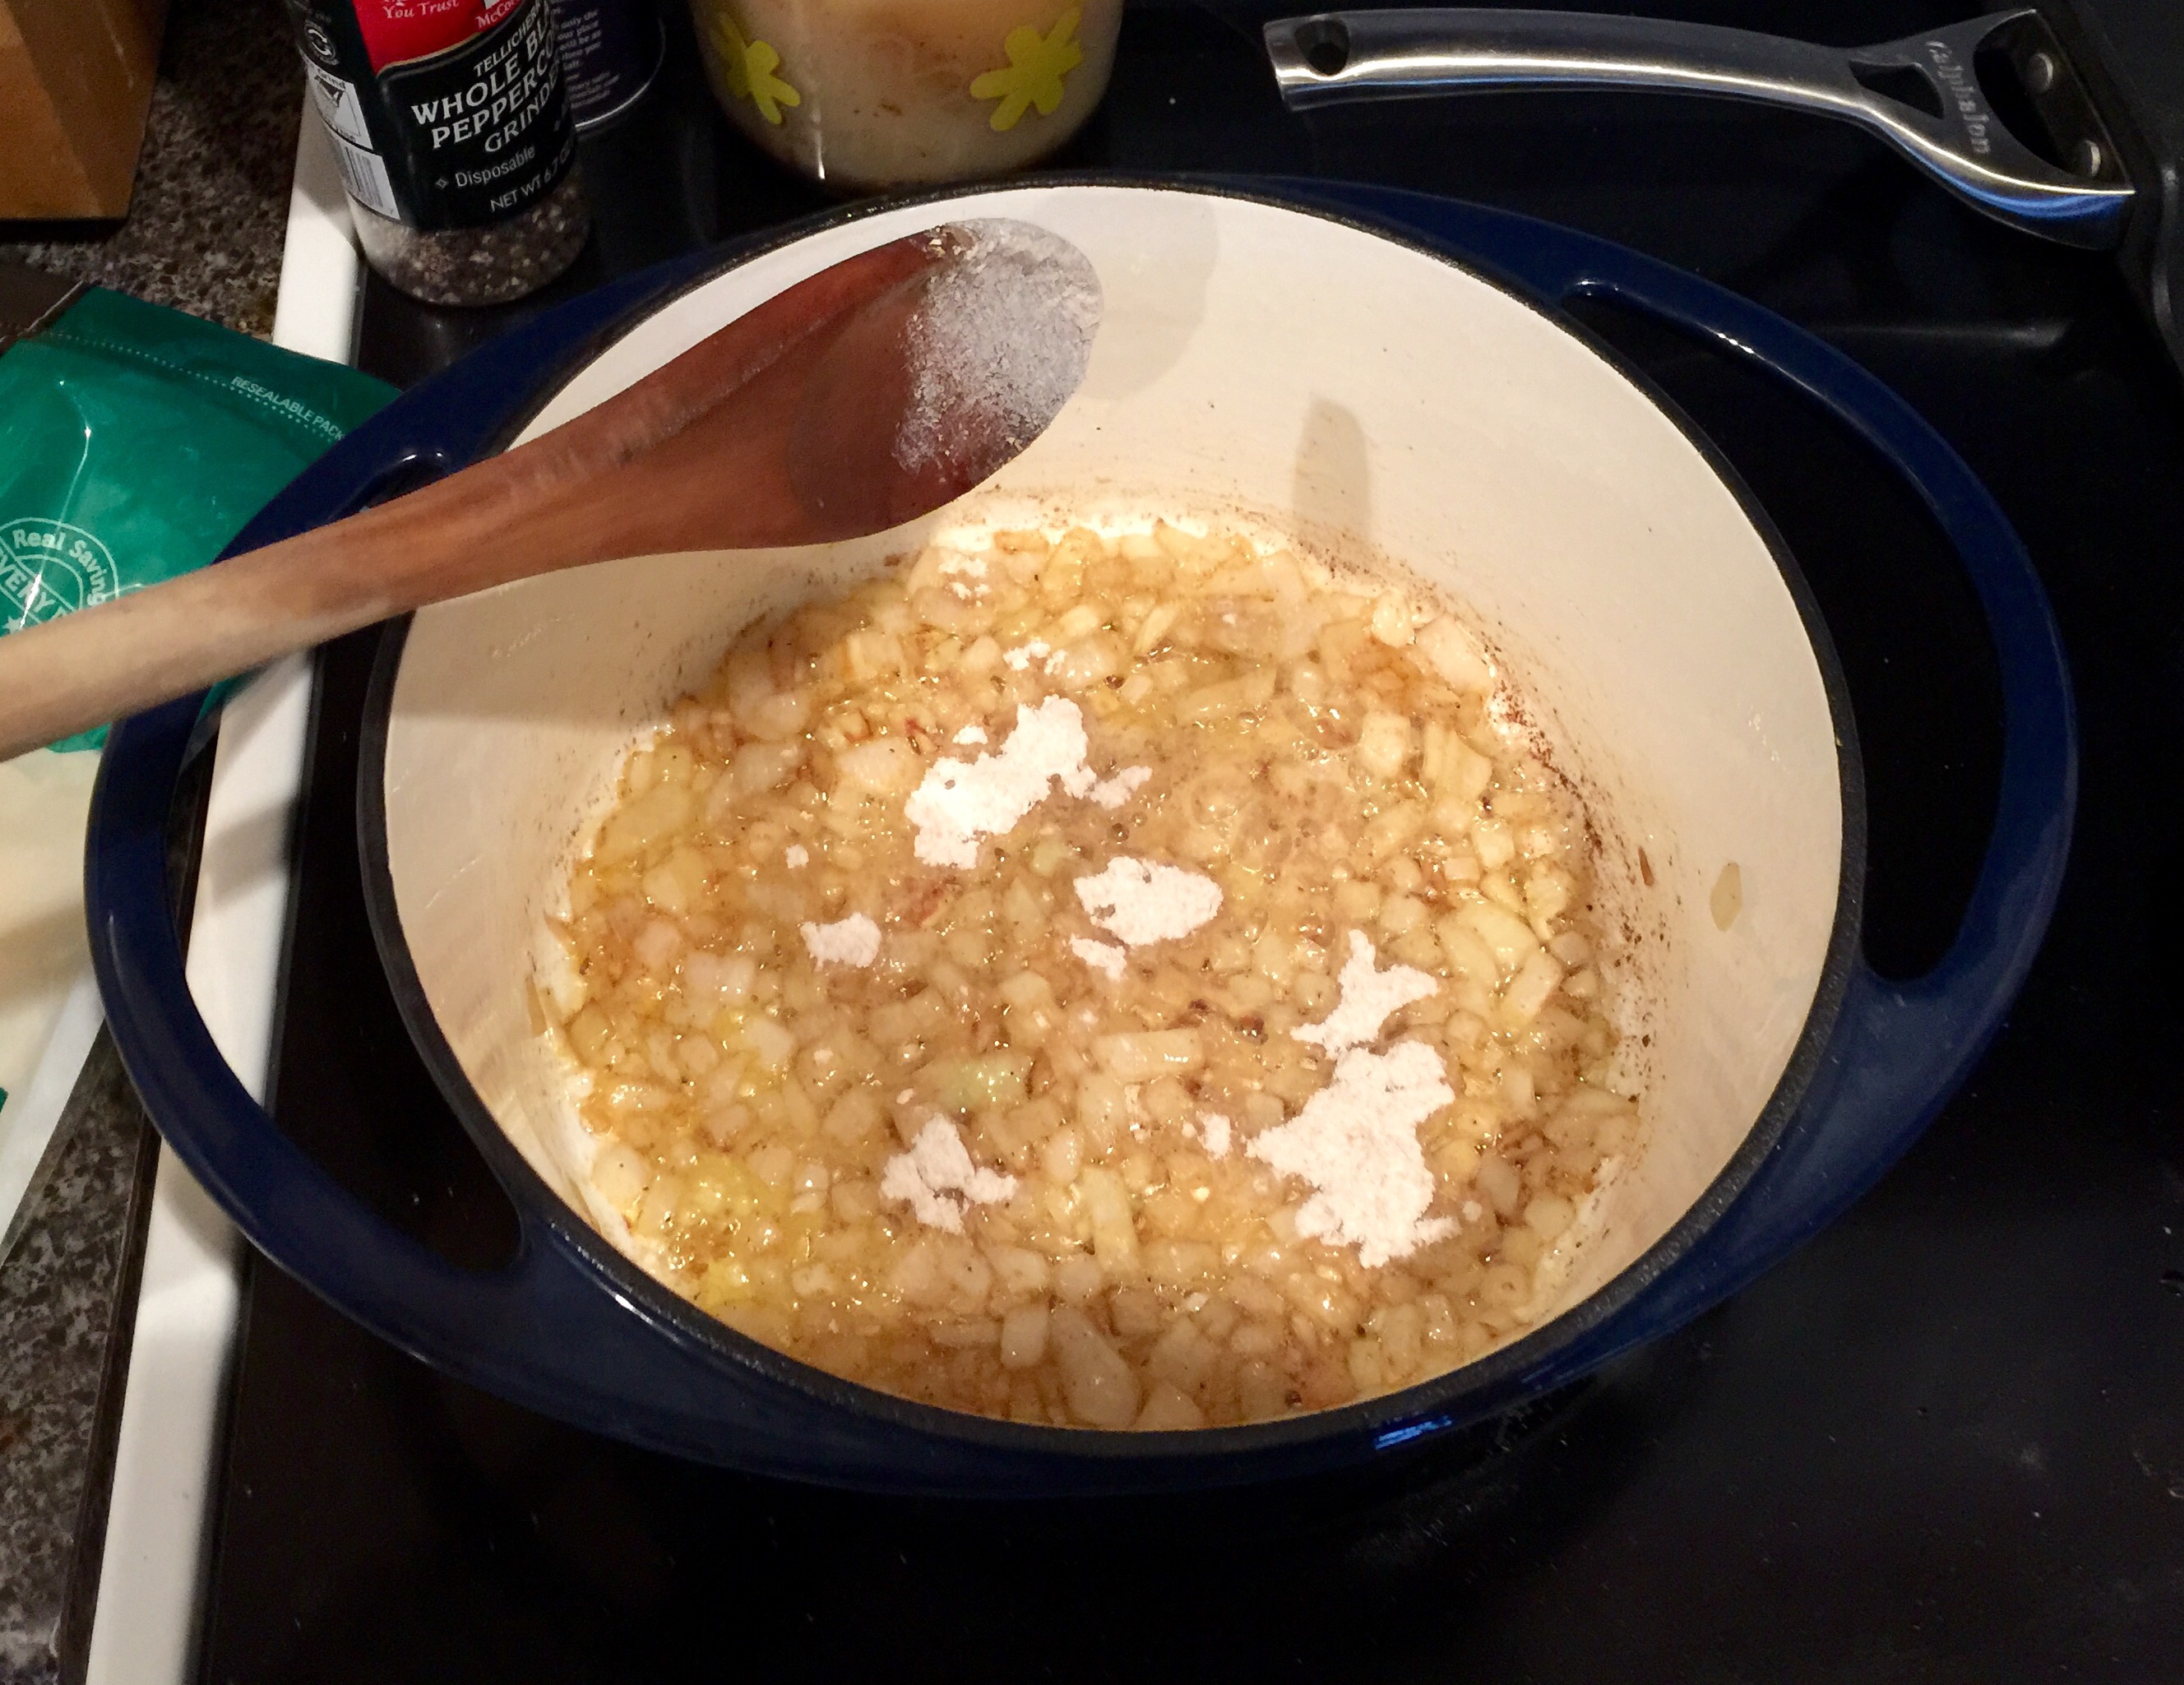
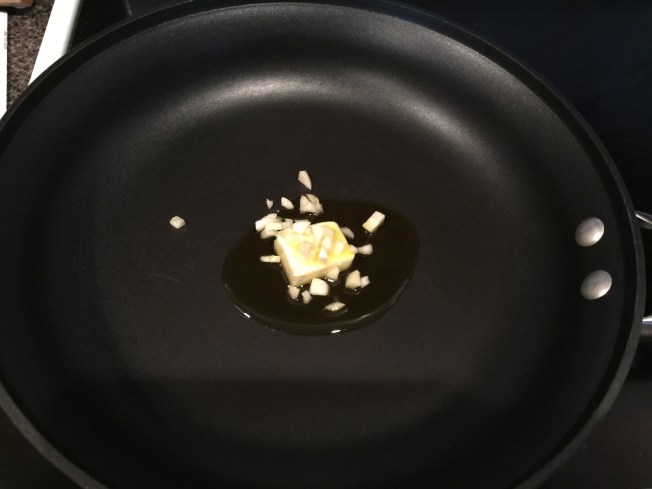
1. First add butter and oil into your largest sauté pan. Also add your chopped garlic and turn on medium high heat.


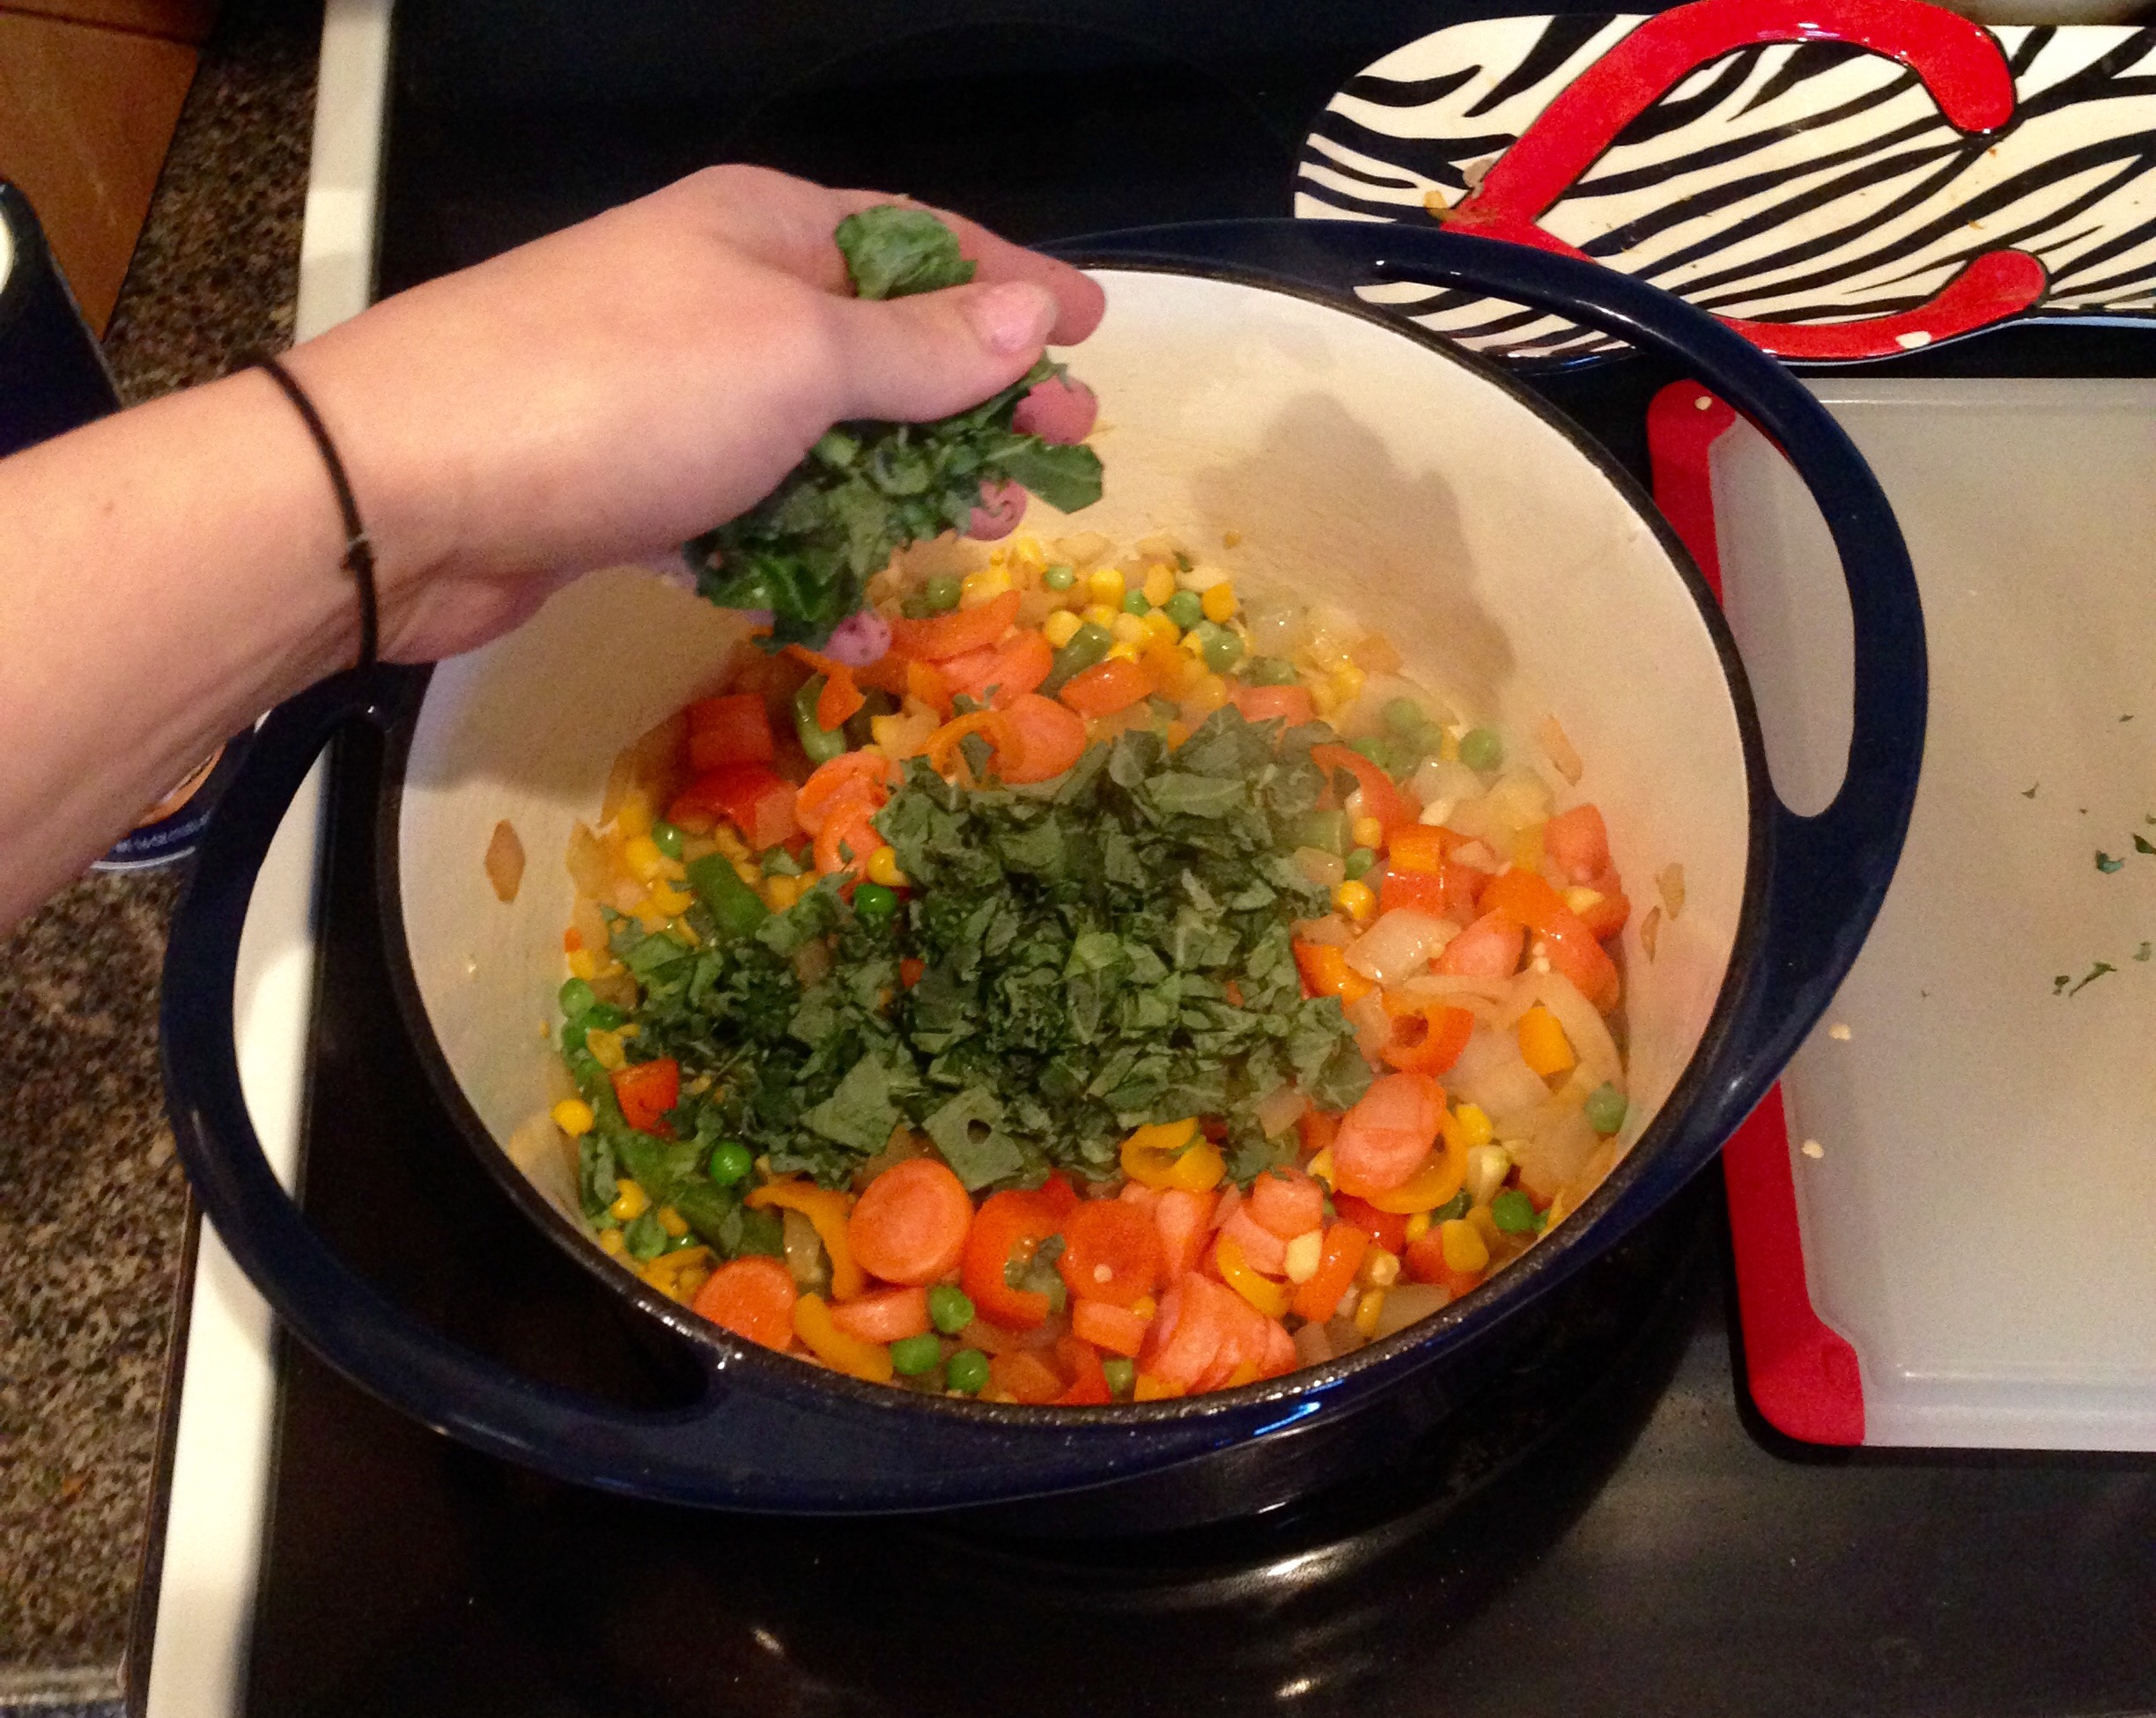
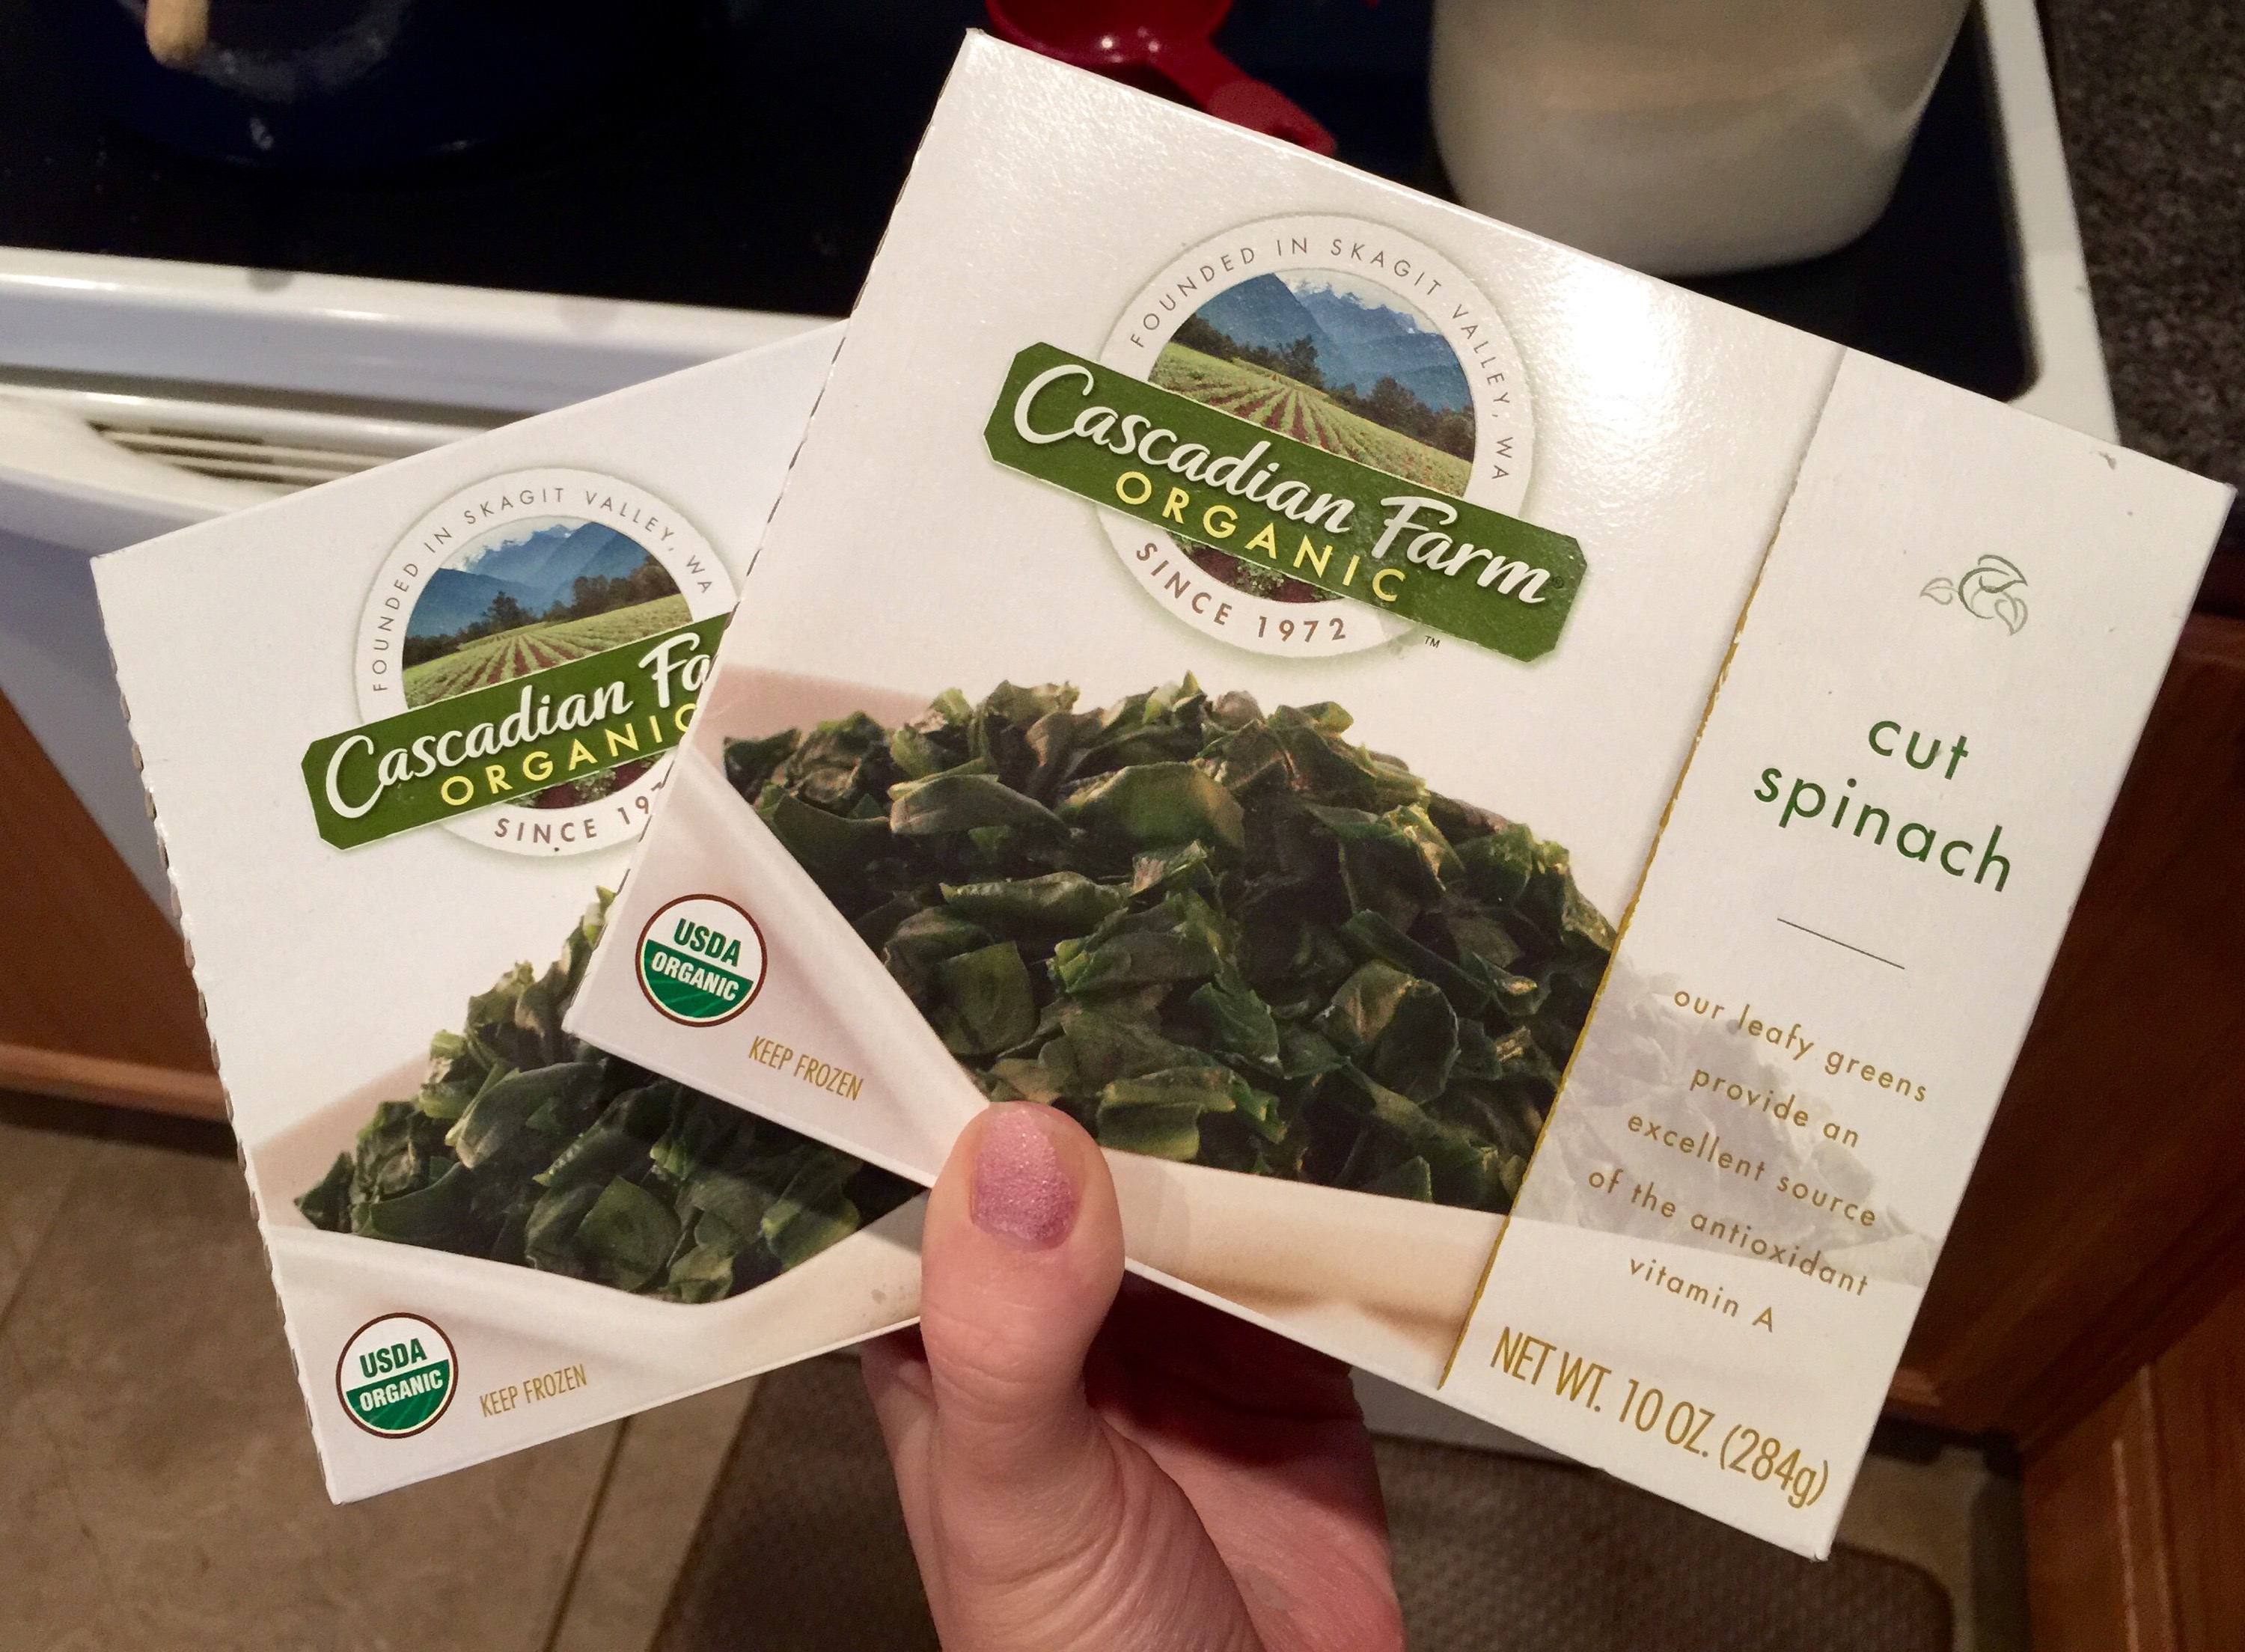
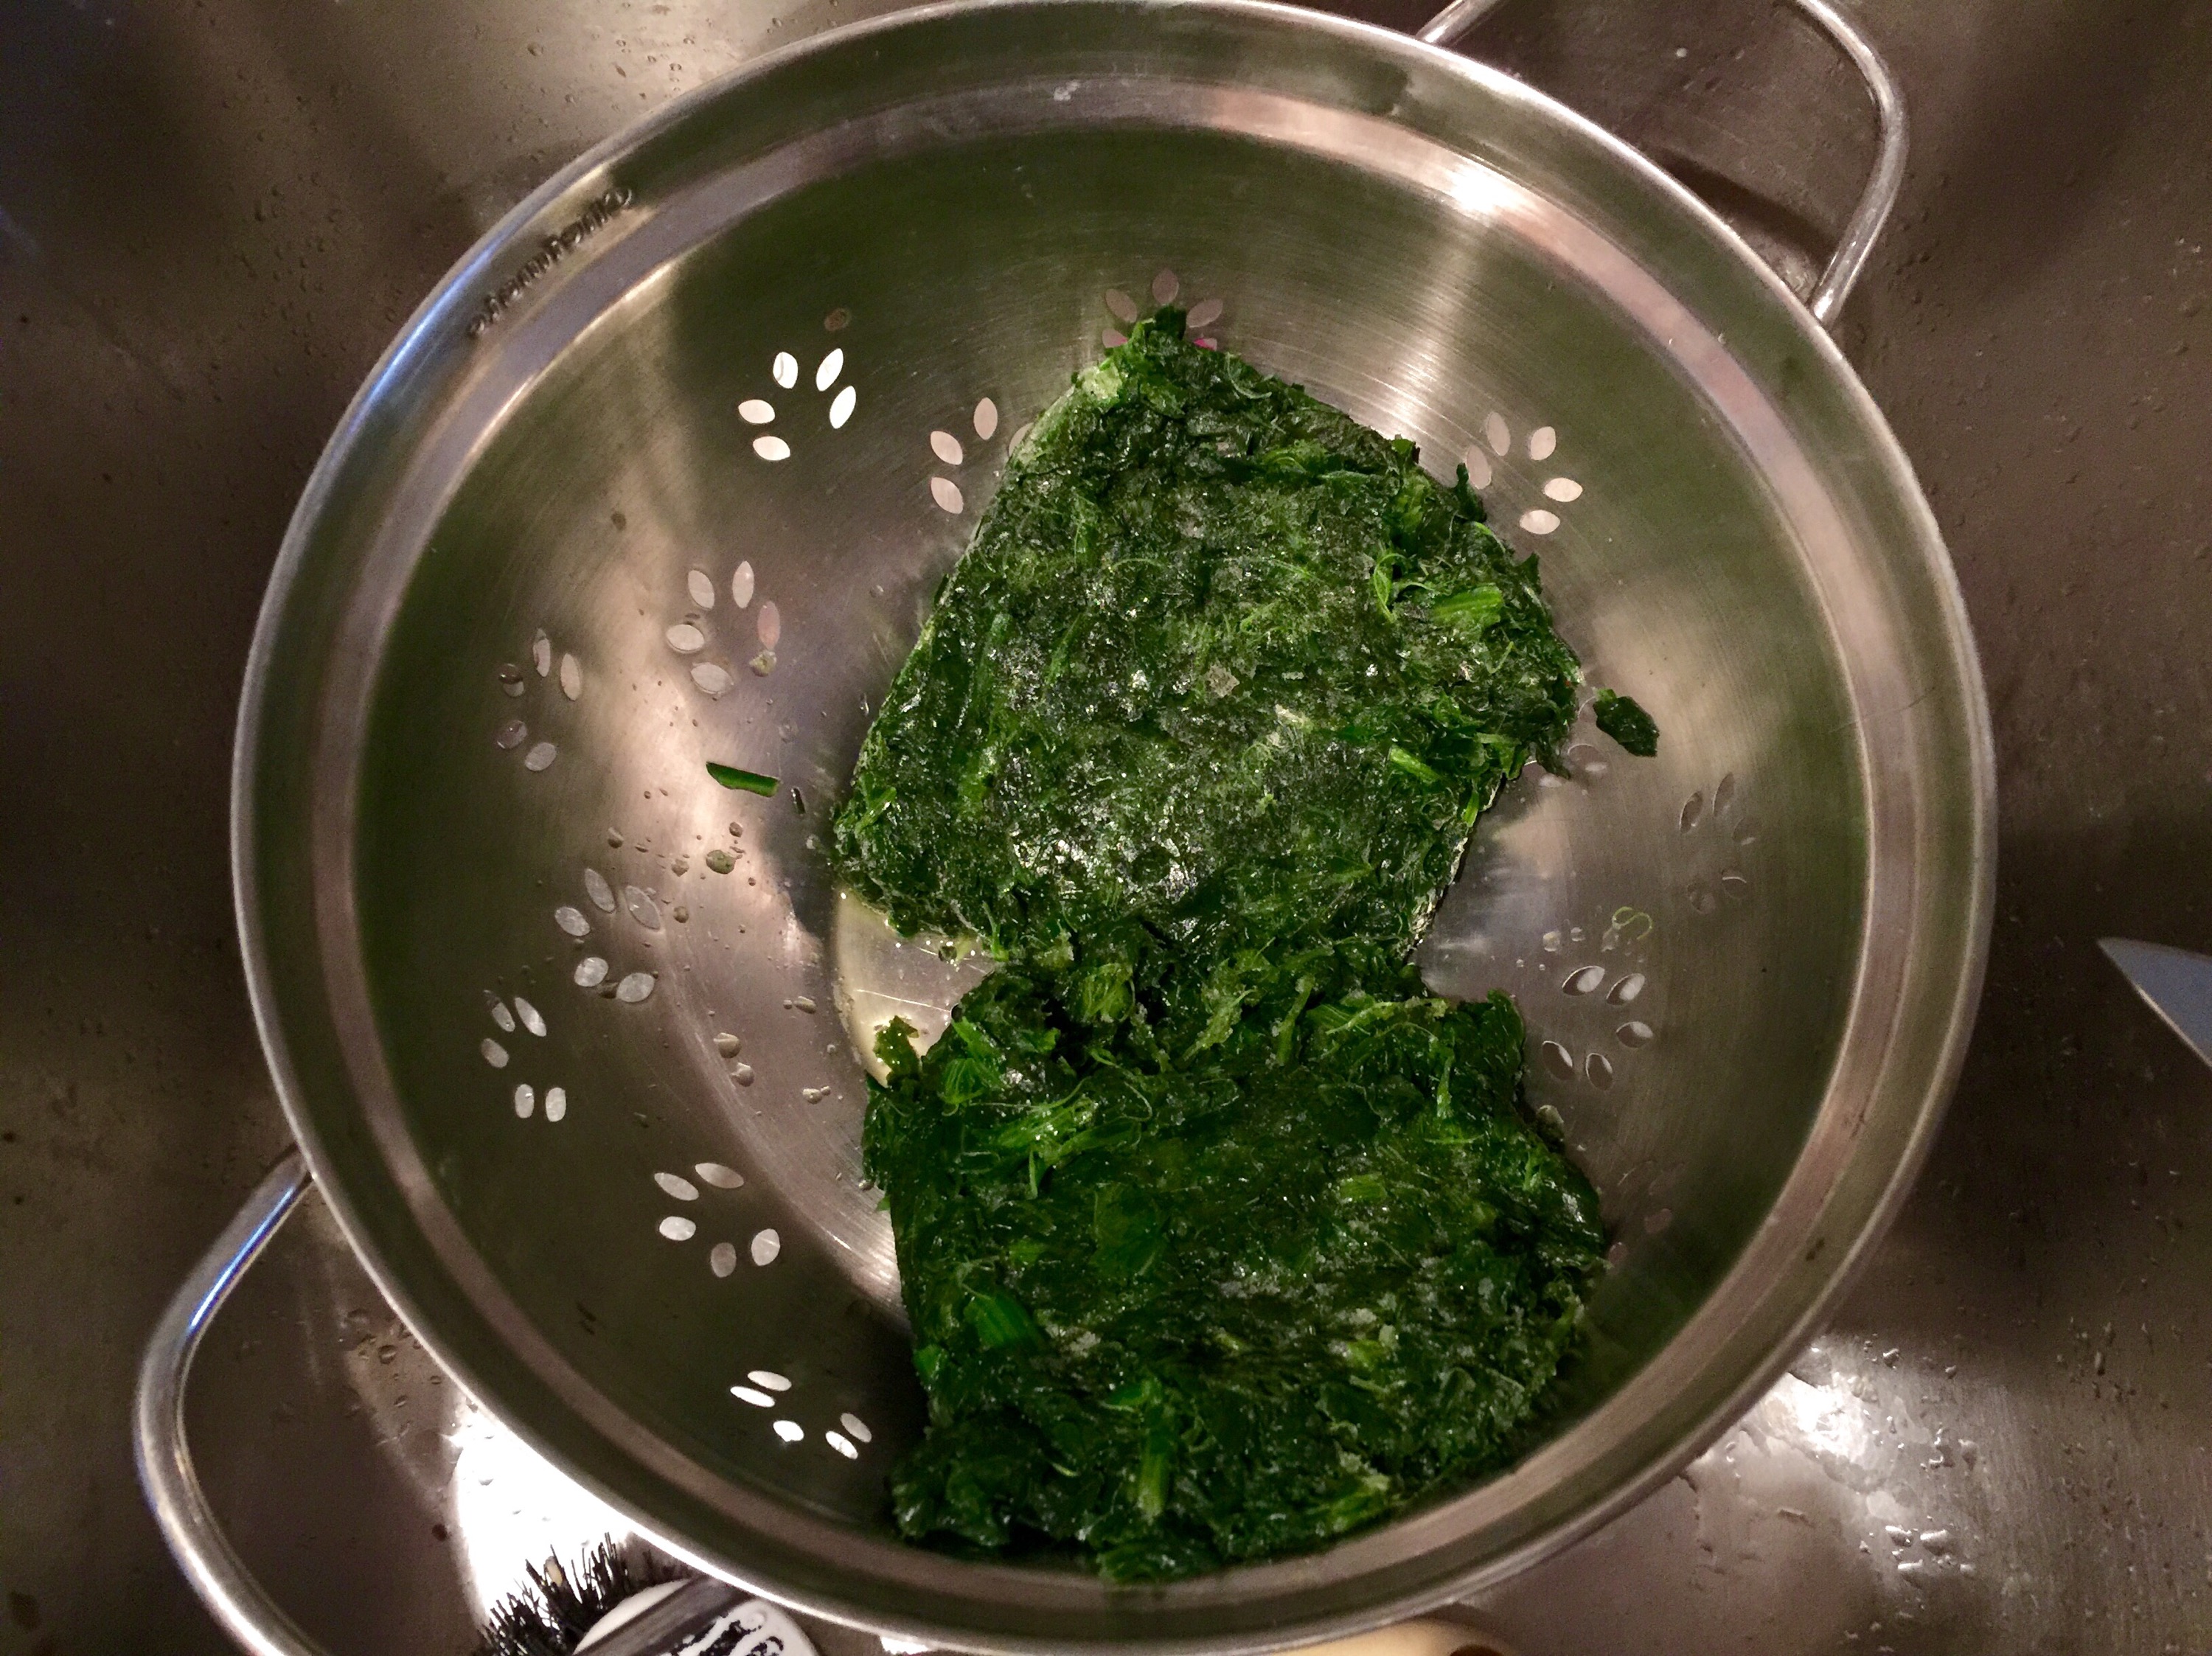
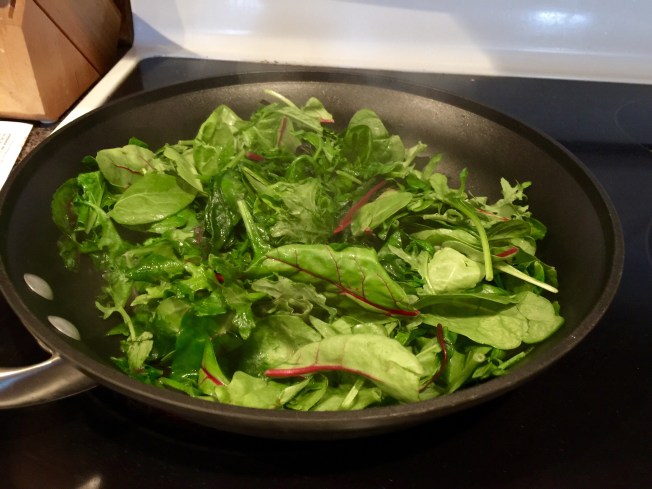
2. Next, add your greens to the pan. Today, I’m working with kale, Swiss chard, and spinach!


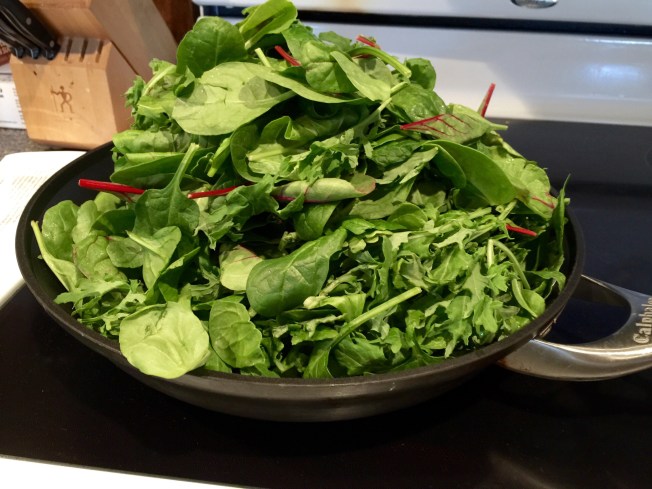
3. I know it looks like waaaay too much food for the pan, but trust me, it’s going to wilt into practically nothing! This is seriously a serving for two people. You’re going to stir it around every little bit to help the cooked leaves get to the top so newer ones can wilt down too. Watch.


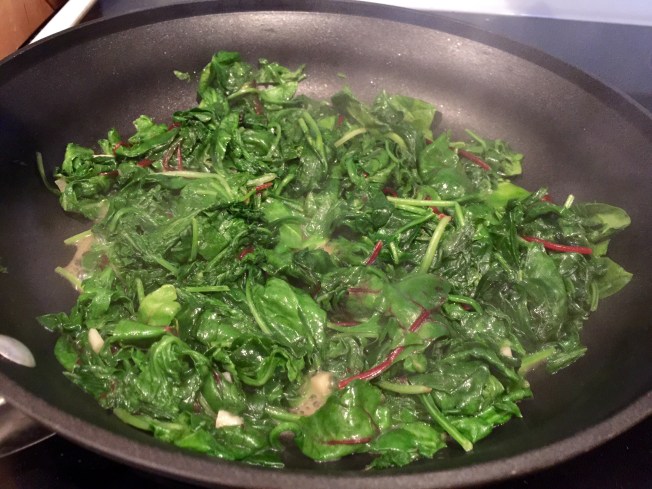
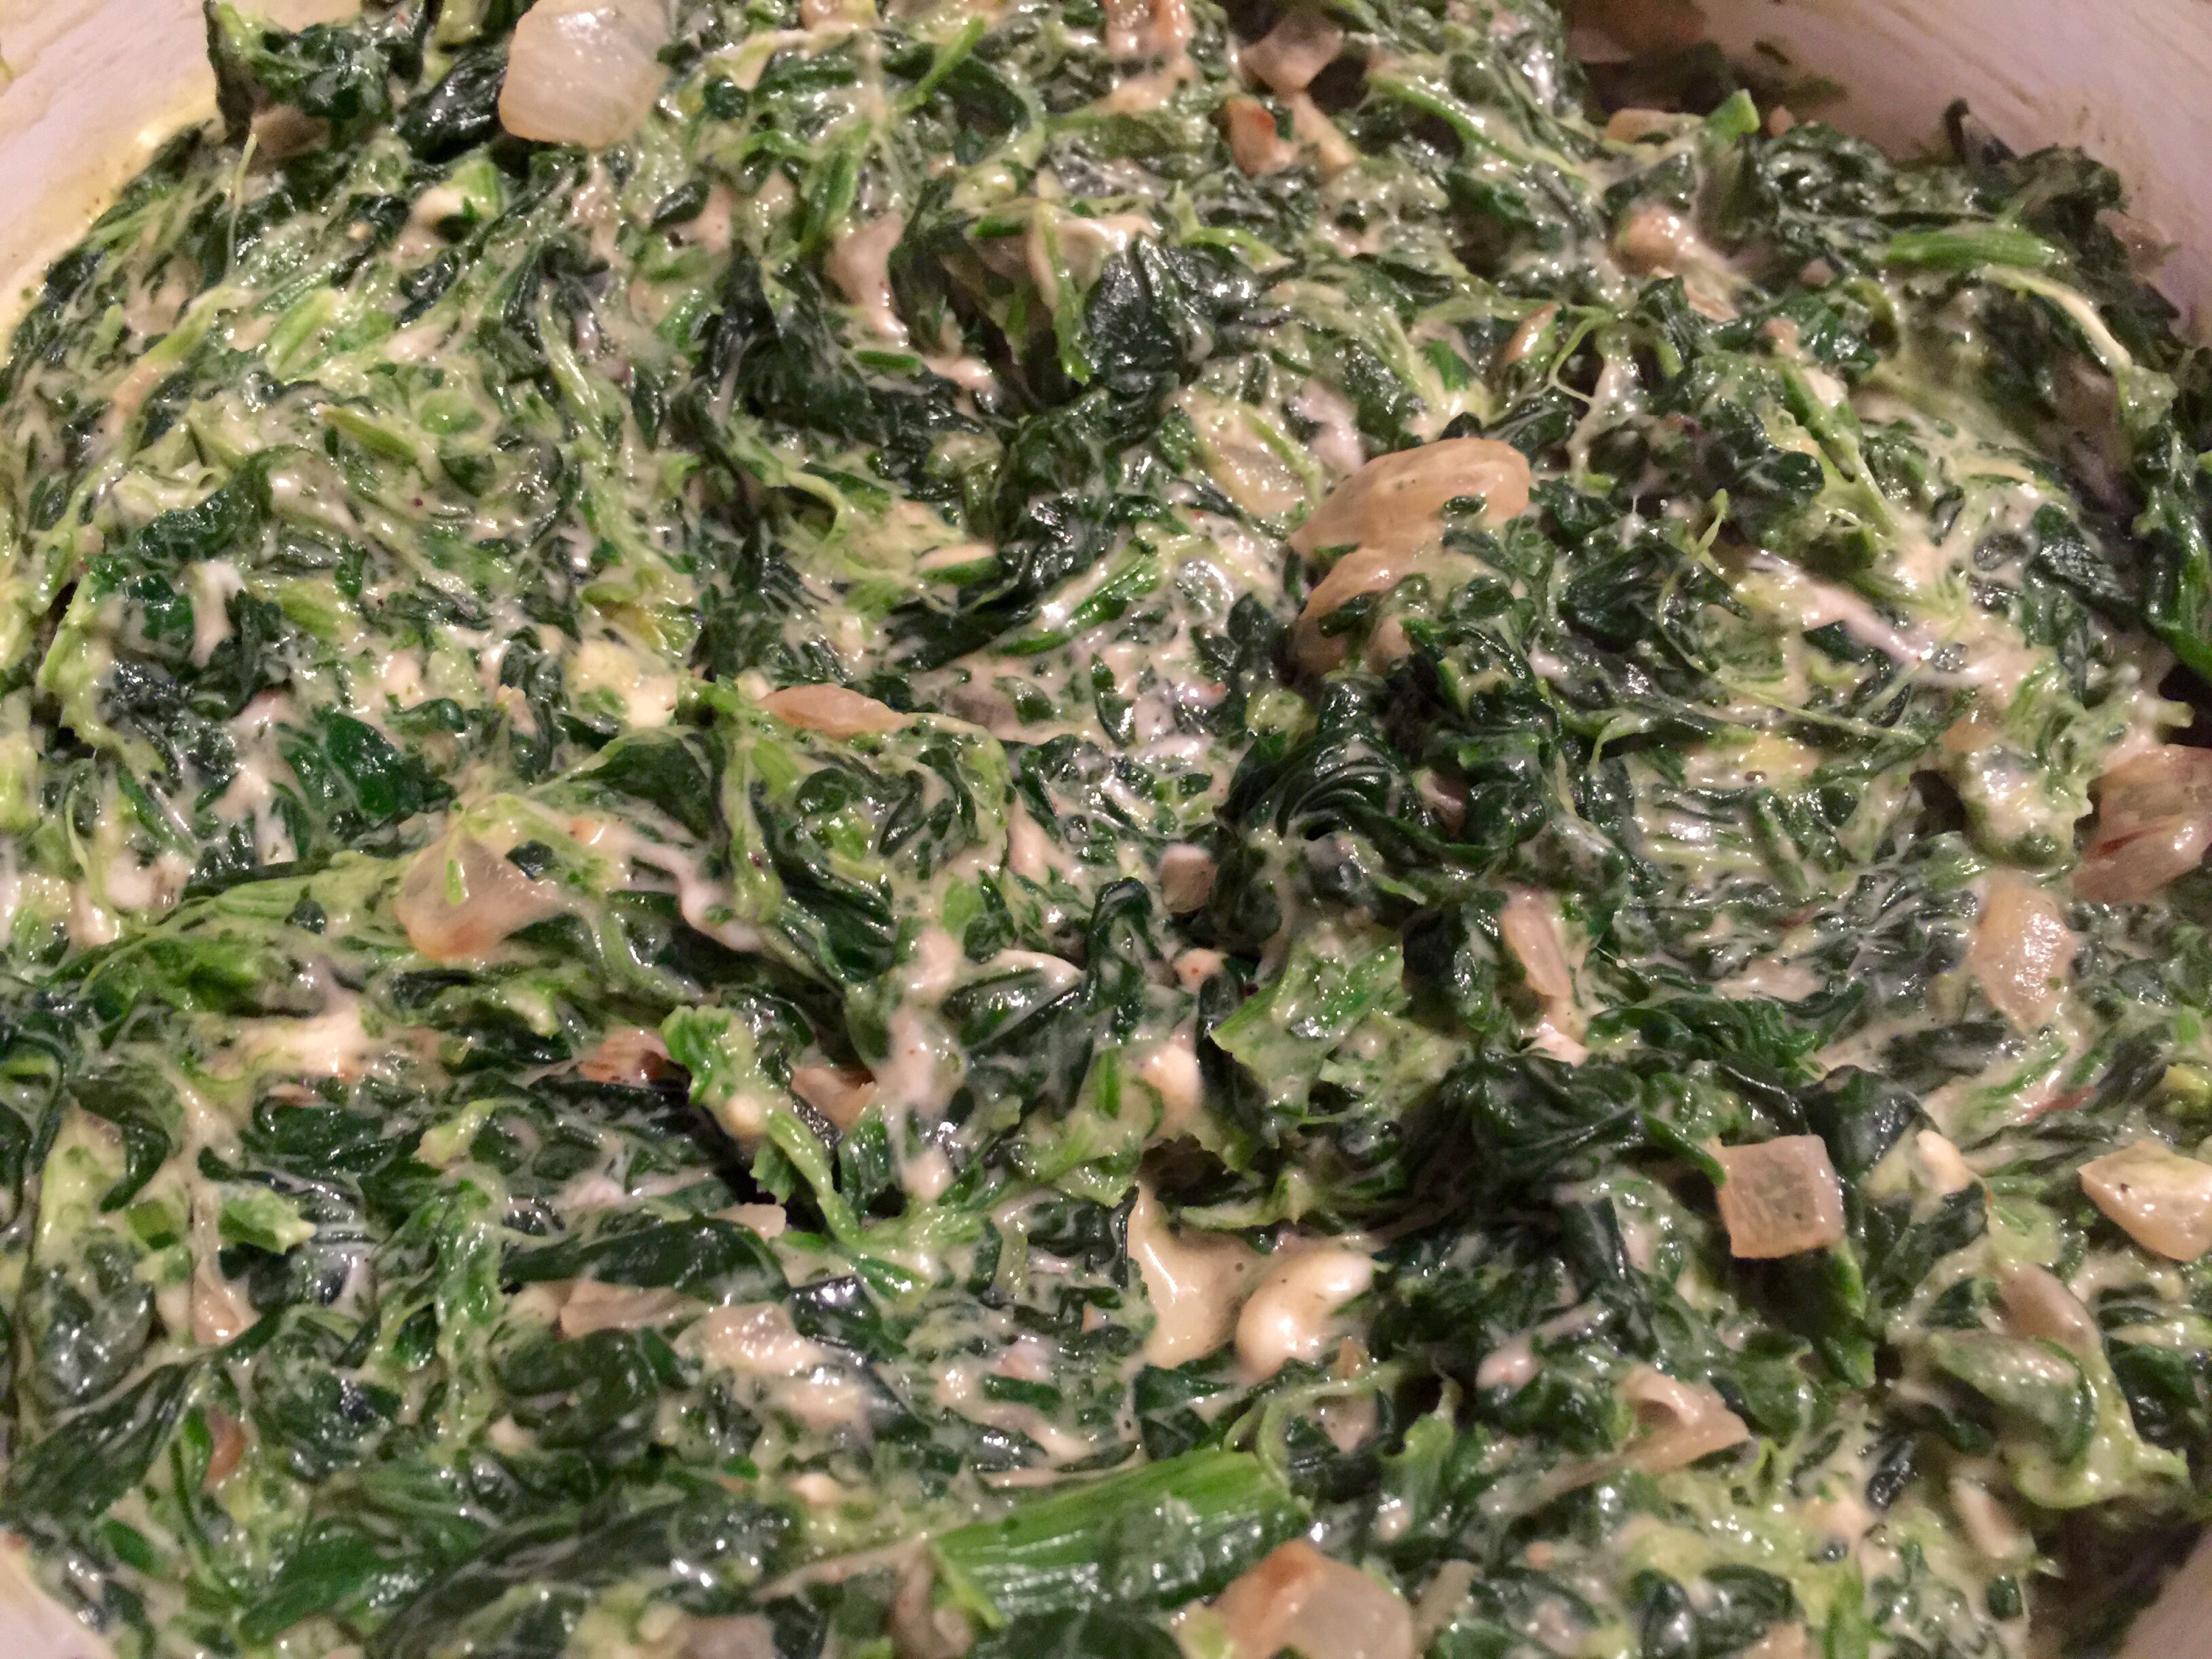
4. Add salt and pepper and enjoy like that or add a little pepper vinegar to make it outstanding! Yum!

Advertisement

Oven Baked Sweet Potato Fries

Standard
Oven Baked Sweet Potato Fries


Mmm french fries! I love any and all potatoes almost every which way, but there is a special place in my heart for french fries. Yall might remember I’ve posted a recipe before for sweet potato fries dredged in seasoning and deep fried. While delicious and something I do whenever I’m having a “fry me to the moon” sorta weekend, these are a bit better for you and honestly much easier to do. 

Ingredients:

  • Sweet potatoes
  • Olive oil
  • Your favorite seasoning salt

1. Peel and cut up your sweet potatoes into the fry thickness you desire. Use a very sharp knife, because they’re hard to cut through. I’ve broken three fry cutters that swear they’ll cut sweet potatoes, so just get out your knife sharpener if you need to.


2. Drizzle olive oil all over the fries, then season with your favorite salty seasoning (or even just kosher salt) and toss together so the fries are all coated.


3. Spread out evenly over a sheet pan you’ve covered in foil and sprayed with non-stick cooking spray. 


4. Place in your pre-heated oven at 450 degrees for 20-25 minutes. Give them a good shake about halfway through to make sure they cook evenly.


Enjoy 🙂

Acorn Squash

Standard
Acorn Squash

IMG_2600

If you’re anything like me, acorn squash is probably a bit foreign. I know the first time I decided to try one, I had no idea how hard they were to cut into and that I should’ve sharpened my knife first. I didn’t know what it would taste like and wasn’t sure if I would like it because I know I don’t care for butternut squash. But boy, was I surprised at how delicious it was! Do you like Yukon gold potatoes? If so, you’ll love acorn squash. Do you love mashed potatoes or baked potatoes? That’s how I want you to think of acorn squash. Not that horrible cauliflower substitution for mashed potatoes, but a deliciously creamy and healthy substitution for a potato obsession. This recipe will be like healthy mashed potatoes, but feel free to change it up and serve with cheese and a little sour cream for a “baked potato” version!

Ingredients:
Acorn squash
Olive oil
Garlic salt
Pepper
1 T butter

1. First and most important, sharpen your biggest kitchen knife. If you have a dull knife, you won’t cut through this bad boy, trust me on that.

IMG_2575

2. Now you’re going to scoop out the seeds. I love my grapefruit spoon for this, but a regular spoon will work too if you don’t have one.

IMG_2576

IMG_2577

3. Now put your acorn halves on a baking sheet and drizzle olive oil on both sides.

IMG_2578

4. Now bake on your center rack in a 400 degree oven for about an hour. You’ll know it’s done when you can easily stick a knife in it just like a baked potato.

IMG_2587

5. Now scoop out the inside of the squash into a mixing bowl. Add garlic salt and pepper to taste and your tablespoon of butter.

IMG_2588

6. Mix together and serve just like mashed potatoes! Soooo good!

IMG_2601

Confetti Quinoa

Standard
Confetti Quinoa

IMG_2161

I get asked a lot about how I cook quinoa. The answer is: any way and every way you cook rice. It’s versatile and delicious, and very good for you. If there was a such thing as “the perfect food for you,” this would be it. This recipe is great for side dishes, or served as the main dish with some added grilled chicken or stuffed into acorn squash. I’ll give you my other favorite way to eat it at the bottom.

Ingredients:

1 sweet onion
1 bell pepper or a handful of those sweet tri-colored peppers
2 garlic cloves
3-4 kale leaves (or Swiss chard)
1 10.8 ounce frozen bag of mixed vegetables
1 1/2 c quinoa (any kind – I used rainbow quinoa)
Salt, pepper, cumin powder, Knorr chicken bouillon cube
Olive oil
3 c water

1. Drizzle some olive oil into a pot or Dutch oven and sauté chopped onion and peppers in there about 10 minutes over medium to high heat.

IMG_2167

2. Add the frozen vegetables and chopped garlic cloves and season everything with salt, pepper, and a few healthy dashes of cumin powder.

IMG_2168

IMG_2162

3. Chop up your greens and add to your pot.

IMG_2169

4. Add your 1 1/2 c quinoa, 3 c water, and crumble up your chicken bullion cube and turn your heat up to bring everything to a boil.

IMG_2164

5. Put a lid on your pot and turn the heat down to simmer. Allow it to cook just like rice – about 20 minutes. My son loves his with cut cherry tomatoes served on top.

IMG_2165

Mexican Quinoa – add a chopped jalapeño with the sweet peppers and omit kale/spinach. After it’s done cooking add fresh chopped cilantro and 1 can of drained black beans.

Creamy Spinach With Caramelized Onions

Standard
Creamy Spinach With Caramelized Onions

IMG_1903

This is definitely one of our favorite sides in our house. So delicious and cheesy and perfect! It’s a perfect side dish, but also something fun to stuff chicken with if you want to try something different!

Ingredients:
2 boxes frozen spinach drained
1 sweet onion
1 garlic clove
1/2 c mozzarella cheese
1/2 c cheddar cheese
2 oz cream cheese
2 T butter
1/4 c milk
1 T flour
Salt, pepper, cayenne pepper

1. Chop your onion and garlic and put in your skillet or Dutch oven with butter and season with salt, pepper, and a pinch of cayenne pepper. Keep it on medium heat and cook for about ten minutes.

IMG_1895

2. Meanwhile, defrost your frozen spinach. I had taken mine out earlier in the day, but you can defrost it easily in the microwave.

IMG_1896

3. Place your spinach in a colander and squeeze all the water out with your hands. You will be surprised how much water comes out!

IMG_1897

4. Once your onions look golden and delicious, add your flour and give it a stir. Let it cook 2-3 minutes.

IMG_1898

IMG_1899

5. Now turn down the heat a bit and add your squeezed out spinach, cheeses, and milk.

IMG_1900

IMG_1901

6. Stir it around until everything is melted and combined. I like to add a little more salt and pepper here too.

IMG_1902

Enjoy 🙂

IMG_1904

Applesauce

Standard
Applesauce

IMG_1892

Every week at the grocery store I find myself buying two boxes of those applesauce squeeze things for my son. Only four come in a box, and they’re freakin expensive for what they are! So today I decided enough is enough – I can start making my own applesauce! My son loves it and I just bought a homemade baby food kit that lets you put baby food into squeeze pouches. This recipe made 16 pouches for me (roughly 8 cups of applesauce).

Ingredients:
8 apples (I used honeycrisp)
1 c apple juice (if you don’t have this, you can use water)
2 lemons
1/2 tsp cinnamon
1/4 c white sugar
1/4 c brown sugar

1. Peel your apples. I like to use an actual peeler instead of a knife because you keep more apple that way.

IMG_1879

2. Dump your apple juice into a pot or Dutch oven. I used a juice box!

IMG_1880

3. Slice your apples into the same size so they’ll cook evenly and at the same time. Then dump into your pot.

IMG_1881

4. Squeeze your two lemons in there.

IMG_1882

5. Bring to a boil for one minute, put the lid on, and reduce to a simmer for 20 minutes. Stir halfway through.

IMG_1883

6. Once it’s done cooking, add both sugars, cinnamon, and stir together.

IMG_1885

7. Now take your pot over to your food processor or blender and work in batches to purée into a perfectly delicious consistency. It took me two batches.

IMG_1888

8. Now you’re done! You can put it into these squeeze thingies like I did, or save in a container with a top. I’m freezing my squeeze packs and pulling out a few each week so they’ll be defrosted and ready to eat in the fridge whenever!

IMG_1890

Broccoli Rice Casserole

Standard
Broccoli Rice Casserole

2015/01/img_1344-1.jpg
We’ve all had broccoli rice casserole at one time or another, and this isn’t too far off from the original recipe from Cambell’s. It’s just got a few tweaks to give it some extra dimension and flavor!

Ingredients:
1 lb (16 oz) frozen cut broccoli
8 oz Velveeta
1 onion
1/2 stick butter
1 1/2 c rice
2 oz cream cheese
2 cloves of garlic chopped
Roasted red peppers
1 can cream of chicken and mushroom soup (the blend is really good!)
1/3 c milk
Salt, pepper, cayenne pepper

1. Sauté your chopped onion in your butter for about 15 minutes until they start to turn golden. Meanwhile, cook your 1 1/2 c rice according to the package instructions.

2015/01/img_1330.jpg

2. Put your broccoli in a microwaveable safe container and fill halfway with water. Pop it in your microwave for five minutes to steam them so they’re cooked but still crunchy.

2015/01/img_1329.jpg

3. After your onion is mostly cooked, add your chopped garlic and sauté another few minutes. Season it all with salt, pepper, and a pinch of cayenne pepper. I also added chopped up roasted red peppers. I only had a half a jar, but would’ve done a full jar if I had it.

2015/01/img_1331.jpg

4. Add your cheeses and cream of mushroom & chicken and cook on low until it’s melted.

2015/01/img_1332.jpg

5. Add your milk and it will thin out the sauce a bit.

2015/01/img_1333.jpg

6. Now add your broccoli…

2015/01/img_1341.jpg

7. …then add your cooked rice 😄

2015/01/img_1342.jpg

8. Now pour this into a buttered casserole dish and bake at 350 for 20-30 minutes. So good!

2015/01/img_1344-1.jpg

The Best Hot Chocolate Mix Ever

Standard
The Best Hot Chocolate Mix Ever

/home/wpcom/public_html/wp-content/blogs.dir/991/58902680/files/2015/01/img_1132.jpg

I know that’s a pretty ballsy claim, but it’s true! My husband likes to put a scoop of hot chocolate in his coffee every morning and we were going through Swiss Miss like no one’s business! Then I took a look at the ingredients and things like “corn syrup solids” and “hydrogenated oil” weren’t making me feel too great about him drinking it daily. So I tried a few recipes online and still wasn’t too happy with the taste of the mixes. I found plenty of delicious recipes for stovetop hot chocolate, but I needed something in a dry mix for his coffee, so I came up with my own recipe and to me, it’s absolutely perfect. Also, I’m sorry I don’t have any awesome pictures of my hot chocolate in a neat mug with marshmallows on top, so I’ll let you feast your eyes on this “mug shot” instead.

/home/wpcom/public_html/wp-content/blogs.dir/991/58902680/files/2015/01/img_0782.jpg

My sister got this for me for Christmas and it’s absolutely perfect! Ok, let’s get down to business.

Ingredients:
1 c MILK CHOCOLATE chips (notice I said milk chocolate, not semi-sweet)
1 c powdered sugar
1/4 c cocoa powder (I used Hershey’s)
3 c powdered milk (instant non-fat)

1. Put the chocolate chips in a food processor and pulse until fine crumbs. Then add the rest of your ingredients and blend until it’s a smooth powder. That’s it! You can store in a Tupperware with a snap top for delicious hot chocolate anytime!

/home/wpcom/public_html/wp-content/blogs.dir/991/58902680/files/2015/01/img_1133.jpg

Two ways to enjoy this hot chocolate mix:
1. Add 1/3 c to 1 c hot water or milk, stir, and enjoy.
2. This is the best way and definitely decadent… Add 1/3 c to 1 c hot half and half with a splash of vanilla. Omg it’s out of this world!

Green Bean Casserole

Standard
Green Bean Casserole

Green Bean Casserole

Are y’all so excited for Thanksgiving? I can hardly wait! I’ve been looking forward to this delicious meal for the last month, and I’ve been prepping to get everything ready for the big day. This green bean casserole is creamy, cheesy, and so yummy! I am going to freeze it today and then take it out of my freezer Wednesday night before Thanksgiving and let it defrost in the fridge overnight. It’s one of those side dishes I can easily prepare ahead of time so I’m not swamped doing everything the day of.

Ingredients:
2 frozen bags of whole green beans
1 large sweet onion
2 cloves garlic
1/2 stick of butter
1 jar of pimentos or 1/4 c roasted red bell peppers chopped
8 oz Velveeta
2 oz cream cheese
1 can cream of mushroom
6 oz (1 can) French’s fried onions
Salt and pepper
Cayenne pepper (optional)

1. First boil your green beans in salted water for about 10 minutes. You want them cooked all the way through, just not so cooked that they’re soggy and limp like canned green beans. Bleh! Fresh is what makes all the difference in this recipe. Once they’re done, drain and set aside.
-12

2. Meanwhile, saute your onions, garlic, butter, salt, and pepper over medium heat until they start to turn golden. -13

3. Once your onions are done, add your cream of mushroom, cream cheese, Velveeta, and roasted red peppers to the pan. Also add a pinch of cayenne pepper if you want to. You’ll want to watch this and stir often so it doesn’t burn on the bottom.
-14

4. Once that’s all melted and smelling delicious, add 1/2 your can of fried onions to this and stir together.
-15

5. Now add your creamy mix to the green beans and stir together gently.
-16
-17

6. Lastly, sprinkle the last of the fried onions over the top of the green beans and bake at 350 for 30 minutes.
-20

Enjoy 🙂

Homemade Chicken Broth

Standard
Homemade Chicken Broth

Homemade Chicken Broth

Chicken broth made at home is so much tastier than the boxed/canned stuff you get at the store, not to mention much cheaper when you compare how much this makes! This broth is great for any recipe, like Chicken Noodle Soup, Texas Cornbread Dressing, or any other recipe that calls for broth or stock. What’s the difference between broth and stock? Stock is really more about the carcass of the animal (chicken bones, beef bones, etc.) and broth boils the meat. They’re both delicious, but broth is a bit quicker to make and doesn’t take all day boiling away, plus it leaves you with leftover meat you can chop up and make just about anything with (soup, chicken salad, enchiladas, the possibilities are endless!). Also, I should note I used chicken thighs for this broth recipe because that’s what I had in my freezer and not a whole chicken. Either one will work perfectly. The key is you want your chicken to have skin and bones, because it’s going to deliver the most flavor.

Ingredients:
1 bunch of celery with leaves
3 carrots
1 large onion skin on
2 bay leaves
2 Knorr chicken bouillon cubes
1 T garlic herb seasoning
1.5 gallons of water (24 cups of water)
1 large package chicken thighs or 1 whole chicken between 2.5-3.5 pounds (my chicken thighs were 3 pounds)

1. Don’t even bother peeling or skinning your veggies, just give them a rough chop and throw them all in your stock pot.
IMG_4030

2. Add your chicken and seasonings into the pot.
IMG_4031

3. Cover with water and bring to a boil, then lower to a simmer and leave uncovered.
IMG_4032
Homemade Chicken Broth

4. After about an hour and a half your broth is done cooking! Take out a strainer and place over another large pot or bowl in your sink and pour everything out of your stock pot into it. I suggest pulling your chicken out first before trying this move, because if your strainer is like mine, it’s probably not big enough to hold all of that.
IMG_4035

5. Now you have lots of delicious broth left in your bowl and you can use it now or freeze in containers and use whenever you want. So good!
-14