Tag Archives: summer

Chicken Spaghetti

Standard
Chicken Spaghetti

Chicken Spaghetti

Who loves cheese? Well then this chicken spaghetti recipe is for you! It has an ooey gooey cheesy sauce that is absolutely delicious! Also, this is a great recipe to chop up veggies into tiny pieces and hide them in the sauce so your kids eat them. I’ve got lots of squash and parsley in my garden right now and my son had no idea either were in this dish. I think you could easily substitute zucchini, peas, chopped asparagus, finely chopped broccoli, finely chopped spinach, or any combination of those veggies into this dish easily!

Ingredients:

1 sweet onion finely chopped

1/4 c roasted red peppers chopped (or two jars pimentos)

Additional chopped veggies of your choice (I used one yellow squash and a few sprigs of chopped parsley)

1/2 lb linguine pasta (I used whole wheat)

4 oz Velveeta

1 can cream of mushroom

2 T cream cheese

1 cup shredded mozzarella cheese

1 package boneless skinless chicken thighs (about 2 lbs)

Chicken bouillon cube

Salt and pepper

2 chopped garlic cloves

3 T butter

1 T garlic and herb seasoning

Additional mozzarella or other Italian cheese for topping

Italian breadcrumbs

1. First we’re going to season the water you’ll be using to cook the chicken (and later the noodles). Bring a pot of water with chicken bouillon and garlic herb seasoning to a boil and add chicken to pot. This will need to boil about 20-25 minutes.

image

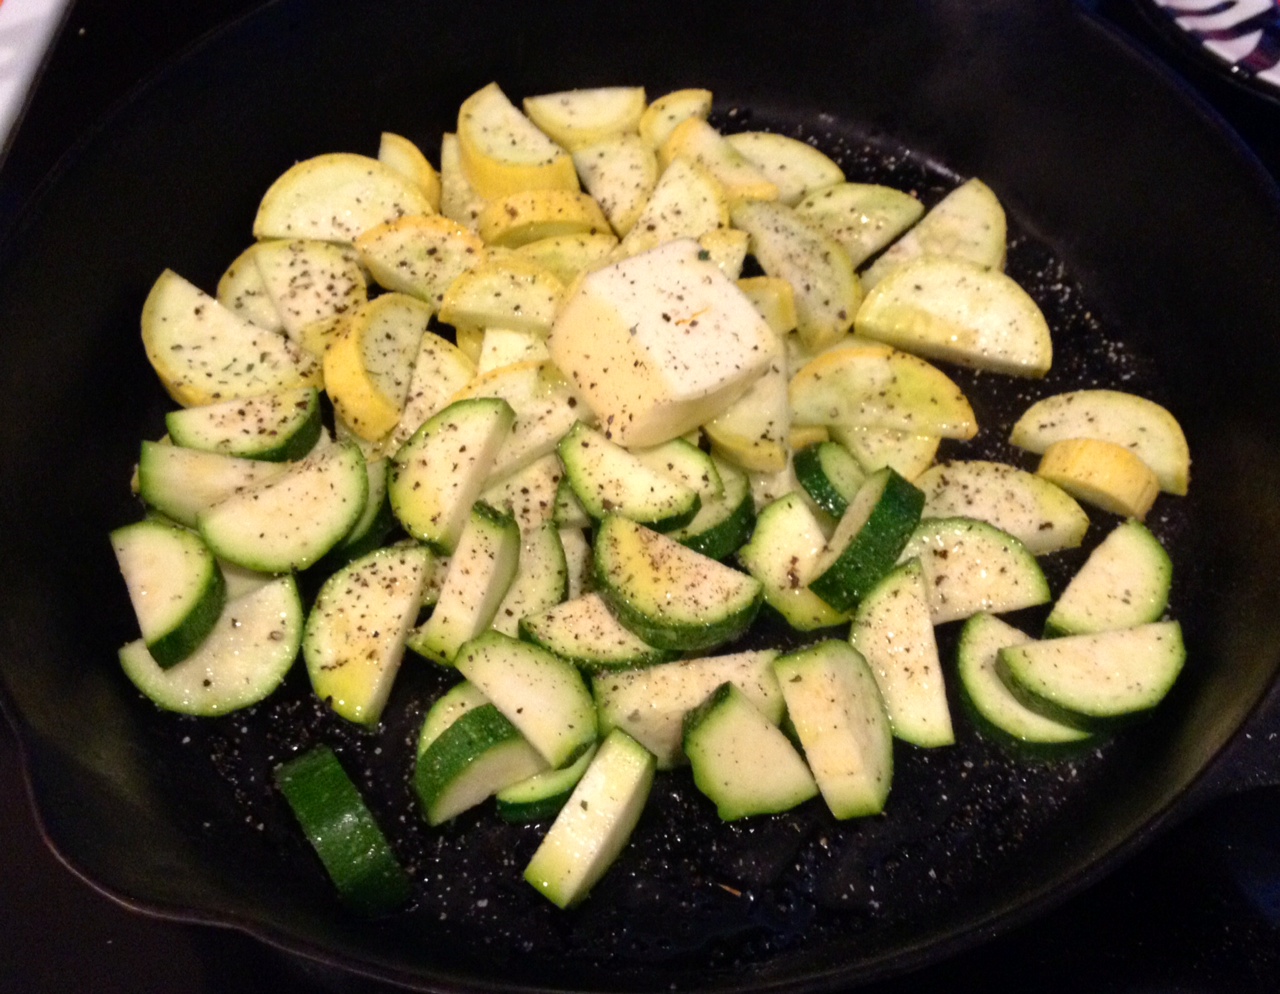
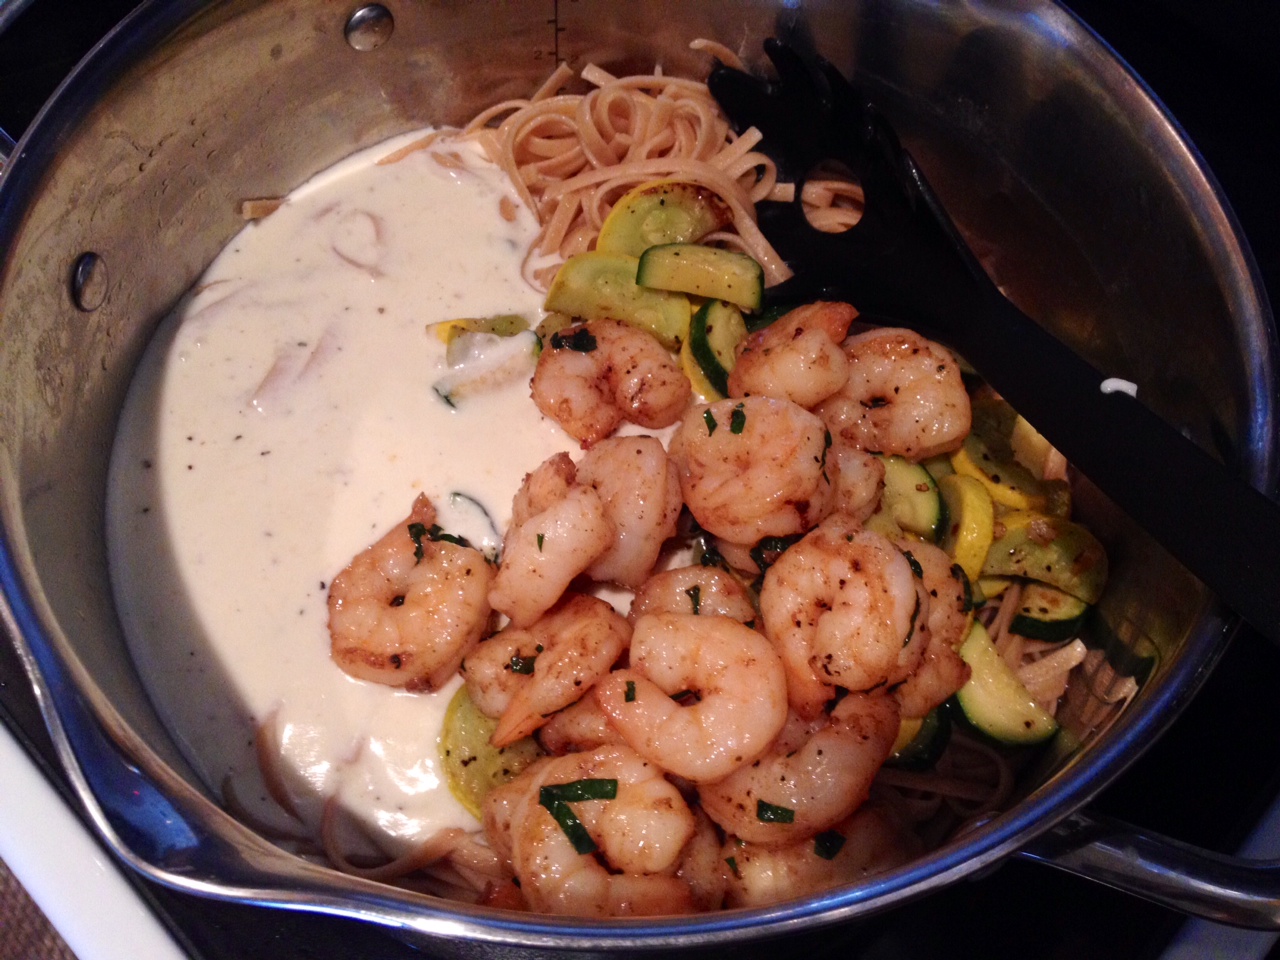
2. Add chopped onion, chopped veggies of your choice, butter, salt, and pepper to a sauté pan. Cook until veggies become tender and add chopped garlic and roasted red peppers and cook a few more minutes on medium high heat.

image

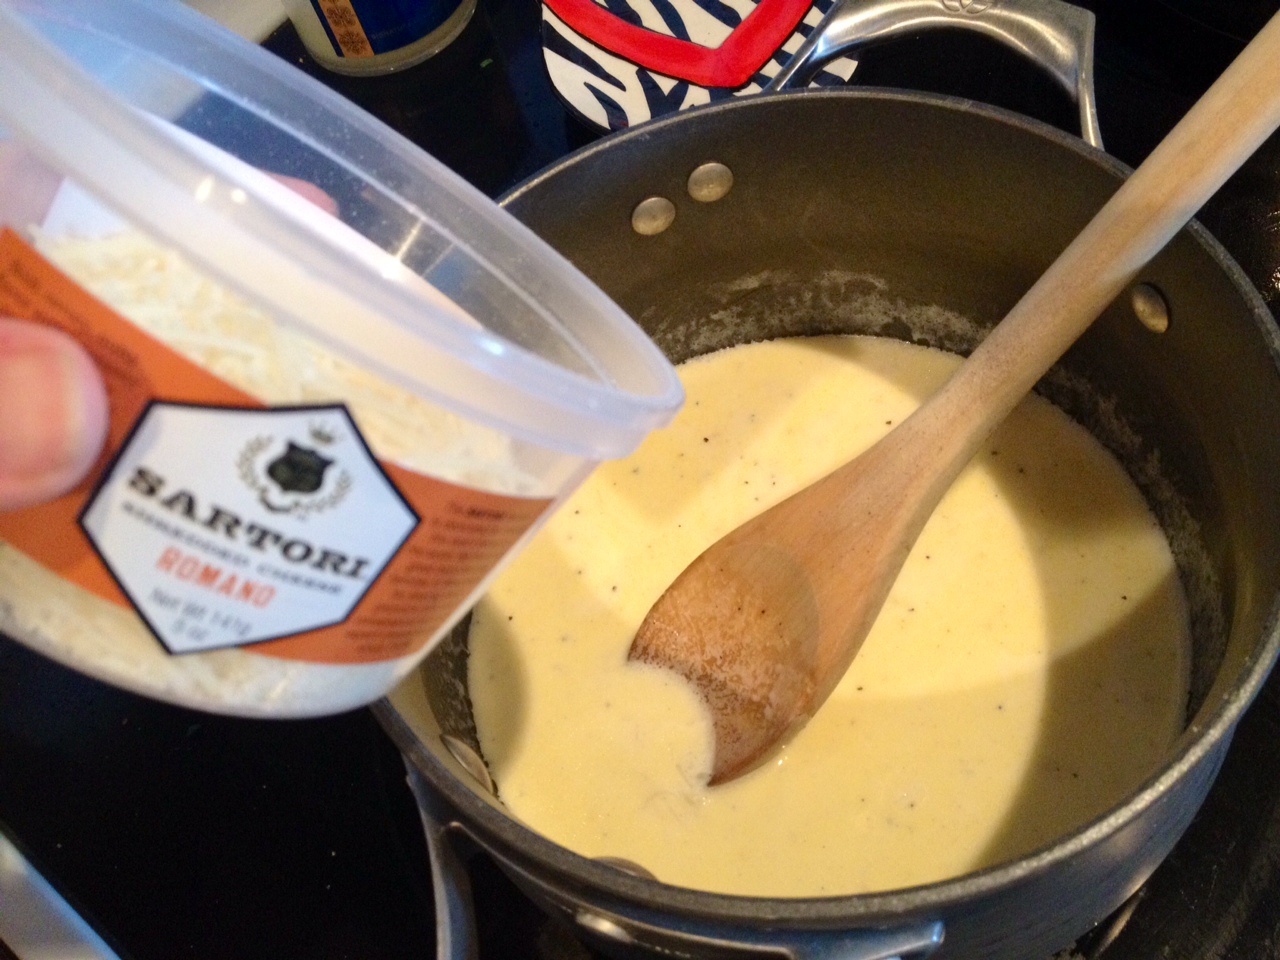
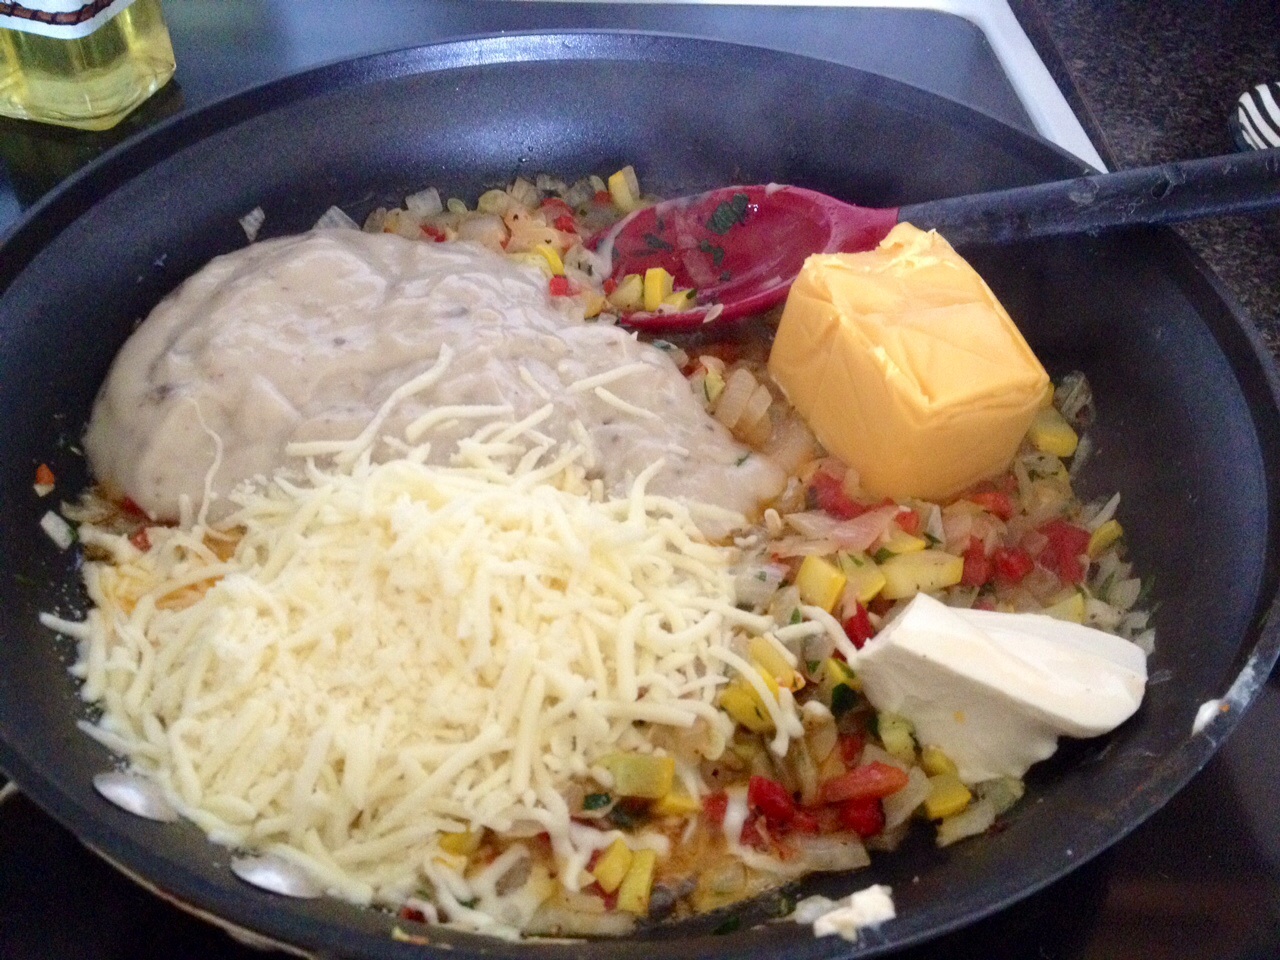
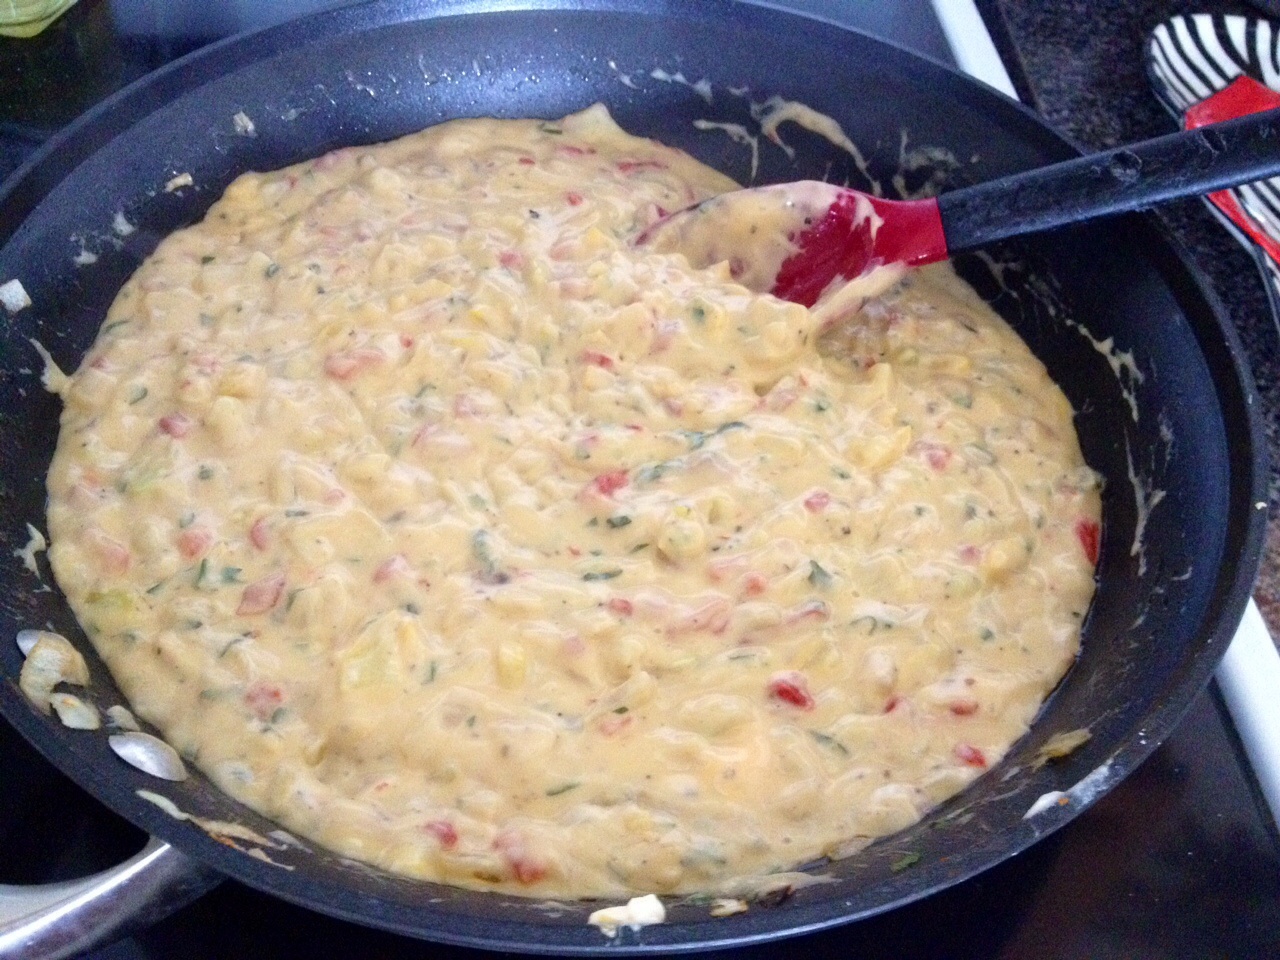
3. Turn heat down to medium low and add cream of mushroom, cream cheese, mozzarella, and Velveeta. Stir and allow mixture to melt and come together.

image

image

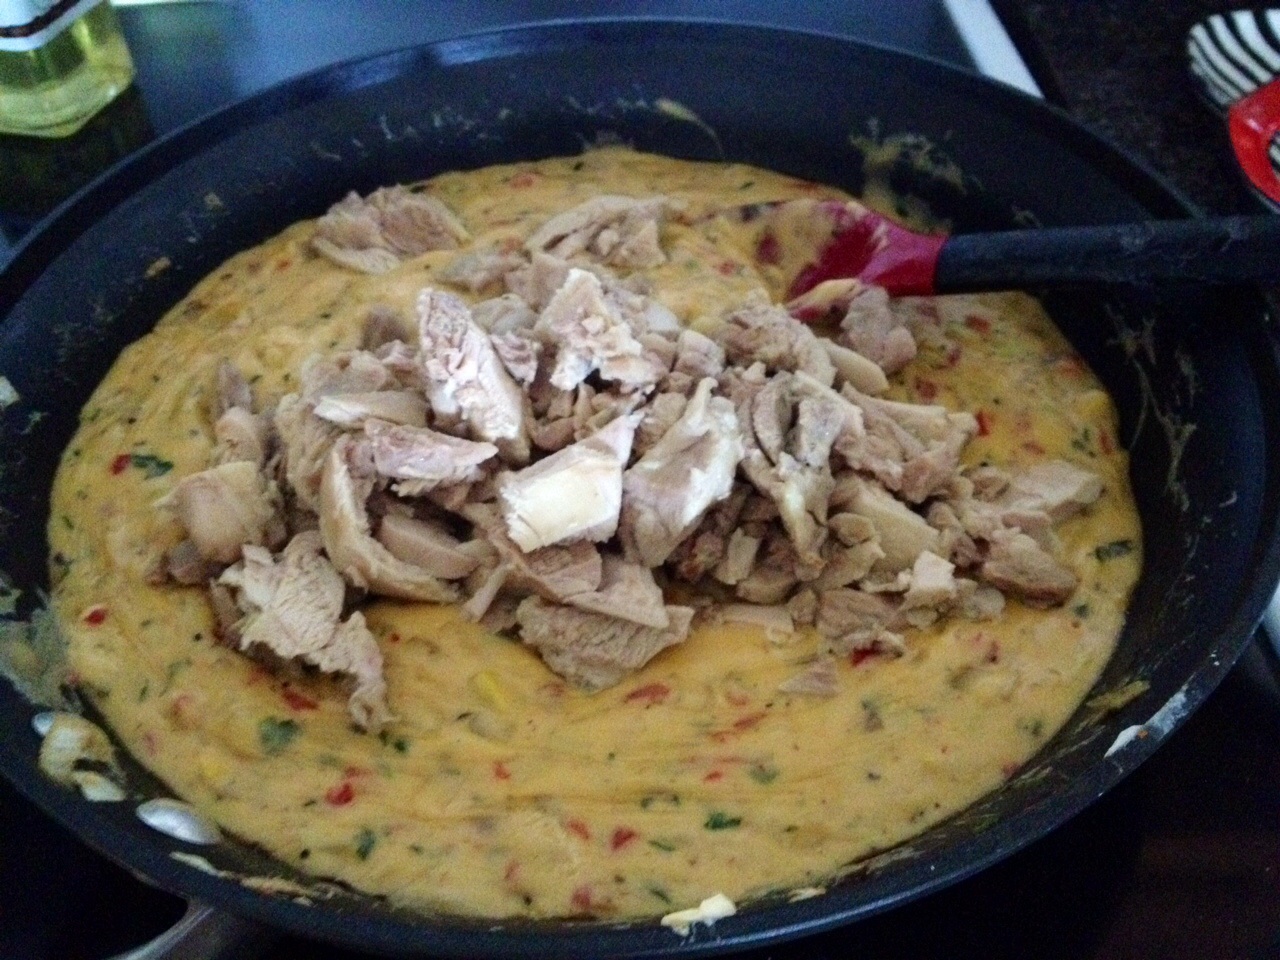
4. Pull your chicken out of the boiling seasoned water and cut into bite size pieces.

image

5. Add chicken to sauce mixture.

image

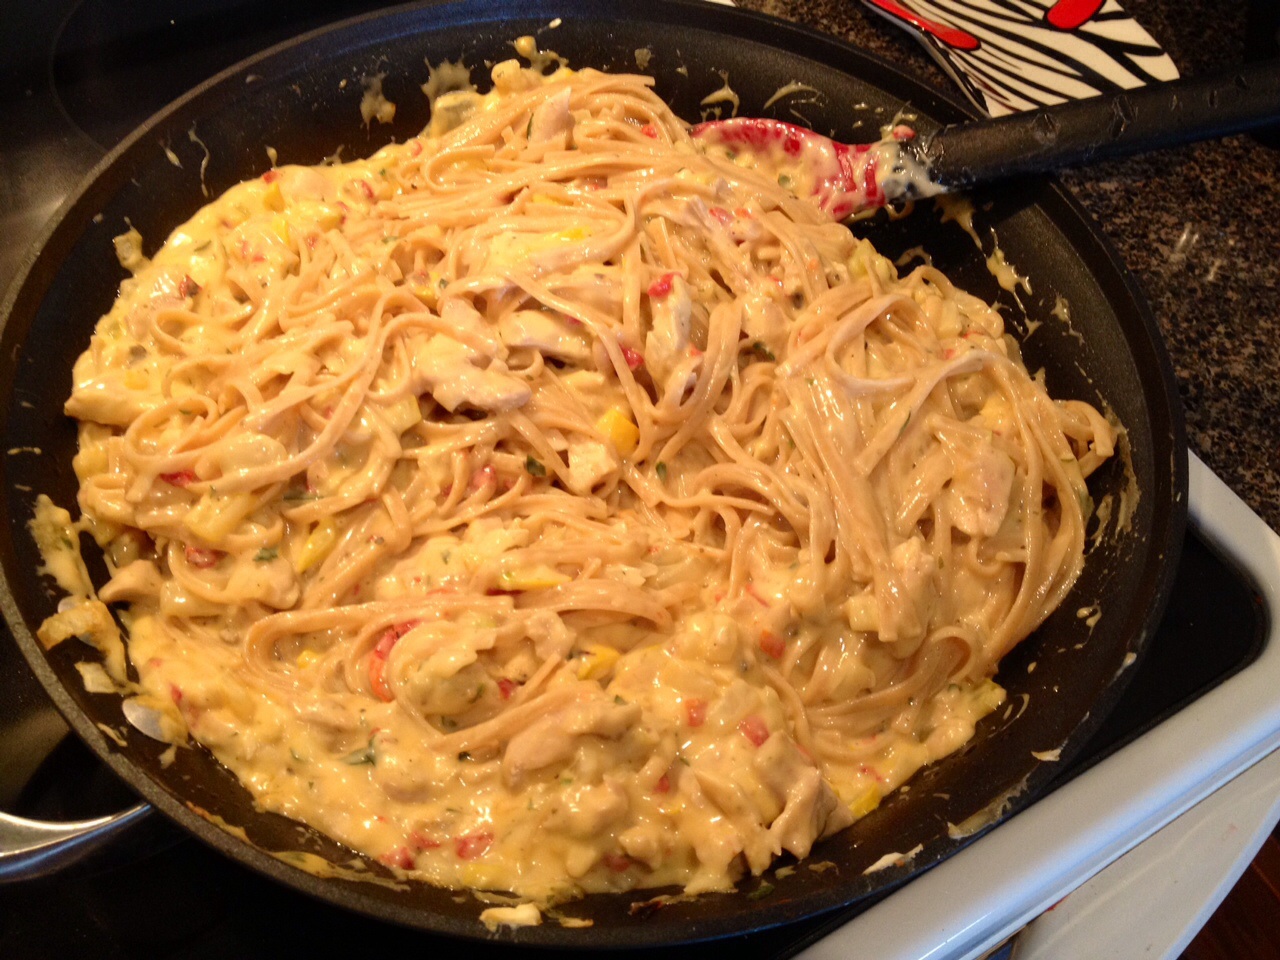
6. Add linguini to the boiling seasoned water and cook using directions on the box. Once it’s done, add the drained pasta to the chicken and cheese mix.

image

7. Pour this into a buttered 9×11 baking dish and top with more cheese and sprinkle top with Italian breadcrumbs.

image

8. Bake in a 375 degree oven for 20 minutes or until top is golden brown.

image

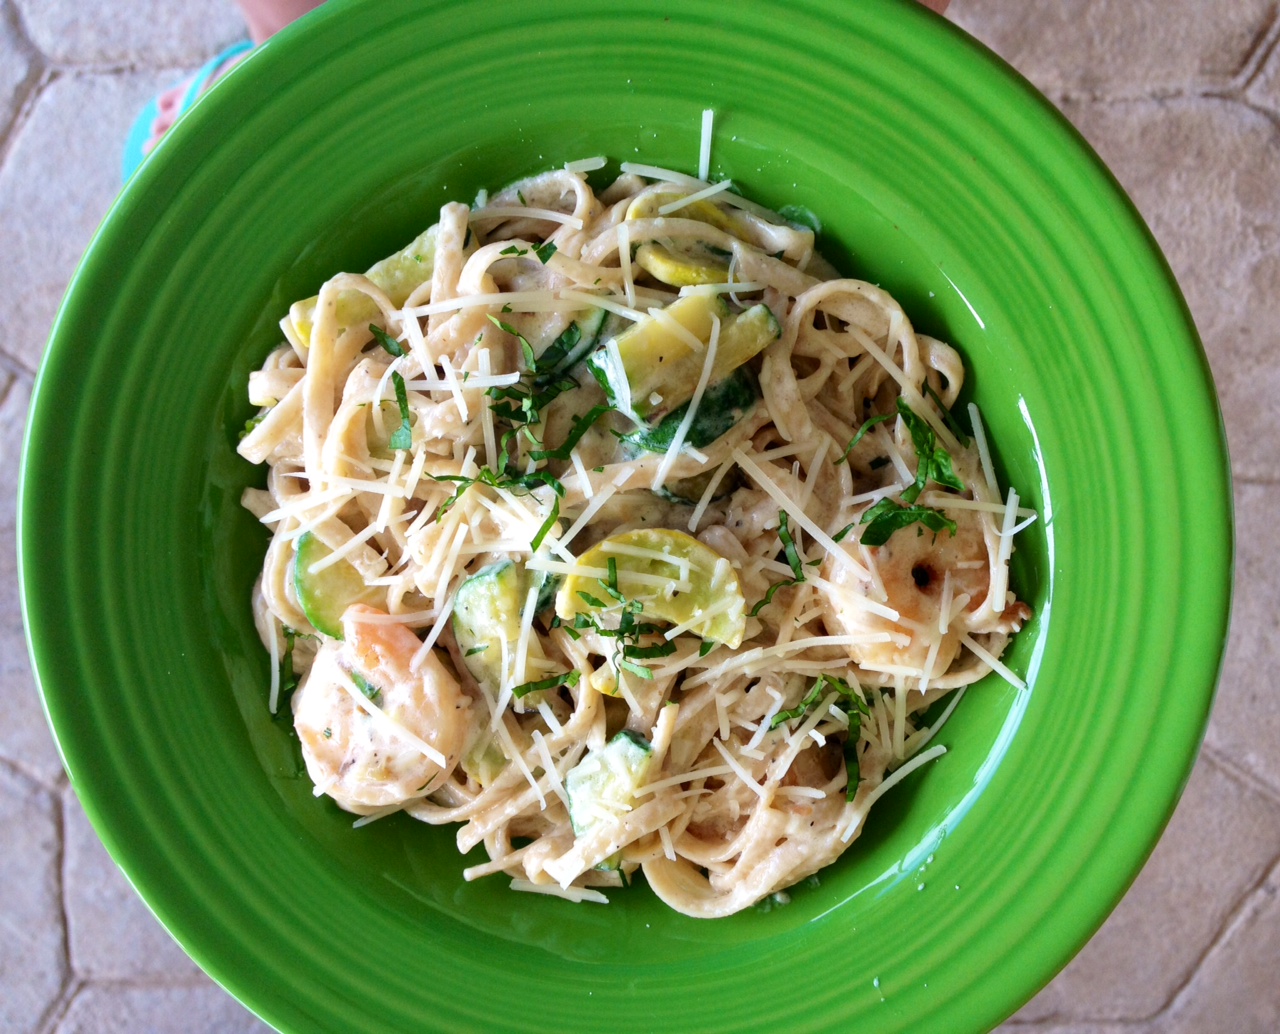
Mmmmmm would you look at that beautiful masterpiece?! It’s delicious with a hunk of crusty garlic bread and large glass of red wine 🙂

Advertisement

Garden Vegetable and Shrimp Alfredo

Standard
Garden Vegetable and Shrimp Alfredo

Garden Vegetable and Shrimp Alfredo

I am so happy when summer veggies start coming up in my garden and love to use them in tons of different recipes. This pasta I made tonight was so yummy, and it uses summer squash and zucchini as the vegetables, but really any veggie you could want would do great in here. Peas, broccoli, asparagus, carrots, etc would be tasty! I also added shrimp for some protein, but feel free to leave it out or substitute grilled chicken instead.

Ingredients:
1/2 lb linguini pasta
1/2 pint (1 cup) heavy whipping cream
5 oz shredded Romano cheese (or use Parmesan if you prefer)
1 zucchini sliced into 1/2 rings
1 squash sliced into 1/2 rings
1 lb shrimp that’s been peeled and de-veined
1 stick of butter
1 clove garlic chopped
1-2 T chopped fresh herbs (I used flat leaf parsley and basil from the garden)
Salt and pepper
Cayenne pepper (optional)

1. First get your water boiling for the pasta and get your veggies started in a separate skillet with 2 T butter. Oh hello there cast iron skillet! You know how much I love you 🙂
-7

2. Saute on medium-high heat for a few minutes and season with salt and pepper, then add your chopped garlic and saute a few more minutes. Drain into a bowl and set aside.
-8

3. Next, saute your shrimp in 4 T of butter and season with salt, pepper, and a pinch of cayenne pepper. The last minute they’re in there toss in your freshly chopped herbs. Remove pan from the heat and set aside.
-9

4. For the sauce, just melt 2 T of butter in a small sauce pot over low to medium heat, and add your heavy whipping cream once it’s melted. Season liberally with salt and pepper, then add 3-4 oz of your shredded Romano cheese.
-10

5. Once it’s thickened and melted, it will stick to the back of your spoon and become a deliciously sinful white cheesy sauce.
-11

6. Combine your veggies, pasta, sauce, and shrimp all together and stir.
-12

7. Top with more freshly chopped herbs and the rest of your shredded cheese, then serve with cheesy garlic bread for a yummy summer Italian meal!
-15

Duke’s Jalapeño Havarti Sliders

Standard
Duke’s Jalapeño Havarti Sliders

Duke's Jalapeño Havarti Sliders

You may or may not have drawn the logical conclusion that I’ve had a thing for sliders this pregnancy. It’s true! I’m currently obsessed with sliders and have made them several different ways, but I think this one is my favorite! This recipe uses ground turkey and deliciously creamy Havarti cheese, and they’re heavenly. Can’t find Havarti cheese? Pepper jack would work great here too.

Ingredients:
1 package ground turkey (the one I bought was 19 oz, so slightly over a pound)
1 chopped jalapeño (seeded and deveined)
About 1/4 c cubed jalapeño Havarti cheese
Your favorite burger seasoning
1 heaping T Duke’s mayonnaise

1. Combine mayo, ground turkey, jalapeños, cheese, and seasonings in a mixing bowl. I added about a tsp of seasoning into this mix, then sprinkled a little more on each patty after they were assembled. It’s important to note that every Southerner knows that Duke’s mayo is the best mayo you can buy and blows Hellman’s out of the water, so I highly suggest that’s what you use. However, if you can’t find it, any mayo you find will work.
image
* That one on the top right is plain for my 2 year old 🙂

2. You can either grill these or cook them on your stovetop. You may have heard me mention I live in a wind tunnel with a vortex that threatens to suck me up every time I step outside to approach my grill, so I did these on the stovetop. Don’t forget to spray your pan like I did, because these puppies stick!
image

3. Prepare yourself for the juiciest and most delicious slider ever! I highly recommend serving on a toasted slider bun with a kicked up creamy coleslaw and sliced garden tomato. For a quick coleslaw that’s only semi-homemade I used a creamy coleslaw mix and added a spoonful of Duke’s mayo to the mix, a splash of white vinegar, cayenne pepper, and salt & pepper. It really made it taste like it was totally from scratch and incorporated the Duke’s mayo theme I was going for. Yum! Duke's Jalapeño Havarti Sliders

Pork Chop Grenades

Standard
Pork Chop Grenades

Pork Chop Grenades

This is one of those summer hits that people will be wanting your recipe for. A few years ago, I saw a recipe on one of those recipe chain Facebook posts for stuffed chicken breasts that used these same stuffing ingredients, and thus, eventually the pork chop grenade was born. At first, I made this recipe using chicken thighs, but it has expanded to the “other white meat”, and I’ve gotta say it’s pork perfection! But feel free to sub chicken or even pork tenderloin in place of a pork chop here – it really is versatile!

Ingredients:
Pork chops or pork steaks with bones removed
BBQ sauce (I used Sweet Baby Rays here)
1-2 strips of bacon per grenade
1/2 jalapeño sliced per grenade
Your favorite grilling seasoning or just plain salt and pepper
About 1 T cream cheese per grenade

1. This recipe graduated from chicken to pork because these bone-in pork steaks were on sale for a steal at the store. See what being a savvy shopper can do for you? 🙂 I just cut out the bones of the steaks before using them. Obviously, the easiest thing would be to buy thin cut boneless pork chops.
image

2. Sprinkle your favorite grilling seasoning on your meat and put about a tablespoon of cream cheese on each chop.
image

3. Using either the back of a spoon or your fingers, mush the cream cheese out a little bit and place 1/2 a jalapeño on each. I like to keep a few seeds and stems in mine to keep them spicy! Please excuse the blurry pic 🙂
image

4. Now here is the messy part! You’re going to wrap these up into grenades using 1-2 slices of bacon each. Try to seal them up with the bacon because it helps keep the stuffing inside. I like to do a little fresh cracked black pepper on top of the bacon because it’s delicious and it looks pretty.
image

5. Now you can decide to either bake or grill these. Normally, I grill mine but now that I’m living in Amarillo AKA the US’s windiest city , I don’t particularly enjoy grilling in gale force winds, so I bake them. I use a grilling sheet I’ve sprayed with non-stick spray on top of a cookie sheet/jelly roll pan lined with foil for easy cleanup. Bake at 375 for anywhere from 45-60 minutes based on the thickness of your meat. Then take them out and turn the heat up to 400 or crank the grill up.
image

6. Now you’re going to baste them with your favorite BBQ sauce and put back in for 10-15 minutes. Again, you don’t want to overcook them, so keep in mind the thickness of your meat before you cook it.
image

7. Your grenades are ready to eat! Let’s cut into one of these babies and check out that creamy spicy perfection!
image
image