Tag Archives: chicken thighs

BBQ Chicken

Standard
BBQ Chicken

BBQ Chicken

This is hands down the best BBQ chicken you will ever have! That’s right, I’m that confident in this BBQ chicken recipe and its deliciously sticky BBQ sauce. Mmmmm ๐Ÿ™‚ While reading Ree Drummond (The Pioneer Woman)’s facebook page, I noticed she had put up a recipe for her BBQ chicken. She does hers with peach preserves and her favorite BBQ sauce (which happens to be one of my favorites as well), and I decided to change up the recipe a bit to make it my own. So essentially, it’s a mix of recipes. Let’s get started!

Ingredients:
1/3 cup mesquite/smoky/spicy bbq sauce (I used Head Country Orignial here because I love it and also because Ree Drummond used it in her original recipe)
1/3 cup sweet/mild bbq sauce (I used Sweet Baby Ray’s here and Original or Honey BBQ would be delicious)
1/4 cup apricot preserves
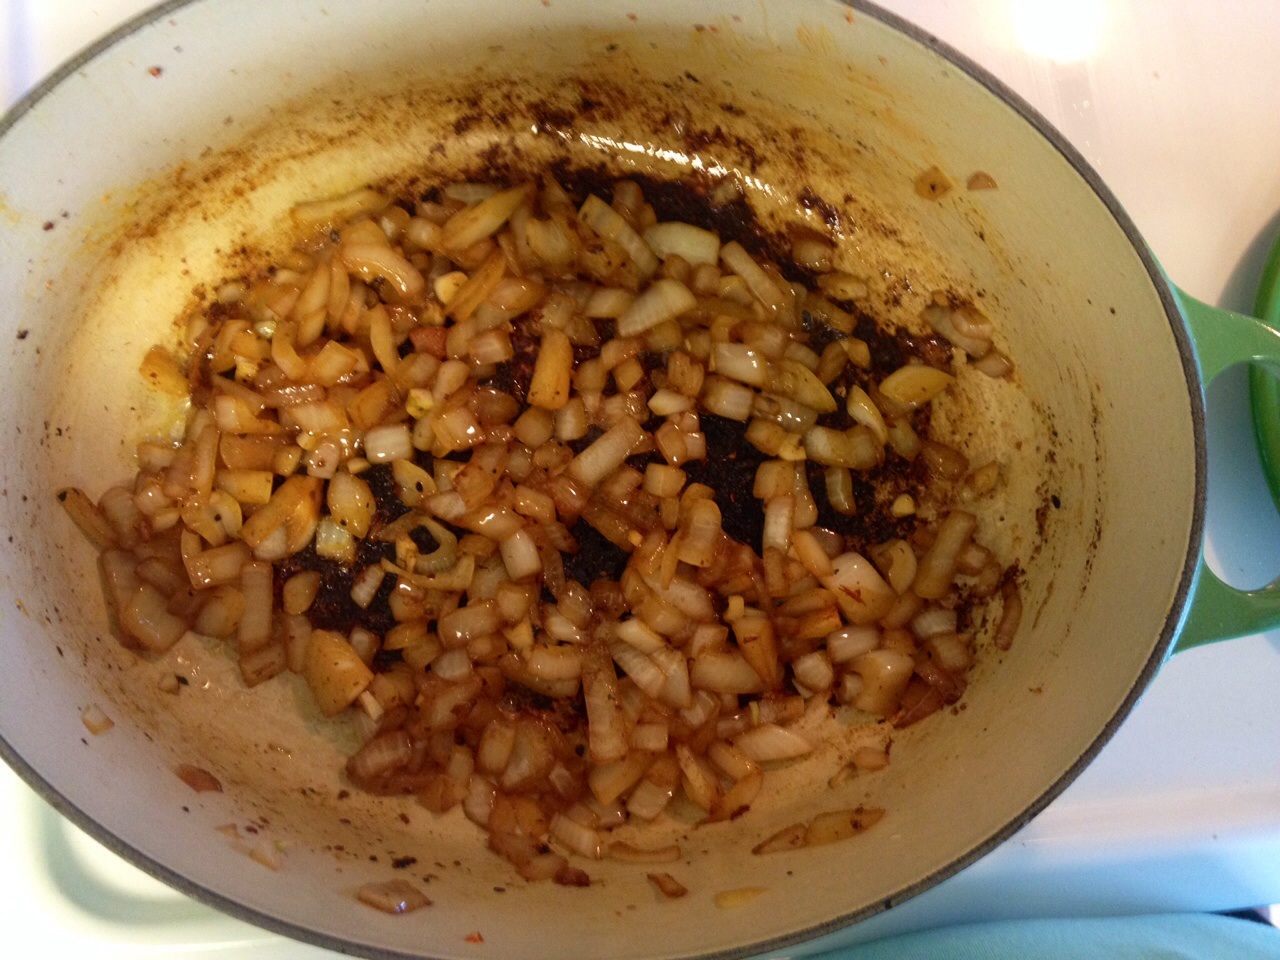
1-2 garlic cloves finely chopped
salt and pepper
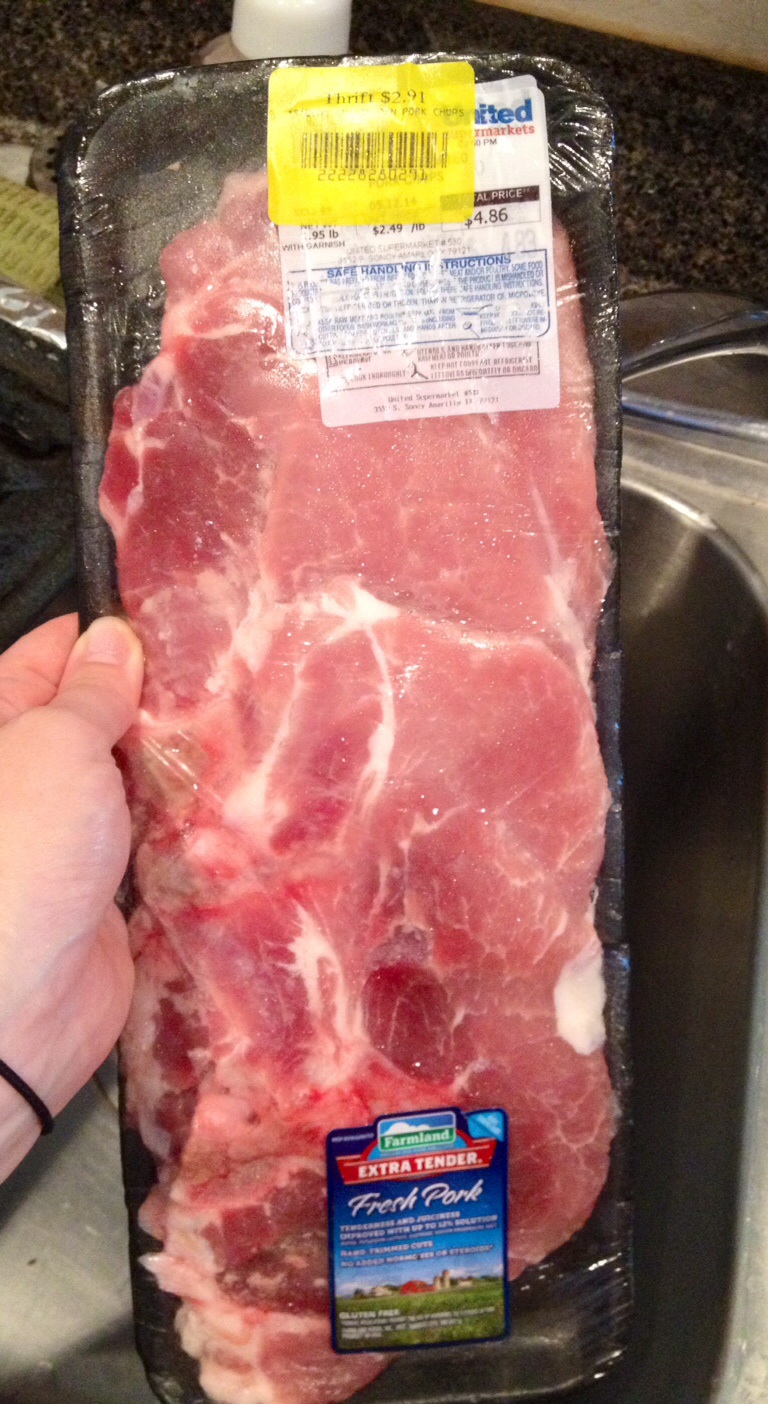
2 1/2 – 3 pounds chicken thighs/wings/legs

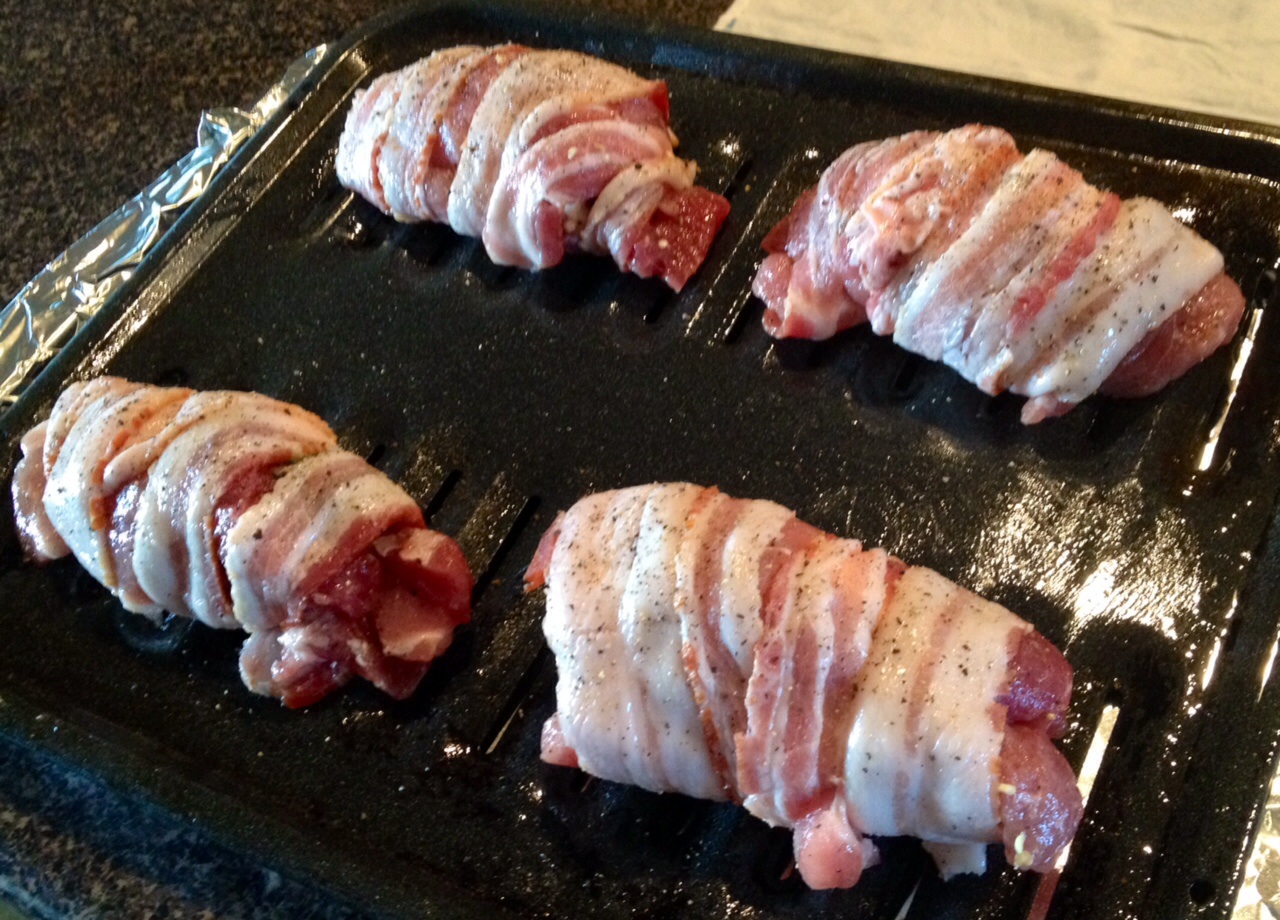
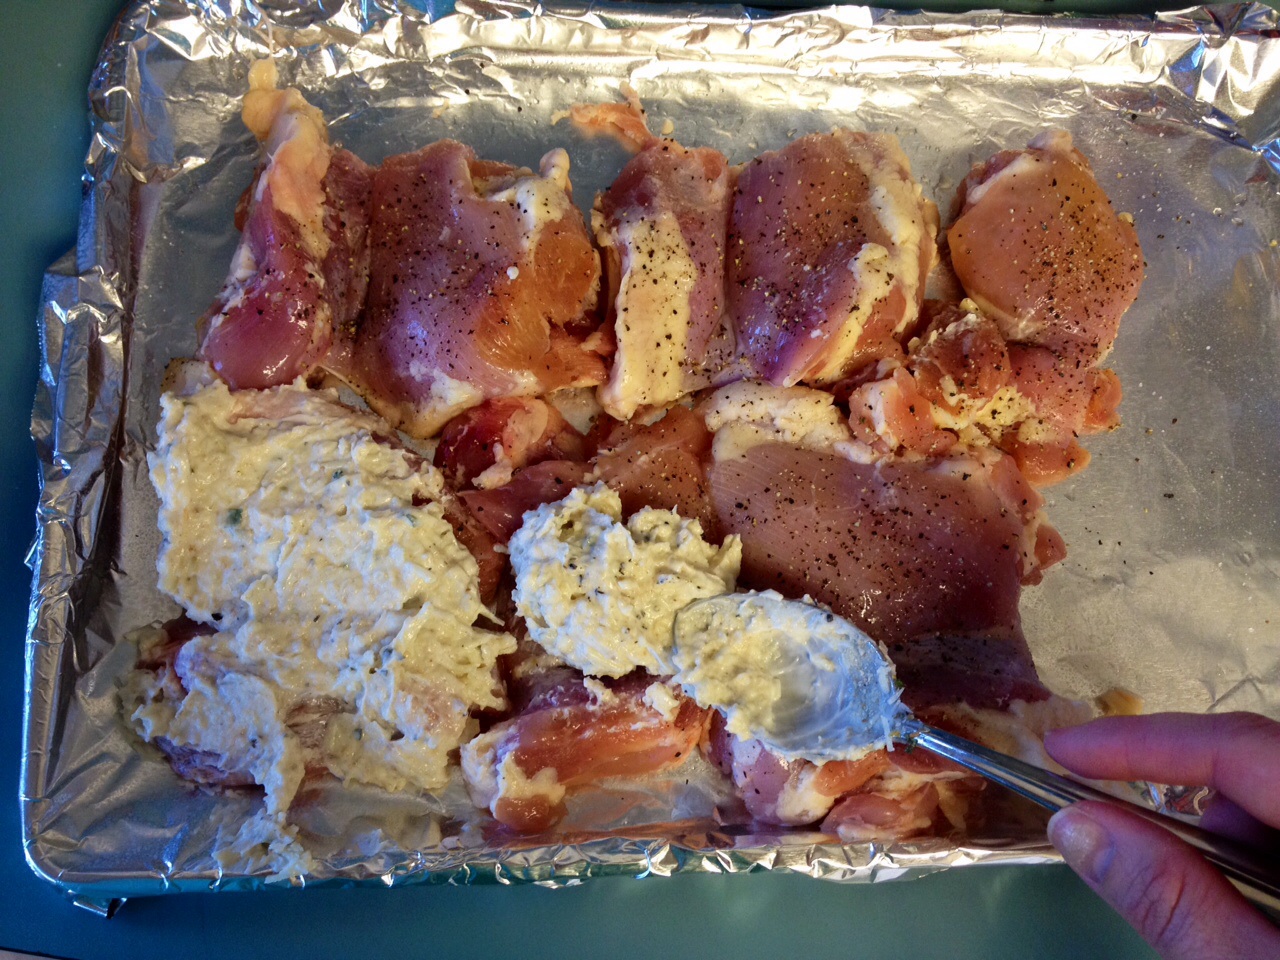
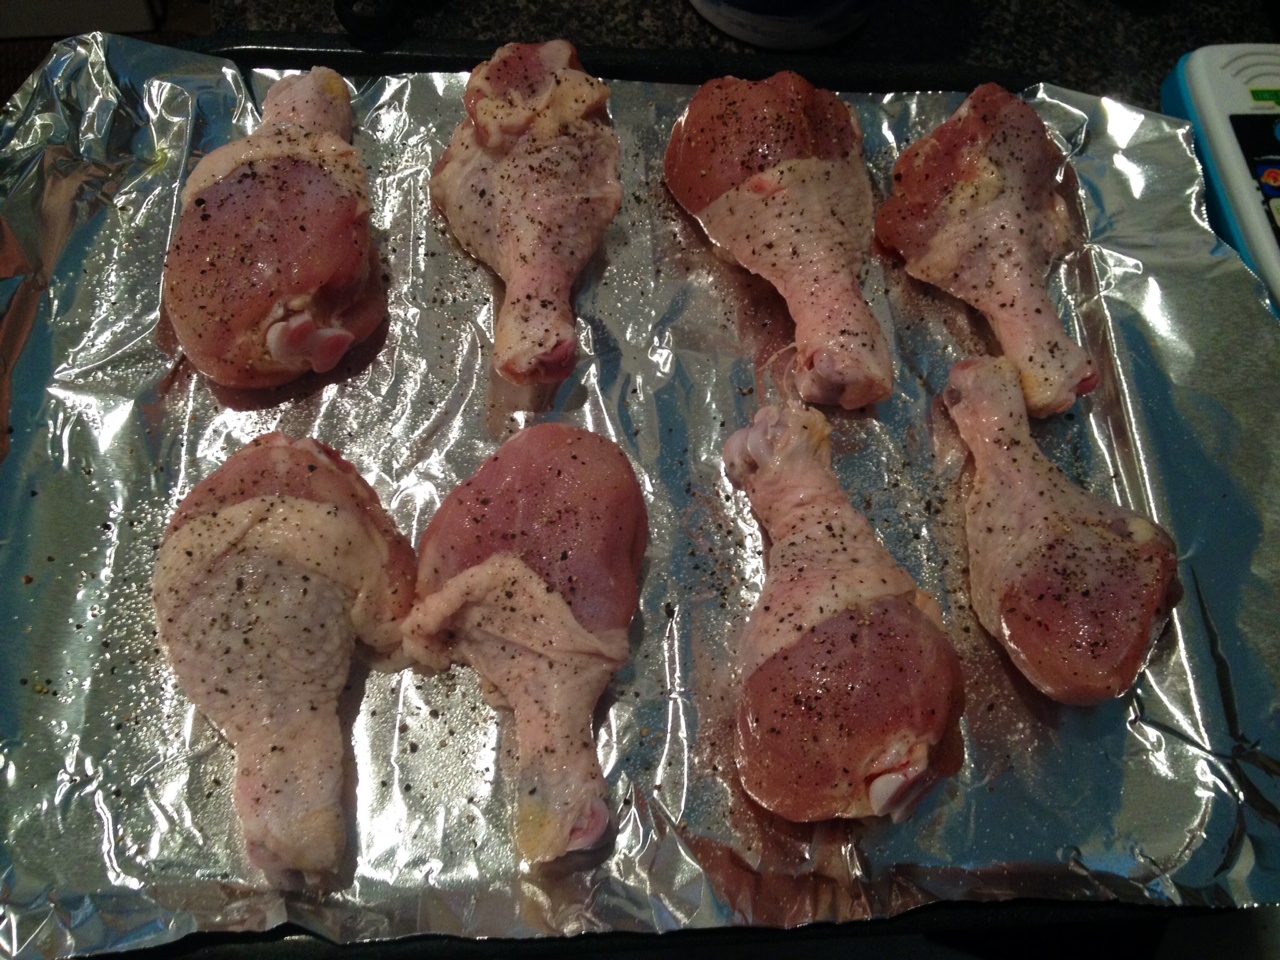
1. Whether you’re doing this on the grill or in your oven, you’ll need to spray a piece of foil with non-stick cooking spray to keep the chicken from sticking throughout this process. If you’re doing it in your oven, you can either spray a jelly roll pan with or without foil, or use a grilling rack. I used the grill for my chicken because the wind wasn’t trying to blow my house down that day, and it was nice to be outside.
-6

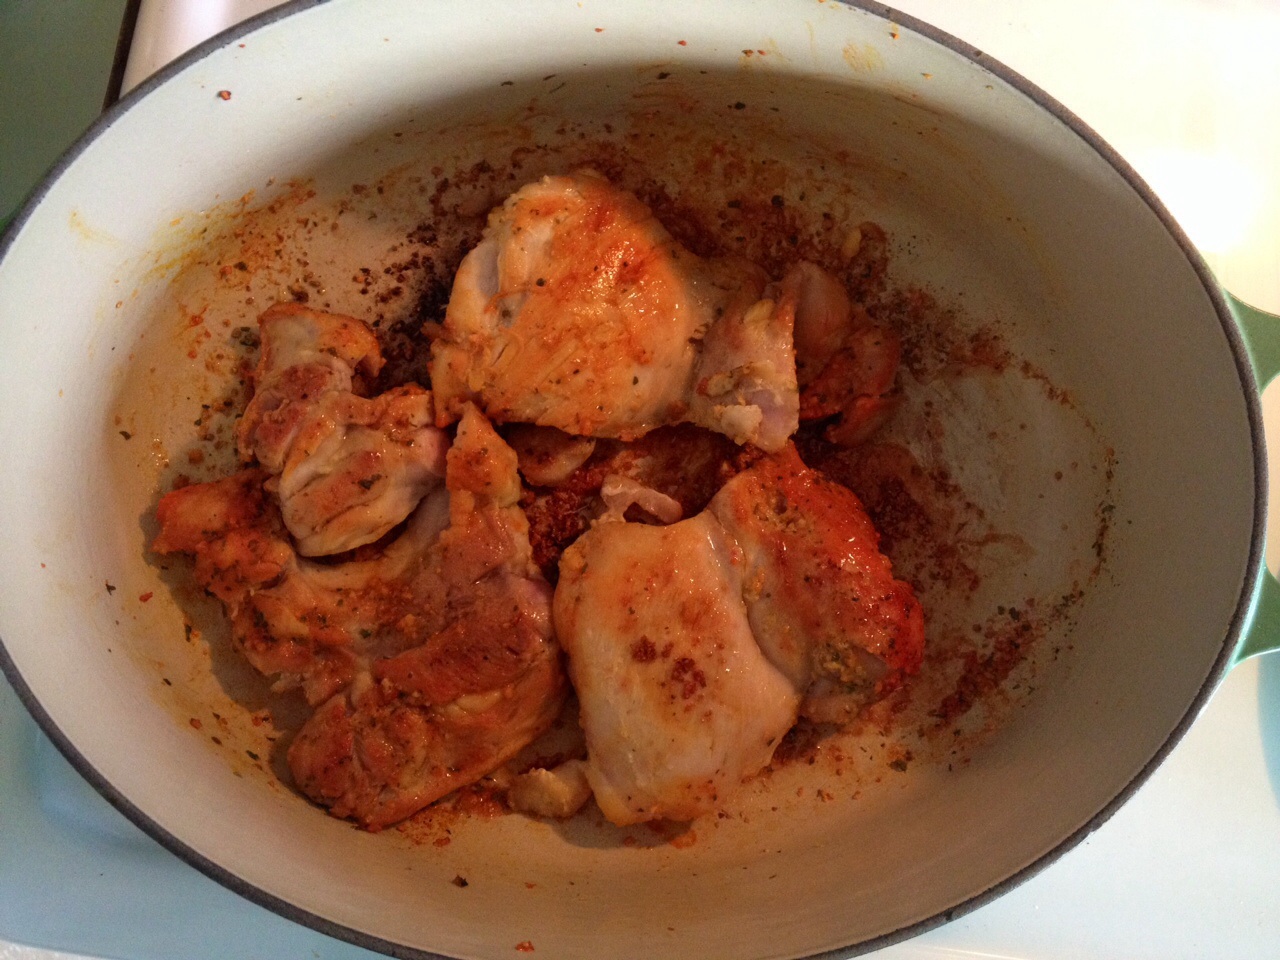
2. Salt and pepper both sides of whatever chicken you’re using.
-7

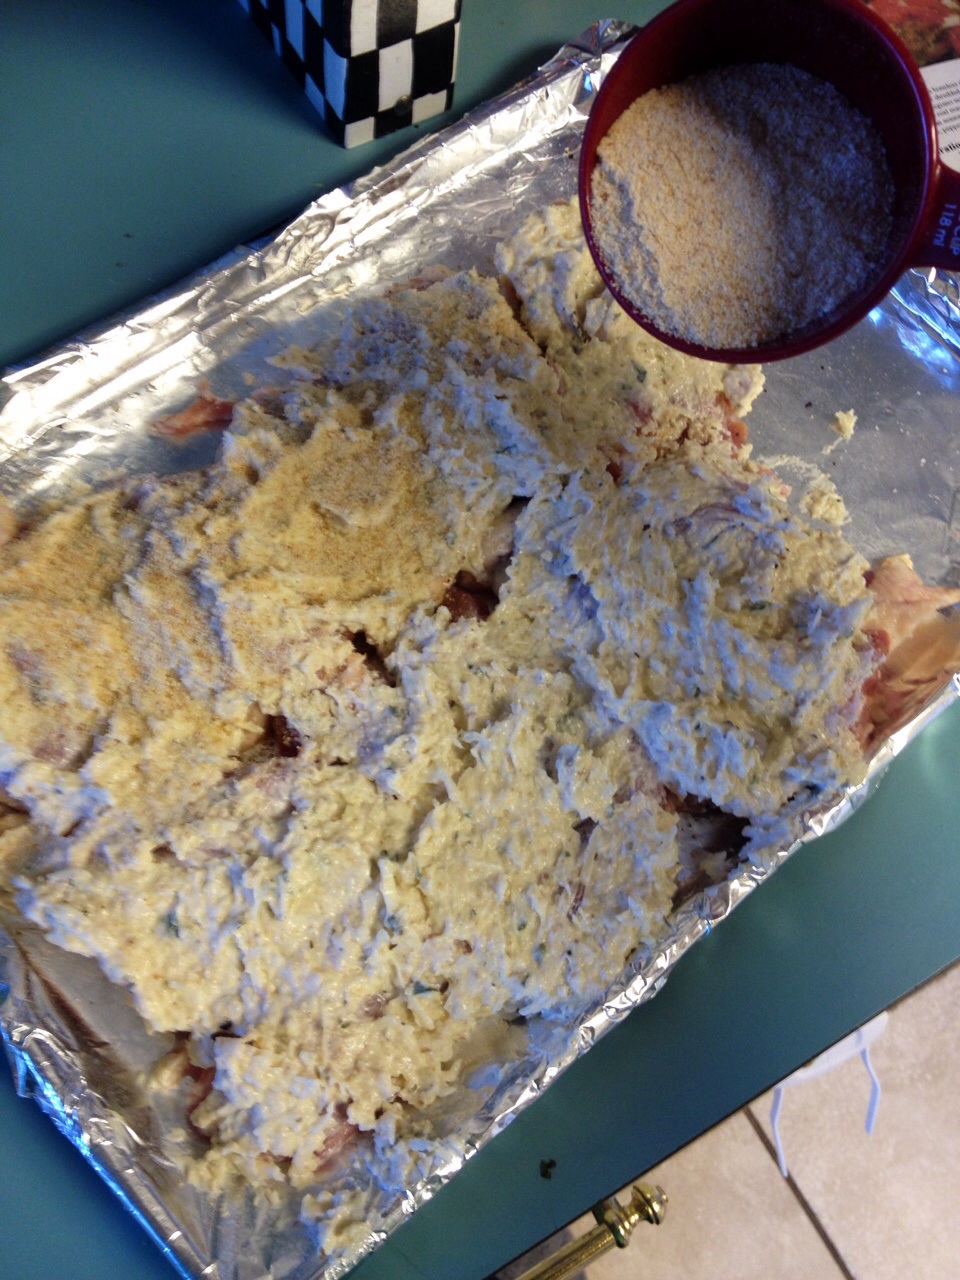
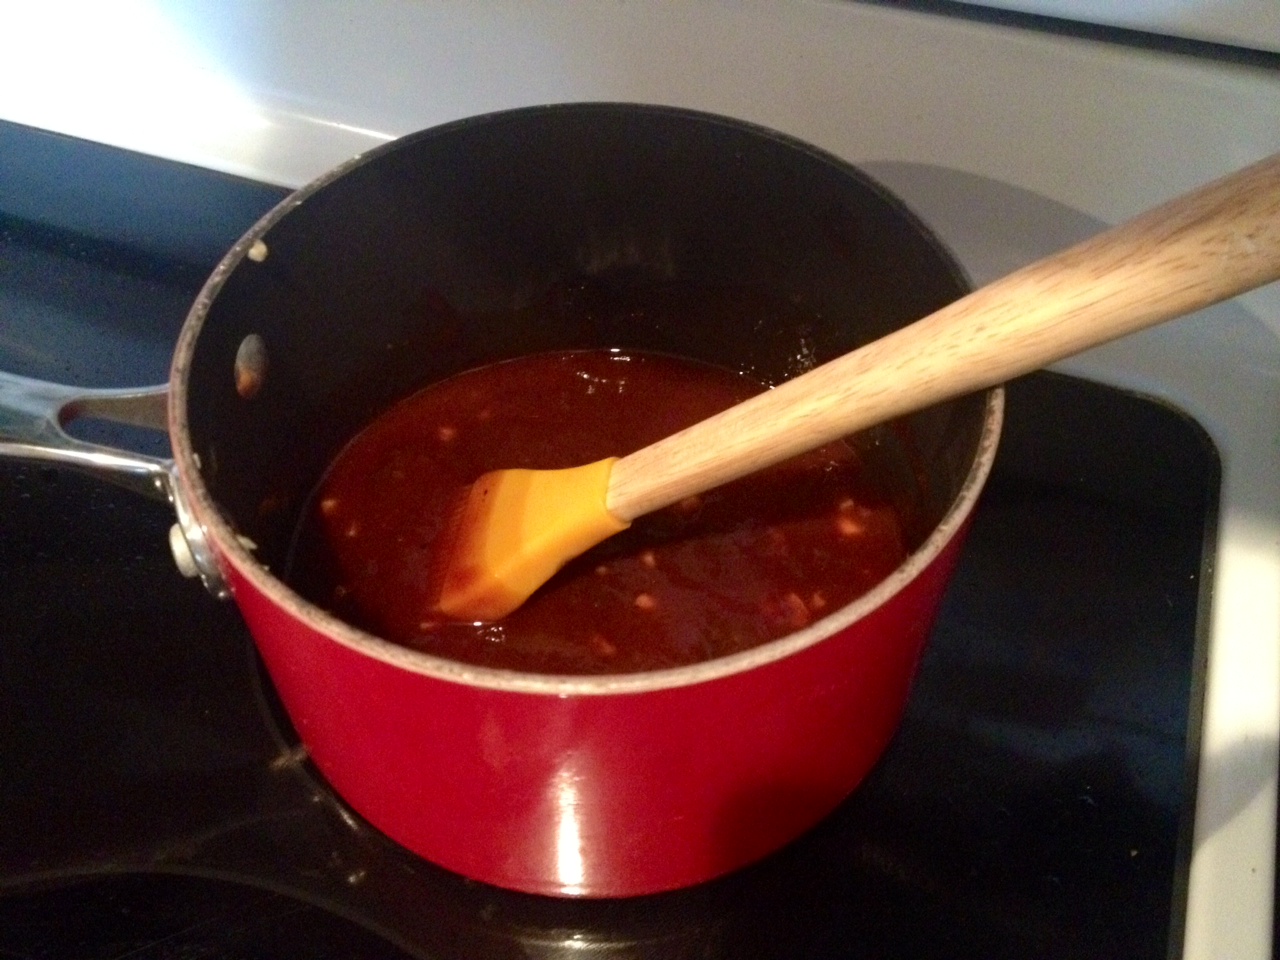
3. Combine both BBQ sauces, apricot preserves, and chopped garlic in a small sauce pot and place on the stove on low. Stir until combined, then you can turn off the heat once it’s all married up nicely.
-1

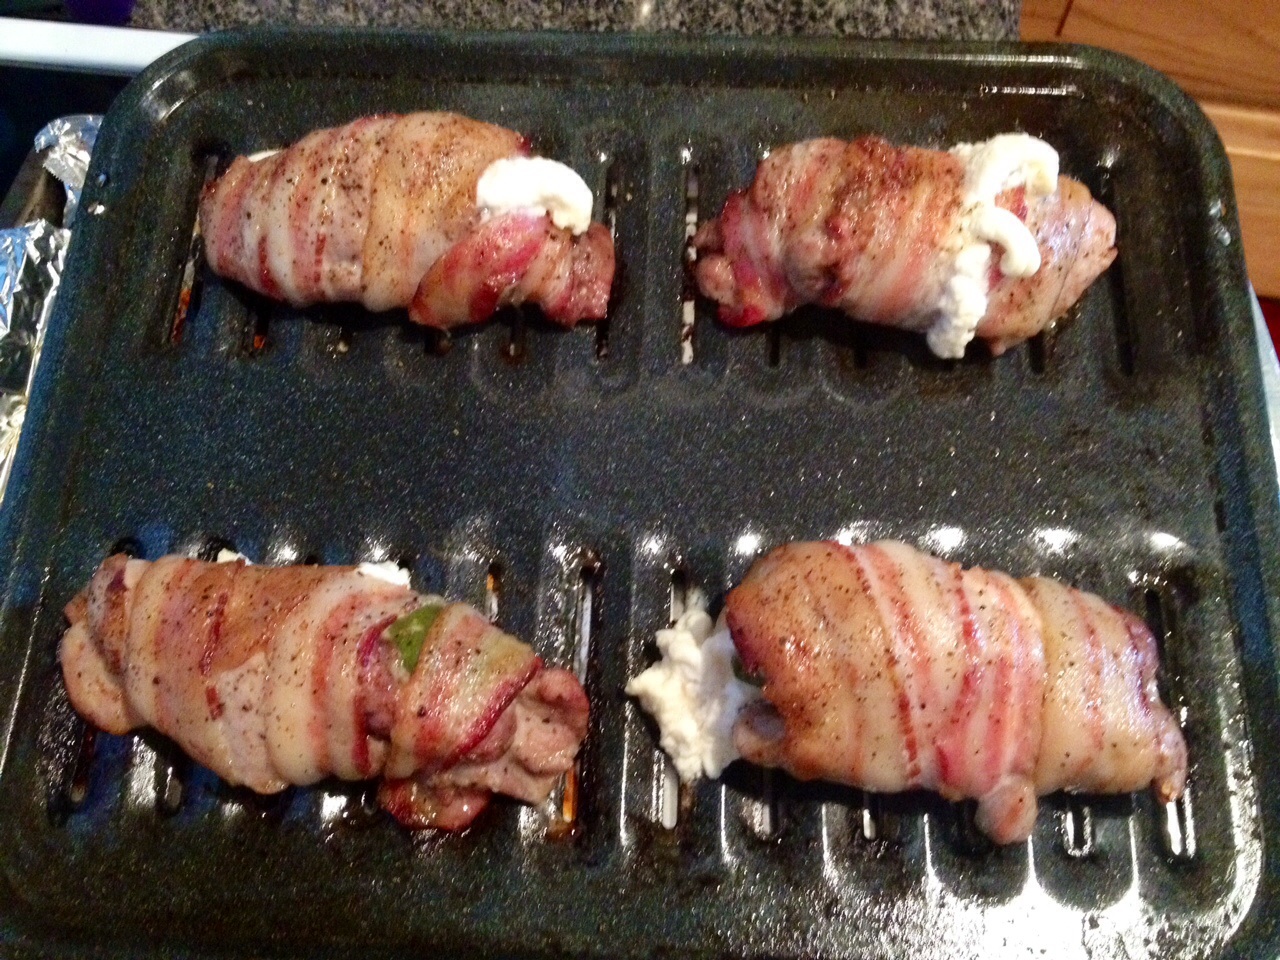
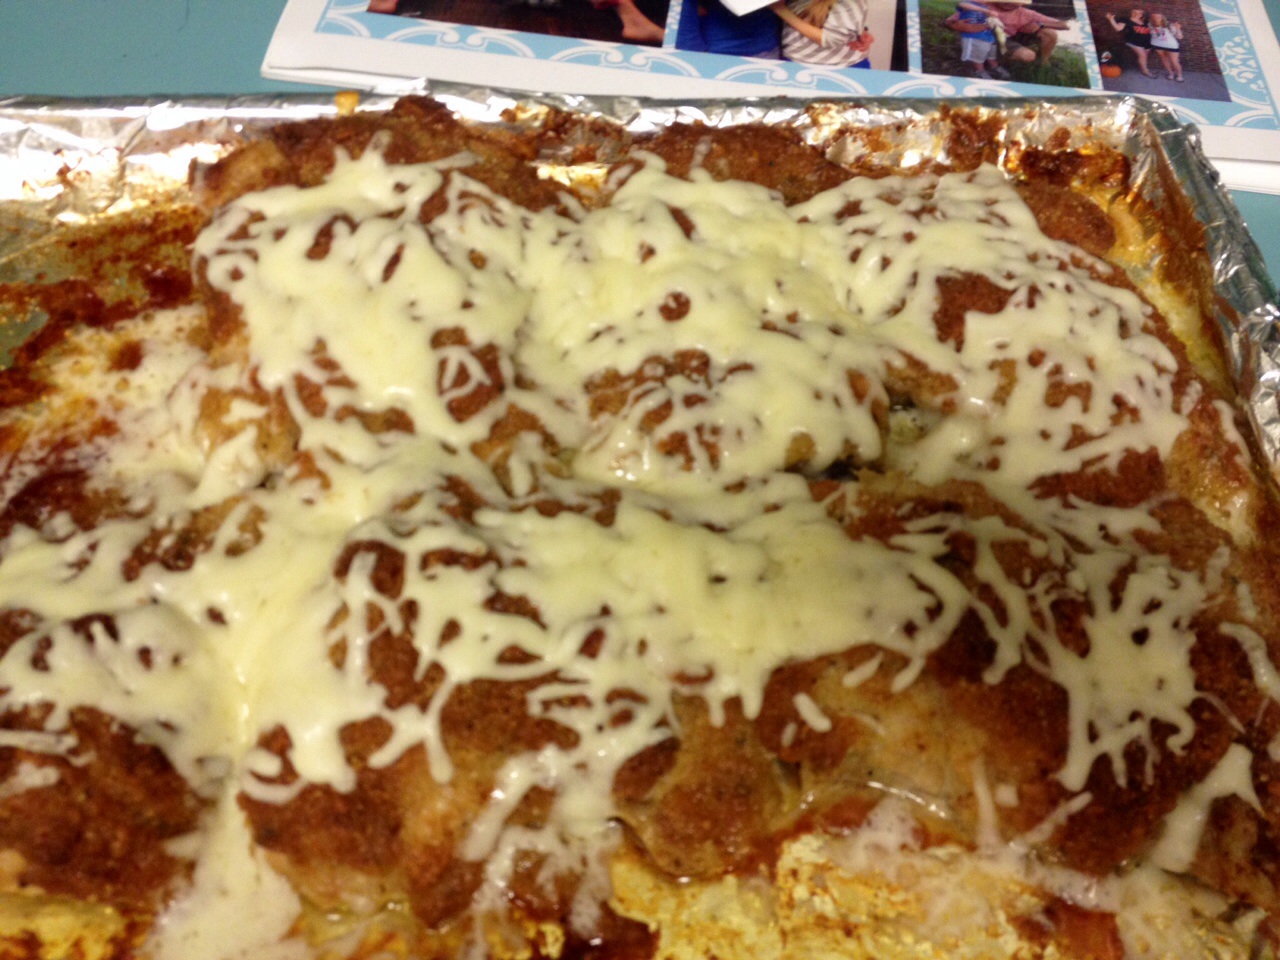
4. You’re going to cook your chicken on the grill/oven for about 20-25 minutes before you start basting it with the sauce. If you’re using your oven, the first 20-25 minutes the temperature should be around 350. Once your time is up, turn up the heat to about 400, or just crank up your grill and baste the first side of the chicken, flip over, then baste the other side. Then allow it to cook another 7-8 minutes before repeating the process. You’ll do this several times until you run out of sauce and your chicken is done. Make sure you’re closing the lid of grill after each basting and also make sure not to lose any of the skin during the flipping process.
-5
-4
-3
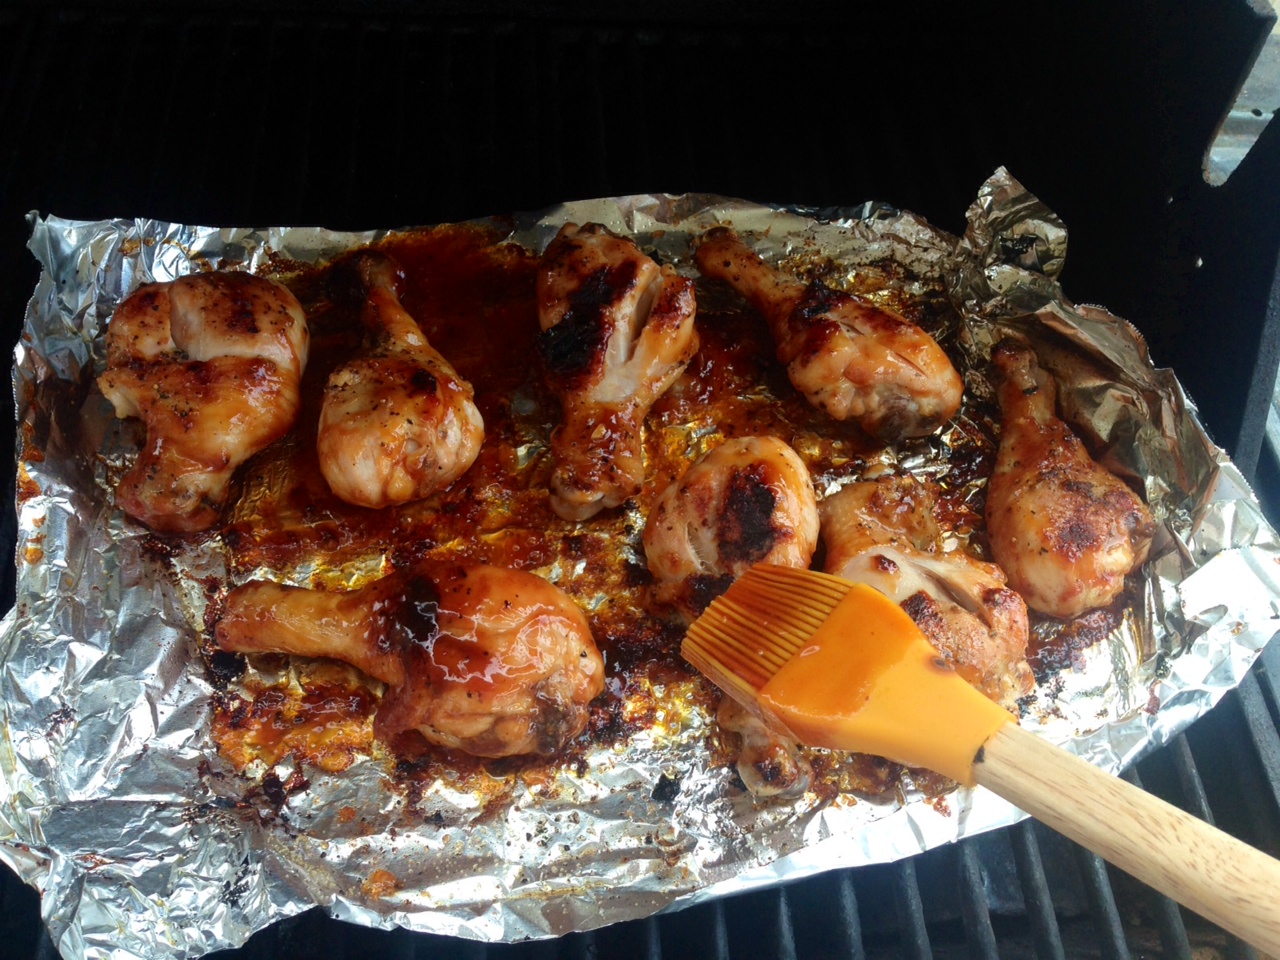
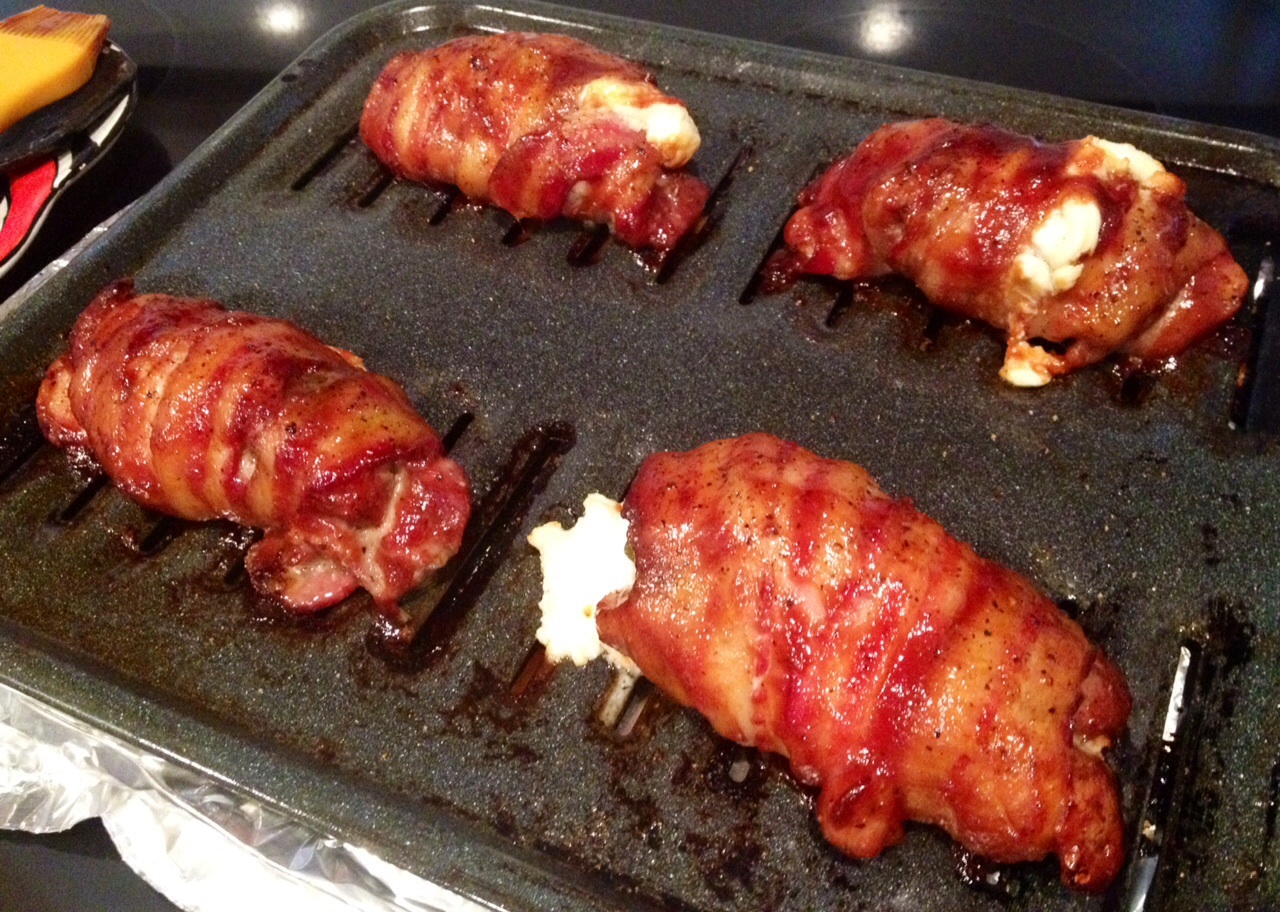
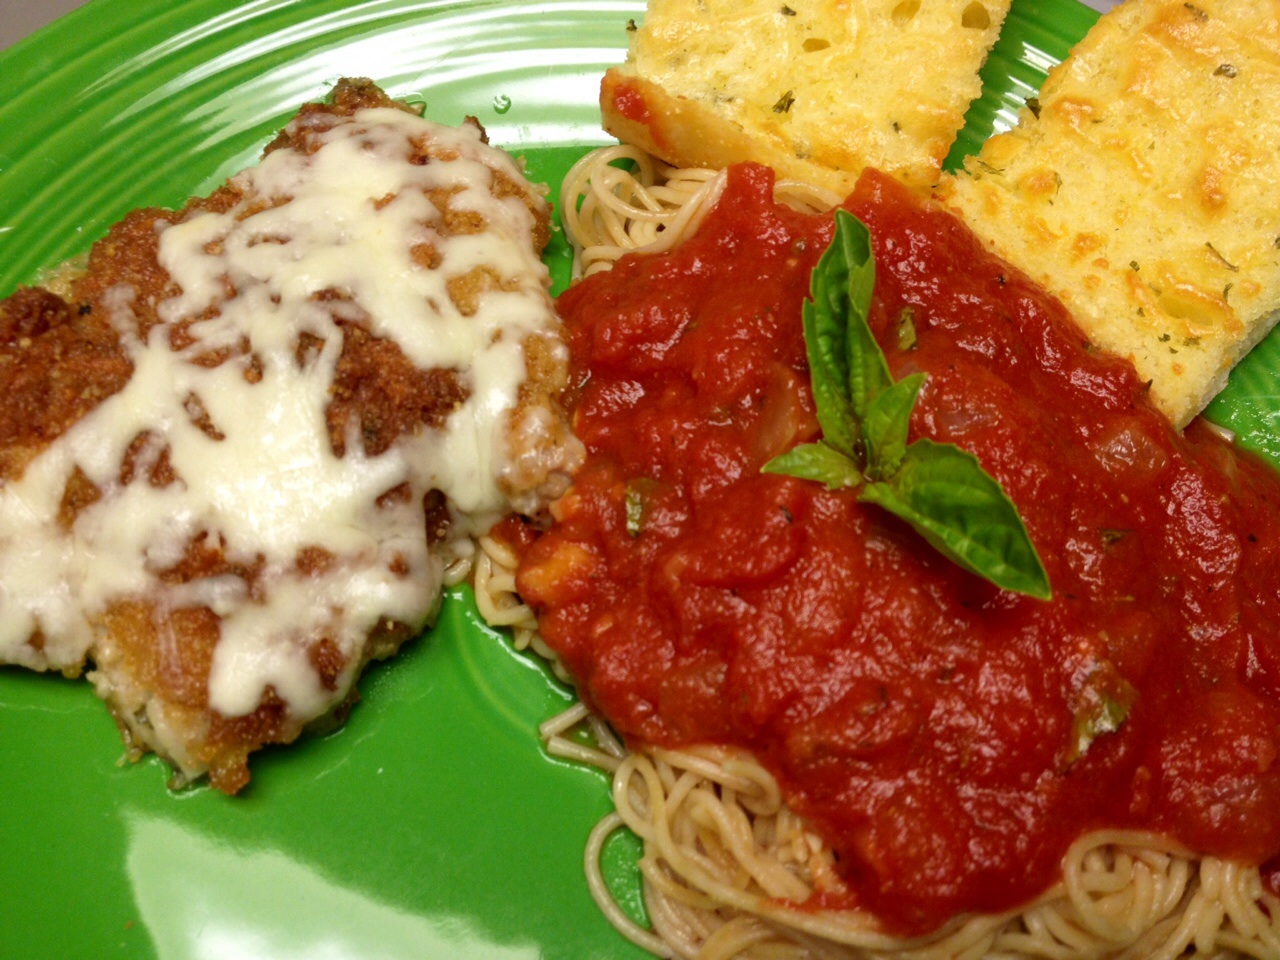
Doesn’t that look delicious? It’s ready to eat! Those apricot preserves and their plump juicy apricots really make this chicken amazing!

Advertisement

Pork Chop Grenades

Standard
Pork Chop Grenades

Pork Chop Grenades

This is one of those summer hits that people will be wanting your recipe for. A few years ago, I saw a recipe on one of those recipe chain Facebook posts for stuffed chicken breasts that used these same stuffing ingredients, and thus, eventually the pork chop grenade was born. At first, I made this recipe using chicken thighs, but it has expanded to the “other white meat”, and I’ve gotta say it’s pork perfection! But feel free to sub chicken or even pork tenderloin in place of a pork chop here – it really is versatile!

Ingredients:
Pork chops or pork steaks with bones removed
BBQ sauce (I used Sweet Baby Rays here)
1-2 strips of bacon per grenade
1/2 jalapeรฑo sliced per grenade
Your favorite grilling seasoning or just plain salt and pepper
About 1 T cream cheese per grenade

1. This recipe graduated from chicken to pork because these bone-in pork steaks were on sale for a steal at the store. See what being a savvy shopper can do for you? ๐Ÿ™‚ I just cut out the bones of the steaks before using them. Obviously, the easiest thing would be to buy thin cut boneless pork chops.
image

2. Sprinkle your favorite grilling seasoning on your meat and put about a tablespoon of cream cheese on each chop.
image

3. Using either the back of a spoon or your fingers, mush the cream cheese out a little bit and place 1/2 a jalapeรฑo on each. I like to keep a few seeds and stems in mine to keep them spicy! Please excuse the blurry pic ๐Ÿ™‚
image

4. Now here is the messy part! You’re going to wrap these up into grenades using 1-2 slices of bacon each. Try to seal them up with the bacon because it helps keep the stuffing inside. I like to do a little fresh cracked black pepper on top of the bacon because it’s delicious and it looks pretty.
image

5. Now you can decide to either bake or grill these. Normally, I grill mine but now that I’m living in Amarillo AKA the US’s windiest city , I don’t particularly enjoy grilling in gale force winds, so I bake them. I use a grilling sheet I’ve sprayed with non-stick spray on top of a cookie sheet/jelly roll pan lined with foil for easy cleanup. Bake at 375 for anywhere from 45-60 minutes based on the thickness of your meat. Then take them out and turn the heat up to 400 or crank the grill up.
image

6. Now you’re going to baste them with your favorite BBQ sauce and put back in for 10-15 minutes. Again, you don’t want to overcook them, so keep in mind the thickness of your meat before you cook it.
image

7. Your grenades are ready to eat! Let’s cut into one of these babies and check out that creamy spicy perfection!
image
image

Soup For A Cold Day

Standard
Soup For A Cold Day

Soup For A Cold Day

Y’all, I could hardly drag myself from my bed with my electric blanky into my bathroom with my personal space heater due to this crazy weather. It’s safe to say I despise the cold, and if I had it my way it would come for Christmas holidays then GO AWAY! This soup was so yummy and warmed me up long enough so I could build a fire and try to stay warm!

Ingredients:
3 boneless skinless chicken thighs
1 sweet onion chopped
1 cup frozen corn
1 cup frozen peas and carrots
1 garlic clove chopped
1 – 1 1/2 tsp your favorite season-all (I used Janie’s Crazy Mixed Up Salt)
GOYA Sazon, GOYA Adobo, and GOYA Seasoning Total Seasonings
1 box chicken broth
1/2 – 3/4 c queso (Didn’t see that comin did ya?!)
1/4 – 1/2 c half and half
1 can Rotel
1/2 c uncooked rice

1. Put your chicken thighs in your soup pot and season both sides liberally with the three GOYA seasonings. Look familiar? It should, this is the same stuff used on my grilled chicken recipe!
image

2. Once your chicken is done, pull out and set aside. Then get your husband in the kitchen and have him help cut it up. Ha! ๐Ÿ™‚
image

3. See all those dark num nums at the bottom of the pot? Mmm, they’ll give us lots of flavor! Throw in your onions and add a little olive oil if you need to. Sautรฉ about ten minutes and then add your garlic in, then sautรฉ another few minutes.
image

4. Now add your frozen veggies and Rotel.
image

5. Season your veggies liberally with your favorite season-all.
image

6. Add your chopped up chicken back to the mix.
image

7. Add one box of chicken broth and bring to a boil.
image

8. Add your uncooked rice and allow to boil for a minute before turning to a simmer and putting a lid on it for 20 minutes.
image

9. Now add your queso to the soup. Oh my goodness, the cheesy goodness!!!
image

10. Now give your soup a healthy splash of half and half to balance it all out!
image

11. Your soup is done!
image

12. Serve with shredded cheese, avocado, sliced cherry tomatoes, green onion, and a dollop of sour cream! Mmmmmm!!!
image

Chicken Parmesan

Standard
Chicken Parmesan

Chicken Parmesan

I’m sure most of you are used to your traditional breaded and fried Chicken Parmesan, but this is a baked version. Read: I did not say this was recipe is better for you, but we can pretend I did if that makes you feel better ๐Ÿ™‚ As I was saying, this recipe is less mess and so much tastier than the traditional version! So crack open a red and let’s get started!

Ingredients:
1 package boneless skinless chicken thighs
1 cup REAL mayo
1/2 cup Italian breadcrumbs divided
1/2 cup shredded Parmesan cheese (Notice I said shredded, not that imitation grated stuff on the shelf)
1 cup shredded mozzarella cheese
Salt and pepper

1. In a mixing boil combine mayo, 1/4 c Italian breadcrumbs, and Parmesan cheese.
image

2. Place your chicken on a cookie sheet that’s been lined with foil and sprayed with nonstick spray. Season with salt and pepper. Then spread your mayo mixture evenly over the chicken.
image

3. Sprinkle remaining Italian breadcrumbs over the chicken.
image

4. Place chicken in a 375F oven for 40 minutes.
image

5. Pull chicken out after about 40 minutes and sprinkle mozzarella all over the chicken. Put back in the oven for another 5 minutes.
image

Serve with whole wheat angel hair pasta, marinara sauce, and cheesy garlic bread for a delicious dinner!

Grilled Chicken Thighs

Standard
Grilled Chicken Thighs

Grilled Chicken Thighs

I love grilling chicken thighs and have them at least once a week in our house. I’m always looking for new ways to serve them since we have them so often and on the lookout for tasty new ways to season them. When my parents came back from vacation in St. Martin they were raving about how the French and the Dutch chefs there cooked their BBQ. They use Spanish style seasonings (GOYA brand) on their meat before grilling and the unique blend of seasonings gives the meat a really delicious and different flavor. My parents are foodies and whenever they travel to new places and eat something tasty they almost always find some way back to the chef and get his recipes out of him. I can’t tell you how many times my mom has come back from vacation and spent half the time talking about her vacation telling me about all the new foods they tried and recipes/ideas they’ve brought back. This grilled chicken thigh recipe is so simple anyone can do it and only requires three seasonings.

Goya Seasonings

Ingredients:
GOYA brand Sazonador Total “The Perfect Seasoning”
GOYA brand Adobo “All Purpose Seasoning With Pepper”
GOYA Sazon “Con Culantro y Achiote” (This comes in a small box with little packets of seasonings inside the box. Note which flavor used here because there are several different ones.)
1 package boneless skinless chicken thighs

1. I like to season my chicken first thing in the morning after I wake up so the chicken has all day to marinate in this yummy goodness before I grill it. It’s not 100% necessary, but it sure does make a difference in taste I think. I like to line a cookie sheet with foil and spray with cooking spray and season both sides of the chicken liberally with all three seasonings. Once both sides of chicken are seasoned cover with plastic wrap and place in the fridge until ready to grill. **Note** Use 1/2 of Sazon packet on one side of the chicken, 1/2 on the other.

2. Once your chicken is ready to cook you have a couple different options:
– Get your grill going and either cook on grates of grill or cook on foil piece chicken has been sitting on that has been sprayed with cooking spray. Cooking directly on grates will leave grill marks and give the outside a little crustier texture and cooking on the foil will leave chicken slightly juicier and no grill marks. It’s really up to you how you like your chicken.
– If you don’t have a grill you can cook this in the oven leaving chicken on foil and cookie sheet at 425 for about 40-45 minutes.

Whatever you do, don’t overcook your chicken. Boneless skinless chicken thighs are some of the tastiest and juiciest cuts of meat and the worst thing you can do is overcook it. Keep an eye on your chicken and cut into it to see if it’s finished. I’ve never once checked the temp of my chicken (I don’t even own a thermometer) but if you feel so inclined the temp the FDA recommends chicken to be is 165 F. However, once you take the chicken off it will “carry over” cook which means the temp will continue to rise and cook on the inside even though you have taken it off the heat. So if you’re standing there with your thermometer take it off at about 160 so it doesn’t cook too much and dry out. If you’re like me and not going to do any of that, do it the simple way and just cut into a piece of chicken as a test piece and see if it’s done. If so, have a little snack, no one’s lookin ๐Ÿ™‚