Tag Archives: Cook

Jalapeño Cheddar Biscuit Sandwiches

Standard
Jalapeño Cheddar Biscuit Sandwiches

Jalapeño Cheddar Biscuit Sandwiches

Have y’all seen that Whataburger commercial with the jalapeño cheddar biscuit? That’s what I’ve been dreaming about for weeks now, and being pregnant hasn’t done anything to help distract my cravings. However, in the spirit of being quasi-healthy and definitely easier on the pocketbook than daily stops to Whataburger, I decided to make these from scratch and with whole wheat flour. Also, I made a bunch of these and wrapped them in plastic wrap once they cooled and put them in a big ziplock in the freezer so I can take them out one at a time for my husband’s breakfast on the go. Go me! This recipe makes about 2 dozen biscuit sandwiches.

Ingredients:
4 cups of flour
1 T plus 2 tsps baking powder
1 tsp salt
3/4 c cold butter
1/2 tsp cayenne pepper
1 tsp paprika
2 jalapeños seeds and stems removed
10 oz shredded sharp cheddar cheese
2 c buttermilk
2 packages of your favorite breakfast sausage cut into patties

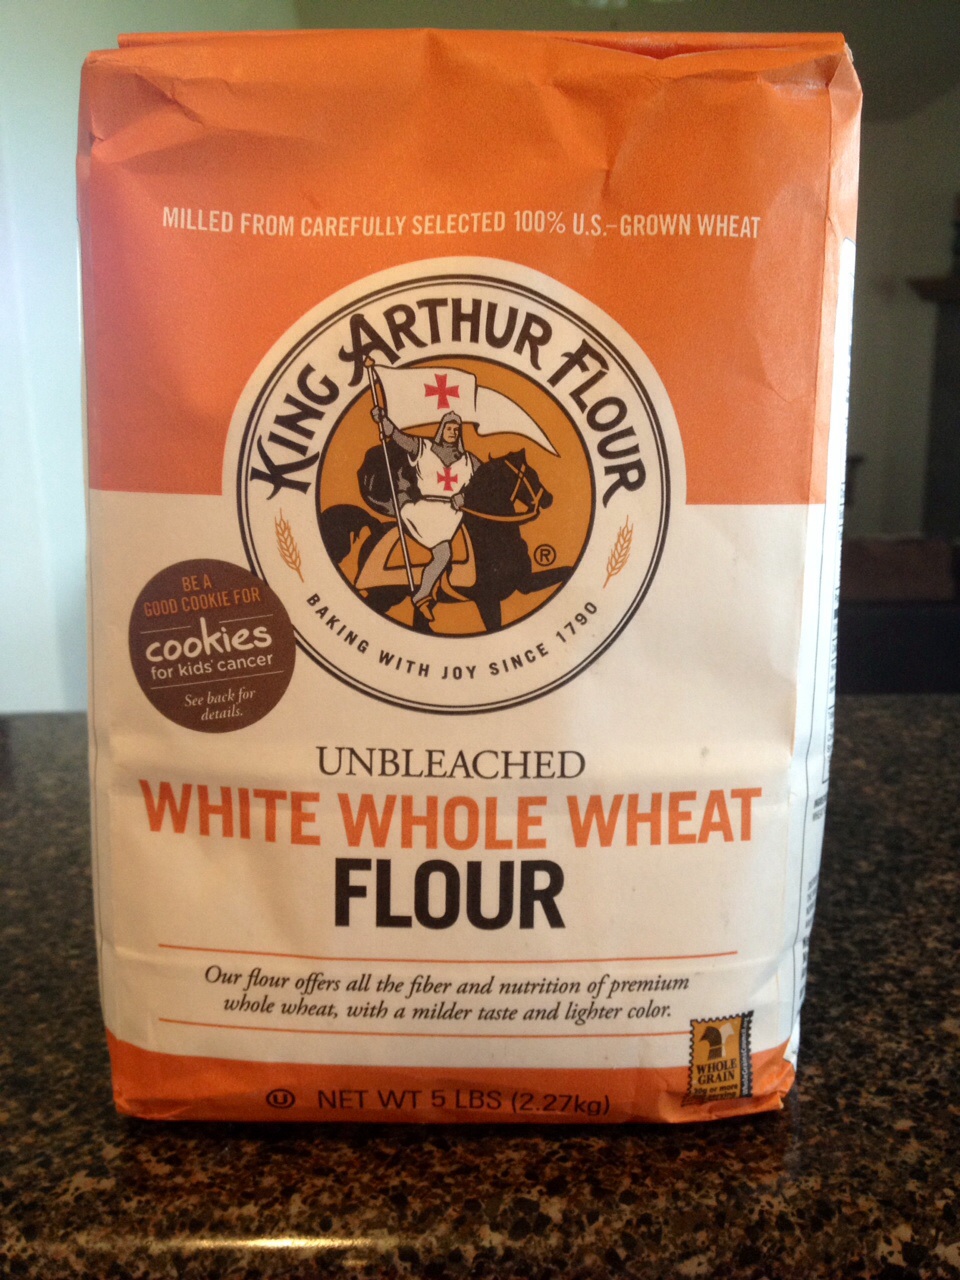
1. First, let’s talk about your flour. If you want to use good ‘ole white bleached flour because it’s delicious, go ahead. Also, it looks prettier than whole wheat flour. I like this kind because it’s less whole wheat more normal looking. The King Arthur Brand is what I recommend whatever flour you end up using.
image

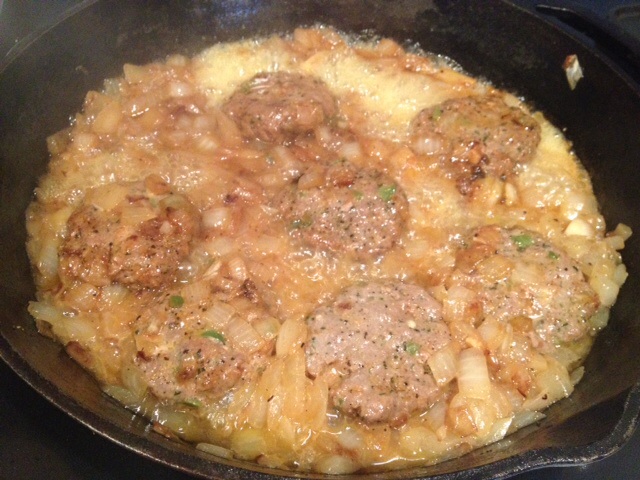
2. Start fryin up your sausage. If you’re brand new to cooking breakfast sausage, you should know it’s much easier to slice the colder it is, and also use the tick marks on the plastic packaging to help cut uniform slices.
image

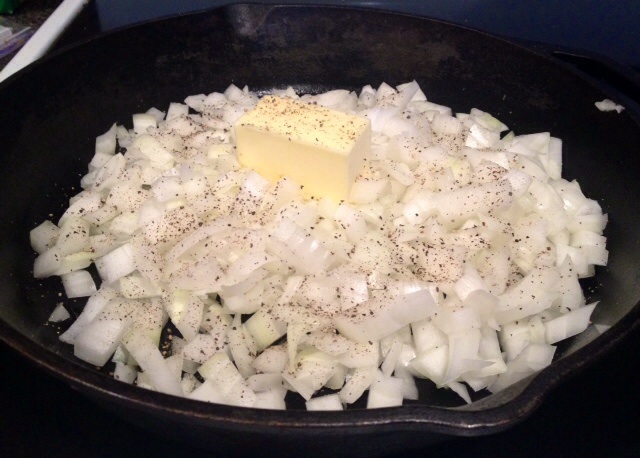
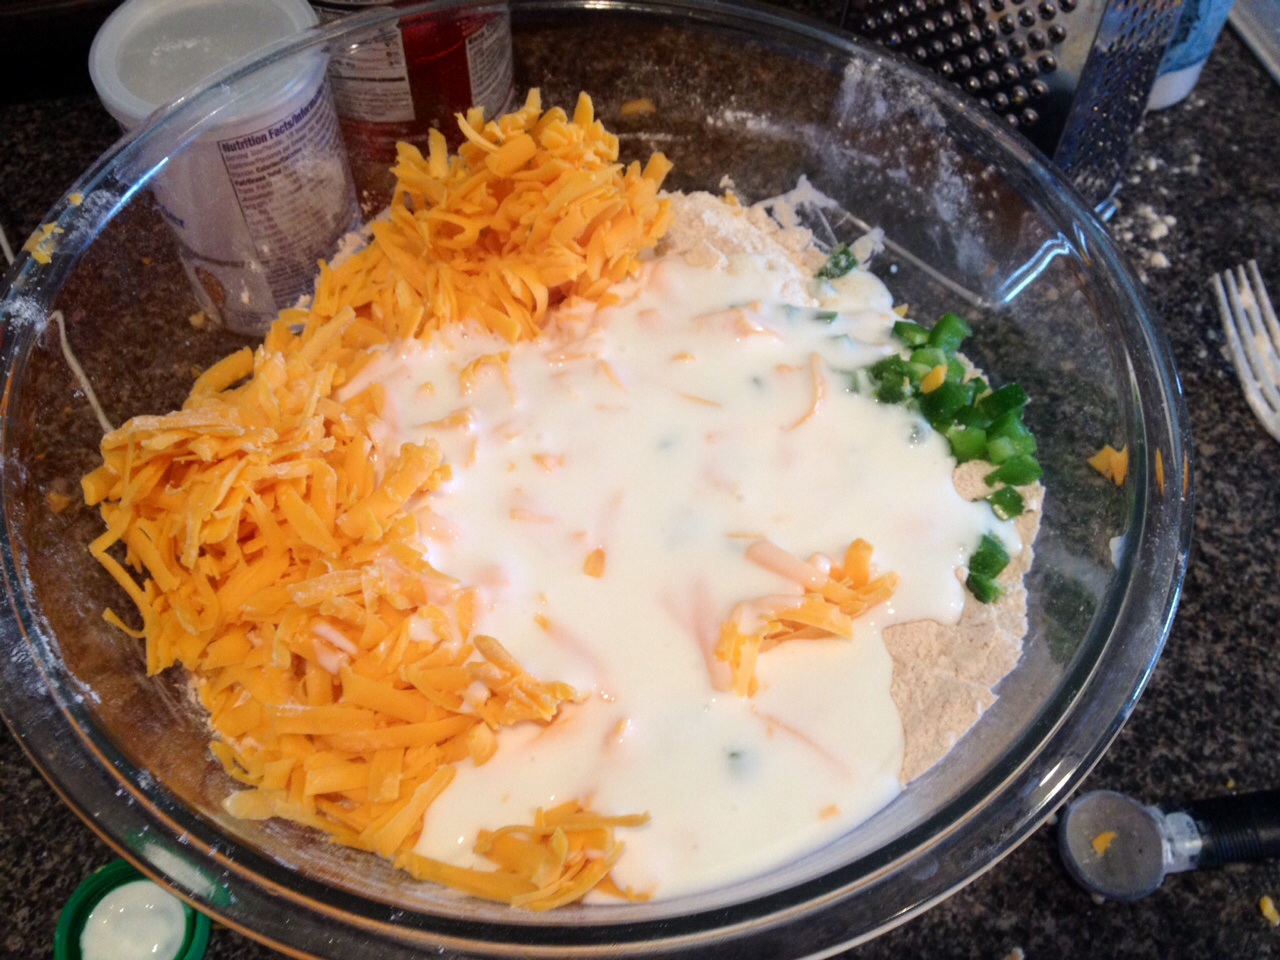
3. Combine your cold butter into the flour and other dry seasonings using a pastry blender. Now, if you’re like me and misplaced your pastry cutter along with other important things you rarely need but can never seem to find when you need them, dice up your butter with a knife into pea sized pieces before cutting it into the butter with a fork. Also, add pastry cutter to your shopping list. Then add your cheese, jalapeños, and buttermilk. Combine it all together.
image

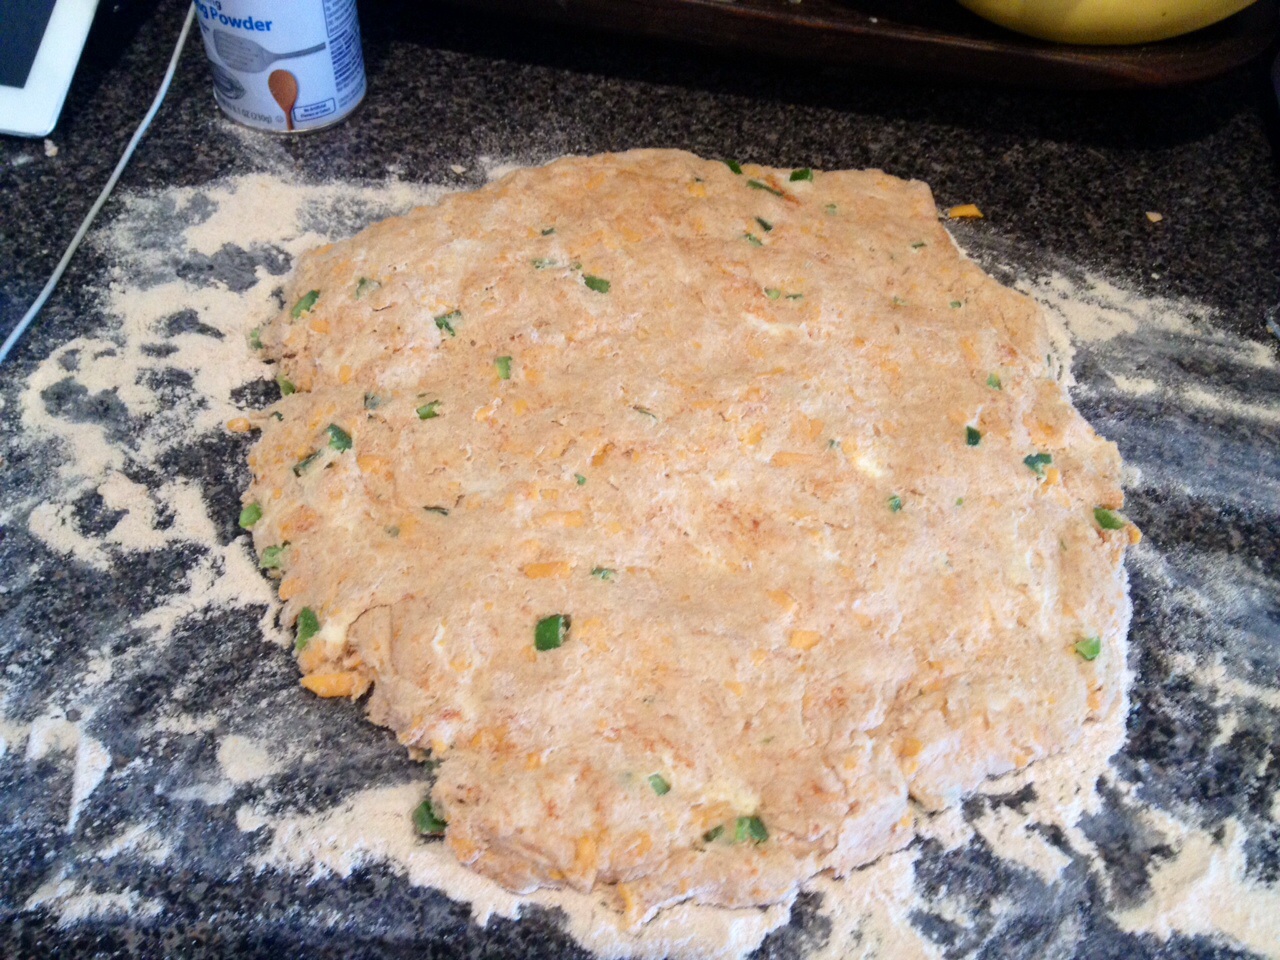
4. You’re going to have a fairly wet loose dough, but that’s ok because you’re going to knead it on a slightly floured surface. Once you’re happy with the dough, roll (or use your hands – seriously does anyone still have rolling pins?) your dough into about a 3/4 – 1 inch thickness.
image

5. Next, get your handy dandy biscuit cutter (or top of a drinking glass if you don’t have one) and start cuttin’ them biscuits!
image

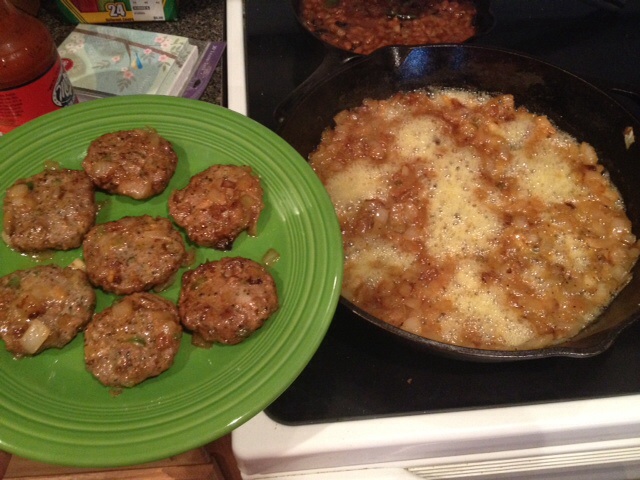
6. Have you been keeping an eye on your sausage patties? I hope so! Don’t forget to drain them on a paper towel. Also, keep that oil at the bottom of your pan to make a delicious gravy for these biscuits if you really want to be bad. (Does my hypocrisy know no bounds?)
image

7. Pop these puppies into a 400 degree oven for 15-18 minutes depending on how hot your oven gets and how evenly it cooks. Every oven is different, so just be sure to keep an eye on them towards the end.
image

8. Your biscuits are done! Now just add your sausage patties to them to complete the sandwiches. If you like extra cheese (who doesn’t?) slap on a slice of American or add a fried egg on top of your patty. The possibilities are endless!
image

BBQ Sliders With Caramelized Onions

Standard
BBQ Sliders With Caramelized Onions

BBQ Sliders With Caramelized Onions

Hello! I am so glad to get to post this yummy recipe just before Memorial Day Weekend! I’ve been so busy lately with our big move to Amarillo I’ve hardly had time to cook anything worth posting a recipe for, but we are settled in now, so hopefully I can get back in the swing of things. Ok, let’s get started!

First, I want to be honest up front and say I bought the patties for these sliders from the butcher in our grocery store. A) I’m tired and need all the help I can get and B) They looked delicious. They’re jalapeño cheddar sliders, but any kind of slider you want to use here would be delicious. Just be sure to sprinkle a little of your own favorite seasoning on both sides before you use them. Also, tell everyone you made them from scratch and throw away the evidence before anyone else eats them. It’ll be our little secret 😉
image

Ingredients:

2 large sweet onions (1015, Honey Sweets, Videlia, whatever…)
1/2 stick of butter
7-8 sliders seasoned with your favorite burger seasoning
Your favorite BBQ sauce (for this recipe I used a spicy one)
Salt and pepper
Water
Slider buns

1. Dice up your onion and throw it into your large cast iron skillet. If you don’t have a cast iron skillet, consider yourself scolded and just use a normal skillet for now, but buy one as soon as possible. Season with salt and pepper and throw your 1/2 butter stick in there. Sauté about 15 minutes on medium to high heat.
image

2. After the onions are mostly Caramelized and smelling delicious, add your patties to the skillet right there on top of the onions and add about 1/2 cup of water. It’s going to steam those yummy patties.
image

3. I like to put a lid on at this point because it helps the steam. Check out my beautiful silicone flower lid! (You can use any lid that doesn’t seal)
image

4. Flip the patties after a few minutes and place the lid back on. After about 8-10 minutes, they’re essentially done with the high heat. Take the patties and set them aside for a minute on a plate.
image

5. Now stir those onions around and give them a give them a few healthy squirts of your favorite BBQ sauce. Turn the heat on low and after the BBQ sauce has been incorporated, add your patties back in and let them simmer in that yummy deliciousness for at least ten minutes before serving.
image

6. Serve these little medallions from heaven on toasted slider buns and top with your onion mixture. Personally, we like to add my Texas Coleslaw recipe on top and serve with a side of
favorite beans.
image Notice I somehow ended up with the two bun bottoms instead of a top and bottom. Typical.

Pasta Salad

Standard
Pasta Salad

IMG_1443
Hey y’all! I bet you’ve been wondering where I’ve been and why I haven’t posted anything in a while. Well, that’s because I just finished my first trimester of my pregnancy and I am just now able to begin to look at food again. Seriously, looking at or smelling food in any way was a big no no up until now, so slowly but surely I’ll be coming back to post more Blonde Bitchin West Texas Kitchen recipes!

Here is my go-to pasta salad recipe whenever I’m going to a BBQ or even packing a picnic. It’s so yummy and kids love it too because of the string cheese surprise in there! Who puts string cheese in a pasta salad? I do 🙂

Ingredients:
1 box of pasta (spiral or penne works best)
1 cup Italian dressing (my favorite is the original Wishbone kind in the green bottle)
4 sticks of string cheese cut up into slices
1/2 bunch of green onions chopped
1/4 sweet onion finely chopped
1 cup total red and yellow cherry tomatoes chopped in half
*I also like to add whatever I have in the fridge that looks good and these are optional – chopped marinated artichoke hearts, chopped marinated green olives, sliced roasted red peppers marinated in oil
Salt and pepper to taste

1. First chop up all your ingredients and add them to a large bowl and add your Italian dressing and let that sit in the fridge while your pasta is boiling according to the instructions on the box.
IMG_1439

2. Add your cooked pasta noodles to the yummy mixture you have in your bowl and add salt and pepper all over and stir together.
IMG_1441

3. Place your pasta salad in the fridge and allow it to chill at least 1 hour prior to serving. So good!
IMG_1442

Doritos Burger

Standard
Doritos Burger

Doritos Burger
Nacho Cheese Doritos + Burgers = Doritos Burgers. Let that sink in… Ok, I’ll tell you how these burgers came to be: Years ago, I was moving into my new apartment and my mom had bought everything we needed to grill burgers at the pool. However, we quickly realized all the seasonings were still packed away, so my mom said “No worries!” And took out handfuls of Doritos chips and mixed them up in the hamburger meat. We all looked at her like she was crazy, but let me tell ya, those burgers were delicious!!! So, I’ve been making my burgers with Nacho Cheese Doritos ever since!

Ingredients:
Nacho Cheese Doritos (duh)
Hamburger meat
1 T Worcestershire sauce
1-2 tsp your favorite burger seasoning

1. I put my Worcestershire, hamburger meat, and seasoning all in a bowl. Then, grab your Doritos.
image

2. Take a few handfuls and crush the chips up in your hands, then place those in the bowl.
image

3. Shape your meat into hamburger patties. image

4. Grill burgers to desired doneness. Mmm, smells good!
image

5. Oh ya, I forgot to tell you about my favorite pickles. These are amazing on a burger! image

6. Serve up your burger with your favorite toppings and serve with seasoned sweet potato fries for a yummy side!
Doritos Burger

Seasoned Sweet Potato Fries

Standard
Seasoned Sweet Potato Fries

Seasoned Sweet Potato Fries
Y’all, I have a serious obsession with sweet potato fries. They are so delicious and easy to make. And not to mention cheap! Try these out the next time you’re grilling burgers or hot dogs!

Ingredients:
Sweet potato cut into fries (Use a knife – no fry cutter works on a sweet potato, believe me I went through 3 of them!)
Enough oil to cover your fries (Use an oil with a high smoke point like canola or peanut)
Your favorite seasoned fish fry
Your favorite season-all (I used Tony’s)

1. Place your sweet potato fries in a large boil and keep covered in water until ready to use. Once you’re ready, drain them.
image

2. I used a half a bag of this seasoned fish fry. You want all the fries to be covered in the seasoning.

image
image

3. Stir up the fries so they’re evenly coated.
image

4. Fry them in batches in your oil. I always turn mine a little higher than medium heat and test it out by sprinkling a little fish fry on it to see if it starts frying it. If not, I turn the heat up a bit. However, if you’re the scientific type, you’re looking for a temp of 325-350F. Also, don’t overcrowd your frying pan because this will cause the fries to be soggy and also drop the temperature of your oil, thus making your cooking time longer. You’ll cook your fries in batches of 30-40 minutes each and as soon as you take the fries out, place them on a cookie sheet that’s been lined with paper towels and season immediately with your season-all.
image

5. Keep fries in a 200F degree oven to keep them crisp and delicious until you’re ready to serve. Seasoned Sweet Potato Fries

Chicken Casserole

Standard
Chicken Casserole

Chicken Casserole

Y’all know by now I love to use leftovers and turn them into another yummy meal. This saves time and money, which adds money to your wine budget. Genius, I know 🙂 This is a simple make ahead meal that freezes great too! For this I used leftover grilled chicken, but you could use a store bought rotisserie chicken if you wanted to.

Ingredients:
1 sweet onion chopped
1 garlic clove chopped
1 can cream of chicken
1 can cream of mushroom
1 cup shredded mozzarella cheese, plus extra to sprinkle on top (I love Kraft Mozzerella with a touch of Philadelphia)
1 cup shredded cheddar cheese, plus extra to sprinkle on top
2 cans diced green chiles
1 can Rotel
4 cups diced chicken
Salt, pepper, cayenne pepper, and your favorite season-all
1/2 stick of butter
Olive oil
6 corn tortillas

1. Sauté onion with butter, olive oil drizzle, salt, pepper, and cayenne pepper pinch on medium to high heat. After about 15 minutes add your chopped garlic and sauté another five minutes.
image

2. Meanwhile, tear up your corn tortillas and line the bottom of a baking dish with them.
image

3. Add your cream of mushroom, cream of chicken, chiles, Rotel, chicken, and cheese. Stir on medium to high heat until cheeses are melted and everything is thoroughly combined. It’s at this point I like to taste it and sprinkle a little season-all type seasoning on there like Tony’s or Jane’s Krazy Mixed Up Salt.
image

4. Pour mixture over tortillas.
image

5. Sprinkle as much cheese as you want over the top. Note: if you’re planning on freezing this, allow it to cool after this step and cover with plastic wrap, then a layer of foil.
image

6. Bake at 350 for 30 minutes. I like to serve mine with crushed tortilla chips, green onion, and a dollop of sour cream. Yummy!
image

Meatloaf Sandwiches

Standard
Meatloaf Sandwiches

Meatloaf Sandwiches

Are you ready to taste one of the most delicious sandwiches you’ve ever had in your life? Well I hope so, because this sandwich is amazing!!! This came from meatloaf leftovers, obviously, and is now a staple whenever I make meatloaf. So get out some box wine and get ready for this cheap and delicious sammich!

Ingredients:

Meatloaf slices
1 sweet onion sliced
Butter
Olive oil
Cayenne pepper
Salt and pepper
Scoop of leftover mashed potatoes (optional)
Mayonnaise
Provolone cheese
Bread

1. Sauté onion with butter, drizzle of olive oil, salt, pepper, and cayenne 15-18 minutes on medium to high heat.
image

2. Once your onions are done, turn to low to keep warm and place a few pats of butter in another skillet to grill your bread.
image

3. Smear mayo on one slice of bread and leftover mashed potatoes on the other piece and place into skillet.
image

4. Place your sliced meatloaf onto the bread and then top with your sautéed onions and provolone cheese.
imageimage
image

5. Place other piece of bread on top and flip over after a few minutes so it cooks evenly on both sides and cheese melts completely. This is seriously one of the best things you’ll ever put in your mouth!!!
image

Meatloaf

Standard
Meatloaf

Meatloaf

Ahhhh, meatloaf… Nothing says “Home” like meatloaf and mashed potatoes. This meatloaf is so yummy and definitely a crowd pleaser! The sautéed veggies and ketchup/BBQ sauce mix inside and out really make this meatloaf stand out from other recipes 🙂

Ingredients:
1 sweet onion chopped
6-8 mini bell peppers chopped or 1 large bell pepper
1 garlic clove chopped
Around 2 lbs ground meat (I used a little over 2) and you can use venison, beef, turkey, pork, or any combination of those together
1 T Worcestershire sauce
1 egg
1 cup Italian breadcrumbs
Ketchup
BBQ sauce (I use Sweet Baby Rays Original)
1/4 tsp garlic salt
1/4 tsp paprika
Salt and pepper
Olive oil
1 T Butter (optional)

1. Put your chopped veggies, olive oil, butter, salt & pepper in a pan and sauté about 10-12 minutes before adding in garlic. Then sauté another 5 minutes or so.
image

2. After your veggies are cooked, combine them in a large bowl with meat, 1 egg, Worcestershire sauce, 2 T ketchup, 1 T BBQ sauce, 1/4 tsp garlic salt, 1/4 tsp paprika, and give it a little regular salt and pepper too.
image

3. It’s at this point I like to add my breadcrumbs. I fill up a 1 cup measuring cup and sprinkle it in there until I get the consistency I’m looking for. I used just right under a full cup. You want it to be sticky and sort of wet, but moldable enough to hold its shape on the pan. Once you’re happy with your texture, place your mixture onto a cookie sheet that’s been covered in foil and sprayed with non-stick cooking spray. It should look like this:
image

4. Now you’re going to make a glaze for the meatloaf. I used about 1/3 cup of ketchup and probably 2 T BBQ sauce, but honestly I didn’t measure it. I usually just squirt it into a bowl until it looks right 🙂
image

5. Pour the glaze all over your meatloaf and make sure it covers all the meat.
image

6. Place in a preheated 375F oven for 50-60 minutes.
image

7. When it’s done it will look like this bad boy right here:
image

8. Serve with mashed potatoes and southern turnip greens for the perfect meal!
Meatloaf

Soup For A Cold Day

Standard
Soup For A Cold Day

Soup For A Cold Day

Y’all, I could hardly drag myself from my bed with my electric blanky into my bathroom with my personal space heater due to this crazy weather. It’s safe to say I despise the cold, and if I had it my way it would come for Christmas holidays then GO AWAY! This soup was so yummy and warmed me up long enough so I could build a fire and try to stay warm!

Ingredients:
3 boneless skinless chicken thighs
1 sweet onion chopped
1 cup frozen corn
1 cup frozen peas and carrots
1 garlic clove chopped
1 – 1 1/2 tsp your favorite season-all (I used Janie’s Crazy Mixed Up Salt)
GOYA Sazon, GOYA Adobo, and GOYA Seasoning Total Seasonings
1 box chicken broth
1/2 – 3/4 c queso (Didn’t see that comin did ya?!)
1/4 – 1/2 c half and half
1 can Rotel
1/2 c uncooked rice

1. Put your chicken thighs in your soup pot and season both sides liberally with the three GOYA seasonings. Look familiar? It should, this is the same stuff used on my grilled chicken recipe!
image

2. Once your chicken is done, pull out and set aside. Then get your husband in the kitchen and have him help cut it up. Ha! 🙂
image

3. See all those dark num nums at the bottom of the pot? Mmm, they’ll give us lots of flavor! Throw in your onions and add a little olive oil if you need to. Sauté about ten minutes and then add your garlic in, then sauté another few minutes.
image

4. Now add your frozen veggies and Rotel.
image

5. Season your veggies liberally with your favorite season-all.
image

6. Add your chopped up chicken back to the mix.
image

7. Add one box of chicken broth and bring to a boil.
image

8. Add your uncooked rice and allow to boil for a minute before turning to a simmer and putting a lid on it for 20 minutes.
image

9. Now add your queso to the soup. Oh my goodness, the cheesy goodness!!!
image

10. Now give your soup a healthy splash of half and half to balance it all out!
image

11. Your soup is done!
image

12. Serve with shredded cheese, avocado, sliced cherry tomatoes, green onion, and a dollop of sour cream! Mmmmmm!!!
image

Shrimp Etouffee

Standard
Shrimp Etouffee

Shrimp Etouffee

“Mama bought a rooster, she thought it was a duck. She put him in the oven with his legs straight up. Along came the children with a cup and the glass, tryin to get the gravy from the yas yas yas.” Whenever I think Cajun, I think of my neighbors Jay and Pokie Dean, and this is something I’ve heard them say at least 1,000 over the years. Don’t ask me what it means, because I have no idea, but I love listening to their Cajun rhymes and sayings. Their Boudreaux and Thibodeaux jokes are great, and I’ve never once left their house without a smile on my face and a full belly! This shrimp etouffee recipe was my attempt to satisfy my New Orleans craving, and I hope you’ll try it to in the spirit of Mardi Gras coming up!

Ingredients:
1 1/2 – 2 lbs raw shrimp with shells on
1 stick of butter OR 8 tablespoons bacon drippings (or you can use a combination of the two, but we’ll get back to that in a minute)
1 sweet onion chopped
1 large red, yellow, or orange bell pepper chopped or approx 8 mini sweet bell peppers chopped
2 cloves of garlic chopped
1 bunch of green onions chopped
8 tablespoons flour
1 1/4 tsp creole seasoning (I use Tony’s)
2 bay leaves (dried)
Pinch of cayenne pepper
3 cups chicken broth
1 T Worcestershire
Louisiana hot sauce to taste

1. Remove the shells from your shrimp and place shells and discarded onion skin and top into a stock pot. Add 3 cups of chicken broth and bring to a boil. Allow to boil for a few minutes, then bring to a simmer for about 10 minutes. Set aside.
IMG_0334

2. Next, we’re going to start the roux for the etouffee. I always use my trusty cast iron skillet for this. Have I told you how much I love cast iron? They last more than one person’s lifetime and in the unlikelihood that your house ever burned to the ground, you would still find your cast iron skillet in the ashes just waiting to be used. If you don’t have one, go out and buy one, I’ll wait………….. Ok, glad you’re back! Let’s get started on the roux! First, use either 1 stick of butter OR 8 tablespoons bacon drippings. Or feel free to use a combination of the two equaling 8 tablespoons. Add your flour to this as well and turn heat to medium.
IMG_0328

3. Now you’re going to stand there over the roux and not leave it for about 20-25 minutes. Yes, I’m serious. It needs to be stirred almost constantly and keep a watchful eye on it so it doesn’t burn! Allow me to take you through the process of cooking the roux:
IMG_0332IMG_0333
IMG_0336
IMG_0339
IMG_0340
IMG_0341
IMG_0342

4. Ok, now it’s done! Notice it sort of looks like you melted a giant Hershey’s chocolate bar in there. That’s how my mom always says you can tell the roux is done. Now, we’re going to mix in all those yummy veggies you chopped up!
IMG_0329

5. Stir them up and let them cook for about 10 minutes or until tender.
IMG_0346

6. Remember that shrimp/chicken broth you made? Strain it and discard the yucky stuff in the trash can. Then pour the juice into the vegetable roux mix. Also add your Worcestershire, Louisiana hot sauce, and seasonings.
IMG_0347
IMG_0348

7. Bring to a simmer for at least 30-45 minutes or until it begins to thicken up.
IMG_0349

8. Now add your shrimp in and cook for another 10 minutes or so.
IMG_0351

9. It will look like this when it’s done:
IMG_0352

10. Congratulations! You’ve crossed the Louisiana border and made etouffee! It was a lot of steps, but 100% worth it once you taste this delicious dish! Don’t forget to remove your bay leaves before eating! Serve with rice and more green onion for garnish 🙂
IMG_0357