“Mama bought a rooster, she thought it was a duck. She put him in the oven with his legs straight up. Along came the children with a cup and the glass, tryin to get the gravy from the yas yas yas.” Whenever I think Cajun, I think of my neighbors Jay and Pokie Dean, and this is something I’ve heard them say at least 1,000 over the years. Don’t ask me what it means, because I have no idea, but I love listening to their Cajun rhymes and sayings. Their Boudreaux and Thibodeaux jokes are great, and I’ve never once left their house without a smile on my face and a full belly! This shrimp etouffee recipe was my attempt to satisfy my New Orleans craving, and I hope you’ll try it to in the spirit of Mardi Gras coming up!
Ingredients:
1 1/2 – 2 lbs raw shrimp with shells on
1 stick of butter OR 8 tablespoons bacon drippings (or you can use a combination of the two, but we’ll get back to that in a minute)
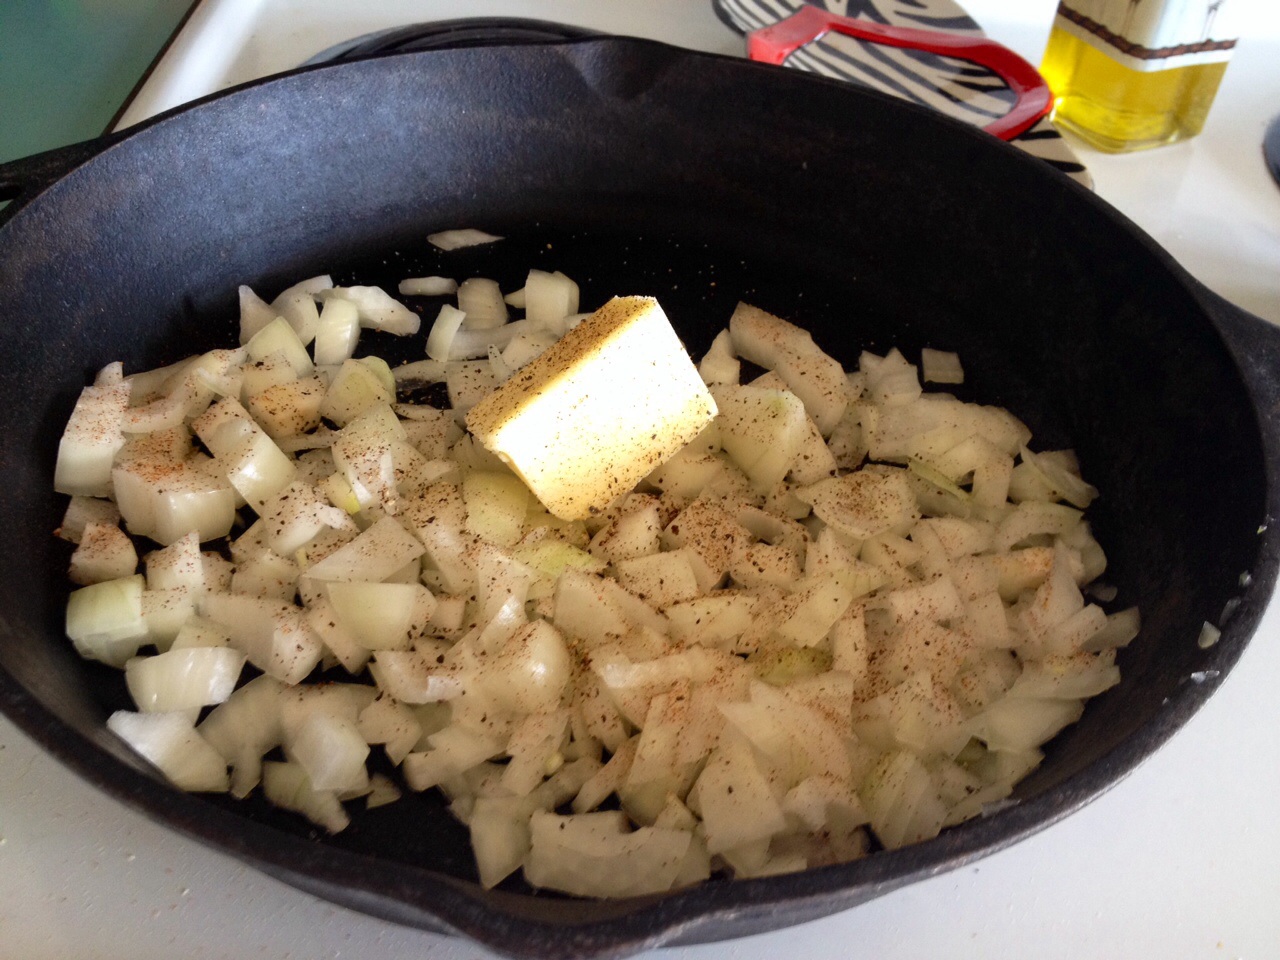
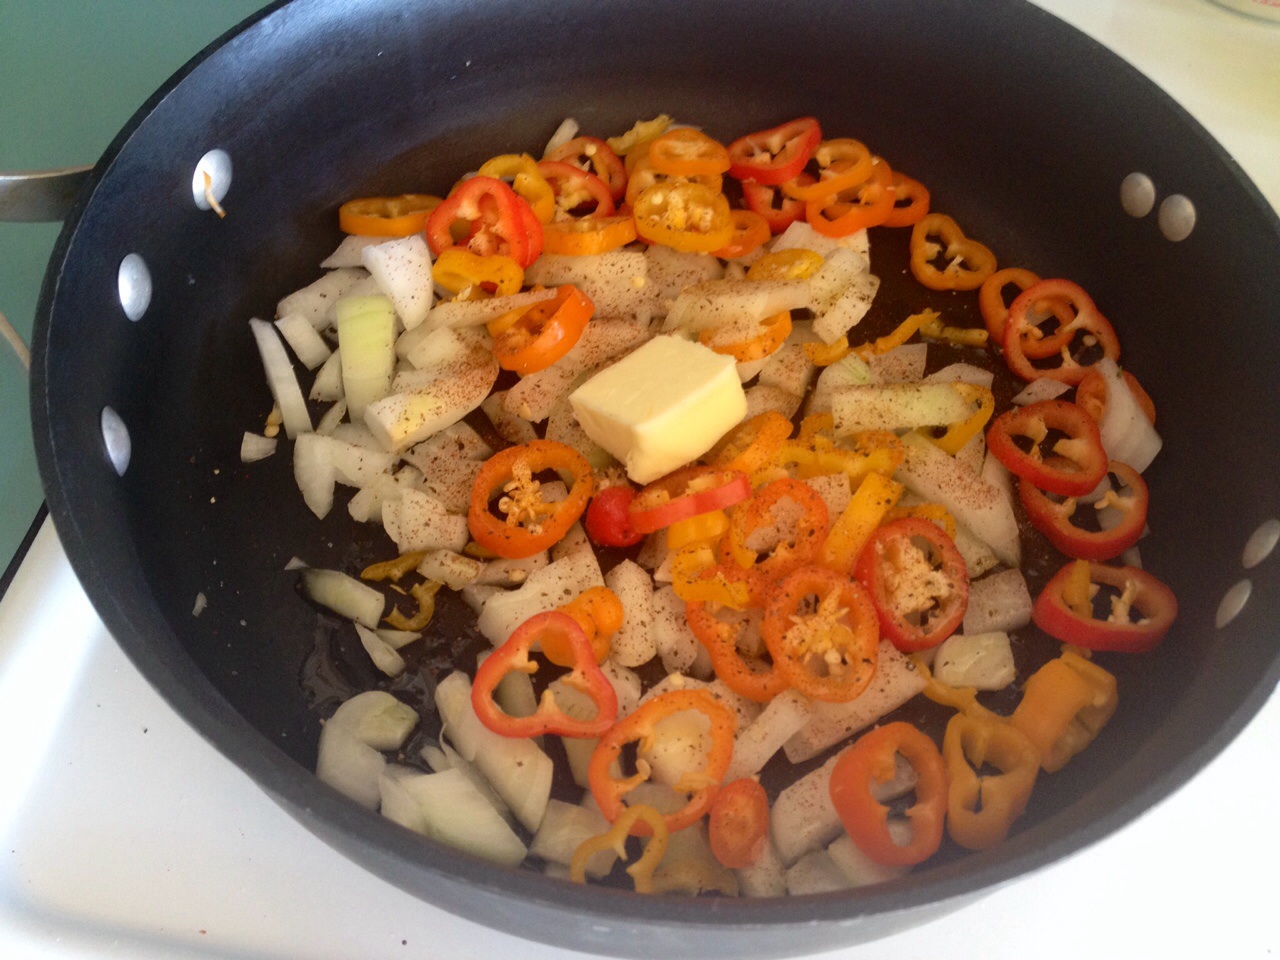
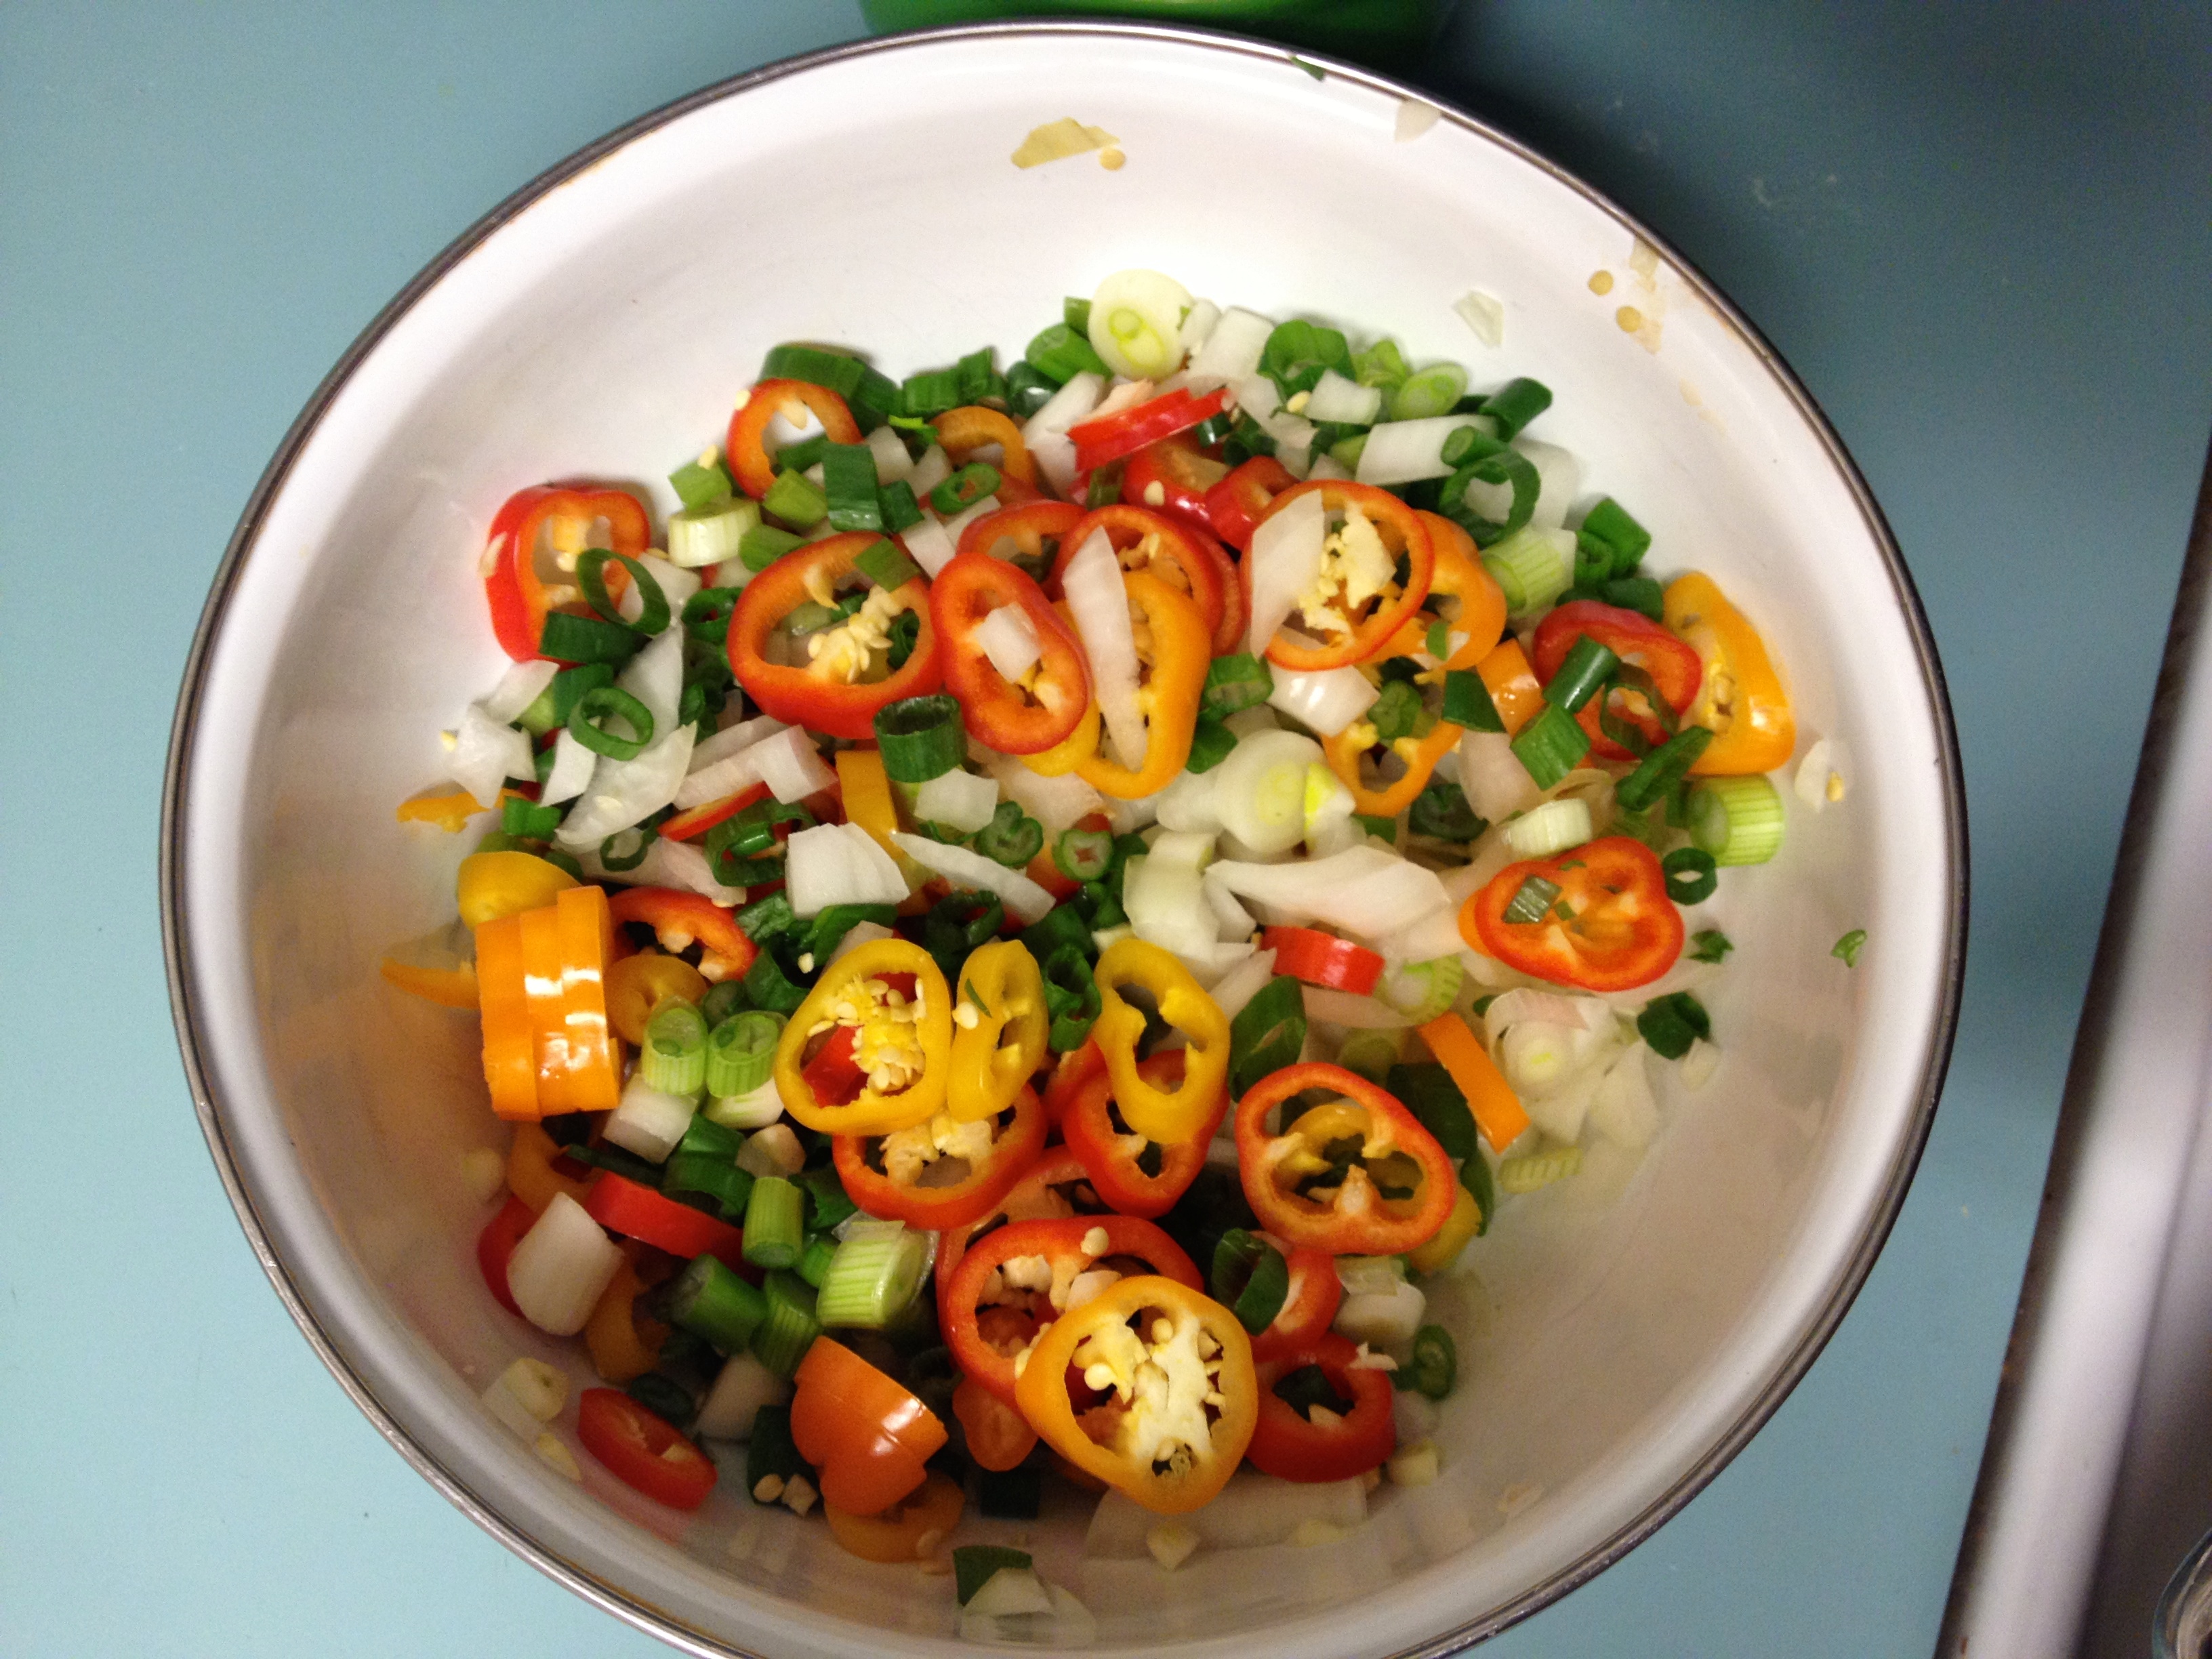
1 sweet onion chopped
1 large red, yellow, or orange bell pepper chopped or approx 8 mini sweet bell peppers chopped
2 cloves of garlic chopped
1 bunch of green onions chopped
8 tablespoons flour
1 1/4 tsp creole seasoning (I use Tony’s)
2 bay leaves (dried)
Pinch of cayenne pepper
3 cups chicken broth
1 T Worcestershire
Louisiana hot sauce to taste
1. Remove the shells from your shrimp and place shells and discarded onion skin and top into a stock pot. Add 3 cups of chicken broth and bring to a boil. Allow to boil for a few minutes, then bring to a simmer for about 10 minutes. Set aside.

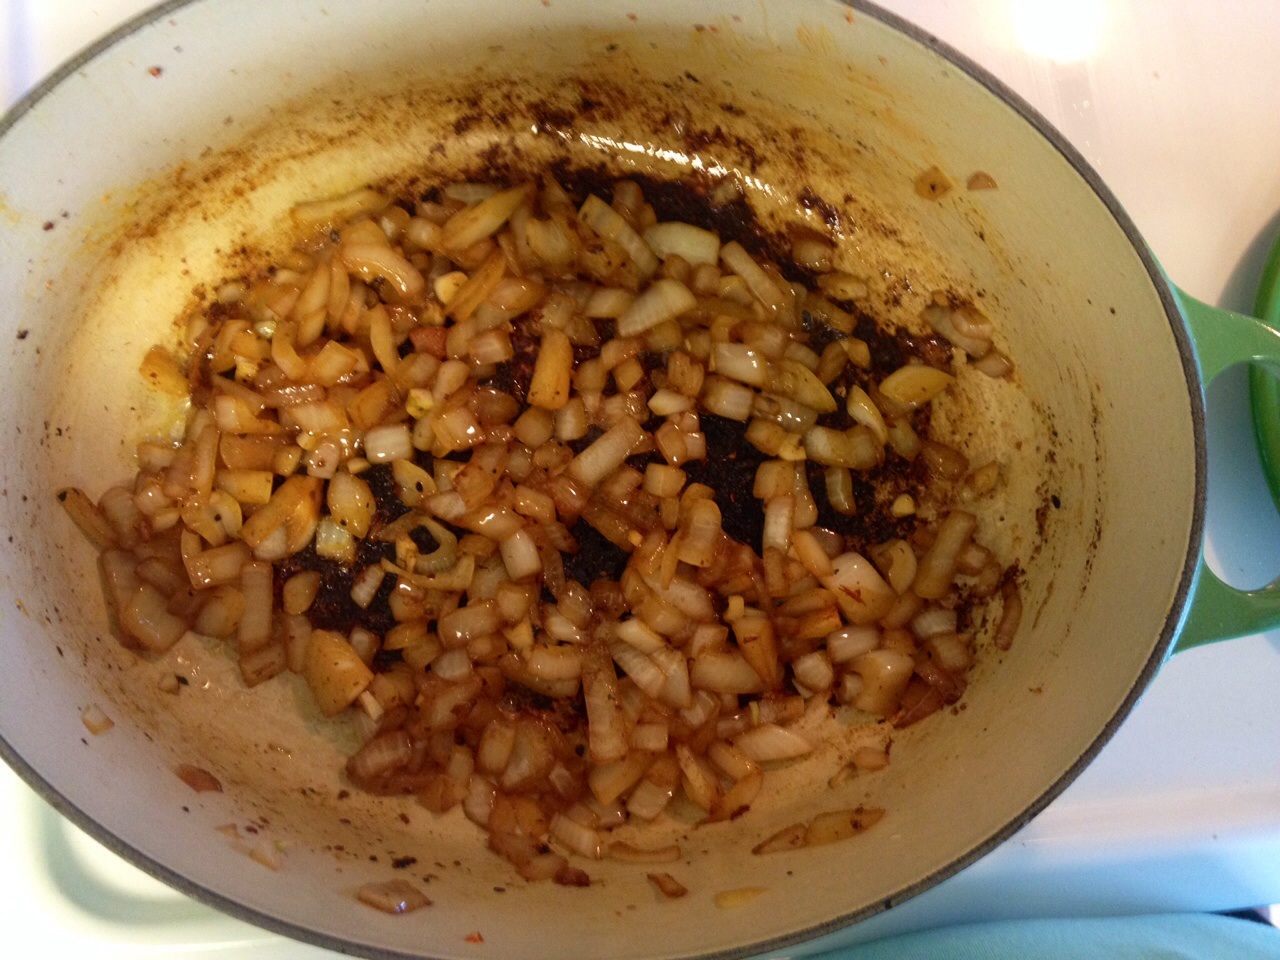
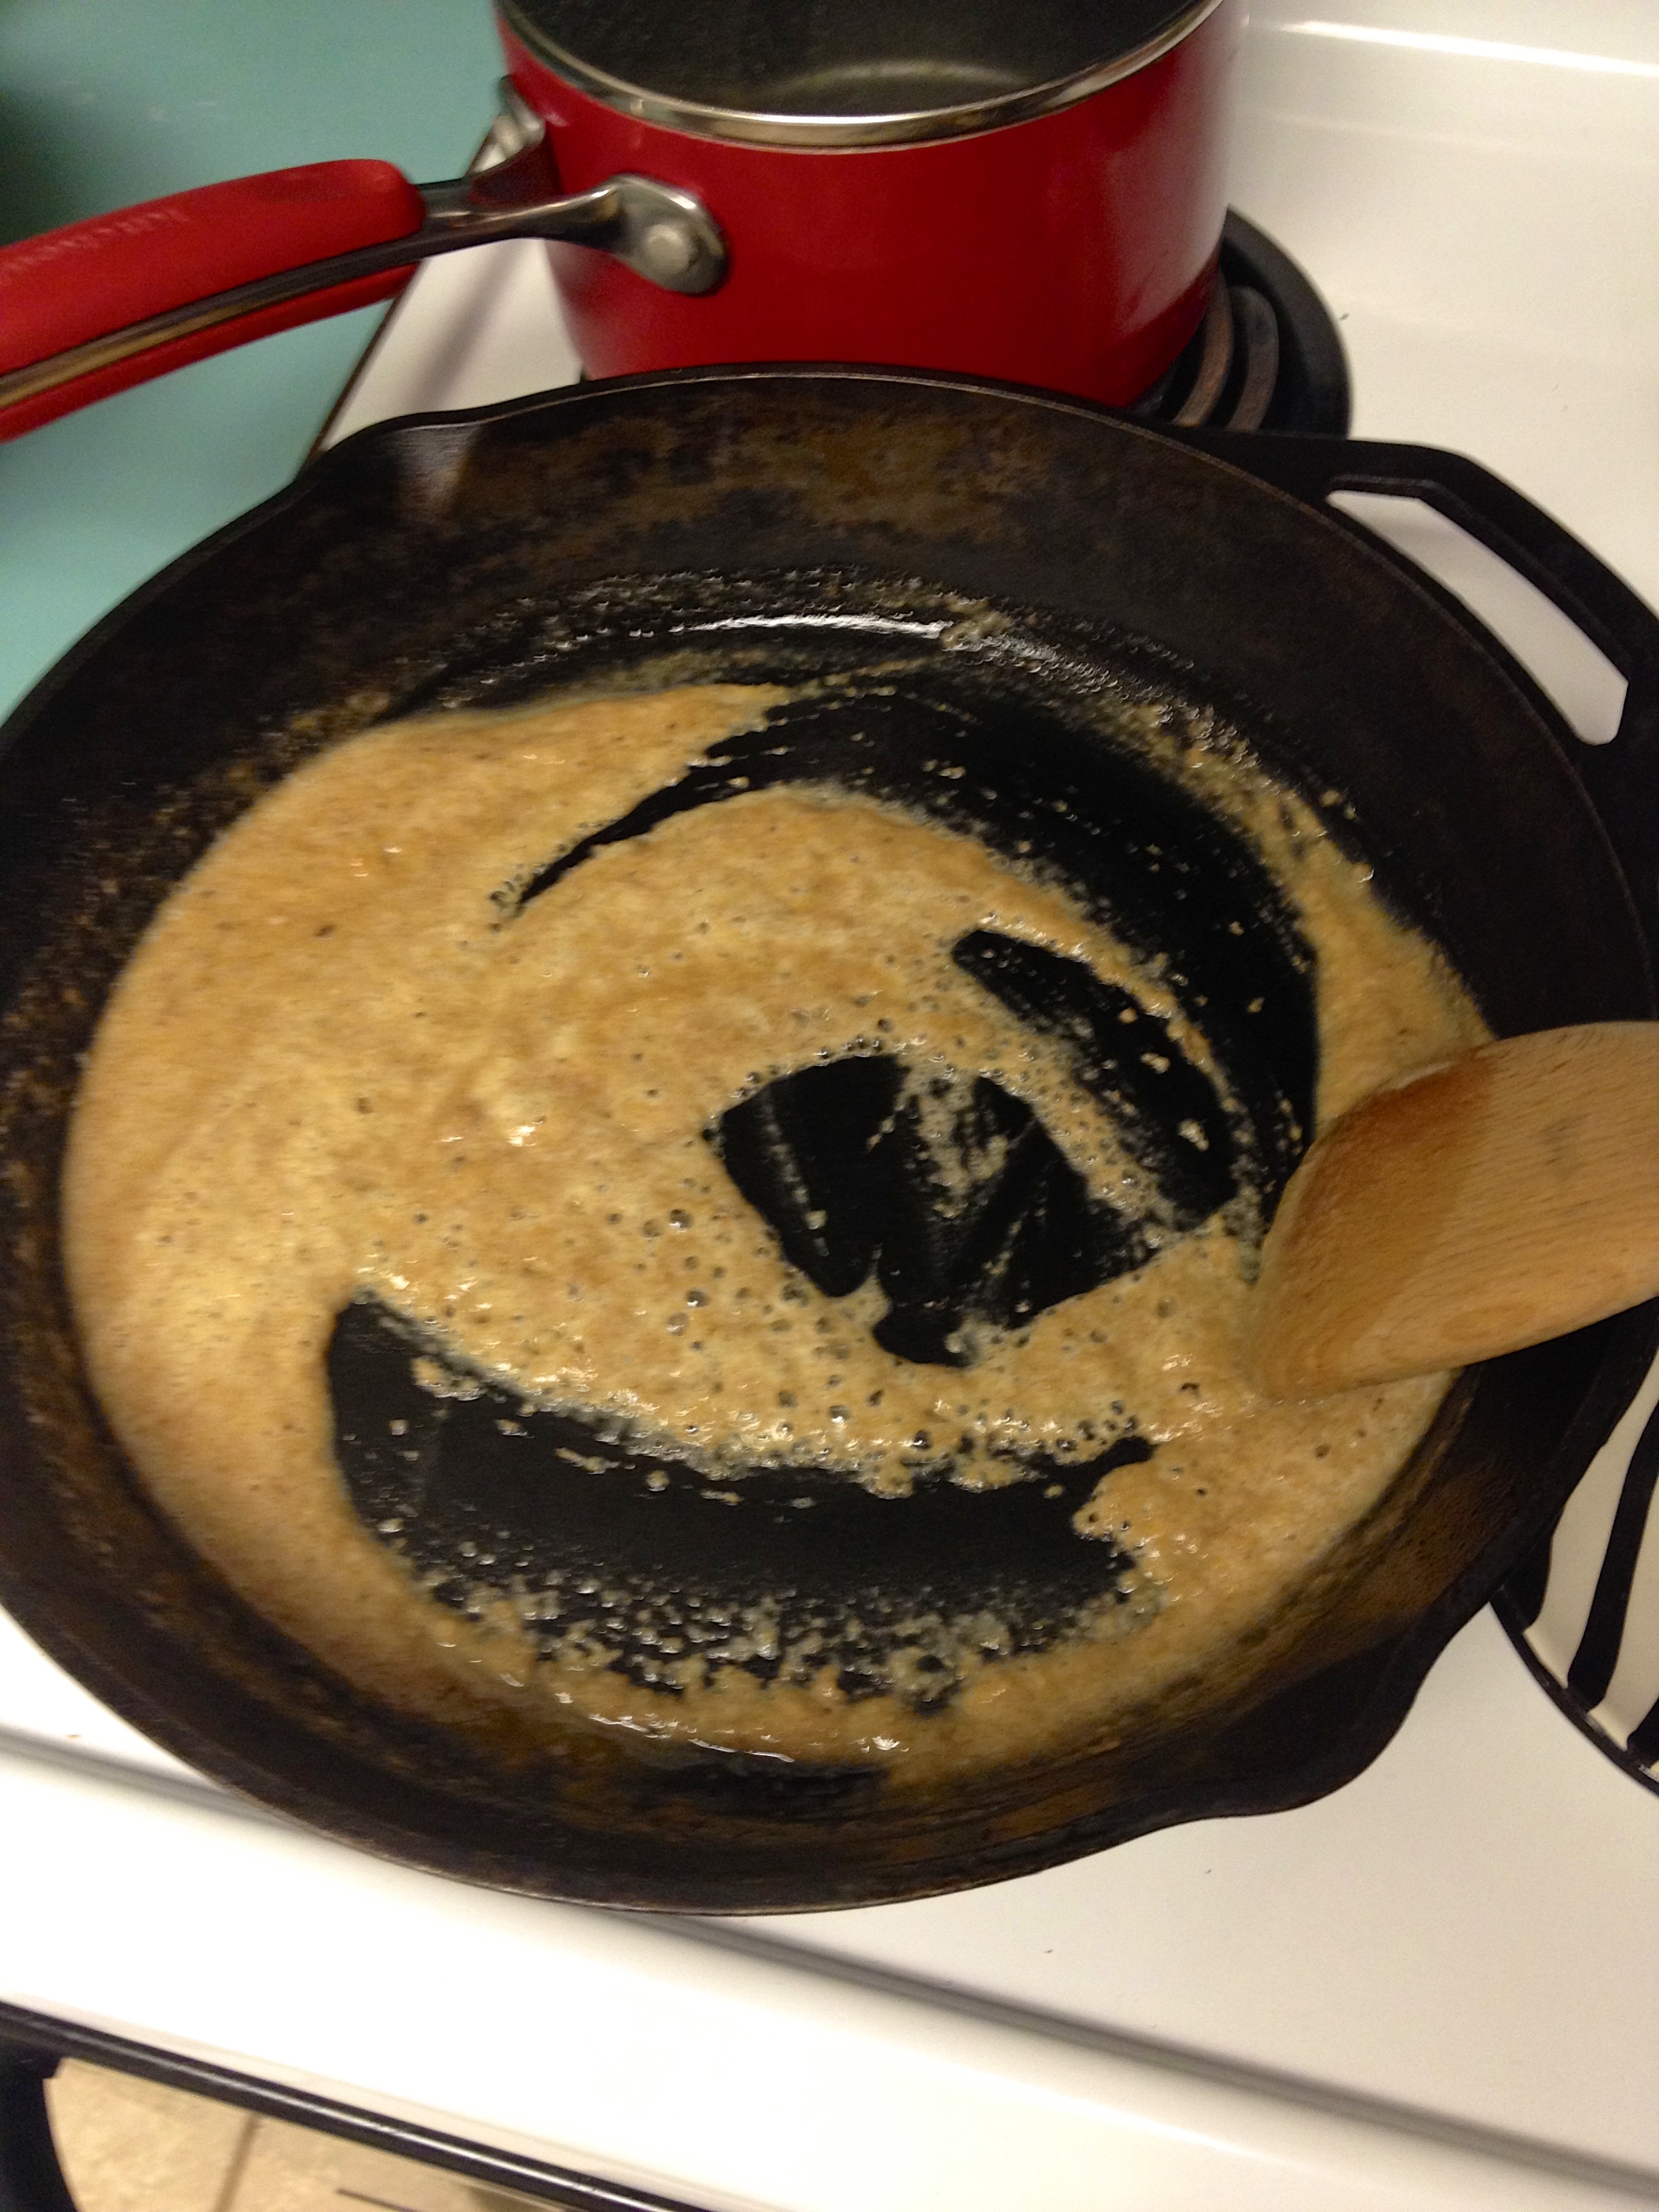
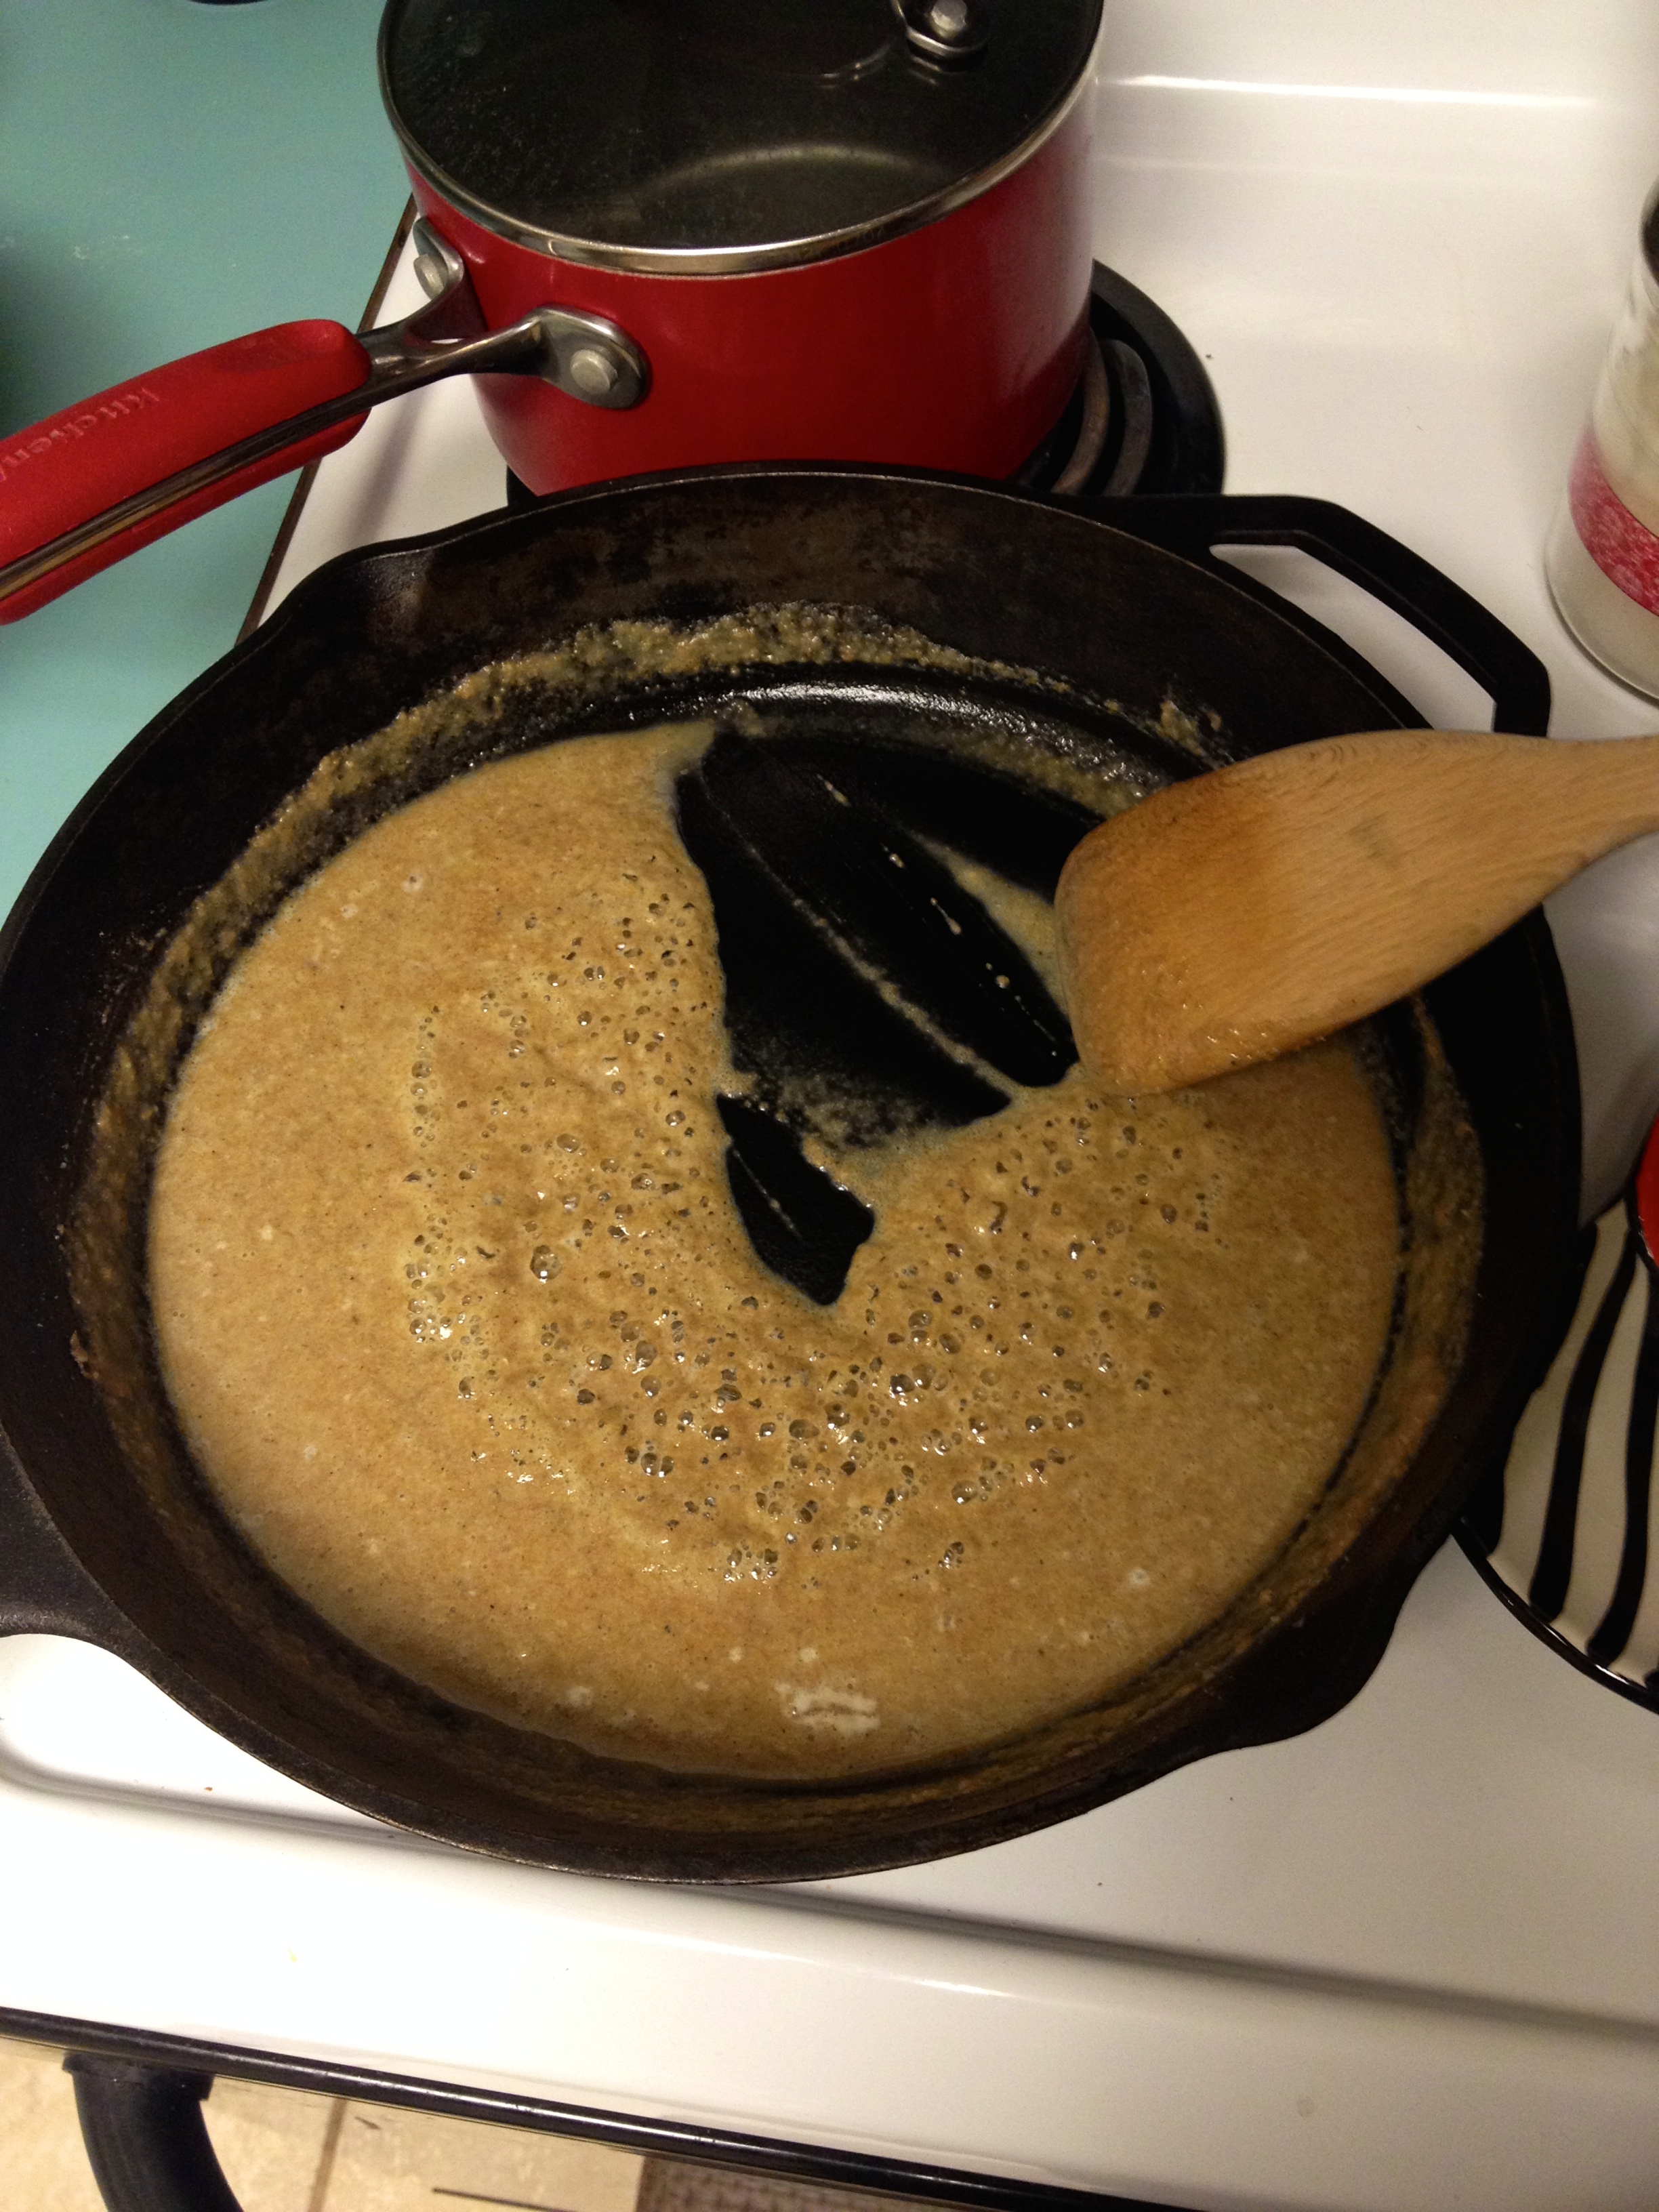
2. Next, we’re going to start the roux for the etouffee. I always use my trusty cast iron skillet for this. Have I told you how much I love cast iron? They last more than one person’s lifetime and in the unlikelihood that your house ever burned to the ground, you would still find your cast iron skillet in the ashes just waiting to be used. If you don’t have one, go out and buy one, I’ll wait………….. Ok, glad you’re back! Let’s get started on the roux! First, use either 1 stick of butter OR 8 tablespoons bacon drippings. Or feel free to use a combination of the two equaling 8 tablespoons. Add your flour to this as well and turn heat to medium.

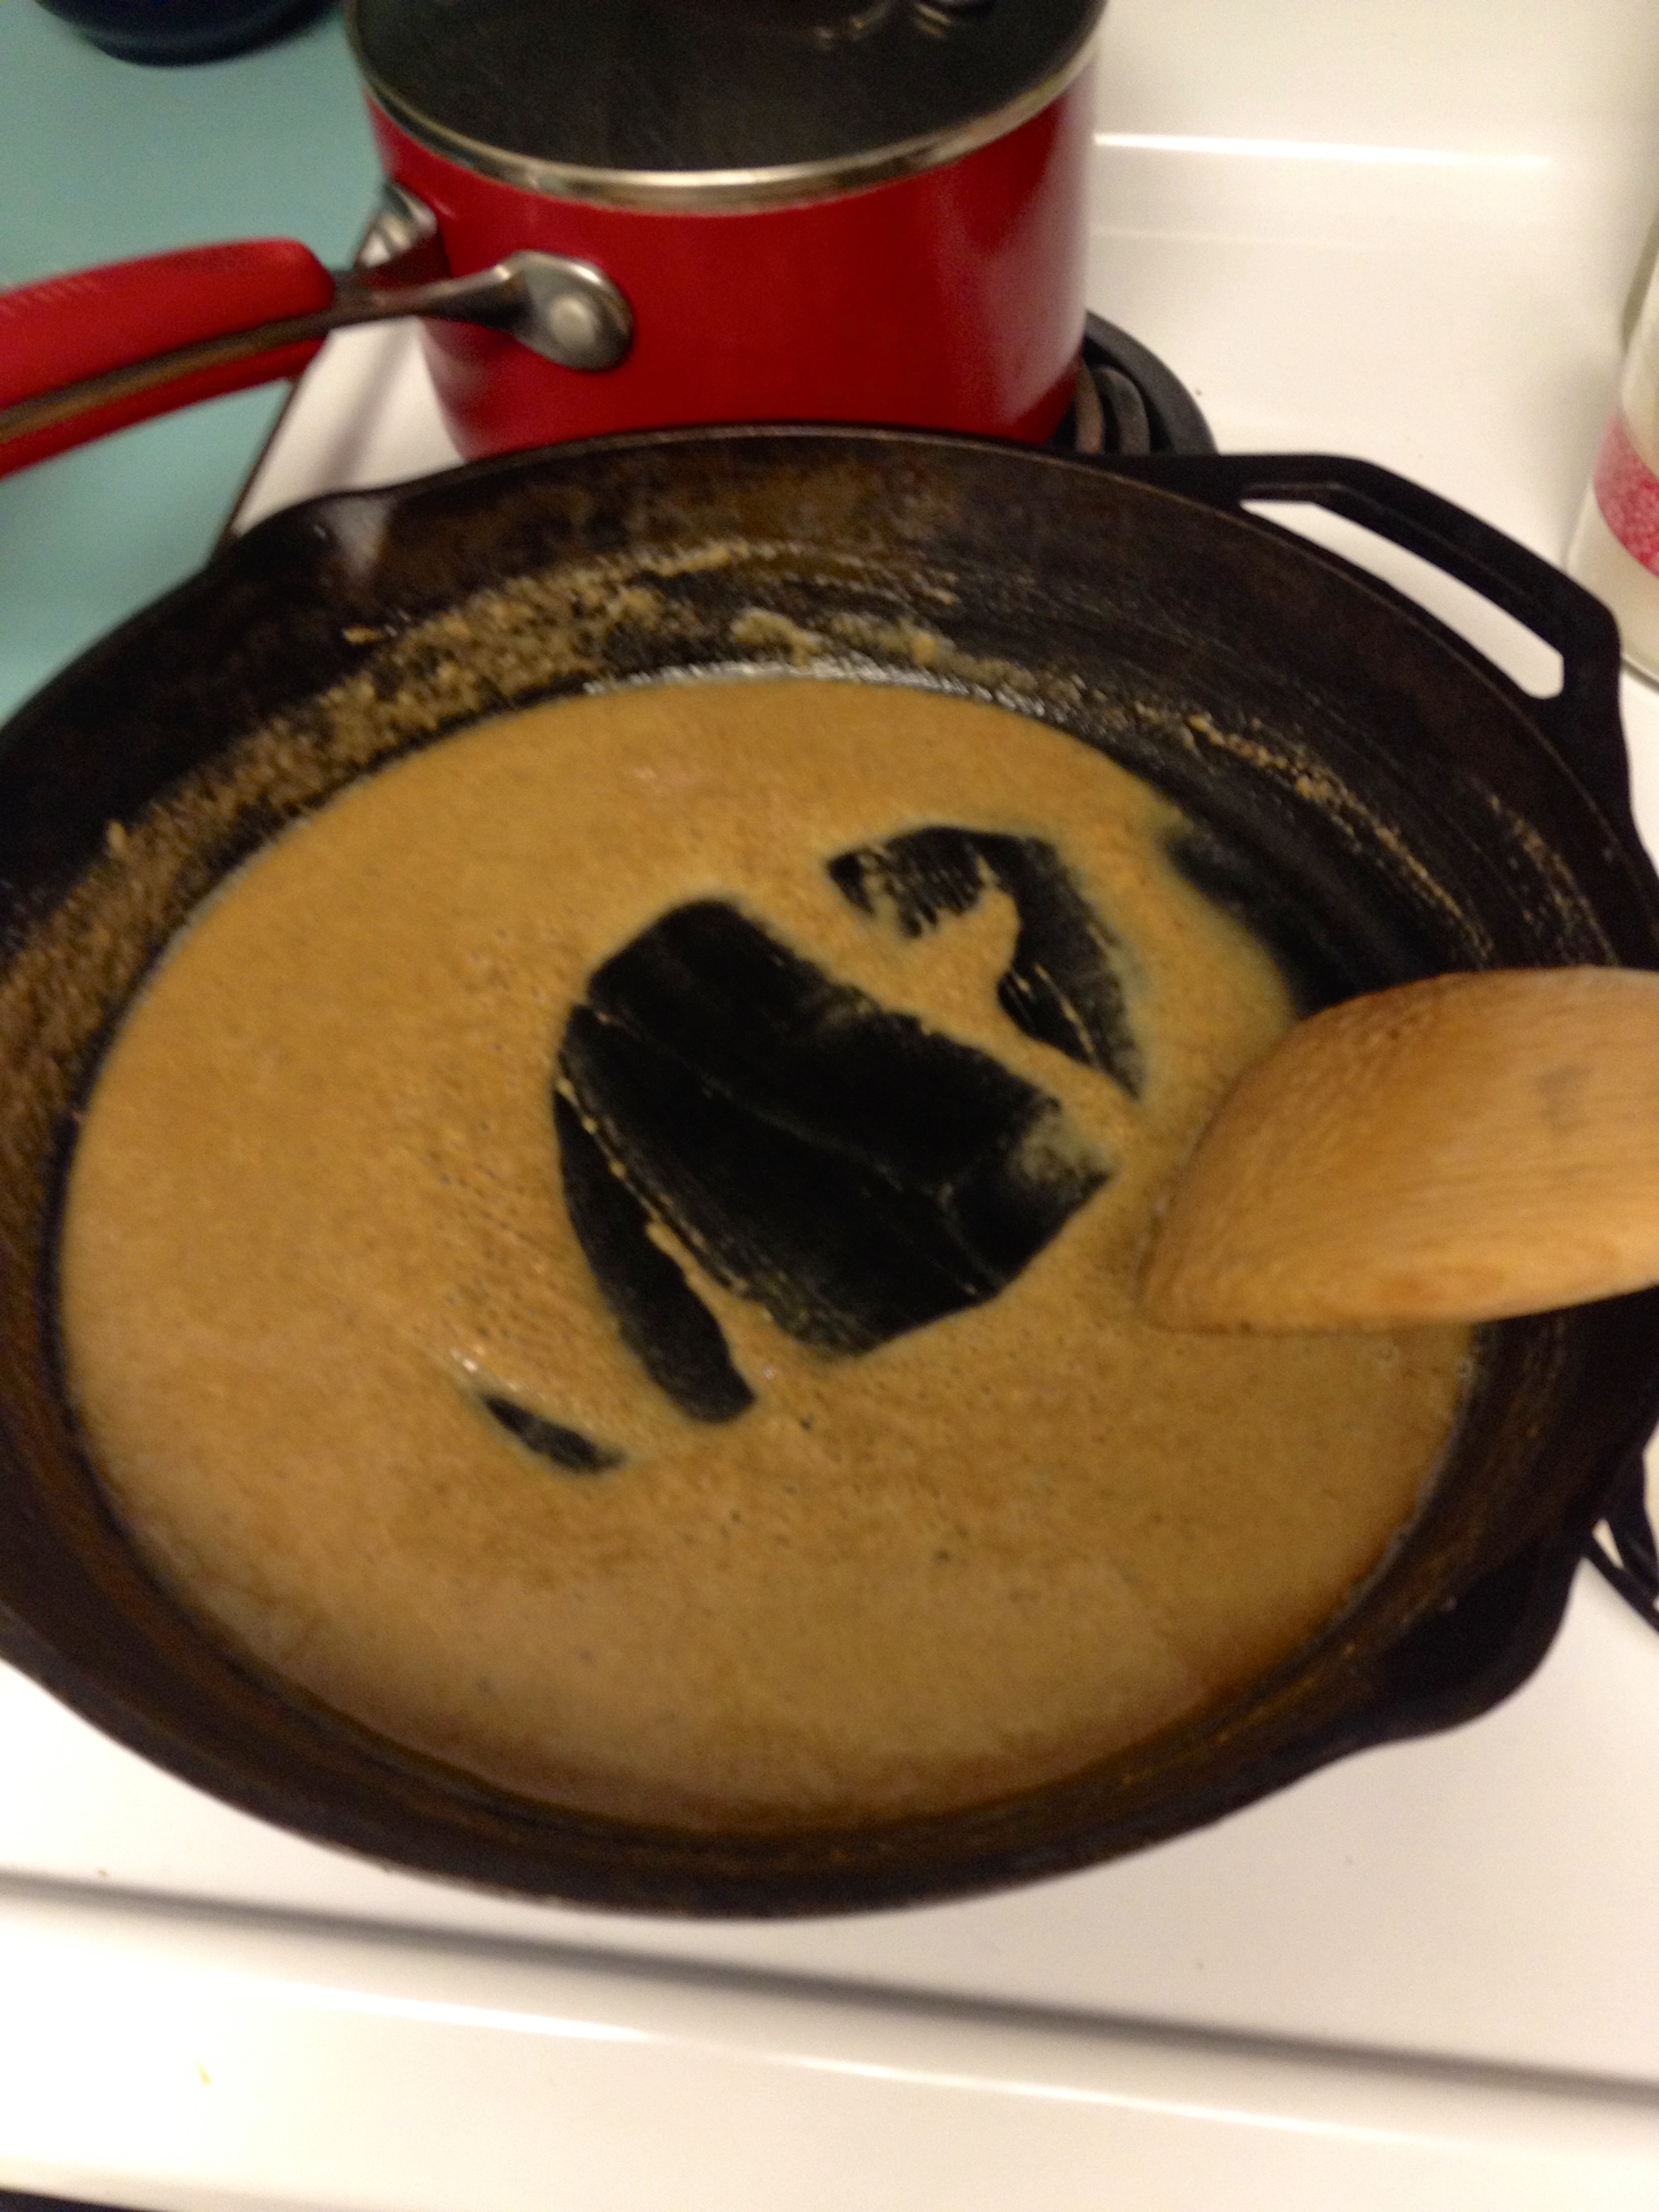
3. Now you’re going to stand there over the roux and not leave it for about 20-25 minutes. Yes, I’m serious. It needs to be stirred almost constantly and keep a watchful eye on it so it doesn’t burn! Allow me to take you through the process of cooking the roux:


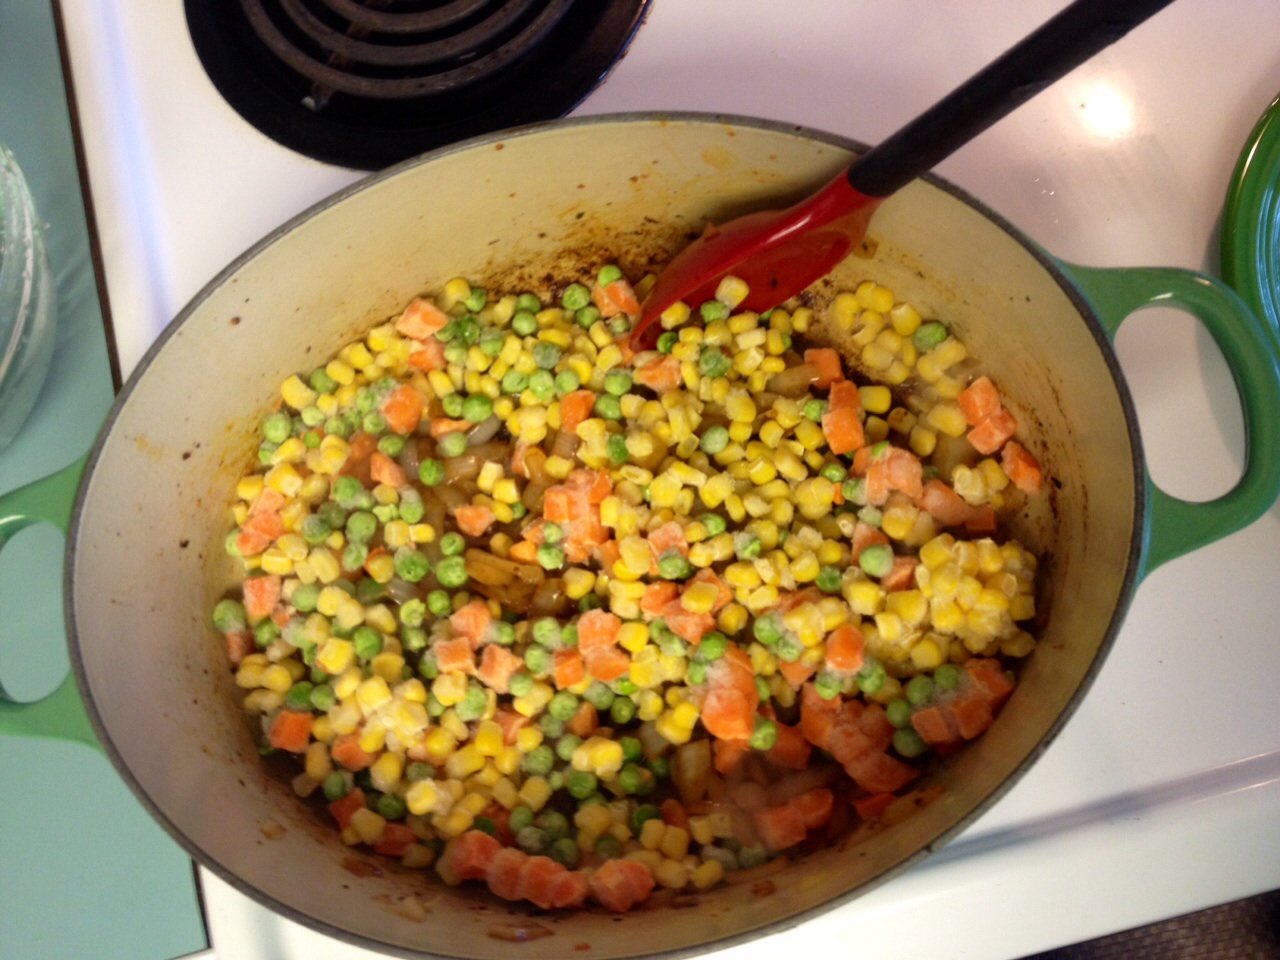
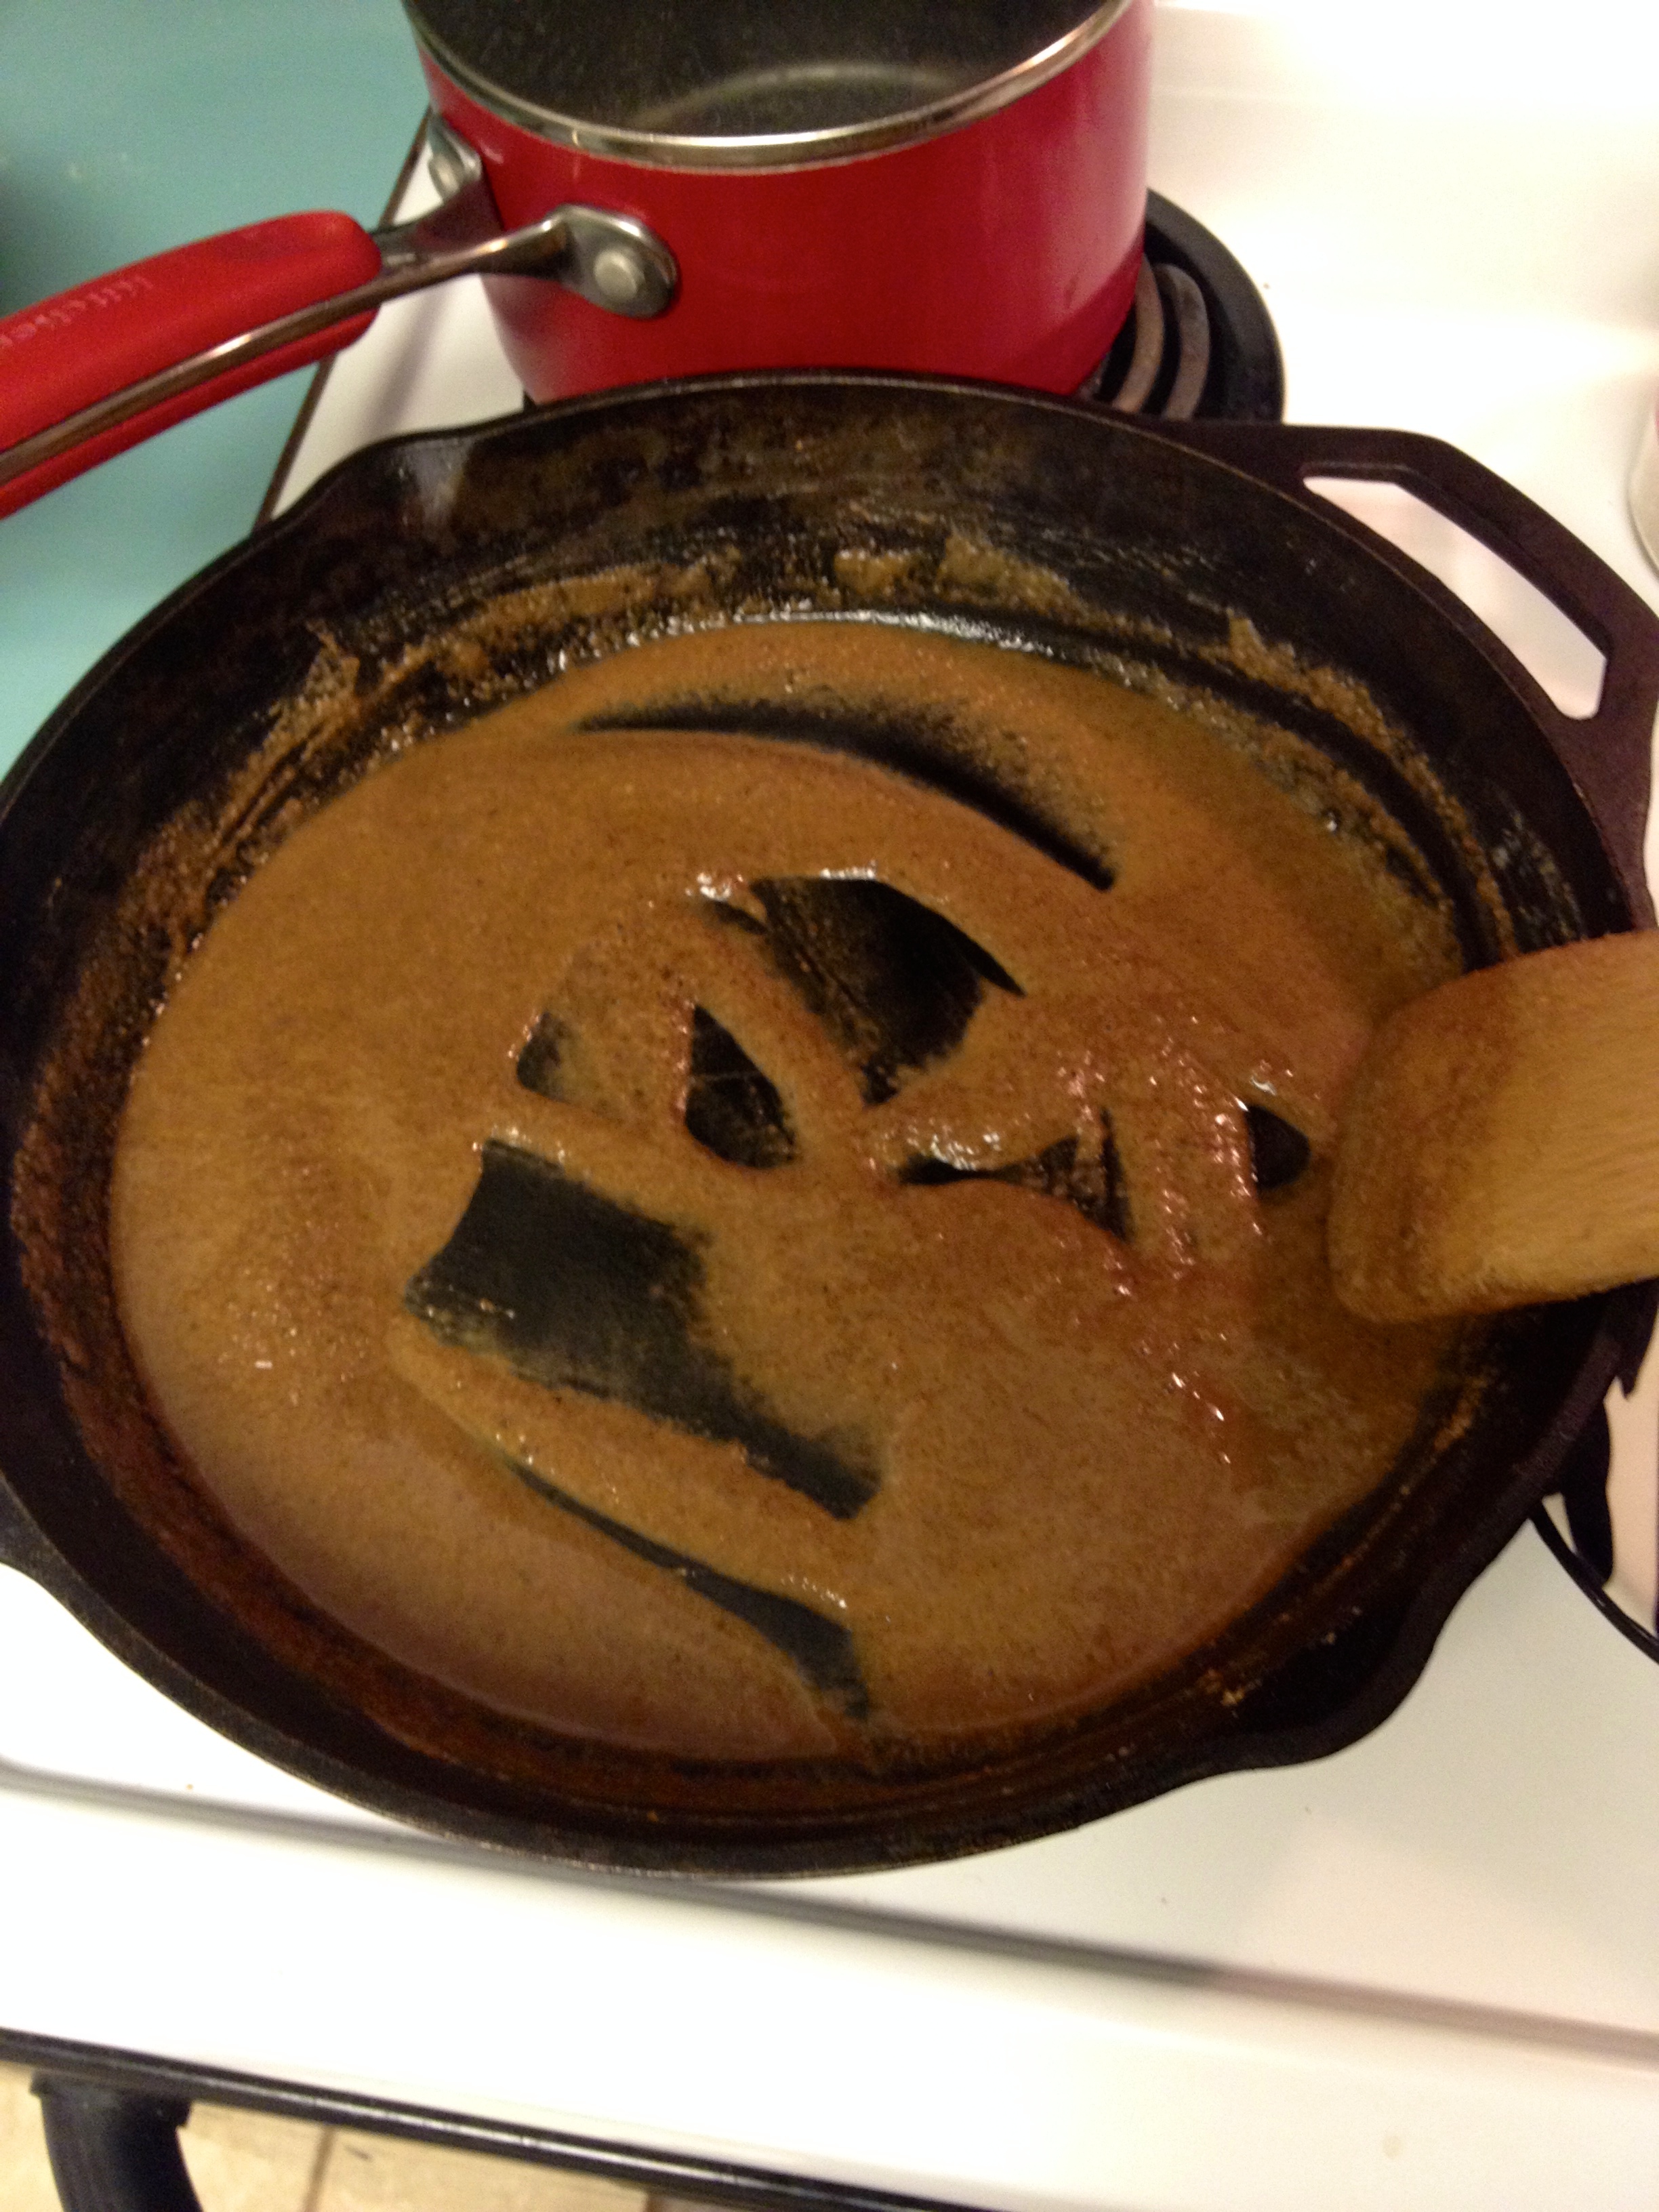
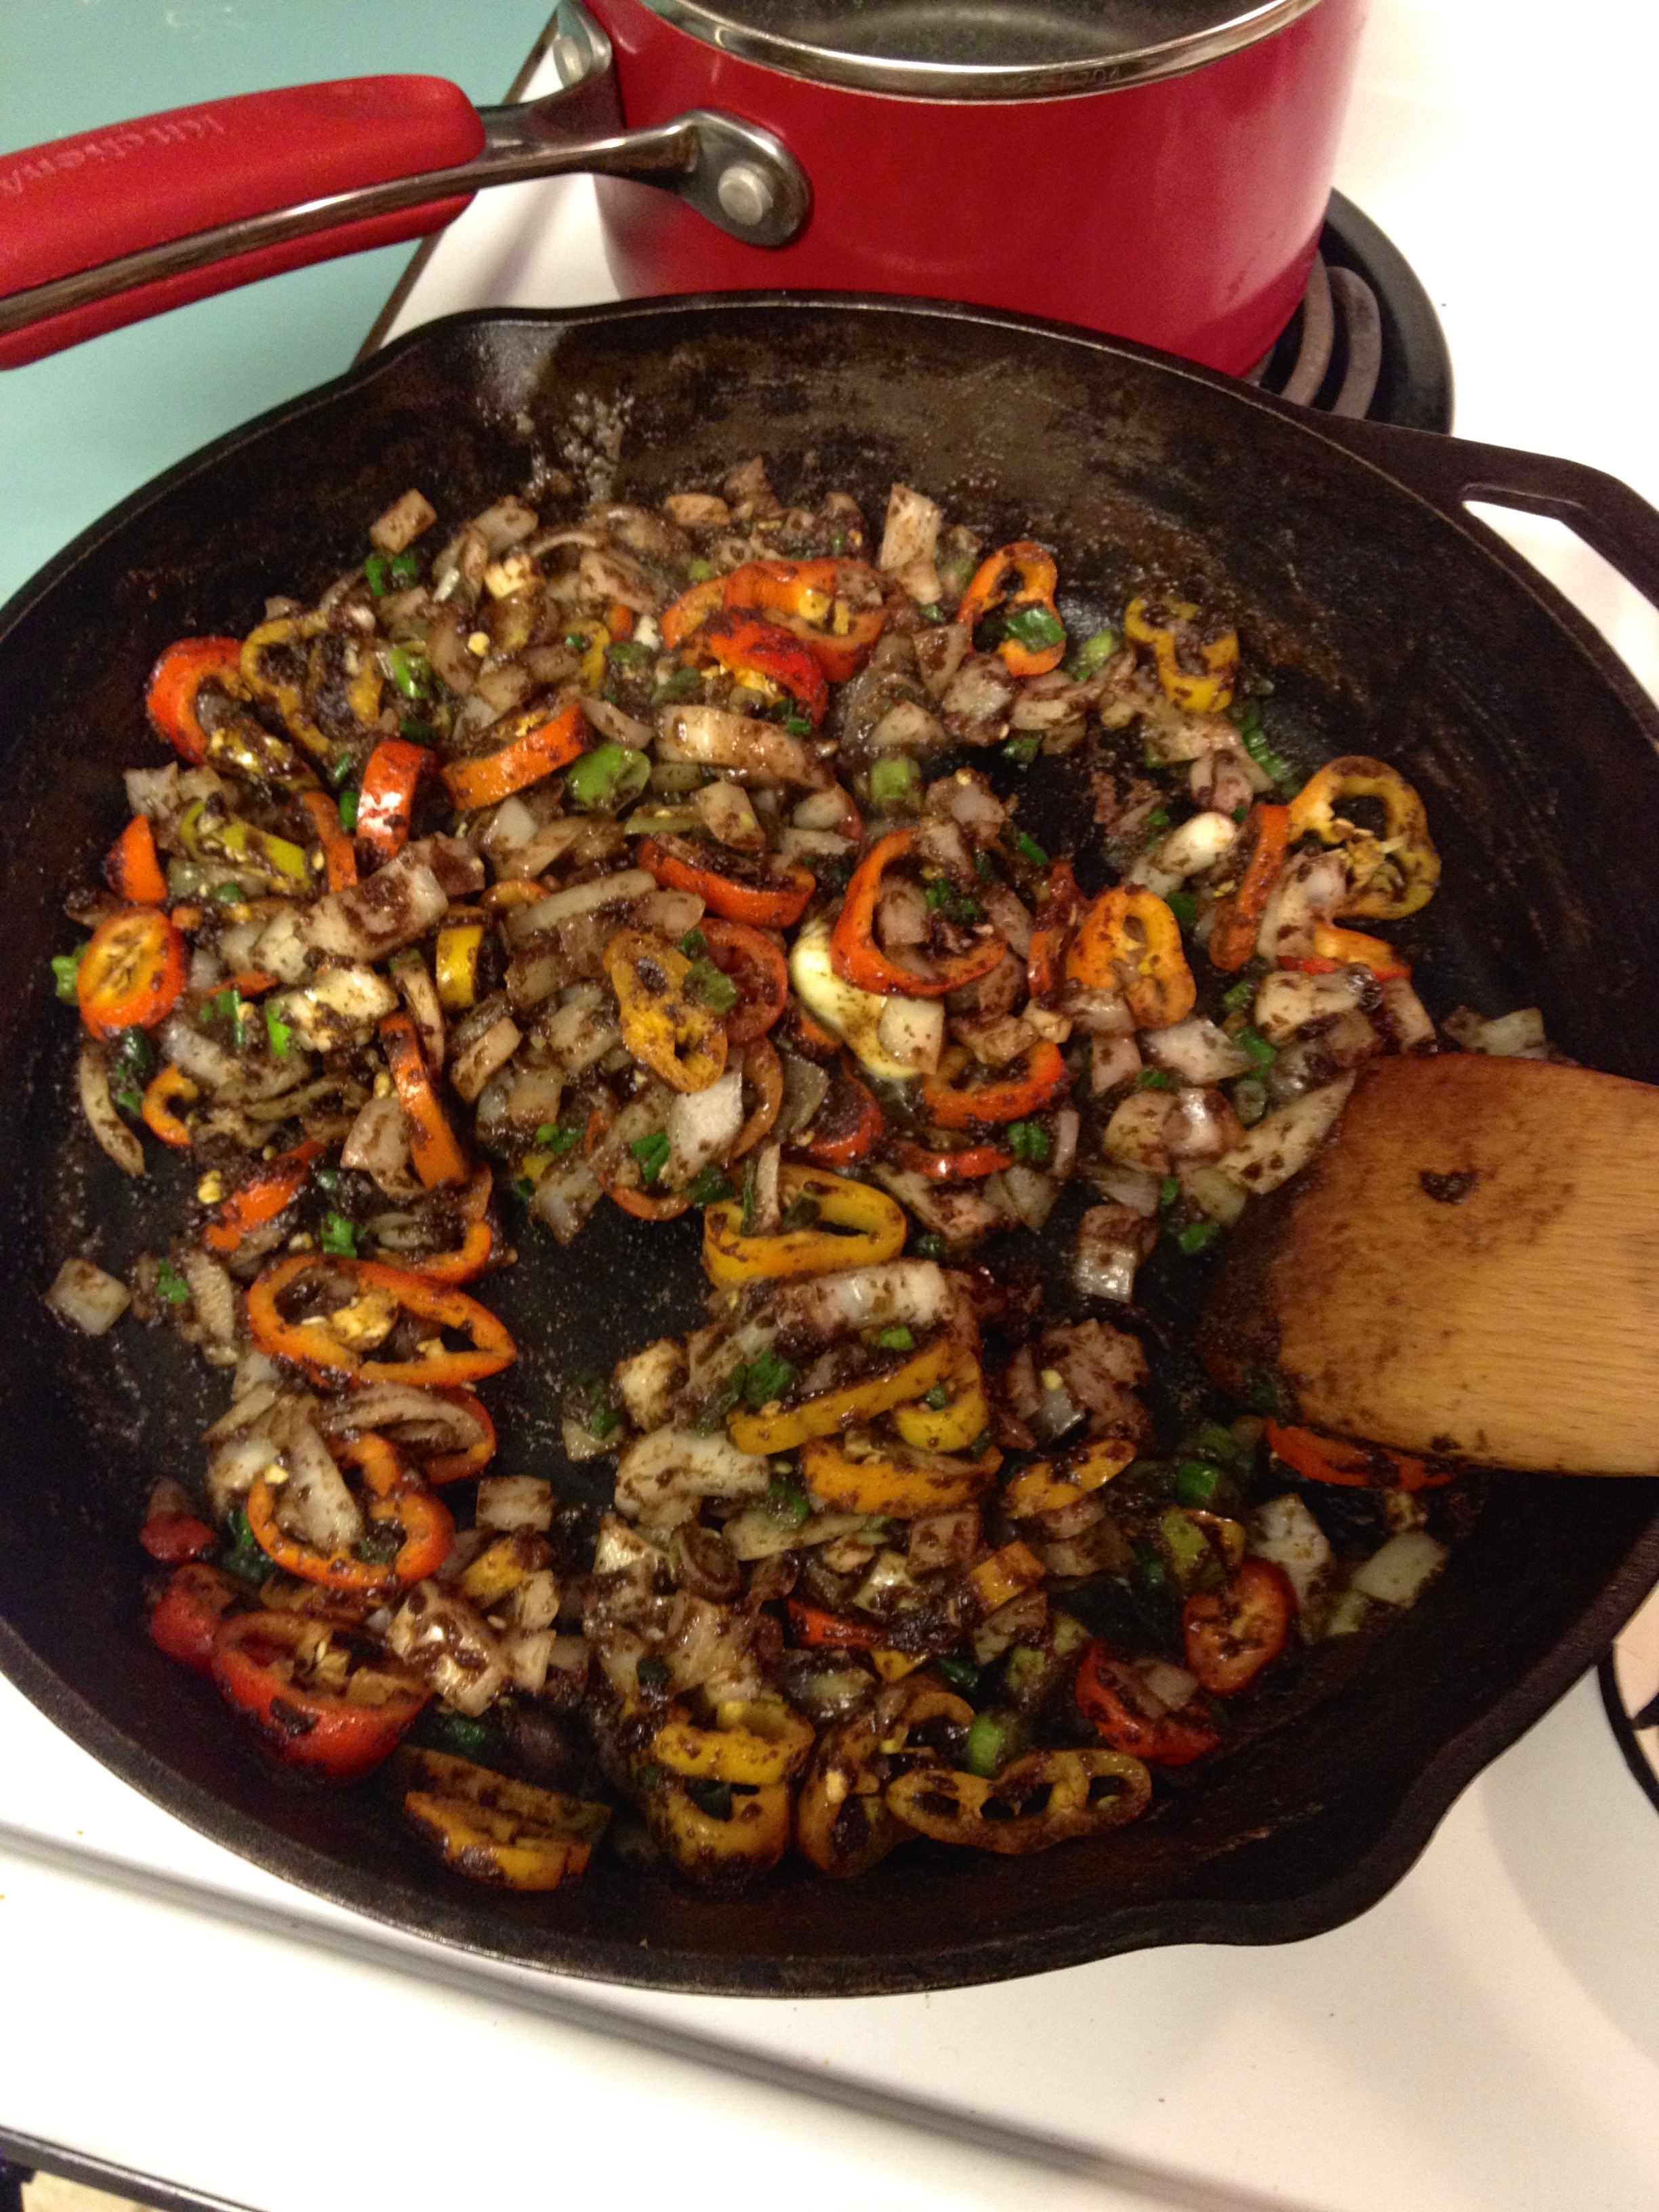
4. Ok, now it’s done! Notice it sort of looks like you melted a giant Hershey’s chocolate bar in there. That’s how my mom always says you can tell the roux is done. Now, we’re going to mix in all those yummy veggies you chopped up!

5. Stir them up and let them cook for about 10 minutes or until tender.

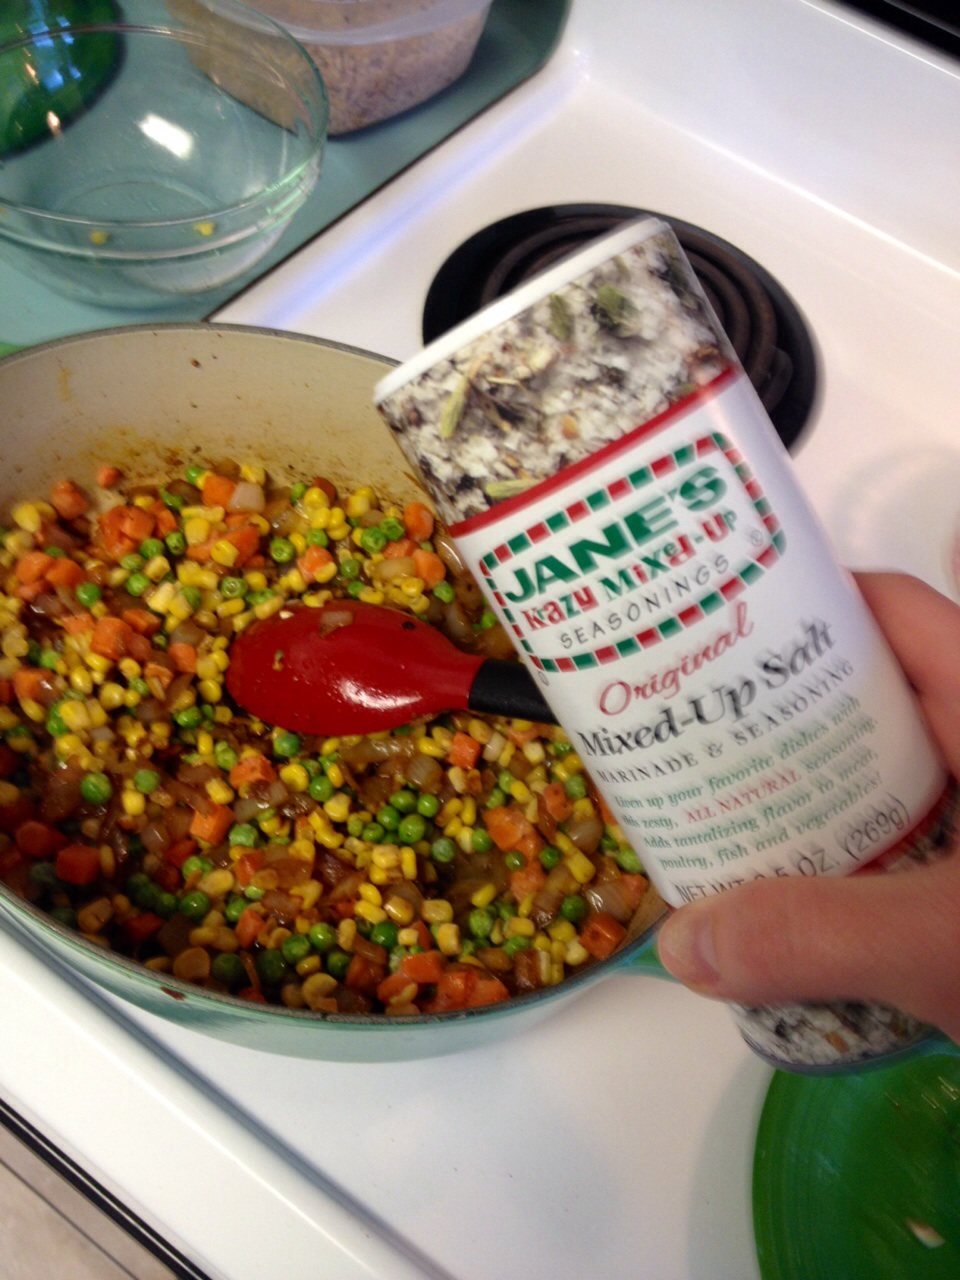
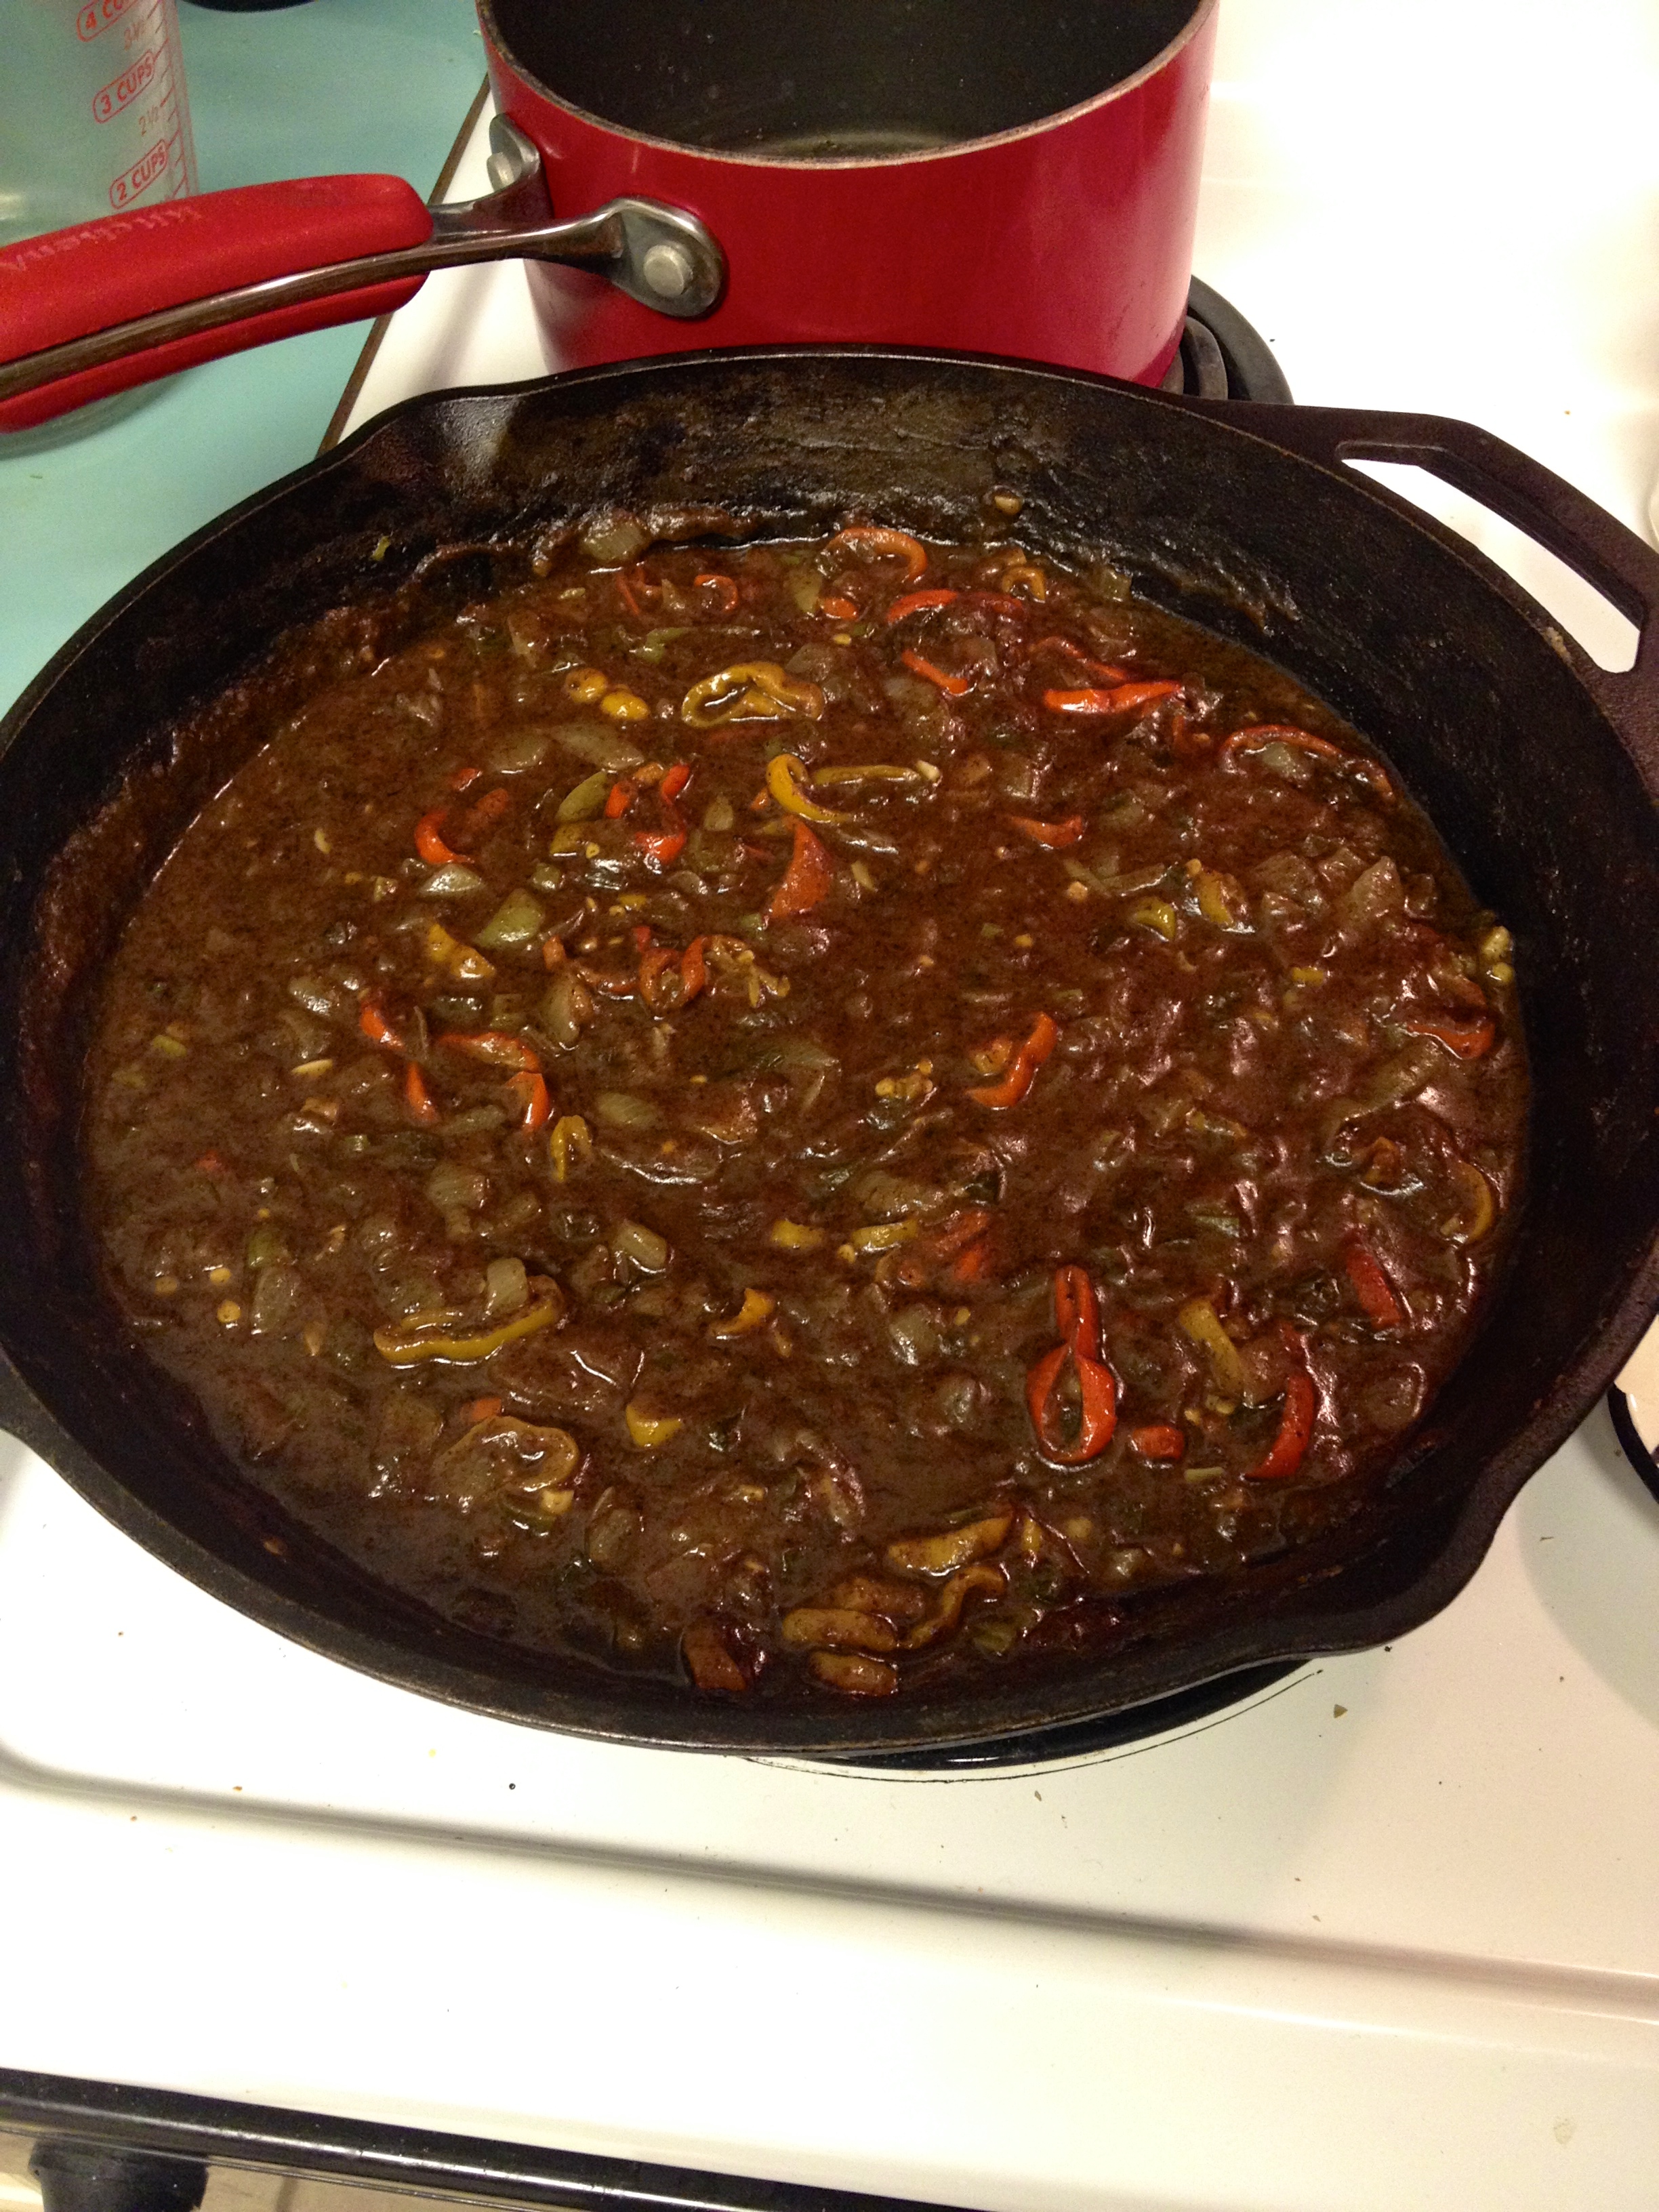
6. Remember that shrimp/chicken broth you made? Strain it and discard the yucky stuff in the trash can. Then pour the juice into the vegetable roux mix. Also add your Worcestershire, Louisiana hot sauce, and seasonings.


7. Bring to a simmer for at least 30-45 minutes or until it begins to thicken up.

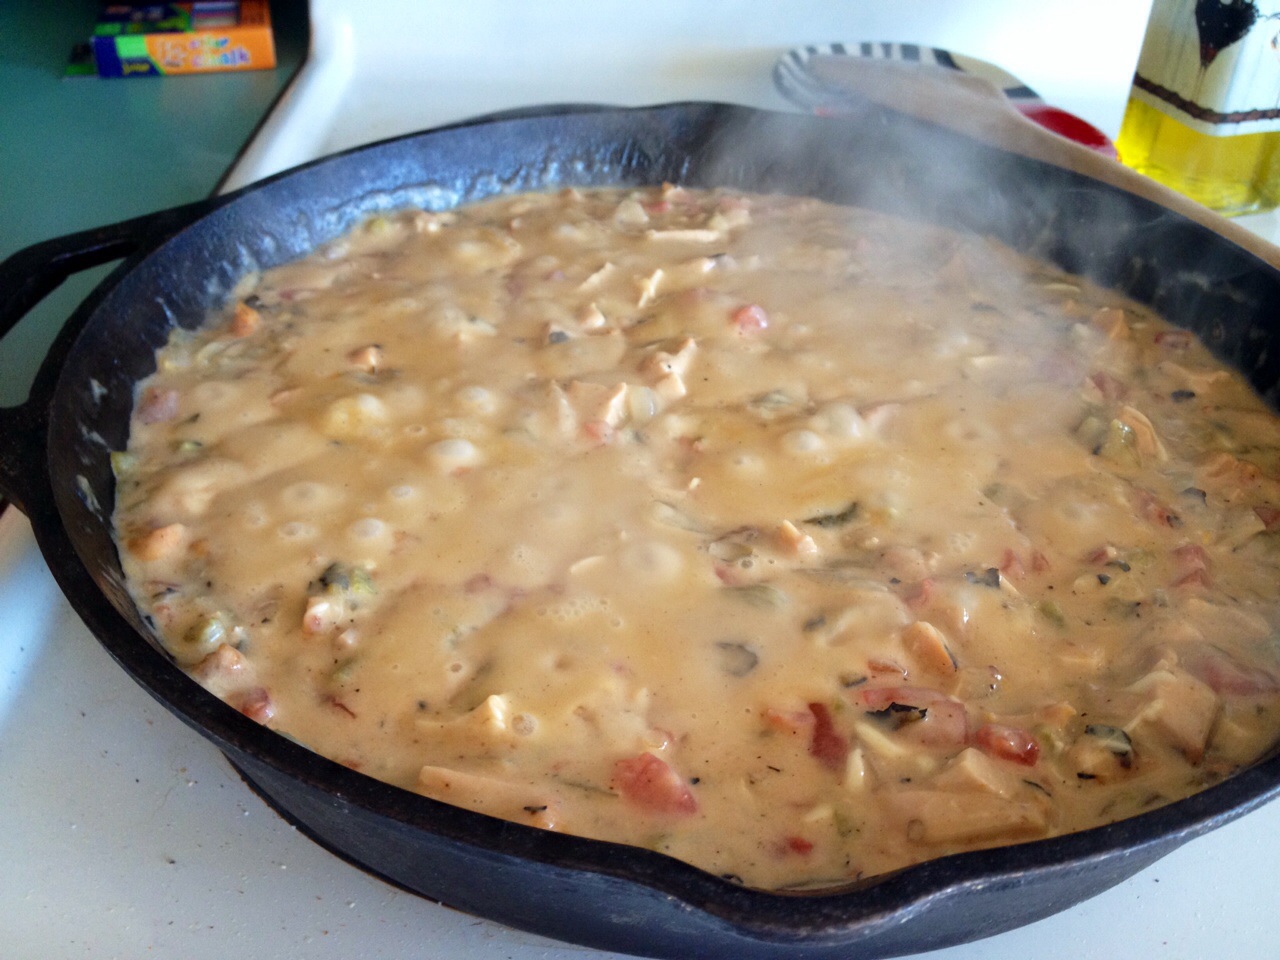
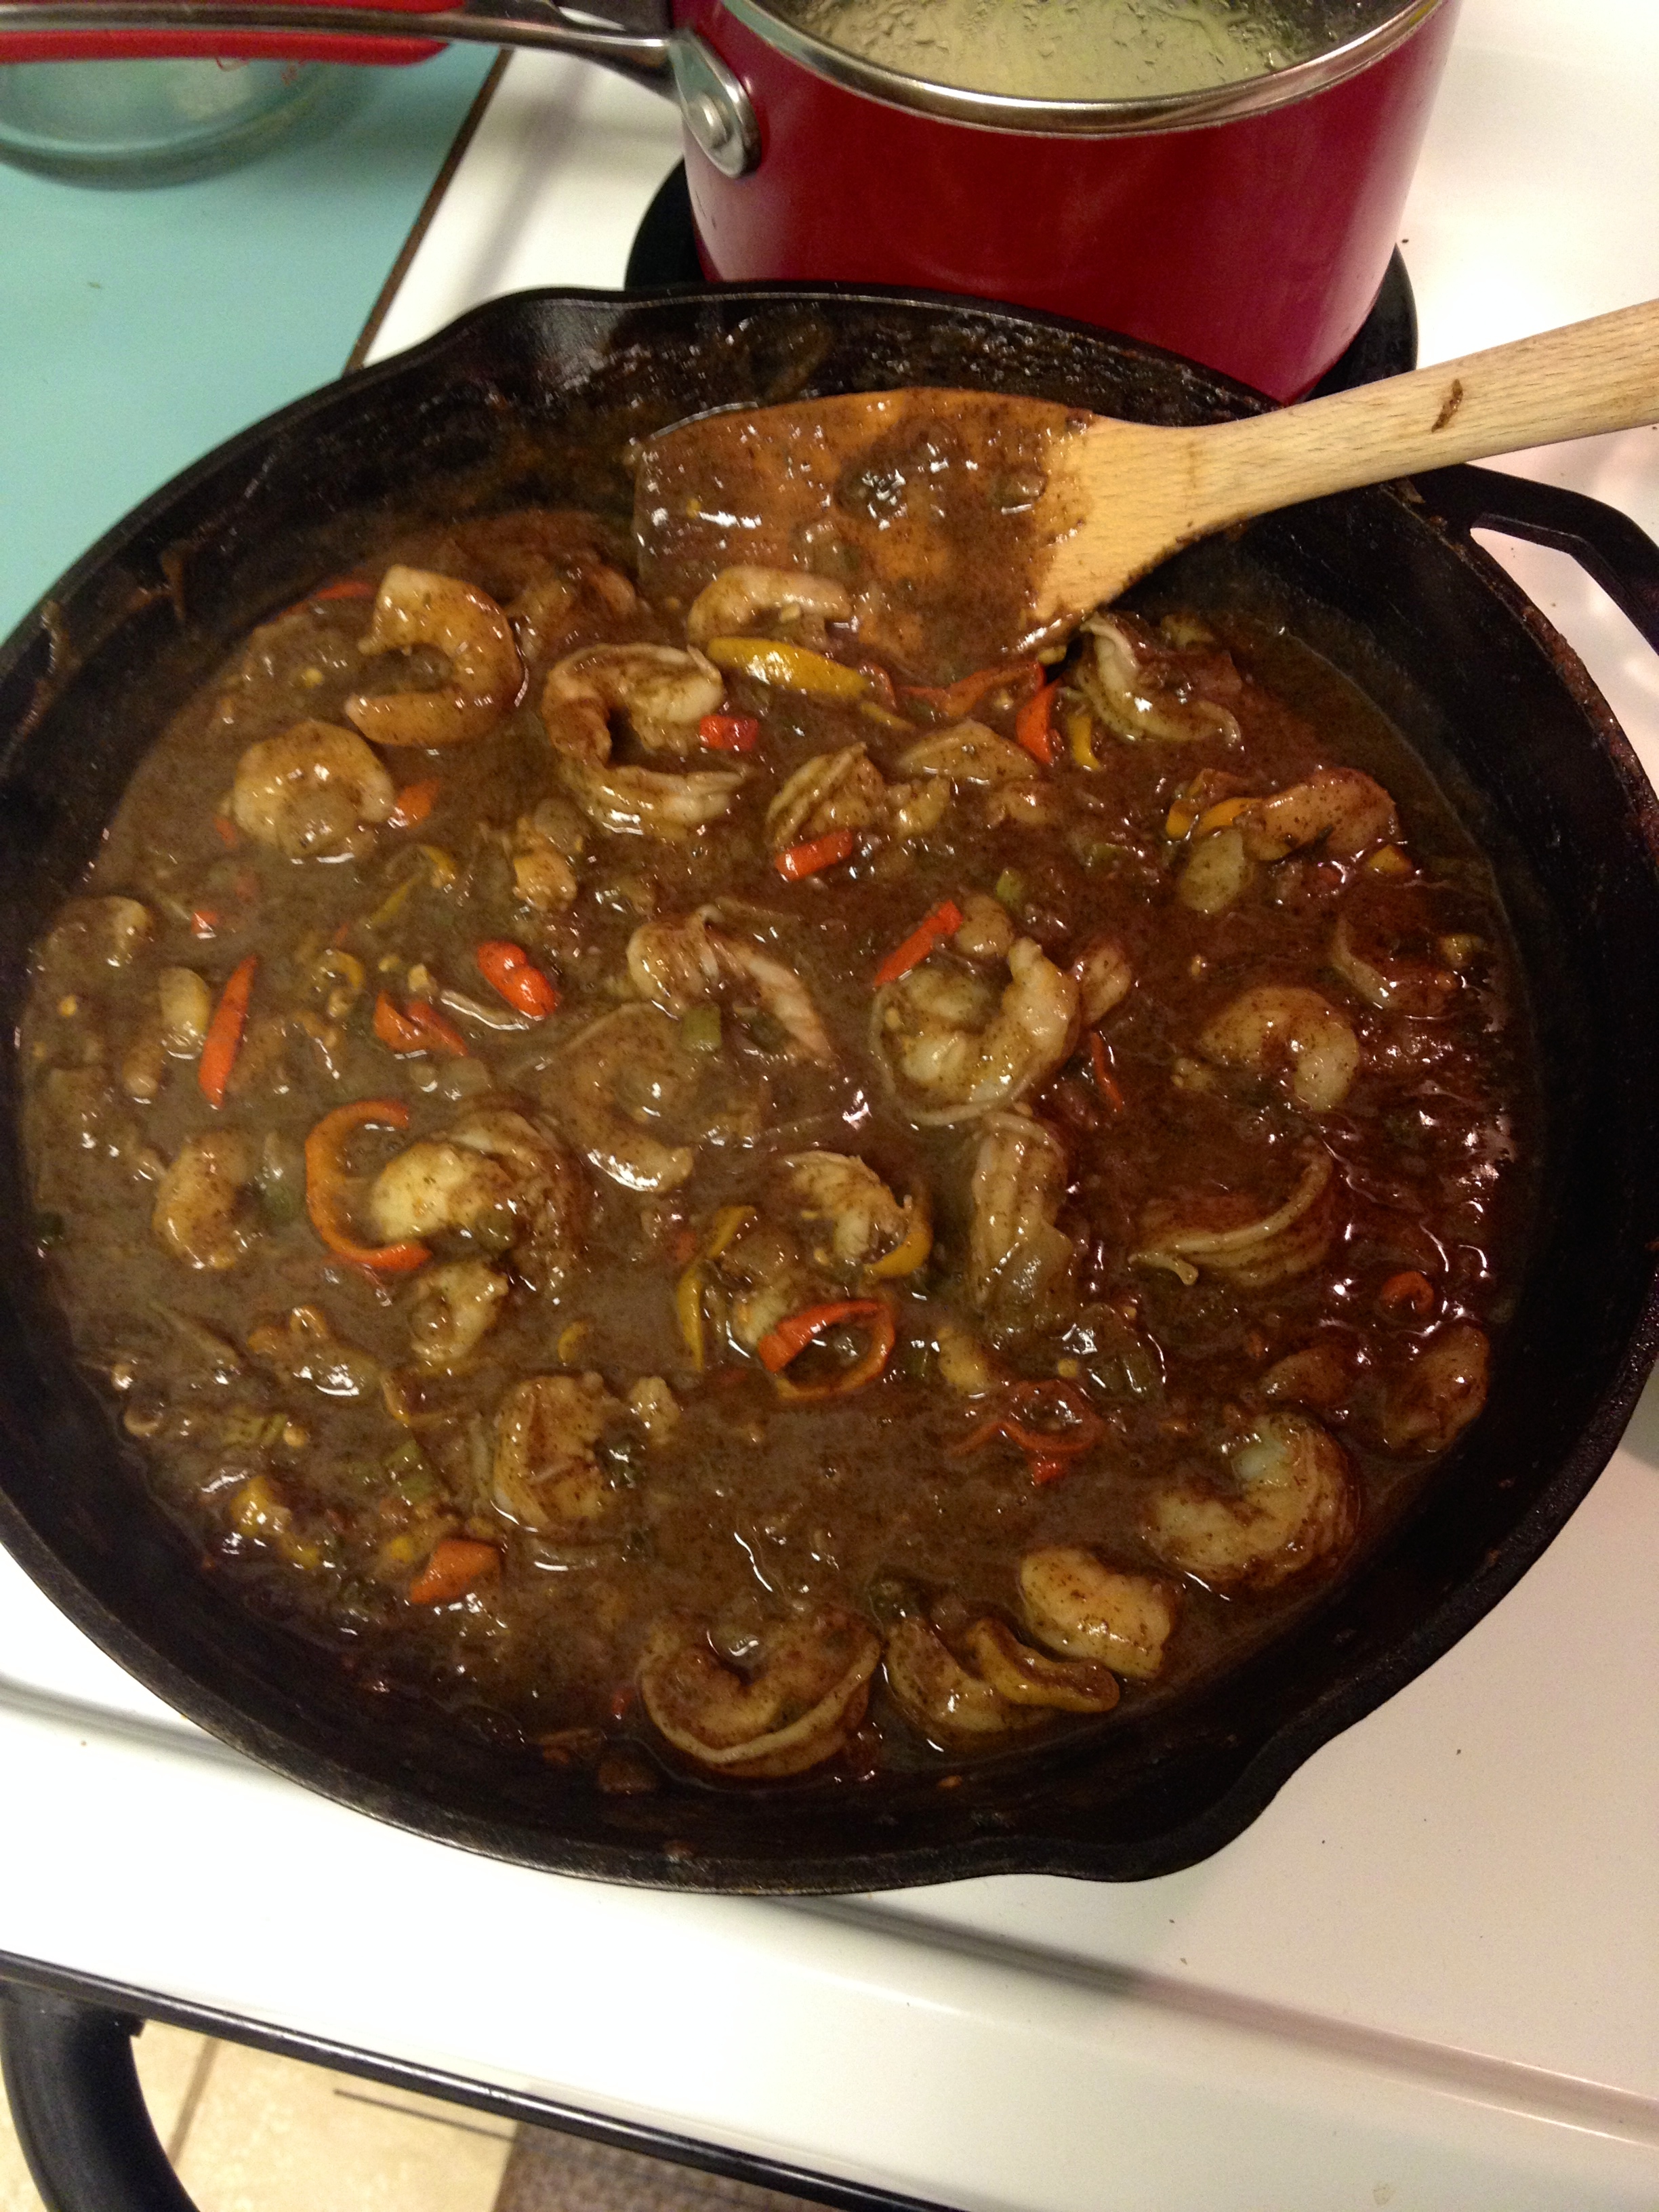
8. Now add your shrimp in and cook for another 10 minutes or so.

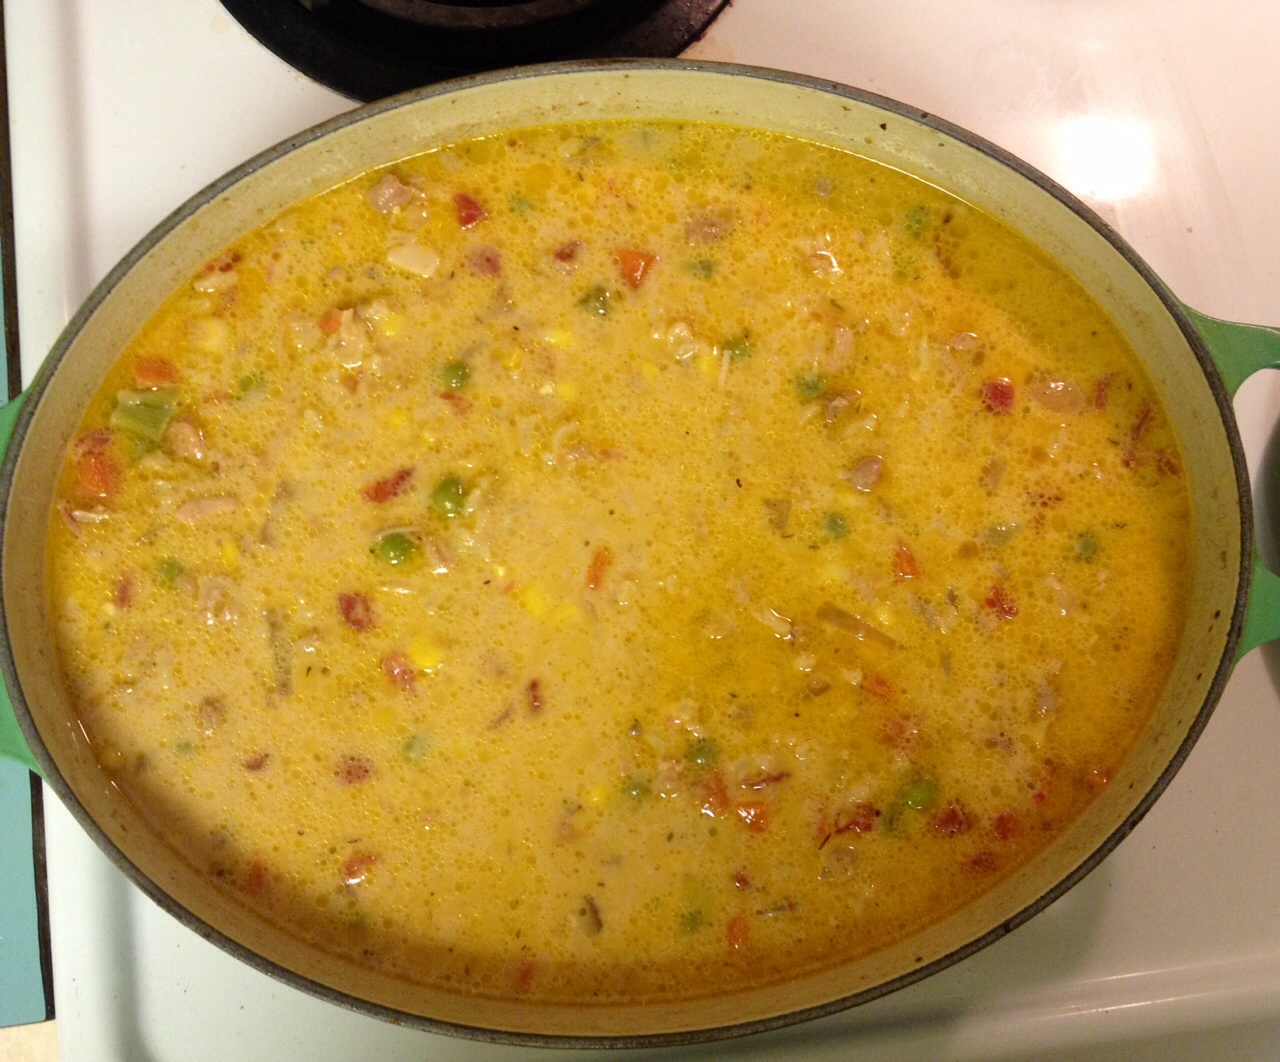
9. It will look like this when it’s done:

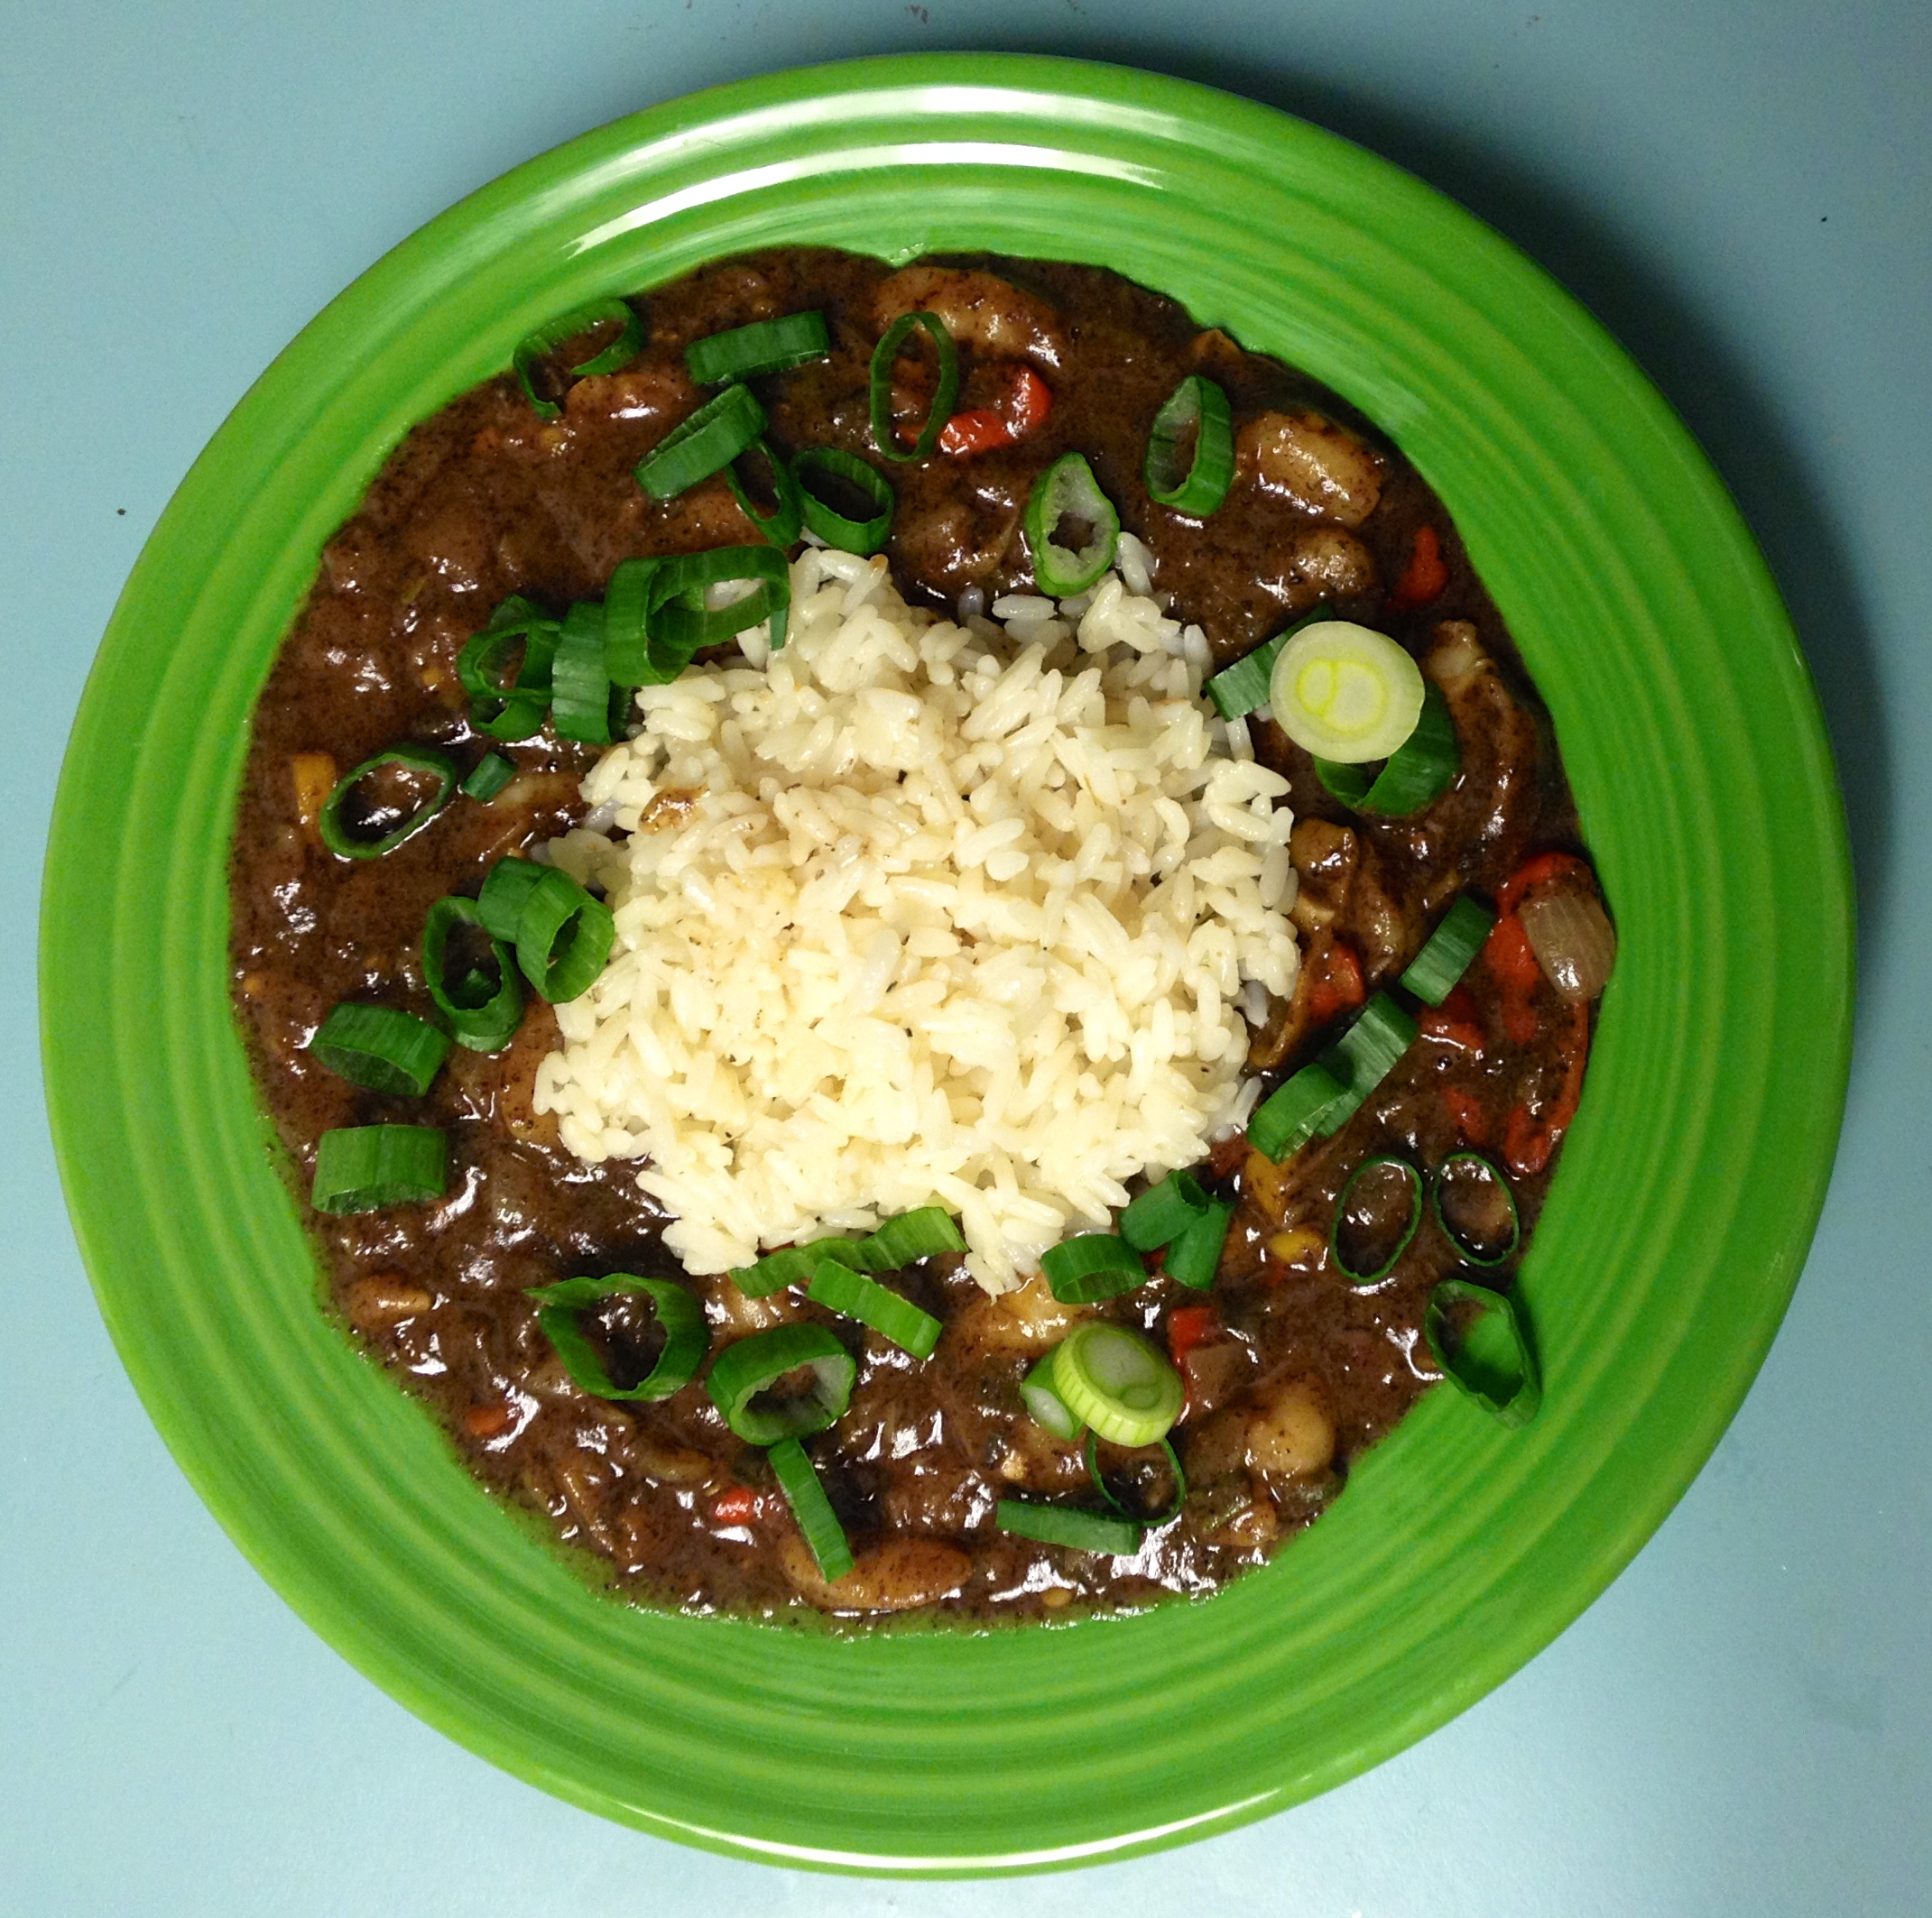
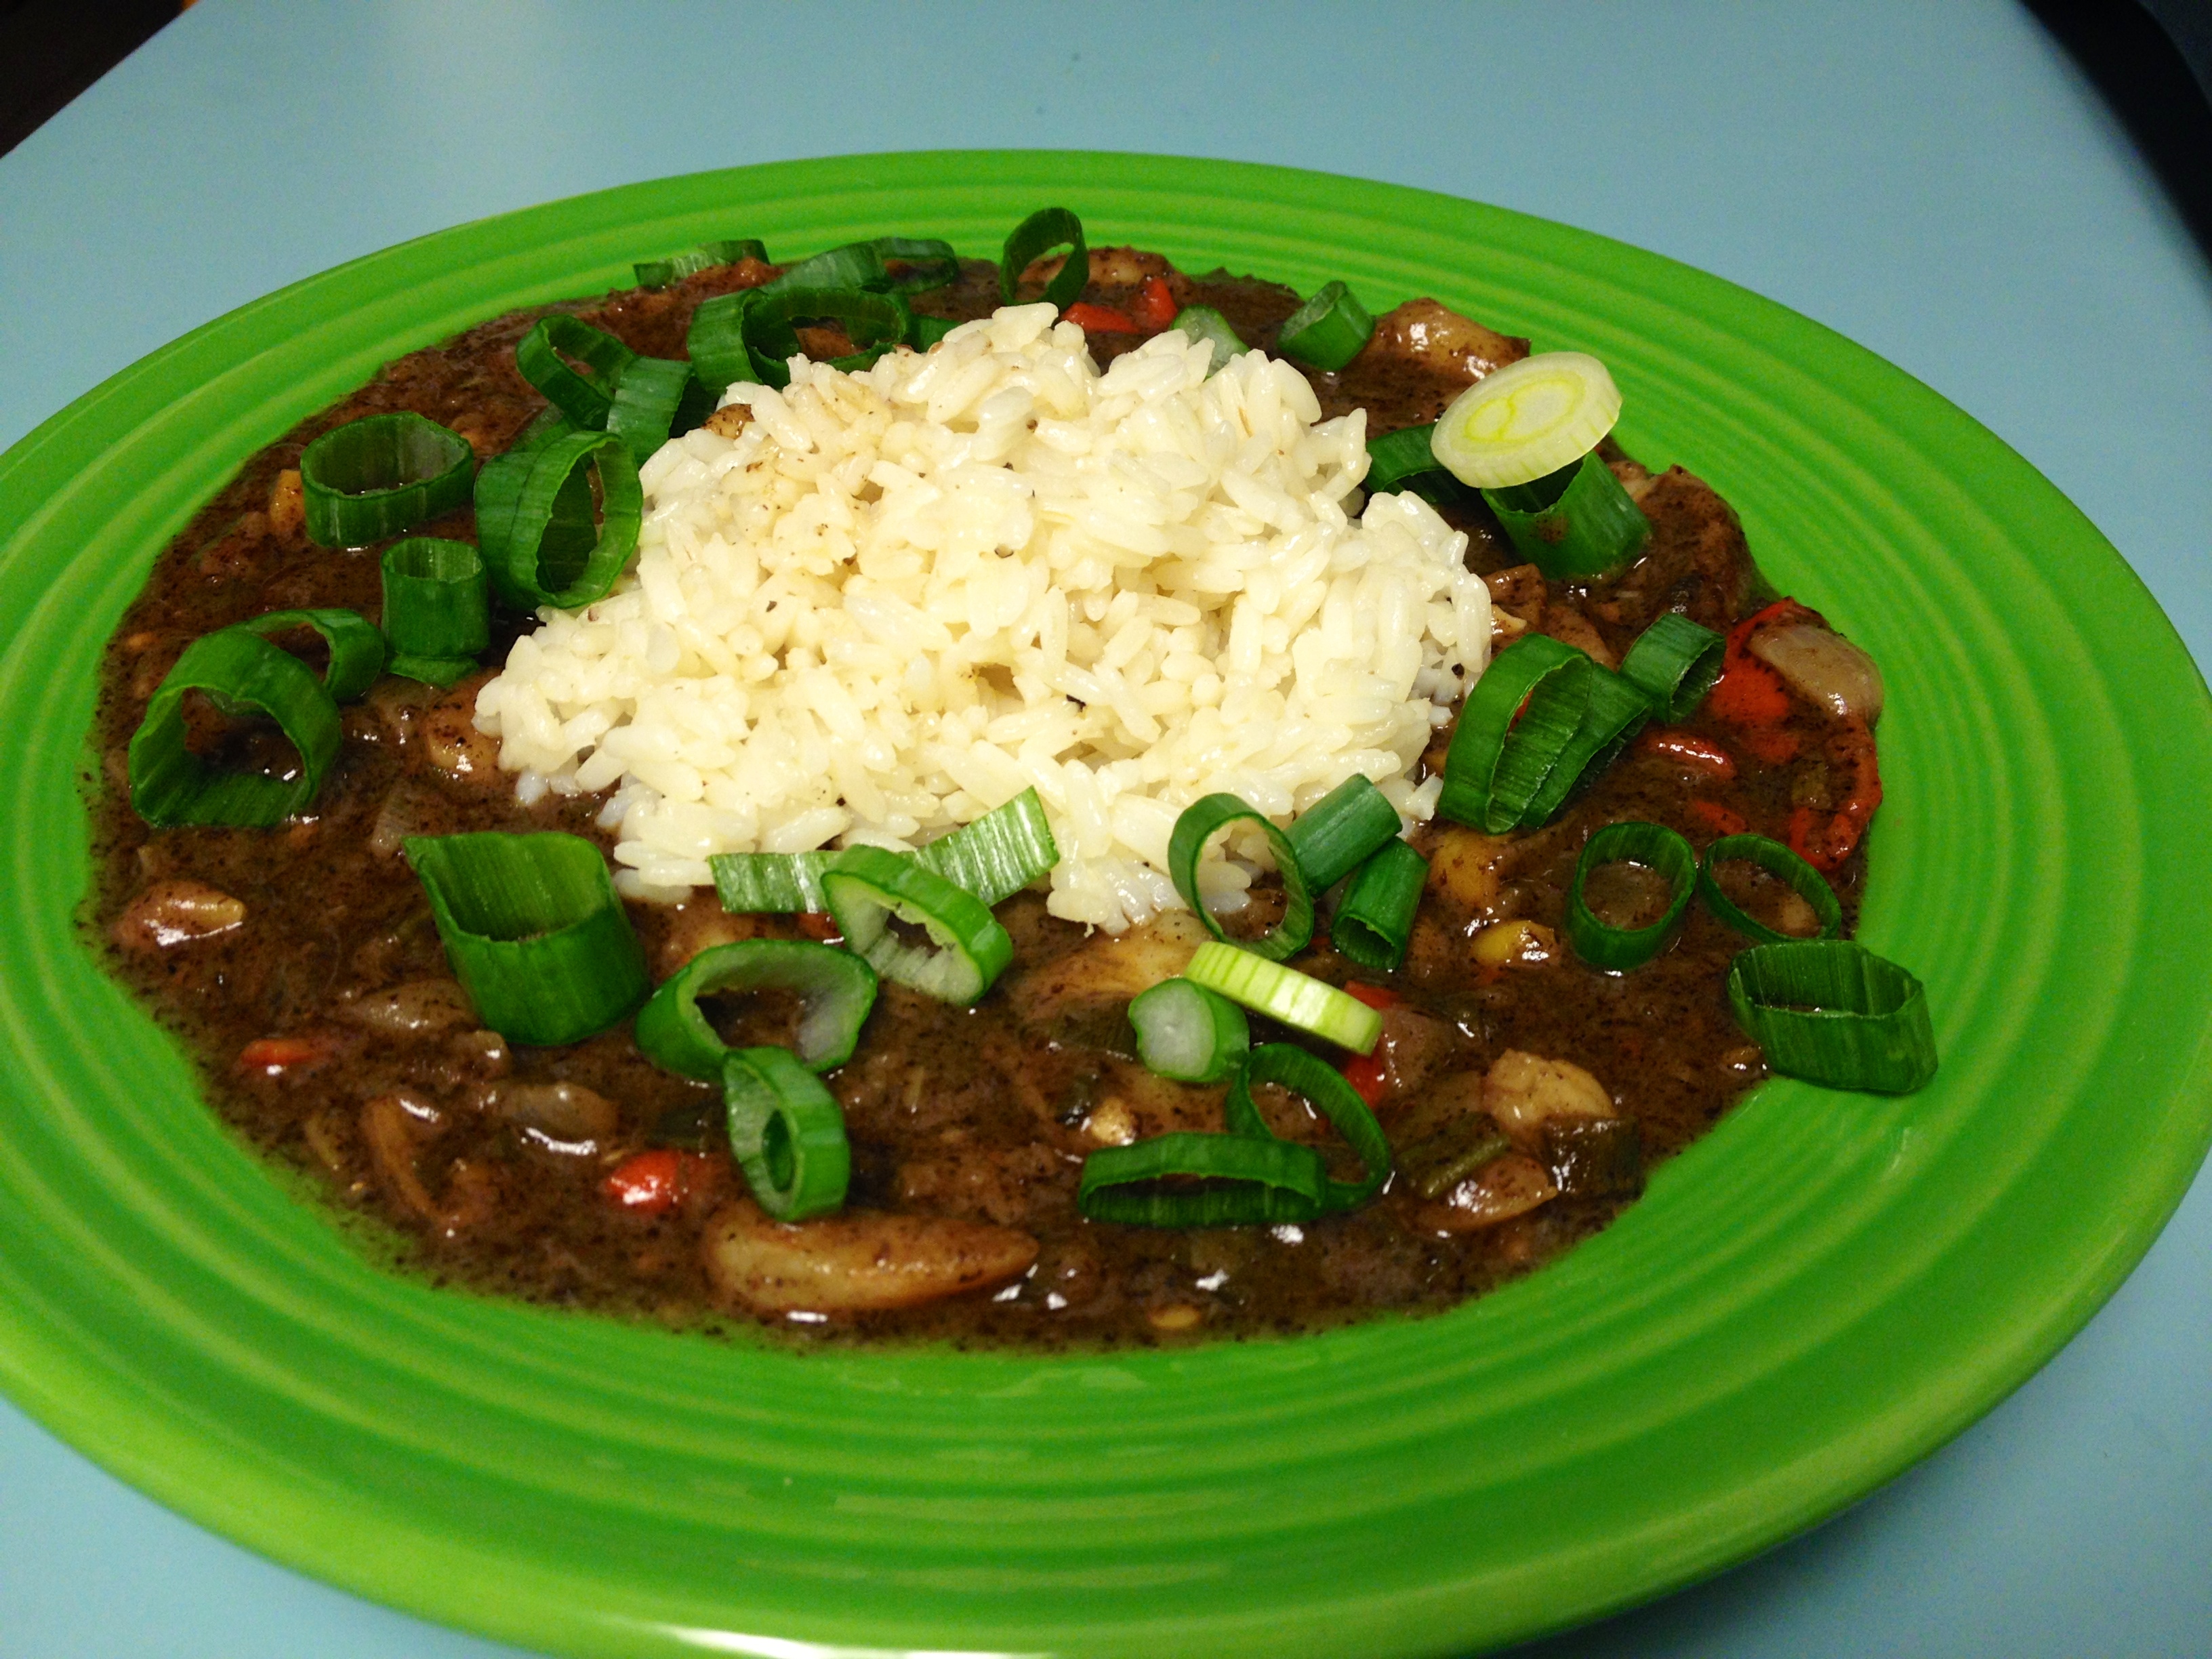
10. Congratulations! You’ve crossed the Louisiana border and made etouffee! It was a lot of steps, but 100% worth it once you taste this delicious dish! Don’t forget to remove your bay leaves before eating! Serve with rice and more green onion for garnish 🙂